

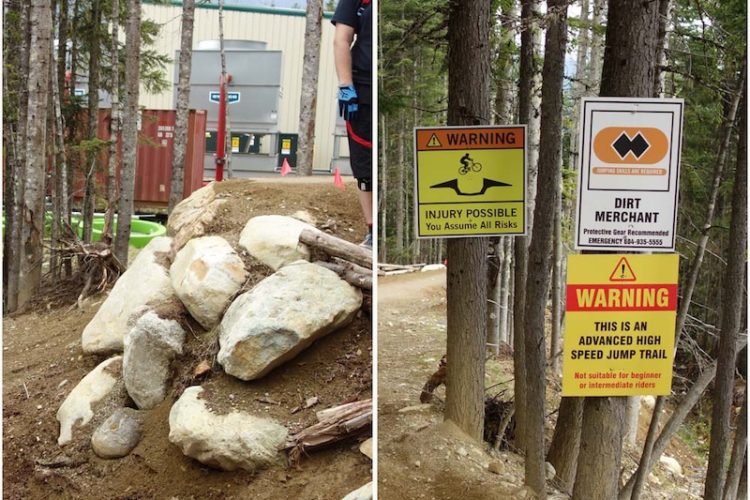
Editor’s note: Singletracks does not condone riding in conditions that cause damage to shared trails.
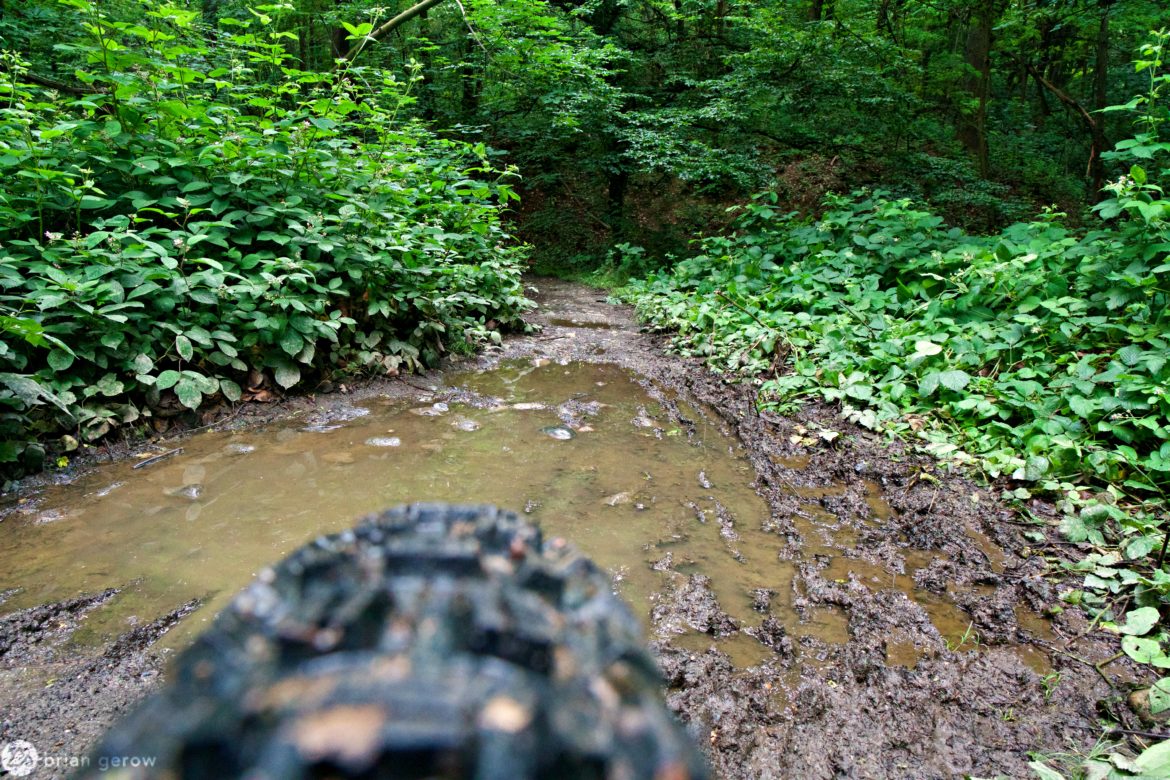
The combined elements that make up a sweet winter bike depend entirely on where the bike will be ridden. For folks in Sedona, Arizona, or Gerona, Spain, a winter bike and a summer bike are often the same thing. Riders in Norway and Minnesota might prefer a frame that accepts 4″ tires, at a minimum. Barring deeper snow and arid desert conditions, winter riding can include mud. Gobs of the stuff. What are some key components that will make a bike better equipped for riding through the dark slop, assuming that your trails are still open and can hold up to wet weather riding?
Simplify | Simplify | Simplify

Mud and water will wear out bearings and bushings far faster than dry conditions, and having as few of those moving parts on your bike as possible will help it last through the wet season.
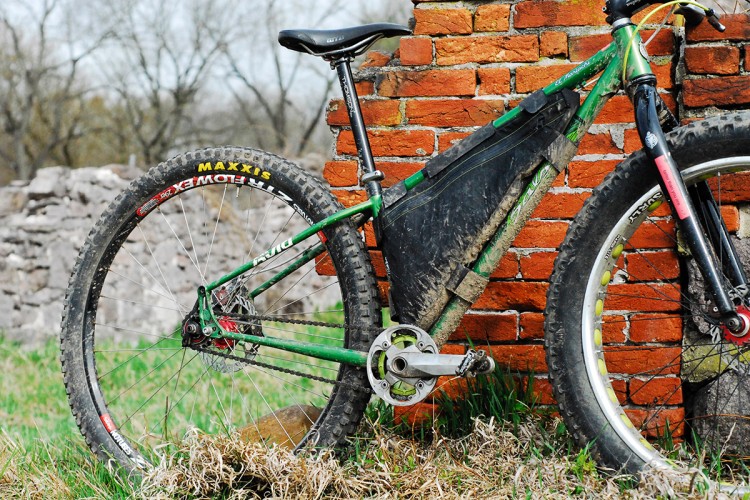
The first element of any proper mud-sled, apart from a front fender and a pail of grease, is a hardtail frame. Removing the complex series of pivots can cut the number of repair-points on your bike in half. With fewer bits to service, you can shift that repair time to trail time. Additionally, winter riding is typically slower, given the inherent traction limitations, rendering rear suspension less necessary. Finally, riding a hardtail through the puddles will allow you to hone any skills that rear suspension is compensating for, and you will be better able to attack the tracks as they dry up.
If you’re building a mud bike from the frame up, the drivetrain is another element that can be streamlined. Singlespeeds and bikes with internal gearboxes have fewer parts to pack with gunk, which means less cleaning and rebuilding. Both allow for a straight chainline, which puts less stress on the chain or belt, and neither skips around after collecting trail debris.
If you really love external derailleurs, consider mounting a 9- or 10-speed setup. Drivetrains with fewer gears typically deal with contaminants better and can cost less than half as much as an 11- or 12-speed group. Depending on the rider, their narrower gear range may also make you stronger. Then, once the earth dries out around you, mount the wider gear range back up and enjoy the close ratio and crisper shifts.
Up the durability — of everything

No one wants to fix punctures or mess with insufficient braking power while their hands are numb and their mind is wandering toward the hot-toddy that will warm up the guts upon returning home. In addition to generally preparing your bike for wet weather, swapping out any weight-saving race bits for more robust components will undoubtedly improve your winter riding experience. Like the drivetrain, you can keep those racy parts fresh until it’s time to race again.
Running downhill casings and tire inserts (at least in the rear tire) has essentially eliminated flat tires from my mountain biking experience. The thick carcasses and pool-noodle inserts require a little more effort to pedal, and a slightly different riding style to maneuver, but they are worth it. A set of mud lugs will help you climb further and stop faster on slick trails. Check our extensive mud tire reviews for inspiration.
If you like to ride fast you will likely crash more on wet trails. Take a look at your parts bin to see if there are any alloy parts you can swap in for carbon ones over the winter. A set of alloy handlebars might bend on impact, but they likely won’t snap, and a bent bar is far easier to ride with than a broken one. The same goes for rims. If you have upgraded to carbon fiber hoops with extra-clicky hubs, it might be a good idea to throw the old alloy wheels on and beat those up in the mud instead of packing earth into your nicer gear.
Some folks switch to chunkier grips and flat pedals as the season turns damp, or add longer spikes to their current pedals. While these elements will make a bike more mud-ready, changing contact points is a fairly personal decision, and there is no objectively best solution for every rider.
Consider the finish

No matter how often you wash your whip, any time dirt is wiped across the paint it acts like sandpaper on the finish. Bikes with a matte finish can look terrible at the end of a wet winter, as there are no clear coats of paint protecting the color beneath. Glossy paint jobs can last a little longer, but their clear coats of paint will eventually wear through wherever you touch the frame most often. If your frame is made of metal, a powder coat finish can be a sturdier option for mud bikes. It takes a lot more effort to sand through that sprayed paint, and if you powder coat with a single color it can be easily touched up in the spring.
The most truly durable frame finish is no finish. Titanium and alloy frames can be left free of protective coatings without running the risk of corrosion like their steel peers, or harmful sun delamination like carbon fiber. If your Ti or alloy frame is scratched or soil-sanded you can easily bring back the shine with a polishing brush and the appropriate rubbing compound. Unfortunately, the classic chrome plating that kept our 80’s BMX bikes looking new forever is terrible for the environment, and the people who work with it, but polishing an alloy frame can give it a similar look.
Regardless of your frame’s finish, it helps to add protective layers to the most frequently scratched and dinged areas. A simple strip of helicopter-tape on the belly of the downtube, the backside of the seattube, and the four spots where the rear tire passes the seat and chainstays will prevent a great deal of sanding. The tape is relatively inexpensive, and you can swap it out whenever it starts to look too shabby.
Fenders, moto foam, and grip tape to the rescue

To reiterate, put a front fender on your bike. You may think they look silly, but your eyes will certainly thank you. A rear fender can be nice as well, particularly if your chosen mud bike has a rear shock to keep clean.
Cramming a square of moto-foam on any ledge where mud might collect will help keep your bike a little lighter in the peanut butter. Full suspension frames, in particular, have numerous folds and nooks for mud to collect in, bringing your 30lb. bike to 40 in a hurry. On a squishy bike, stuff a piece of foam between the front and rear triangles at the lower link, and under the shock for trunion-mounted dampers. Filling those spaces with something that mud won’t stick to is free speed, and it looks super legit if done properly.
Finally, some riders find it helpful to add grip-tape to their brake, shifter, dropper, and shock levers to increase traction when their controls are covered in forest detritus.
What would your ideal mud whip include?


5 Comments
Dec 11, 2019
"Do these survey questions incite a change in behavior, a topic of conversation, or a default response?" My hope in writing them was that they would start a conversation, which is the aim of most of my writing.
Dec 11, 2019
My curiosity is geared towards the reason for MTB'ers survey choices. For instance, what do MTB'ers think about affecting shared trail users' experiences when there is obvious (or perceived) damage to trails? And with that point advocacy could be factored in, and since many shared trails are maintained by MTB organizations their efforts and preferences could be overshadowed by other users with stronger community support. Two of those survey questions touch this issue: "I just ride and don't care about widening the trail or leaving tread marks in the clay" and "I try to ride "carefully" to minimize my impact when trails are wet or muddy". Do these survey questions incite a change in behavior, a topic of conversation, or a default response?
Dec 11, 2019
If not, let me know and we can possibly put something together.
Dec 11, 2019
I have been riding the slick mud of S.C from November to February for many years. I have two additional points to add.
Tire selection is really important depending on the type of 'mud' and 'water' conditions you ride in. I prefer 2.1 inch wide 'aggressive' tires. I mostly ride in slippery mud, wet gravel (loose and packed) and some puddles. I try and avoid water because it is difficult to gauge how soft the mud is beneath.
I also use a FS xc bike. I wrap Cling Wrap loosely around my rear shock and rear moving parts and secure them with a bit of tape. I also use a front fender as you pointed out and manual or wheelie through the puddles when necessary to keep the front suspension as dry as possible.
FYI, I also use a 1x10 gear set up with a 38t chainring.
More people should try try 'mud' biking. It offers a whole set of different features that you will not find anywhere dry.
Dec 11, 2019