

I’ve talked with and interviewed dozens of mountain bike suspension experts over the years, and every one of them says the same thing: sag is the single most important setting for your suspension. And yet, looking over the instructions for setting both shock and fork sag from the biggest brands, I came away with more questions than answers. So, I decided to consolidate all the info I gleaned from the brand guides and I also connected with Will Hart from Cane Creek to learn more about this crucial mountain bike suspension setting.
Shock sag basics
There are a lot of settings when it comes to mountain bike suspension, and for many riders it can be overwhelming. The good news is this one setting — sag — makes the biggest difference of them all. Santa Cruz puts it this way on their website: “Sag is the most important thing to nail when it comes to suspension — get your sag right and you’ll be 90% of the way there.”
So what is sag? It’s basically the amount your shock compresses when your weight is supported by the bike. Every bike is optimized for a specific sag measurement so it’s important to consult the manual for your bike. Generally speaking longer-travel bikes require more sag than short travel bikes. Recommended sag is usually expressed as a percentage of shock travel and typically ranges from about 25% to 35%.
The following steps apply to an air shock; for a coil shock, see below.

1. Determine starting air pressure
The ideal place to start is with the owner’s manual that came with your bike, which should recommend a starting air pressure based on your rider weight (that is, your weight plus typical riding gear like a helmet, pack and shoes). Santa Cruz, for example, provides this information on their website and it varies by model.
If your bike owner’s manual doesn’t include initial air pressure recommendations you can consult the shock owner’s manual. However, keep in mind that every bike is different so the weight-based chart provided with your shock is just a ballpark estimate and may not be exactly right for your bike. The good news is the air pressure is just a starting point anyway. In the end the amount of pressure isn’t the important number; it’s the amount of sag.
RockShox and Cane Creek recommend first airing your shock up to about 100psi and moving on to step two. Once step two is complete, pump up the shock to the air pressure recommended for your rider weight.

2. Cycle your suspension
Before even getting on the bike to check sag, it’s important to cycle the shock through its travel. As Hart explains, “you need to equalize the positive and negative air chambers” so that the shock self-equalizes. “To move air from the positive chamber to the backside of the piston, there’s a little tiny dimple in the side of the air can that allows, at a certain point usually slightly past sag, like 40 or 45% of the shock stroke, where air can pass back and forth across the piston in the air chamber.”
Set the compression switch on the shock to fully open. Bounce up and down on the bike at least a dozen times. Not only does this equalize the air pressure between the chambers, it also ensures the seals are well lubricated and there is minimal stiction.

3. Rest your weight on the bike
It’s best to set sag on level ground and if you’re doing this solo, find a spot where you can lean onto something with an elbow to balance yourself, like a tree or a wall. Before resting all of your weight on the bike, slide the O-ring to the top of the shock. (Tip: if your O-ring is missing, use a zip tie temporarily.) Now, place your feet on the pedals, or lift them off the ground, and get into a normal riding position.
What’s a normal riding position? Some sag guides I’ve read suggest assuming a descending position on the bike, though riders shouldn’t overthink it. According to Hart, “if you’re on the bike with all of your limbs attached to the bicycle and [your feet are] not on the ground, you’re gonna get it 97% correct.”
Alternatively you can simply sit on your bike and lift your feet off the ground briefly as shown in this video and in the photo above, since sag is based almost entirely on rider weight. Hart says most riders will prefer to do this with the dropper post in the down position.
Gently dismount the bike and check the position of the O-ring. Some shocks have sag percentages etched onto the shaft while others might have an external guide. You can also measure the distance from the O-ring to the top of the shaft and divide by the total length of the shaft to calculate sag more precisely.
Frequently asked questions
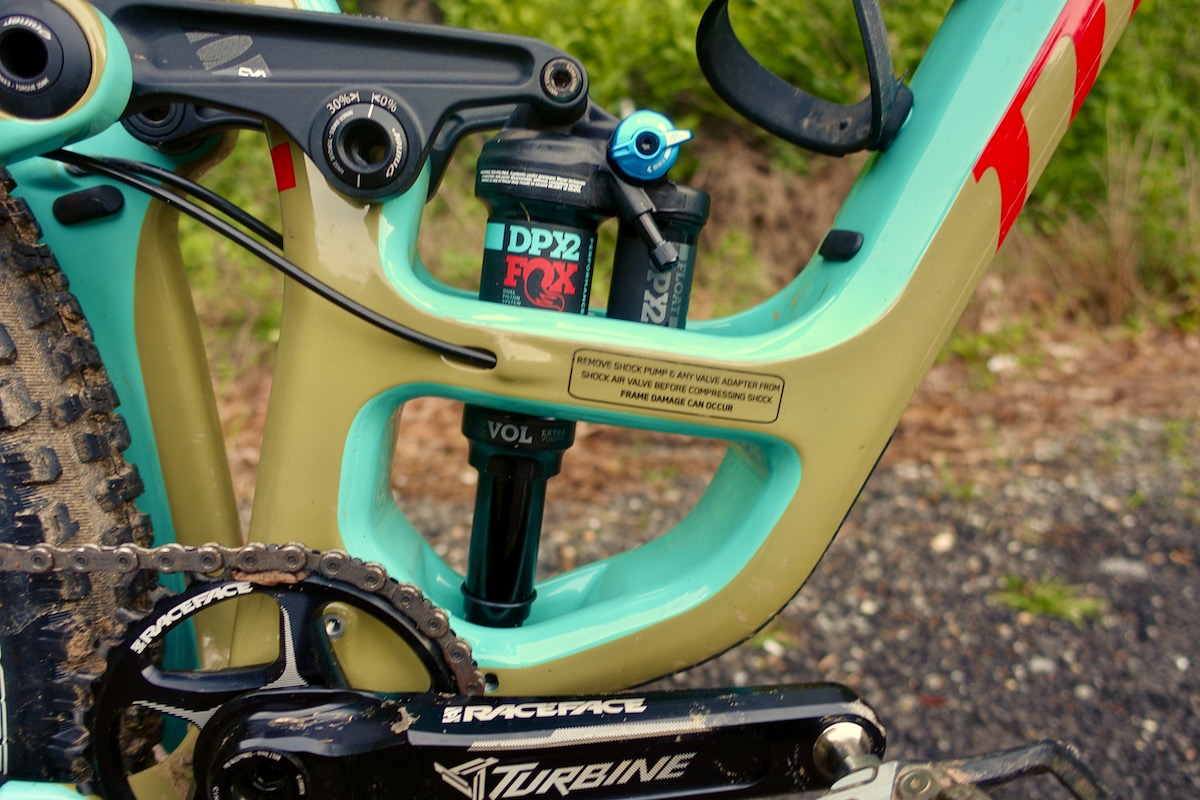
- Do I need to remove my shock pump while checking sag? Yes. With a pump attached, the air volume in the pump is effectively added to the air volume of the shock so the sag will not be accurate. There’s also a chance that the pump could damage your frame as the bike cycles through its suspension.
- Can I hold the brakes while balancing on the bike? No, as this will affect how your suspension reacts. However Fox recommends holding just the front brake for proper shock sag setup.
- What if I don’t normally wear a pack, but I do use water bottles? Attach any accessories to your bike that you typically ride with like a water bottle, tool kit, lights, etc. for a more accurate measure.

4. Adjust air pressure until you dial in the sag
If you find you’re not getting the recommended sag percentage, add air pressure to the shock to decrease sag or bleed pressure to increase sag.
Some of the shock manuals I looked at suggest that riders should adjust sag based on personal preference but Hart says that while this is a common approach, it’s not recommended.
“Ideally sag is determined by one factor, and that’s your body weight, and the way that you ride and the way your bike feels. Once you set sag correctly, theoretically, you shouldn’t then play with it.” And this holds whether you’re riding your home trails or traveling to ride more aggressive trails.
As an example, Hart paints a common scenario where a rider has sag set properly but finds the shock is bottoming out. Faced with this many riders will instinctively add more air to the shock to reduce bottom out, but this results in a sag percentage that’s too low. Instead of adding air (and thereby reducing sag), the rider should try adding a volume spacer or crank up the high speed compression damping if possible. And if that doesn’t work, Hart says the answer may be a different shock entirely.
My takeaway: you can change whatever shock settings you like to get the right ride feel, but sag is sacrosanct.
Why is sag so important anyway?
Mountain bikes are all about balance, yin and yang. Shock sag not only affects comfort and control on the descents, it also plays into traction and climbing efficiency. Too little sag and the bike is harsh on the descents and doesn’t offer enough small bump sensitivity to help with climbing traction. Too much sag and the bike won’t provide enough support on the descents and will bob around on the climbs.
And for certain bikes, sag is more important than others. “Really high leverage bikes that are progressive have to be a little more precise,” says Hart. For bikes with a linear leverage ratio, particularly single-pivot bikes, there’s a potentially wider acceptable range for sag, though it’s still important.
Setting sag on a coil shock
Since a coil shock doesn’t rely on air pressure, sag is determined based on the spring weight rating. You’ll want to consult the coil shock manufacturer to select the right spring based on your weight and the leverage ratio of your bike.
Once you’ve installed the proper coil spring for your weight, tighten the pre-load collar until you achieve the proper sag percentage. Tighter results in less sag; looser results in more sag. Just be sure there is no play between the collar and the spring. If there is, and you still can’t get enough sag, you’ll need a less stiff (lower weight) spring. Most coil shocks don’t have an O-ring indicator so you’ll need to measure the stroke of the full extended shock and compare that to the sagged length.


Fork sag
Part of my motivation for looking more closely at how sag settings work is I couldn’t find good information about setting fork sag in particular; most of the emphasis seems to be on shocks. For example, how far forward should I lean on the fork when checking sag? But here again, Hart says it’s pretty easy to get most of the way there without overthinking things.
“If you try to actually measure the difference between two [riding] positions it might account for a few millimeters.”
Most fork manufacturers offer starting air pressures based on rider weights, similar to shocks. Here again, cycle the suspension first, set the O-ring to its lowest position, and sit on the bike with all your weight in a normal riding position on flat ground, just as in step three above. It’s best to set fork sag separately after you’ve got your shock sag dialed.
Looking over the scant information about fork sag online and based on my conversation with Hart, it seems fork sag can be less precise, within an acceptable range, though be sure to consult the owner’s manual for both your bike and fork. Hart says he likes to set fork and shock sag similarly so the bike feels balanced as it cycles through its suspension. If the fork feels softer than the shock many riders will want to add some air to even things out.
Bottom line
There’s no question that getting the proper sag on your bike is important. It’s the first thing you’ll want to adjust when setting up suspension, and once it’s set you can fine tune the shock and fork using additional controls.
Just remember, whatever you do, don’t mess with the sag.
Do you have more questions about setting sag on your mountain bike? Let us know in the comments below and we’ll update this post with the answers.
Resources
Here are some direct links to information about setting sag from popular bike and suspension component brands.
- Canyon Spectral suspension setup
- Santa Cruz suspension setup (note: bike-specific settings are available on individual product pages)
- Specialized suspension calculator
- Trek suspension setup guide
- Cane Creek shocks
- DVO forks
- Fox shocks
- RockShox shocks


1 Comments
Feb 21, 2024