Don’t worry about derailleurs, we’ll screw those up later. And reflectors? Really?
One can acquire a mountain bike frame. In these dark times one can also acquire name-brand Japanese drivetrain parts on the internet for significantly less than at your local bike shop. Cobble together a cockpit of your choosing and youre damn near ready to build a bike from all the constituent pieces we often take for granted when we select the new hotness from off the rack all gleaming, tuned, and ready for shred-y.
As my loyal readers reader will know I work in the bike industry. As you may have read, one of the perks of being a bike business grom is getting parts for cheap. Another perk in my case is having entr into the world of the frame builder. In my service for the previous administration I worked with one of the granddads of the mountain bike world to develop his glorious return to the dirt world. In my duties I had to interface with the talented and generous fellows who would hand-make the fine steel frames for us in Taiwan. At one point a thought occurred to me: Steel frame? What if said frame had S+S couplers?” It would essentially be a reason to conjure up adventures in far-off locales for me and my trusty rig. And thus a crackpot idea was born.
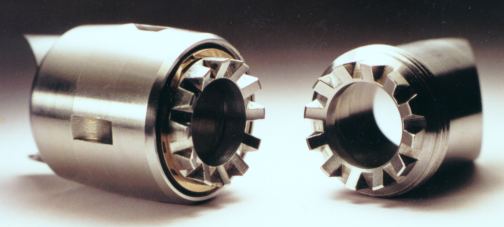
I contacted S+S Machine Works, bought a pair of exquisitely crafted stainless steel couplers and on my next trip to the Beautiful Island they came with me. *Disclaimer: couplers are only sold to bike manufacturers with liability insurance*
Picture the meeting: at a conference room table sat me and our factorys account manager and opposite was the head frame builder (and translator) from our supplier. I opened the box containing my precious couplers (imagine the scene in Pulp Fiction where Vincent opens the briefcase and is bathed in a mysterious golden glow) and asked the frame builder Can you make a frame with these? A good deal of translating and then the answer: Yes Have you ever built a frame with these before? Much more translating and the eventual reply: Yes Not exactly confidence inspiring, but what were my options? A frame of this type built by a custom maker in the United States could buy me a trip to Moab to ride the White Rim, a bike rental for a week, and enough rum to give an entire pirate ship a hangover.
The frame’s first US stop in the office of the man generous enough to mule it back from Taiwan.
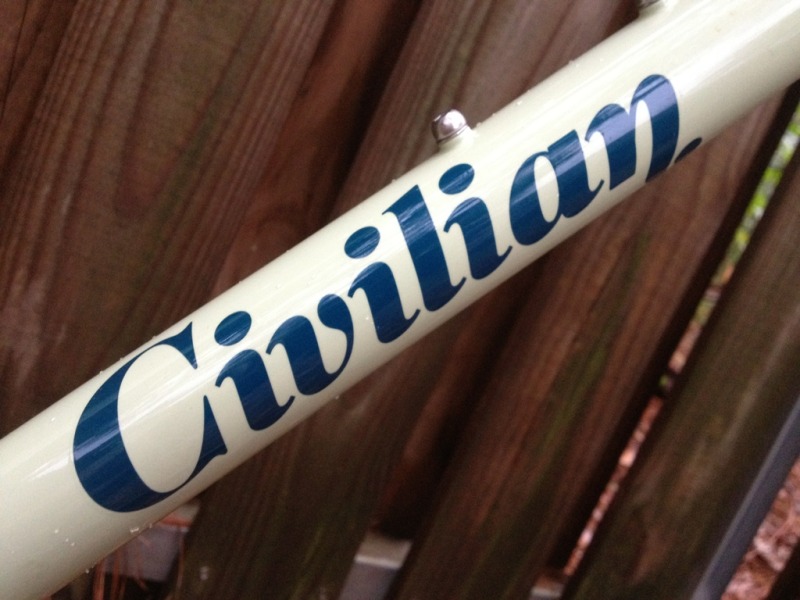
So 11 months, 14 skype conversations, and a plane trip with a true friend and former co-worker, my frame arrived in all its naked glory. If youve never seen a raw steel frame before you may be shocked: spotty rust, dull tubes, and roughness abound. I took it to a local machinist with a sandblasting booth and cleaned it thoroughly. From there I brought it to a powdercoater for a suit of Valspar Cloud Blue. And the waiting continued
I was so excited I forgot to get any photos of the powdered frame by itself.
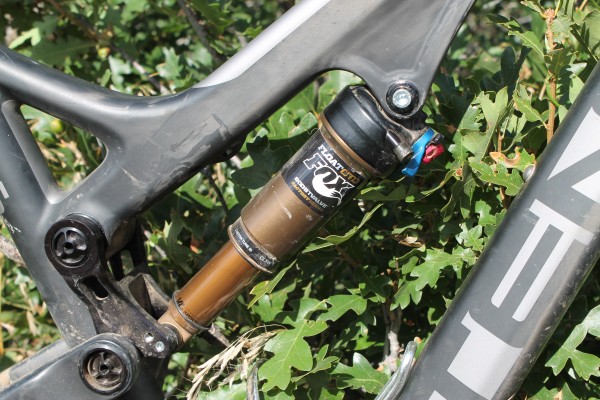
The process of gathering parts for the build began slowly; I didnt want to invest too much coin in parts until I knew I had a straight, finished frame to hang them on. Once back from the powdercoaters in all its azure glory I started spending in earnest. Fork, wheels, drivetrain, brakes – it was all scrutinized and evaluated before the trigger was pulled. My employee deal for SRAM was superior to the deal from Shimano so that decision was easy. X9, 27-speed all around with X7 Truvativ cranks. I found a Marzocchi fork that is 9/10ths of the equivalent Fox part for a wicked bargain on one of those one-deal-at-a-time websites. Cobble together saddle, grips, bars, stem, pedals, and various doodads from my parts box and were damn near ready to assemble. Though now weve reached the sticking point for many an amateur bike assembler: the tools.
I happen to have access to a fully equipped race shop with every Park tool youve never seen. In many cases this is the point where an amateur would be looking for an LBS that is willing to assemble a mishmash of internet-acquired parts (on which they earned zero dollars) into a true dirt surfer. Those shops are hard to find, so I continue in the understanding that not all of you can get a headset reamer on short notice. Hey, perks.
These are the days that indicate what type of person you are. It is a delicious time when youve got every last item towards the final goal of railing down the trail on a top-freaking-notch ride put together with your own wits, knowledge, and craft. Are you the type to barrel ahead and get on the trail ASAP, or do you savor every chased thread, trued spoke, and properly-torqued fastener? For me being a bike build maiden I took my sweet time. The right tunes on the radio, a fine ale in a clean glass, and my tools and parts laid out just so on the workbench. One of the things you need to do to a raw frame in most cases is deal with the paint that made its way into the threads, faces, and crevices where it does not belong. Enter the Expensive and Seldom Used Tools. These are what make a bike shop different from your buddys basement where he converts old road bikes into fixed gear abominations.
 First up: a head tube reamer and facer. KNOW YOUR HEAD TUBE. The bike industry loves to change up conventions. 1 threaded becomes 1 1/8 threadless becomes 1 1/8 semi integrated becomes fully integrated becomes 1 1/8 to 1 tapered blah blah blah. Hey, we gotta make money somehow, might as well be in the headset business. Anyway, I cut delicate little curls of steel from the bearing seats and faces on the head tube until my headset bearings sat in there just so. My steering thanked me for the efforts.
Next the bottom bracket. Are you a fancy Johnny Come Lately with those press-in bearing jawns? Are you simply too good for threads? Then I cannot help you friend since I am stuck in the mid-90s where real men twisted things into other things and pedaling magic was made. I got a second Expensive and Seldom Used Tool from the drawer and took the thick powdercoat off the BB threads and shell faces.
Finish it off with chasing the threads of your water bottle cage mounts, derailleur hanger (if it isnt replaceable) and facing the rear disc brake mount and youre ready to move to The Hanging of Bomb Parts.
Crown race goes onto the fork steerer. This calls for another relatively Expensive and Seldom Used Tool, but the internet can show you how to improvise with some hardware store tubing and a mallet. Your choice. Slide the fork into the head tube and clamp it down with your stem. Taking the form of a thing resembling a bike: pure excitement! Set the star nut (more specialized tools) and assemble from end. Start hanging the derailleurs, set the low and high limit screws. Get the chain on there, put the wheels in. Cable time
These fellas will allow me to split the cables when I pack the frame. Thanks Tom Ritchey!
Tinkering with cable adjustment can be tedious or it can be rewarding; again, it depends on what type of person you are. My job was tricky since I was using Ritchey cable splitters to ease the packing/unpacking process. From there the brakes are a breeze when youre working with pre-bled hydraulics. Finish up with grips, pedals, final adjustments and the like. Huzzah!
The time for the shakedown ride has arrived. Keep that multi-tool in your pocket, youre on this ride to feel every little setting and tweak as necessary. Listen for rattles and creaks, pay attention to how comfortable you feel on the bike, make changes as needed. Now go out and enjoy the fruits of you dollars, labor and know-how. Its a satisfying feeling to ride on a creation all your own. Savor it.


