When I started writing with Singletracks a few years back I had yet to pick up a real camera. I’ve since learned heaps about shooting races and editing images, and that learning continues on a daily basis. Someone recently commented on one of our articles, asking “how can I take photos like these,” so I wanted to share some techniques that I’ve learned.
First off, some folks will benefit from buying a quality camera that’s highly adjustable and can shoot photos in RAW format. Yes, cellular phones can now take stellar photos, offer loads of useful adjustments, and can save RAW files. However, if you want to get a little more serious about trail photography, a good camera will keep all of the key adjustments readily available while saving far more image files than a phone. Using RAW format saves more information in each file, which can be useful during the editing process.
A camera body with interchangeable lenses will allow you to dig into a broader range of perspectives, but there are also great pocket cams that can do the job. As long as the shutter speed, F-stop, ISO, exposure compensation, white balance, and focus area are all easily adjustable, you’re good to go. I shoot roughly 90% of my work with a 24-70mm lens on a full-frame mirrorless camera body and could certainly get away with only owning that one lens. It’s sweet to have a longer range 70-200mm around when shooting from a distance or tucking in for closeups, but that clunky lens was super expensive and not necessary. The only other piece of gear I would recommend is a pile of high-quality memory cards. You don’t want to have to delete photos in the forest because you didn’t bring enough storage space.

Once the gear is sorted, it’s time to explore the camera. I started off shooting everything in manual mode, and I’m happy to have taken that approach. Manual mode gives you the most control over what’s happening inside the camera and allows you to experiment with settings to learn how they affect an image. If you take it one variable at a time all of the dials will eventually make sense. Regardless of which mode/s you begin with, I highly recommend experimenting with others to see what they do. Images are free, so you can take all of them and play around with possibilities.

In addition to camera adjustments, your perspective and where you put your body for a shot seems to play the fulcrum between a good and a great photo. Get low and shoot up at a passing rider, or climb a tree and pan the camera with them as they pass by below. When photographing a race I try not to shoot from the same place twice, unless that place is up a tree, in which case it can be worth a few tries to make sure one of the images is worth the effort. There are countless perspective elements to shift, including camera placement, subject placement, foreground and background content, zoomed in or out, background blur, and many others. This is the bit where photography becomes an art, and you are the artist.

I’ve learned a handful of photography rules that folks employ to keep images fresh and intriguing. Those include not putting the subject in the center of the frame, considering foreground and background, looking for contrasting colors that let the subject stand out, and learning about particular photography styles like portraiture that have their own guidelines around focusing on the eye closest to you. All of those rules can be helpful, and most of the time they are worth considering, though they can also limit creativity in some cases. If you see a sweet shot that will place the rider dead center in the image with no foreground, take it. After all, the best thing about art is that there are no real rules.

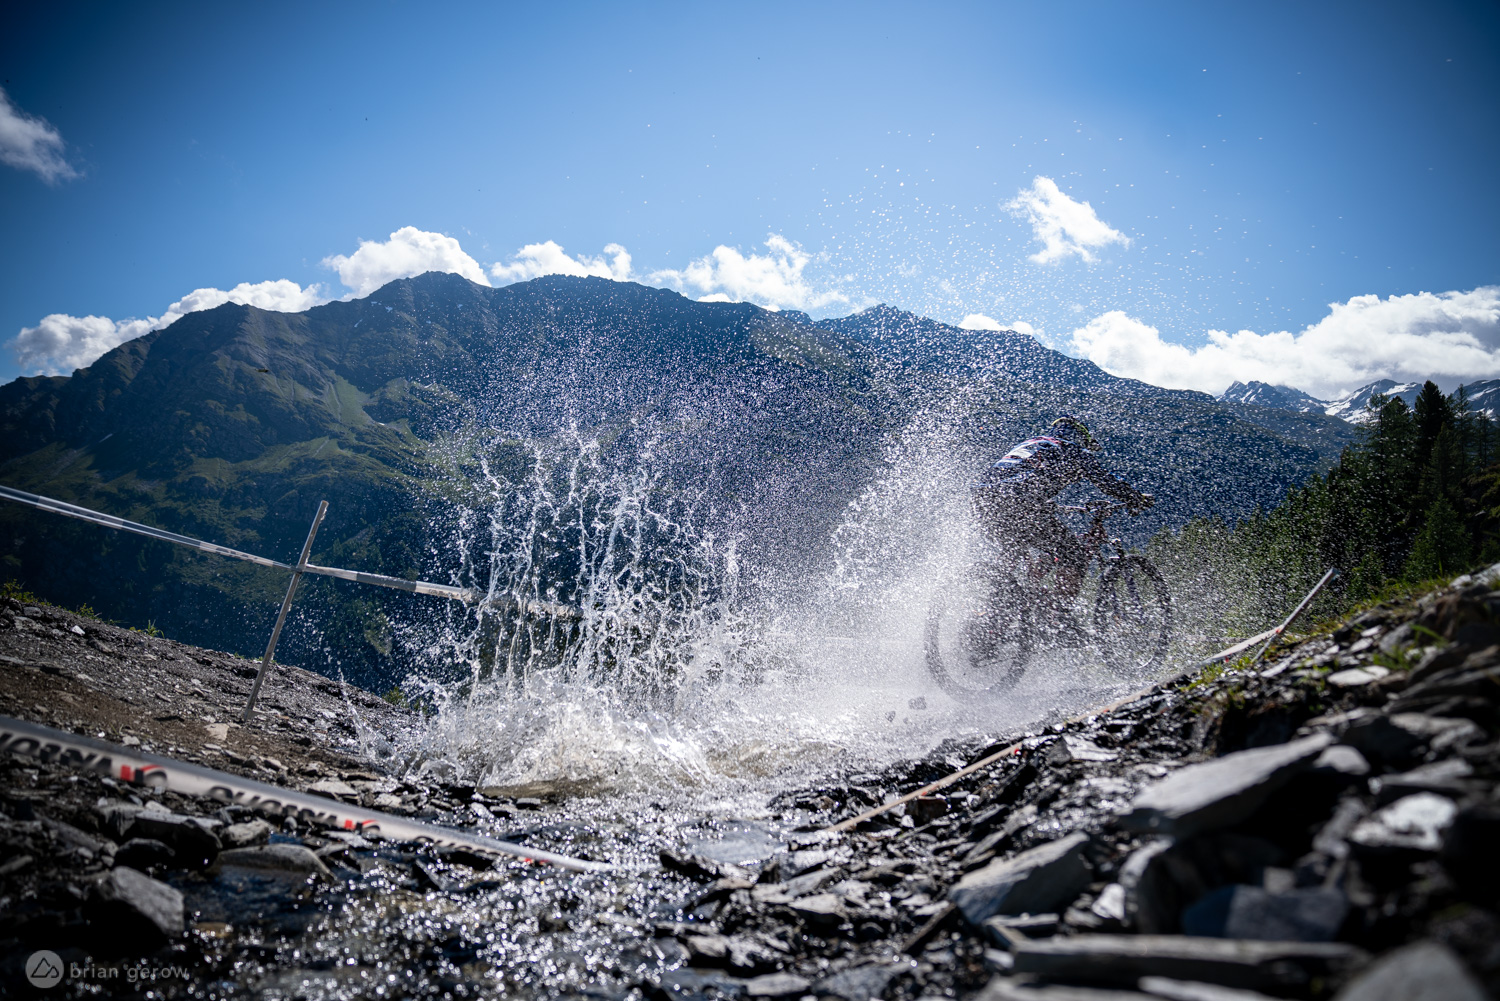
In the above short of Wyn Masters racing in Canazei, there are a few cool elements alongside some others that could have been done differently. First off, my autofocus sensor loves the GT kit, and those riders always come out fairly sharp. I wanted to strike a color contrast with the sky and rock cliffs behind Wyn while keeping them largely in focus to depict the enormity and beauty of the location. While I like those elements of the photo, I do wish that I had pulled the lens back a touch to reveal more of the cloud cover and possibly some of the trail leading into this spot. Showing where a rider is coming from or going can help the viewer create a clearer and more connected narrative of what it felt like to be racing that day.

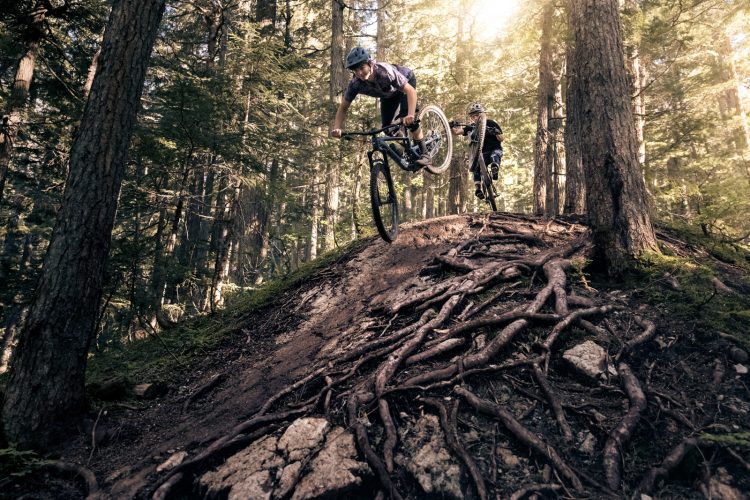
No matter your camera or lens quality, the best MTB riding shots happen on sections of trail that force riders into dynamic body positions. Your first move might be to find a jump or someplace where the rider is going super fast, though in a race those moments don’t always produce the most alluring shapes between the athlete and their bike. Finding an awkward chunk of trail where the person will have to get out of balance or turn their hips to avoid a tree can create cool shapes for an image. Fast berms can also do well to get a rider low and aggressive looking, which may better depict the feel of the captured moment. My favorite place to shoot is in a pile of slick roots, where the bike is dancing an unpredictable rhythm, and the pilot has to stay light and nimble to keep upright.

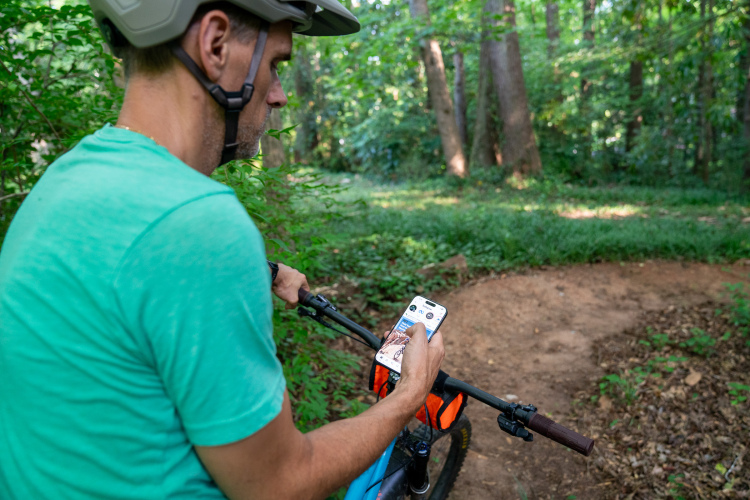
I have learned a few tips while shooting race photos specifically. First off, get the settings dialed before riders arrive so you don’t have to evaluate your photos while shooting. Racing happens fast, and you don’t want to miss the shot of a lifetime because you were reviewing prior images. Another important lesson I learned was not to take pan shots during a race if I don’t already have a good photo of the rider in question. Pan shots are extra tricky, and it’s not worth missing the photo entirely to get that sick speed-blur. Instead, I shoot pans during practice runs and stick to a high shutter speed during the race. On a similar note, it’s important to know who is coming at you. For World Cup and EWS races, I like to download the start list on my phone and save it so I know who is next and can assess where their particular riding style might look best.
In summation, digital photo files are free, so get creative with how and where you shoot and play around with the editing process. There are many more elements to this process, and I have at least another 10,000 hours of learning to do, so hopefully, some of these things can help others as they experiment with cameras in the woods. If you have any helpful info to add please share it in the comments section below.


0 Comments