I couldn’t help but be enamored of the concept of bikepacking: heading out into the backcountry, riding my bike for days on end, carrying everything that I need to survive, with nowhere else I have to be and nothing else I have to do besides eat, drink, and ride my bike. And apparently, thousands of mountain bikers around the nation, if not the world, are falling in love with the same ideal–bikepacking participation and gear choices are exploding!
Consequently, one of my main goals for the year was to start bikepacking. While a torn ACL over the winter and subsequent recovery hampered my timeframe, during the first weekend of October I was able to finally #rideloaded and venture out into the mountains, hauling all the gear along with me that I needed to survive.
I had the privilege of embarking on my first trip with three friends, all of whom were more experienced bikepackers than I. And two of them are supremely qualified: Neil Beltchenko (who has set four bikepacking course records this year… so far…) and Lindsay Arne of Bikepacker.com. Naturally, I picked up a lot of great tips and tricks along the way. Here are 15 valuable lessons I learned on my first bikepacking trip:
1. Run what you brung: You don’t need a special bike.

As I planned my first trip, I obsessed too much about my bike choice: do I have the optimal bike for bikepacking? What’s the perfect bike for the terrain we’ll be covering? Should I get a different bike for this trip?
At the end of the day I chose my fat bike, because it had more space in the main triangle for bags, and because it’s what I had. Was it the ideal bikepacking rig? Maybe, maybe not–but it did just fine, and I had a great time on it.
The most important thing is just to get out there and start riding!
2. Know your water sources.

Without water, humans die. It’s as simple as that. You can go for weeks without food as your body consumes stores of fat and muscle, but without water? Most estimates say that three to four days is the outer limit, with that time period being shortened significantly due to heat, exertion, and other environmental factors. So when riding a mountain bike, ensuring that you have enough water to consume is of utmost importance.
I knew that we’d have few water sources on our 53-mile overnight bikepacking route, so I went to scout the middle area of the route a week in advance, near where I was planning to camp. I found one great source or water that I knew would be there, and in addition discovered one decent source, and one source that wasn’t as desirable, but would do in a pinch.
The first desirable water source–a clear stream with good flow–proved to be critical to fill up toward the end of day one. But at the beginning of day two, my second-best source, that I expected to encounter shortly into our ride, wasn’t where I thought it would be. Instead of just assuming I would see it and remember where it was located, I should have marked this source on my map. However, source number three turned out to be better than I initially anticipated, so all was right with the world.
That said, without having scouted these water sources in advance to ensure they were there, this ride could have taken a very different turn. I assumed some water sources that I had seen in this zone in the spring would be good backups, but as it turned out they were completely dried up this late in the fall. Knowing where your water is going to come from and ensuring you have enough is critical.
3. Invest in quality bike bags.

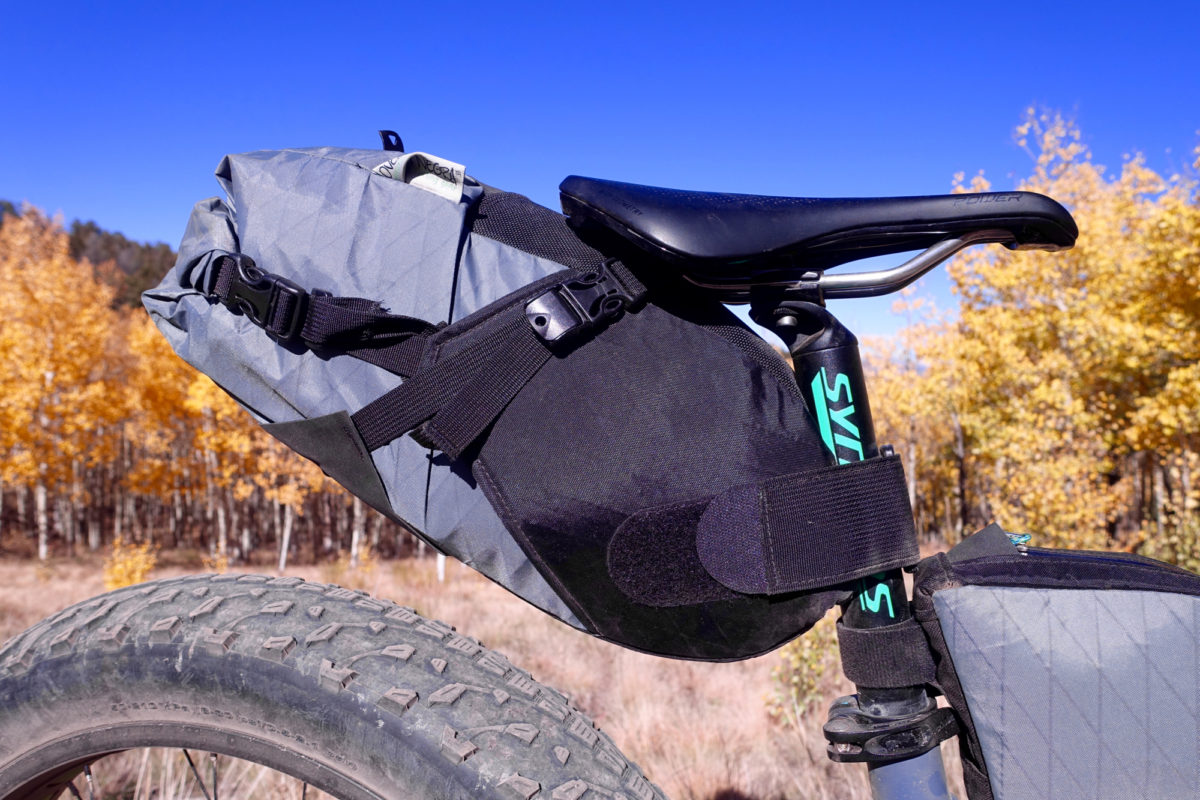
If you have money to spend, one of the best places you can invest is in a quality set of bike bags. I actually learned this lesson by purchasing a couple of high quality bags from Oveja Negra over a year and a half ago for use during day rides on my enduro bike. After having lived on that bike for the past year and a half, aside from turning a bit brown from all the mud and dirt, these bags are still in excellent shape!
I also learned from those first frame bags that having bags that are well-thought-out and designed for a specific job beats a jury rigged system any day. So, I went down to Oveja Negra to get my fatty kitted out with a full set of bags for my first bikepacking trip. While the start up cost might feel steep to some, and you could definitely jury rig a different system, it’s impossible to beat a set of bags that was specifically engineered by avid bikepackers to solve problems they themselves encountered out on the trail.
Quality bags will be the most secure, most waterproof, most durable, and most efficient gear carrying system. Period.
4. Get the weight off your back.

Again, this is a lesson that I learned when I got my first set of frame bags, but it’s just as applicable to bikepacking. Initially I was considering carrying a backpack in addition to frame bags for extra water carrying capacity, but I decided to double down and focus on dialing in my kit enough to make it fit 100% on my bike.
And I’m glad I did.
Wearing a backpack all day every day–especially one that’s heavily-loaded–can be extremely draining, depleting your energy reserves. Yet most riders have normalized this energy drain, and don’t consider how fresh they’d feel without a pack on their back. While putting the weight on the bike does affect its handling, having the bike support the weight of your gear keeps you feeling fresh for longer, and you’ll be happier at the end of every day.
5. I need a warmer sleeping bag.

Don’t get me wrong, I love the Spark SP II sleeping bag I have in for review from Sea to Summit, but in retrospect, I should have gone with the Spark SP III model for more warmth based on the temperatures I encounter here in the Rockies. Initially I didn’t want to risk getting too heavy of a bag that would take up too much space in my pack, but I’ve realized that one extra layer of clothes top and bottom takes up way more space than a slightly thicker bag would consumer, once in a compression sack.
When actually on the bike and moving, you need very little in the way of warm clothing, compared to cooking at camp in the early morning and sleeping through the cold temps of night–which generally drop 20-30 degrees below daytime highs in the High Rockies.
All that to say, having a warmer sleeping bag would allow me to pack fewer clothes and less gear overall.
6. The upshot of not being in Wilderness: Campfires!

While you shouldn’t build a big campfire–or any campfire, for that matter–in Wilderness areas in an effort to Leave no Trace while backpacking, the upshot of not bikepacking in Wilderness (until we get the laws changed, that is) is the ability to make a roaring campfire!
Thanks to plenty of precipitation in our part of Colorado this fall, we were able to build a roaring fire to stave off the cold night temperatures as we made dinner, drank whiskey, and generally enjoyed spending time in the mountains! However, we made sure to use an existing fire scar to minimize any additional impact. After all, I try to Leave no Trace no matter where I ride.
7. Balance the weight.

While I had quickly determined that I should store my heaviest objects in my frame bag (namely, water and food), I learned from Neil that the goal should be to balance your gear weight between your front handlebar roll and your seat bag. I had read on some websites that orienting the weight further back into the saddle bag and removing it from the bar would result in a bike that would ride better on singletrack, but I think Neil’s assertion to balance the weight has much more merit. However, if you do have to have a weight bias in one direction or the other, having a bit more in back makes sense so that you can more easily float the front end over obstacles.
8. Compress your seat bag before you put it on the bike.

This is another tip that I picked up from Neil and Lindsay. I noticed that my saddle bag had a roll closure and velcro straps for compression, but I learned from these more experienced riders that it’s much easier to roll, get the air out, and compress your seat bag if you do it on the ground first. Then, once you’ve fully compressed it and fastened all the strap closures, mount the bag on the bike.
9. Pack your bike so you don’t need to access your seat bag or handlebar roll until you reach camp.

Since it takes so much work to set up your saddle bag and handlebar roll at the beginning of each day (as noted in #8, you want to compress your saddle bag before you put it on your bike), pack your daily essentials that you’ll need to access while on the bike in other places, so that you don’t need to open the more difficult-to-access bags mid-ride.
I didn’t do this on day one, which proved to be a bit of a hassle when digging around for food for lunch. On day two, I attempted to keep all of my necessities accessible, but I still found myself digging through my saddle bag looking for something I hadn’t anticipated needing. While you can’t guarantee that you won’t need that down jacket out of your handlebar roll, this is still a good principle to follow.
10. Riding singletrack isn’t actually that hard.

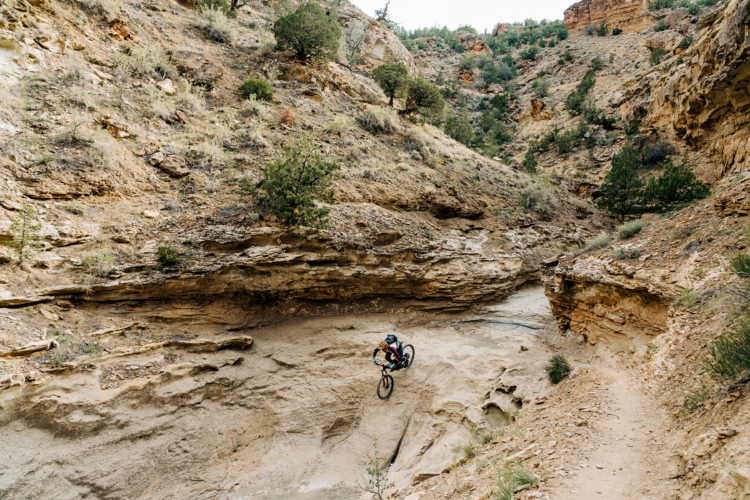
Of the 53-mile route I planned for my initial overnight, only the last 10 miles of it consisted of singletrack, with an optional dirt road bypass. After getting the hang of riding fully loaded on the 4×4 roads, we took a hard turn onto some winding, technical singletrack, and you know what? It was actually a heck of a lot of fun! Sure, I had to take some technical obstacles easier than I would have with 30 pounds less gear on my bike, but swooping through flowy berms and cranking through tight trees was just as fun and very achievable, even on a fully-loaded mountain bike.
However, I did find that while I had cranked up the pressure in my fat bike tires a couple of PSI to compensate for the heavy load, after transitioning from the 4×4 roads to the rocky singletrack, I was still hitting my rims, due to all the extra weight on the bike. Ensuring you have the proper tire pressure for the terrain you’re riding, the type of tires you’re using, and the amount of weight you’re hauling, can be a tricky number to arrive at.
11. The ground looks flat, until you lie down.

I’m not 100% sure why, but on this trip I had a really hard time finding a flat spot to sleep. I first pitched my tarp in a spot that looked flat, and it was anything but. I then found a flat spot where it turns out my tarp wouldn’t fit, and finally, I settled on pitching on a slight slope, but in a fashion that positioned my head uphill and my feet downhill, instead of lying across the slope as I was attempting to do the first time around.
From now on, I’m going to test each spot first by spreading my bag and lying down before I set up my system.
12. Follow ultralightweight backpacking principles: If you don’t need it, don’t bring it. If you don’t use it, don’t bring it next time.

Basically, pack only the gear you need, and nothing more. Smart packing is a skill that develops over time, and it was one of the things I wanted to focus on during my first bikepacking trip. Reading articles online–like this one–can help you determine what actually is and is not necessary, but over time you’ll develop a knack for it as well. For instance, I found that I packed way more food than I actually needed for just two days (not even two full days, mind you) in the backcountry.
13. It’s more fun with friends!

While I was fully prepared to embark on my first bikepacking excursion solo, recruiting Neil, Lindsay, and Philip to join me made the entire experience so much more fun! Since we were cruising pretty mellow 4×4 roads and generally weren’t in a hurry, it was so much fun to just roll through the beautiful aspens, riding two or three abreast, chatting and enjoying the idyllic fall weather. When it comes to drinking whiskey around the fire, you can’t beat hanging out with easy-going, like-minded folks!
14. Overall, bikepacking is easier than you’d think.

Despite choosing a distance that I was confident that I’d be able to complete, I found bikepacking to be much easier than I thought it would be initially. I expected to embark on a two-day sufferfest, full of screaming quads, an aching back, falling way off the back of the pack, and barely making it into Salida alive at the end of day two.
None of those fears materialized. While the ride wasn’t without challenge, I found it to be much more attainable than I had initially imagined. Basically, it’s just like riding a heavier version of your normal mountain bike, and all that comes with it.
Interestingly, I found bikepacking to be much, much easier on the body–and thus, much more enjoyable overall–than backpacking. This was a benefit that I didn’t anticipate. When you backpack, every single step you take, the weight of all of the gear that you’re carrying courses down through your body and into your legs, feet, and the ground. You must constantly support all that weight, which is extremely tiring and draining. With bikepacking, while you must still propel that weight up the mountainside, the frame of the bike and the wheels and tires are supporting all of that weight, leaving you fresher and more spry–see “get the weight off your back,” above.
And the other major bonus? You get to coast down the backside of all of the hills!
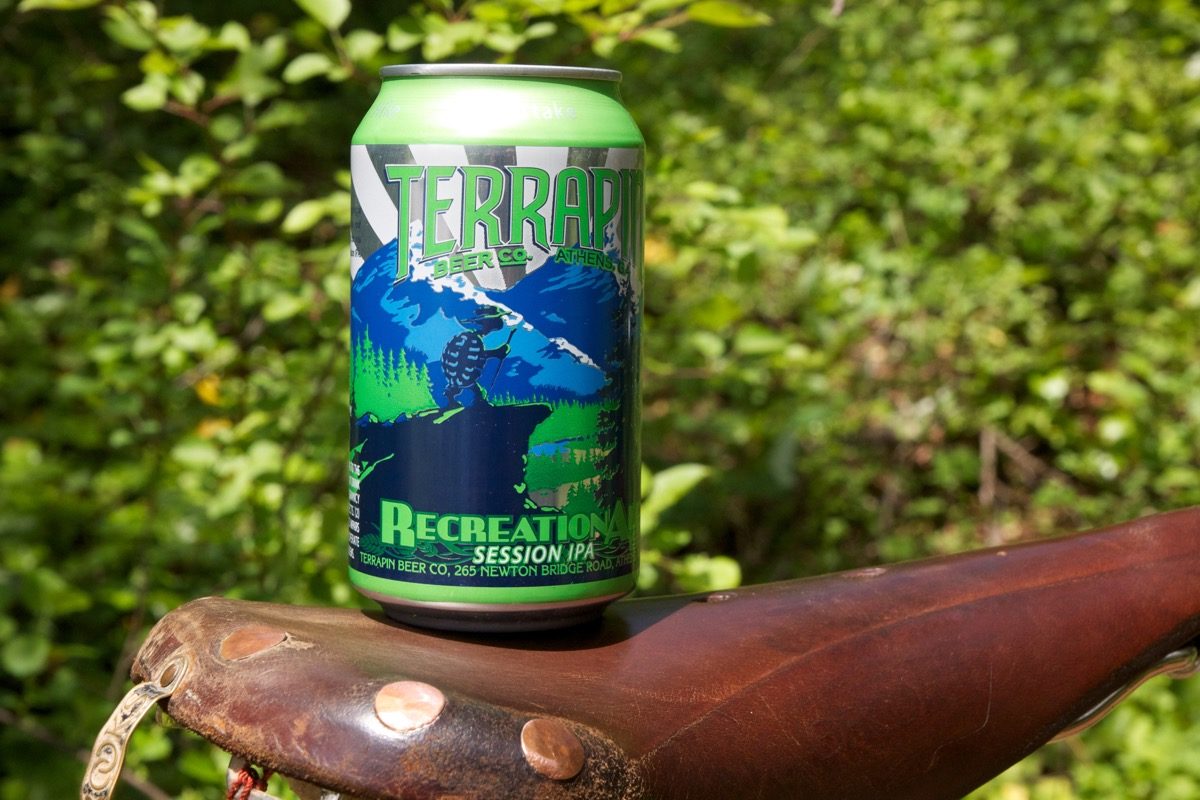
15. Beer is worth the weight.

Because, beer.
But just for day one… whiskey after that.
Your Turn: Have you bikepacked before? What valuable lessons do you have to add to this list?


13 Comments
Oct 10, 2016
And I know from personal experience that packing skills come as you go.
What your next trip would be?
Oct 11, 2016
Oct 11, 2016
Oct 12, 2016
Oct 12, 2016
Honey, cheese, butter, peanut butter are high-calorie and compact.
Oct 12, 2016
Oct 11, 2016
I'd like to get into bikepacking as well. I'm currently stuck on #3... Just need to bite the bullet and invest in some more bags!
Oct 12, 2016
And sometimes summer sausage - you can carry it for days without refrigeration and it's a good source of fat and protein.
You're absolutely right about diet being very personal thing and the only way to find out your favorite is to experiment. Good luck on future rides.
Oct 11, 2016
Oct 11, 2016
Oct 28, 2016
Oct 10, 2016
Oct 11, 2016
Going forward I would love to have a rig that's more optimized for bikepacking, but until then I'm not going to let it stop me!