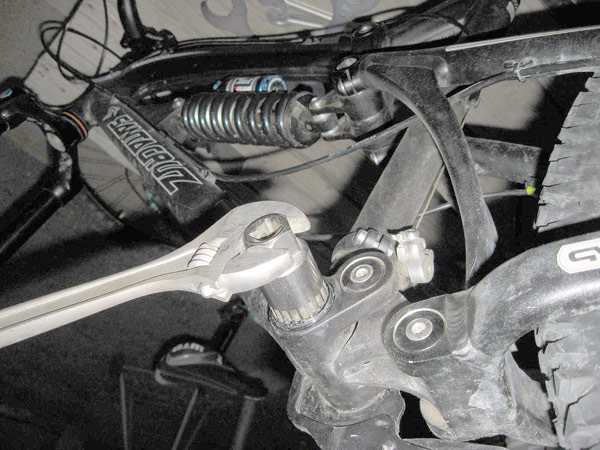
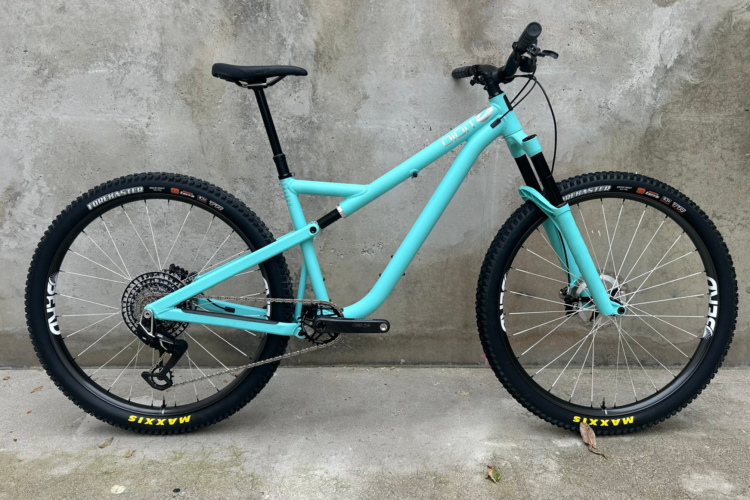
This article illustrates how to remove an internal-cup ISIS bottom-bracket. With the proper tools, this job will take at the very most 10 minutes, given a bike that has been well taken care of. I say again, this is a walk-through for removal of INTERNAL BEARING BOTTOM BRACKETS.
Not illustrated is the removal of the chain. Though not completely necessary, I like to remove it as it would otherwise pull on the front derailleur cage.
The first step is to obtain the proper tools. A good beginning toolkit is one similar to this:
The three specific tools needed for this job are a hex-key,
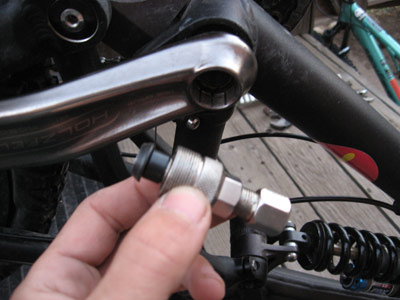
a crank-puller,
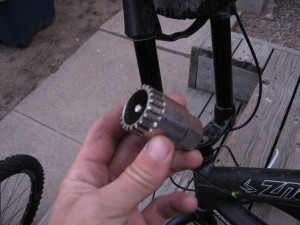
and a bottom-bracket cup remover.
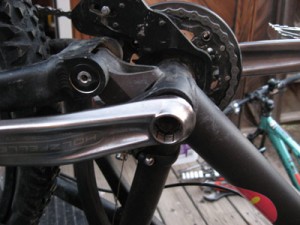
Now, remove the crank end caps with your hex-key. This will expose the threads for installing the crankarm removal tool.
Next, install the crankarm removal tool, and use a 15mm wrench or socket to tighten the puller. This will pull the crankarm off the bottom-bracket splines.
Good, your crankarms are removed from the bottom-bracket spindle. Again, this walk-through is only good for internal-cup bottom-brackets!
NOTE: This bike is equipped with a chainguide. For our purposes here, I’ll skip the removal and installation of this part.
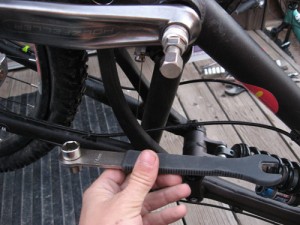
Install the bottom-bracket cup removal tool into the splined interface.
NOTE: On the right side of the bracket shell, the threads will be reversed, so “lefty-loosey, righty-tighty” will not work here. This is to keep the bearing cups from walking out of the bottom-bracket shell under power! Keep that in mind, so if you’re trying to loosen up a bearing cup and it won’t budge, try turning it the other way. There should not be that much torque put on any of these fasteners.
There! You’re done!
When reinstalling your bottom-bracket, make sure you use a quality lock-tite compound on all the threads of any component you removed in this process. Reinstallation is the exact opposite of what is written here.
NOTE! When reinstalling the bottom-bracket cups, do not over-tighten! Pay attention to the instructions that came with your new bottom-bracket, or look online for the proper torque specs. Overtightening can cause the bearings to bind, which will lead to galling and catastrophic failure.


