

There comes a time when due to unforeseen issues, you need to change a hydraulic brake line… or perhaps you just want to change up the brand or color of the hose. Unlike changing a mechanical brake or shifter cable housing, you do need some specialized tools to do this conversion correctly. There isn’t just one tool brand that has a complete solution for you. Over the years I have compiled my own master kit that covers just about every brand out there. Basically it’s a mix of Park, Shimano, and Avid tools that all can be purchased separately. Extra syringes and clear tubing can be purchased at any medical supply shop.
Preparation
Tools needed to handle brake line changes can be broken down into three categories:
Cutting:
- Park Tool Cutter #CN-10
- Avid handheld hose cutter (also sold under the Jagwire brand name)
- Utility knife
Hand tools required for hose insertion:
- SRAM or Jagwire needle insertion tool
- Park Tool flare nut wrench #MWF-1
- Park Tool pick #AWS-3 (2, 2.5, 3mm)
- Park Tool #TWS-3 (torx 10, 25, 30)
- Park Tool piston press #PP-1.2
Bleeding:
- Avid Pro bleeding kit (one of the best for DOT fluid)
- Shimano M-575 bleed kit
- Shimano TL-BR21 brake adaptor
- Shimano brake fluid (or DOT)
- Extra syringes for bleeding along with clear 1/8th vinyl tube
At home, I personally have all these items at my disposal along with spare needles and crushed olives that I have accumulated over time. Usually with new brakes you get extra ends to shorten the hose. Almost all brake kits also include pad spacers and bleeding blocks (do not toss them)
Changing and bleeding a hose should take about 30 minutes of your time. Doing this job with a shop stand is a good idea. I like using the Park Tool PRS-25 or the Feedback Pro Elite stands: both are sturdy, can hold a bike in any position, and can quickly engage and disengage the bike.
Changing a Hose

The first thing you need to do is retract the brake pads. To do this you need to remove the wheel; then using a pad piston, press carefully to retract each pad and piston. Newer Shimano calipers (XTR, XT, Saint, and Zee) use ceramic pistons, so be extra careful. Do your best to make them retract as straight as they can back into the caliper. If they catch an edge, they will crack.
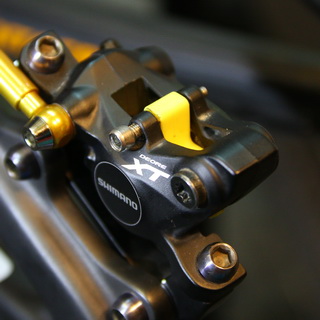
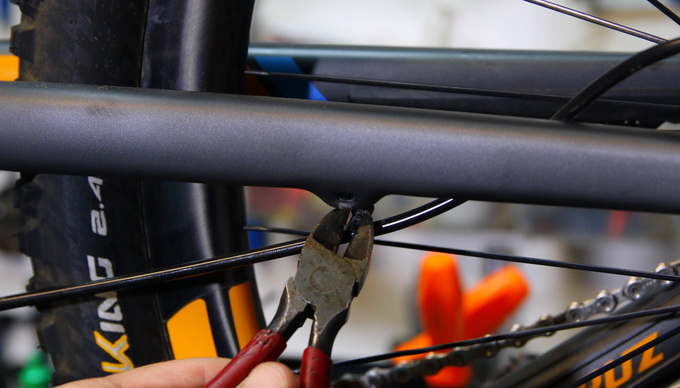
Once the pads are fully retracted, remove the pads and in their place, install the bleed block. Now you can safely begin to remove your old brake line. It will be necessary to cut all the cable ties that hold the line in place.
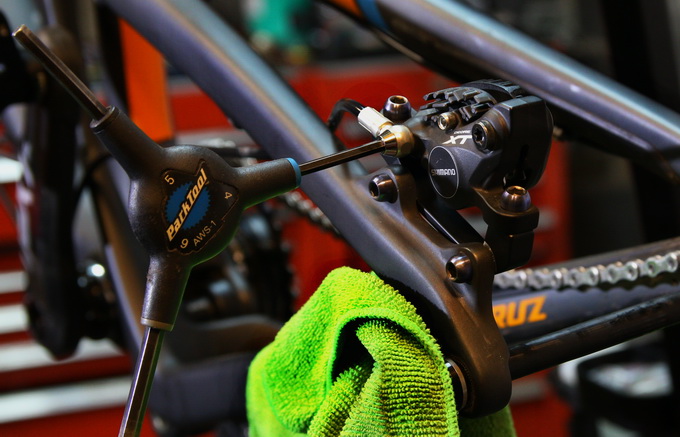
At this point you will need to remove the line from the caliper and the brake lever. Calipers usually have a hex, socket, or hex key to remove the line from the banjo-like fitting. If the line goes directly into the caliper you should use a flare nut tool (see photos below).
You will need to catch all the brake fluid that bleeds out of the line once the line comes off the caliper. A bag or a small container will do the trick.

Continue removing the brake line from the caliper, taking great care to not damage the flare nut that attaches the line to the caliper. The same 8mm (most common) flare nut tool is your best choice for removing the hose from the brake lever.


Once your old brake line is removed it’s time to install the new one. You could line up the old hose to the new one and cut to length. Or you could simply install the new hose to the caliper and run it up to the lever and then cut to length. Let’s assume you’re running it from the caliper up to the lever.
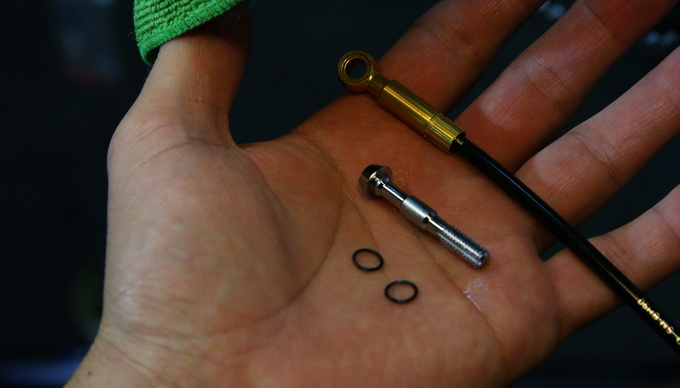
Install the brake hose on the caliper and ensure any small washers or o-rings are correctly in place. Do not tighten anything at this moment.

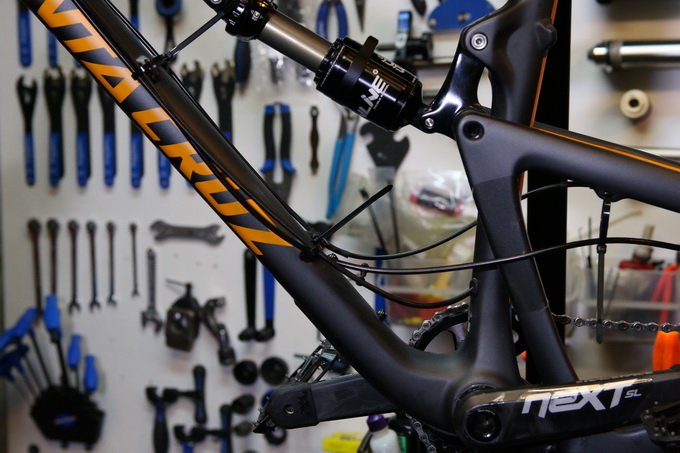
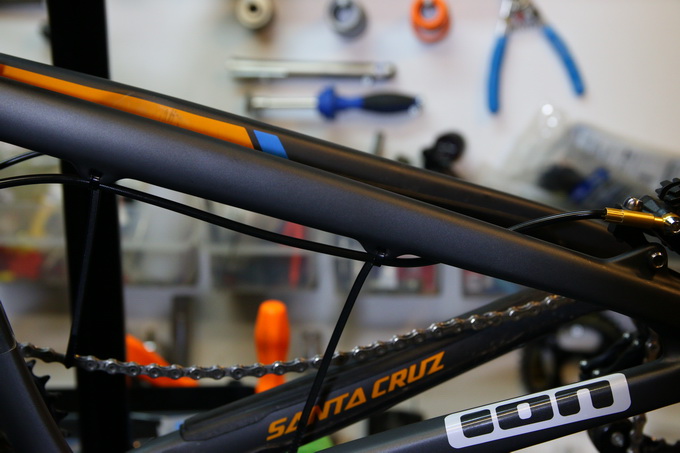
Carefully run the hose along the same path on or through the frame, ensuring that you leave enough extra hose for the suspension movement. Do not tighten the cable ties down, but rather leave them with enough space to slide the hose around a bit.
Run the hose up to the handlebar and brake lever. At this point, if you’re changing a rear brake, you should turn the bar to its extremes and size up the hose so that there is enough hose to move, but not enough to pull on it (a slight space from the hose to the frame is just right).


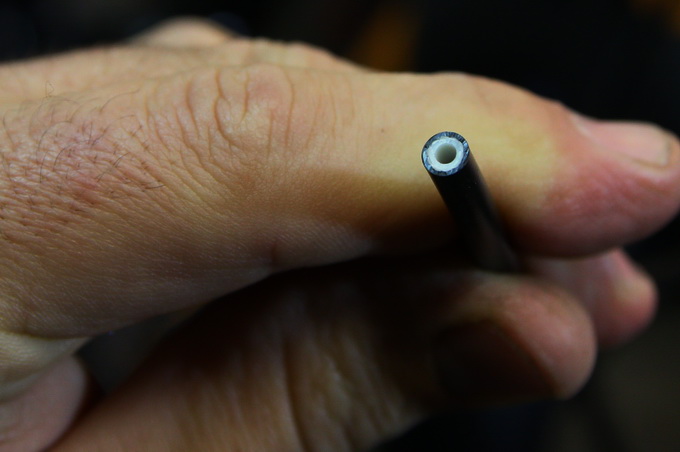
With the hose sized up, cut the hose as cleanly as you can. The Avid cutter is perfect for this task, or a utility knife will do. Otherwise, a quality cable cutter does the trick.


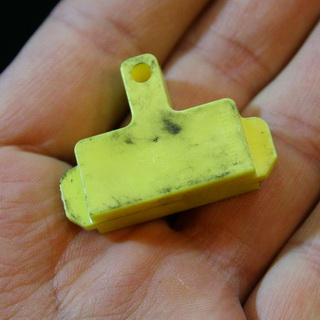
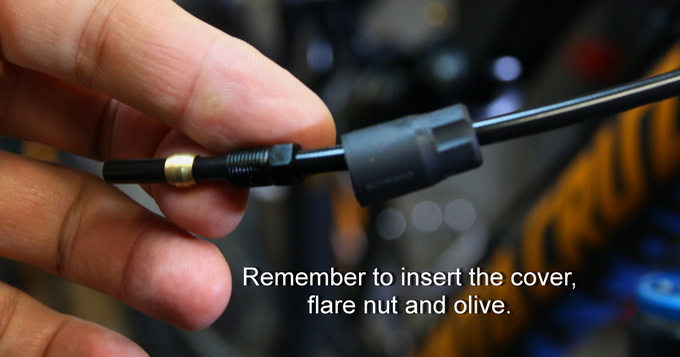
Insert a straight pic press in the hose end a bit to ensure the cut end is perfectly round and slightly flared open. Again, Avid/Jagwire has a pin press that works great at installing the hose end. But before you do so, ensure that you feed the protective cover, the flare nut, and the olive on the hose first.
Using the pin press, install the pin until it is flush with the hose. If you don’t have that tool you could manually press in the pin (it takes a bit of effort but you can do it). Now carefully feed the new hose end into the caliper, followed by the olive. You have to ensure you have the hose and olive in as far as they can go and as straight as possible before threading in the flare nut.

Carefully thread in the flare nut by hand just a few threads to confirm you haven’t cross threaded the nut. Then tighten in the flare nut using the flare nut wrench.


Do not attempt to use a regular open end wrench. You will damage the delicate flare nut. Typically there should only be two to three threads exposed on the flare nut when done correctly.

To confirm your work you could remove the flare nut and pull the hose out again. The olive will have a compressed look to it and will not move on the hose. If you did that, you can re-install the hose.
Now that the hose is complete you can tighten down the cable ties, moving from back to front (in the case of a rear brake). Ensure there is slack for the suspension, and that the hose will not tangle on moving parts (such as cranks and wheels). Trim all the cable ties
Bleeding and Final Steps

Using the new Shimano XT brake as an example, it requires a few specialized pieces of equipment to get the job done. Surprisingly, the bleed kit and adaptor are cheap and only cost about $6 each. With any brake, it is imperative to use only the approved brake fluid. You cannot, for example, use DOT fluid in a mineral brake, and vice versa. Furthermore you cannot use DOT 5 in brakes that require DOT 4 or 5.1. Stick with what the manufacturer recommends. If you don’t, brake failure will result!

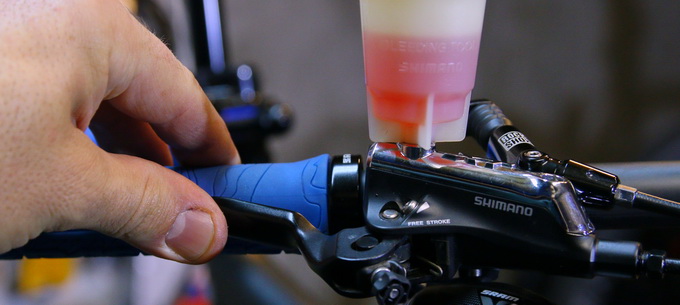
To properly bleed your brakes, set the bike up in the stand so that the brake lever is higher than the brake caliper and that the caliper is parallel to the ground. You will need to loosen the brake lever and temporarily set it parallel to the ground. The key thing here is that we want the bleed port to be the highest point in the lever.

Remove the bleed port cover and install the M-575, filling it 1/3 of the way up (in Shimano’s case). If you’re working on a SRAM or Formula product, you would have to prepare one syringe partially filled with brake fluid.
(Note: check out SRAM’s video for proper instruction on degassing brake fluid, here:
https://www.youtube.com/watch?v=6mg6NbIjmOM )
On the caliper side, remove the dust cover and bleed screw and install the TL-BR21 adapter and partially-filled syringe (Shimano), or appropriate bleed adapter (SRAM / Formula / Hayes ) and syringe.


While pumping the lever a few times, tap the brake hose along its length to dislodge any bubbles that may stick to the inside of the brake lever. You should see bubbles appear in the caliper’s side hose as fluid moves into the caliper’s syringe. For the first couple of strokes I found that making the fluid flow back and forth from the brake lever to the caliper encourages bubbles to dislodge and migrate to either end (caliper or lever) depending on flow.
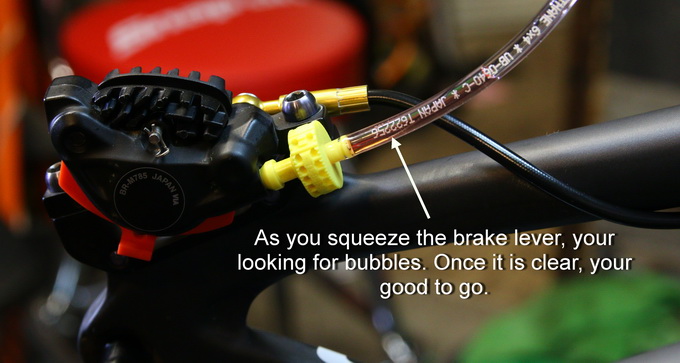
In the case of Shimano, once most of the bubbles stop flowing out of the caliper, squeeze the lower syringe so that almost all the fluid travels up to the reservoir. At this point, tighten the TL-BR21 down and pump the brake lever slowly (for Shimano). When squeezing the lever you should feel some resistance. There should be no bubble in the fluid.

Once the hose shows no signs of bubbles, remove the syringe off the caliper and place it in the bleeder screw. Check the operation of the brake lever. It should feel solid. A spongy lever means that there is still some trapped air in the system, and repeating the bleed procedure is necessary.

Remove the pad spacer, wipe off any signs of brake fluid, and replace the pads. On the lever end, remove the M-575 tool (Shimano) or syringe and adapter. Replace the bleed screw and torque it down. Again, wipe off any brake fluid residue.


Lastly, reposition your brake lever to its original position. Double check the operation of your brake and check for leaks. A well-bled brake should have a firm feel to it once it contacts the pads. A few strokes may be needed to have the pads contact the rotor, and depending on the model of the brake, adjustment of the contact point may be required.
Due to the multitude of brakes out there, specific procedures may be required. Referencing the manufacturer instructions is a good idea.


4 Comments
Dec 21, 2014
But the photo showing the "flair nut tool" (crow's foot) has it placed on the wrench incorrectly, if a torque wrench is used - which is the proper tool and far more accurate than counting threads. It should be at 90 degrees to a torque wrench. Otherwise, it'll be over torquing the nut.
Dec 21, 2014
The very last sentence on the article I do reference that you should double check manufactures best practices..For example Shimano does not make reference to using Sram's crowfoot..
Dec 21, 2014
Peace.
Dec 18, 2014