When I first started testing bikepacking bags over a decade ago, I found it impossible to run a seat bag on a full-suspension mountain bike. I’m 5’7″ tall, and there simply wasn’t enough space to run a bag without it rubbing on the rear tire.
Obviously, I wasn’t the only person to suffer from that issue, and bikepacking companies have been hard at work innovating over the past 10+ years. Modern rack systems are one solution to the problem, but for those who don’t want or need to carry as much gear and desire a lighter weight system, one company has created a bike bag that’s fully dropper post-compatible and works for even the smallest riders.
That innovative product is the Rogue Panda Ripsey Seat Bag. Now in its second generation, this seat bag cradle, with its pivoting design and optional skid plate, is unique in the marketplace. “That might be my favorite development story of any of our products,” said Nick Smolinske, owner and founder of Rogue Panda, of the Ripsey. “It kind of took a village.”
The idea came from one of Smolinske’s friends, Liz Sampey, who has raced the Arizona Trail multiple times. At 5′ 3″, Sampey rides size-small full suspension frames. “She was like, I would rather have as much dropper travel as possible, and then only get like an inch and a half of suspension, than the reverse. I’d rather have a seat bag that is very compact and has some sort of skid plate where my tire can hit it, but I still get some drop, than have the full feeling of the suspension. The dropper post is more important than the rear suspension,” Smolinske related.
It took years of development and iteration to arrive at the current version of the Ripsey, but now, this seat bag is dialed.
Rogue Panda Ripsey Seat Bag V2 key specs
- Removable 8-liter dry bag
- Machined seatpost clamp
- Hardened composite cradle with hinge
- Optional skid plate
- Weight: 566g, including skid plate (measured)
- Price: starting at $220
- Buy from Rogue Panda
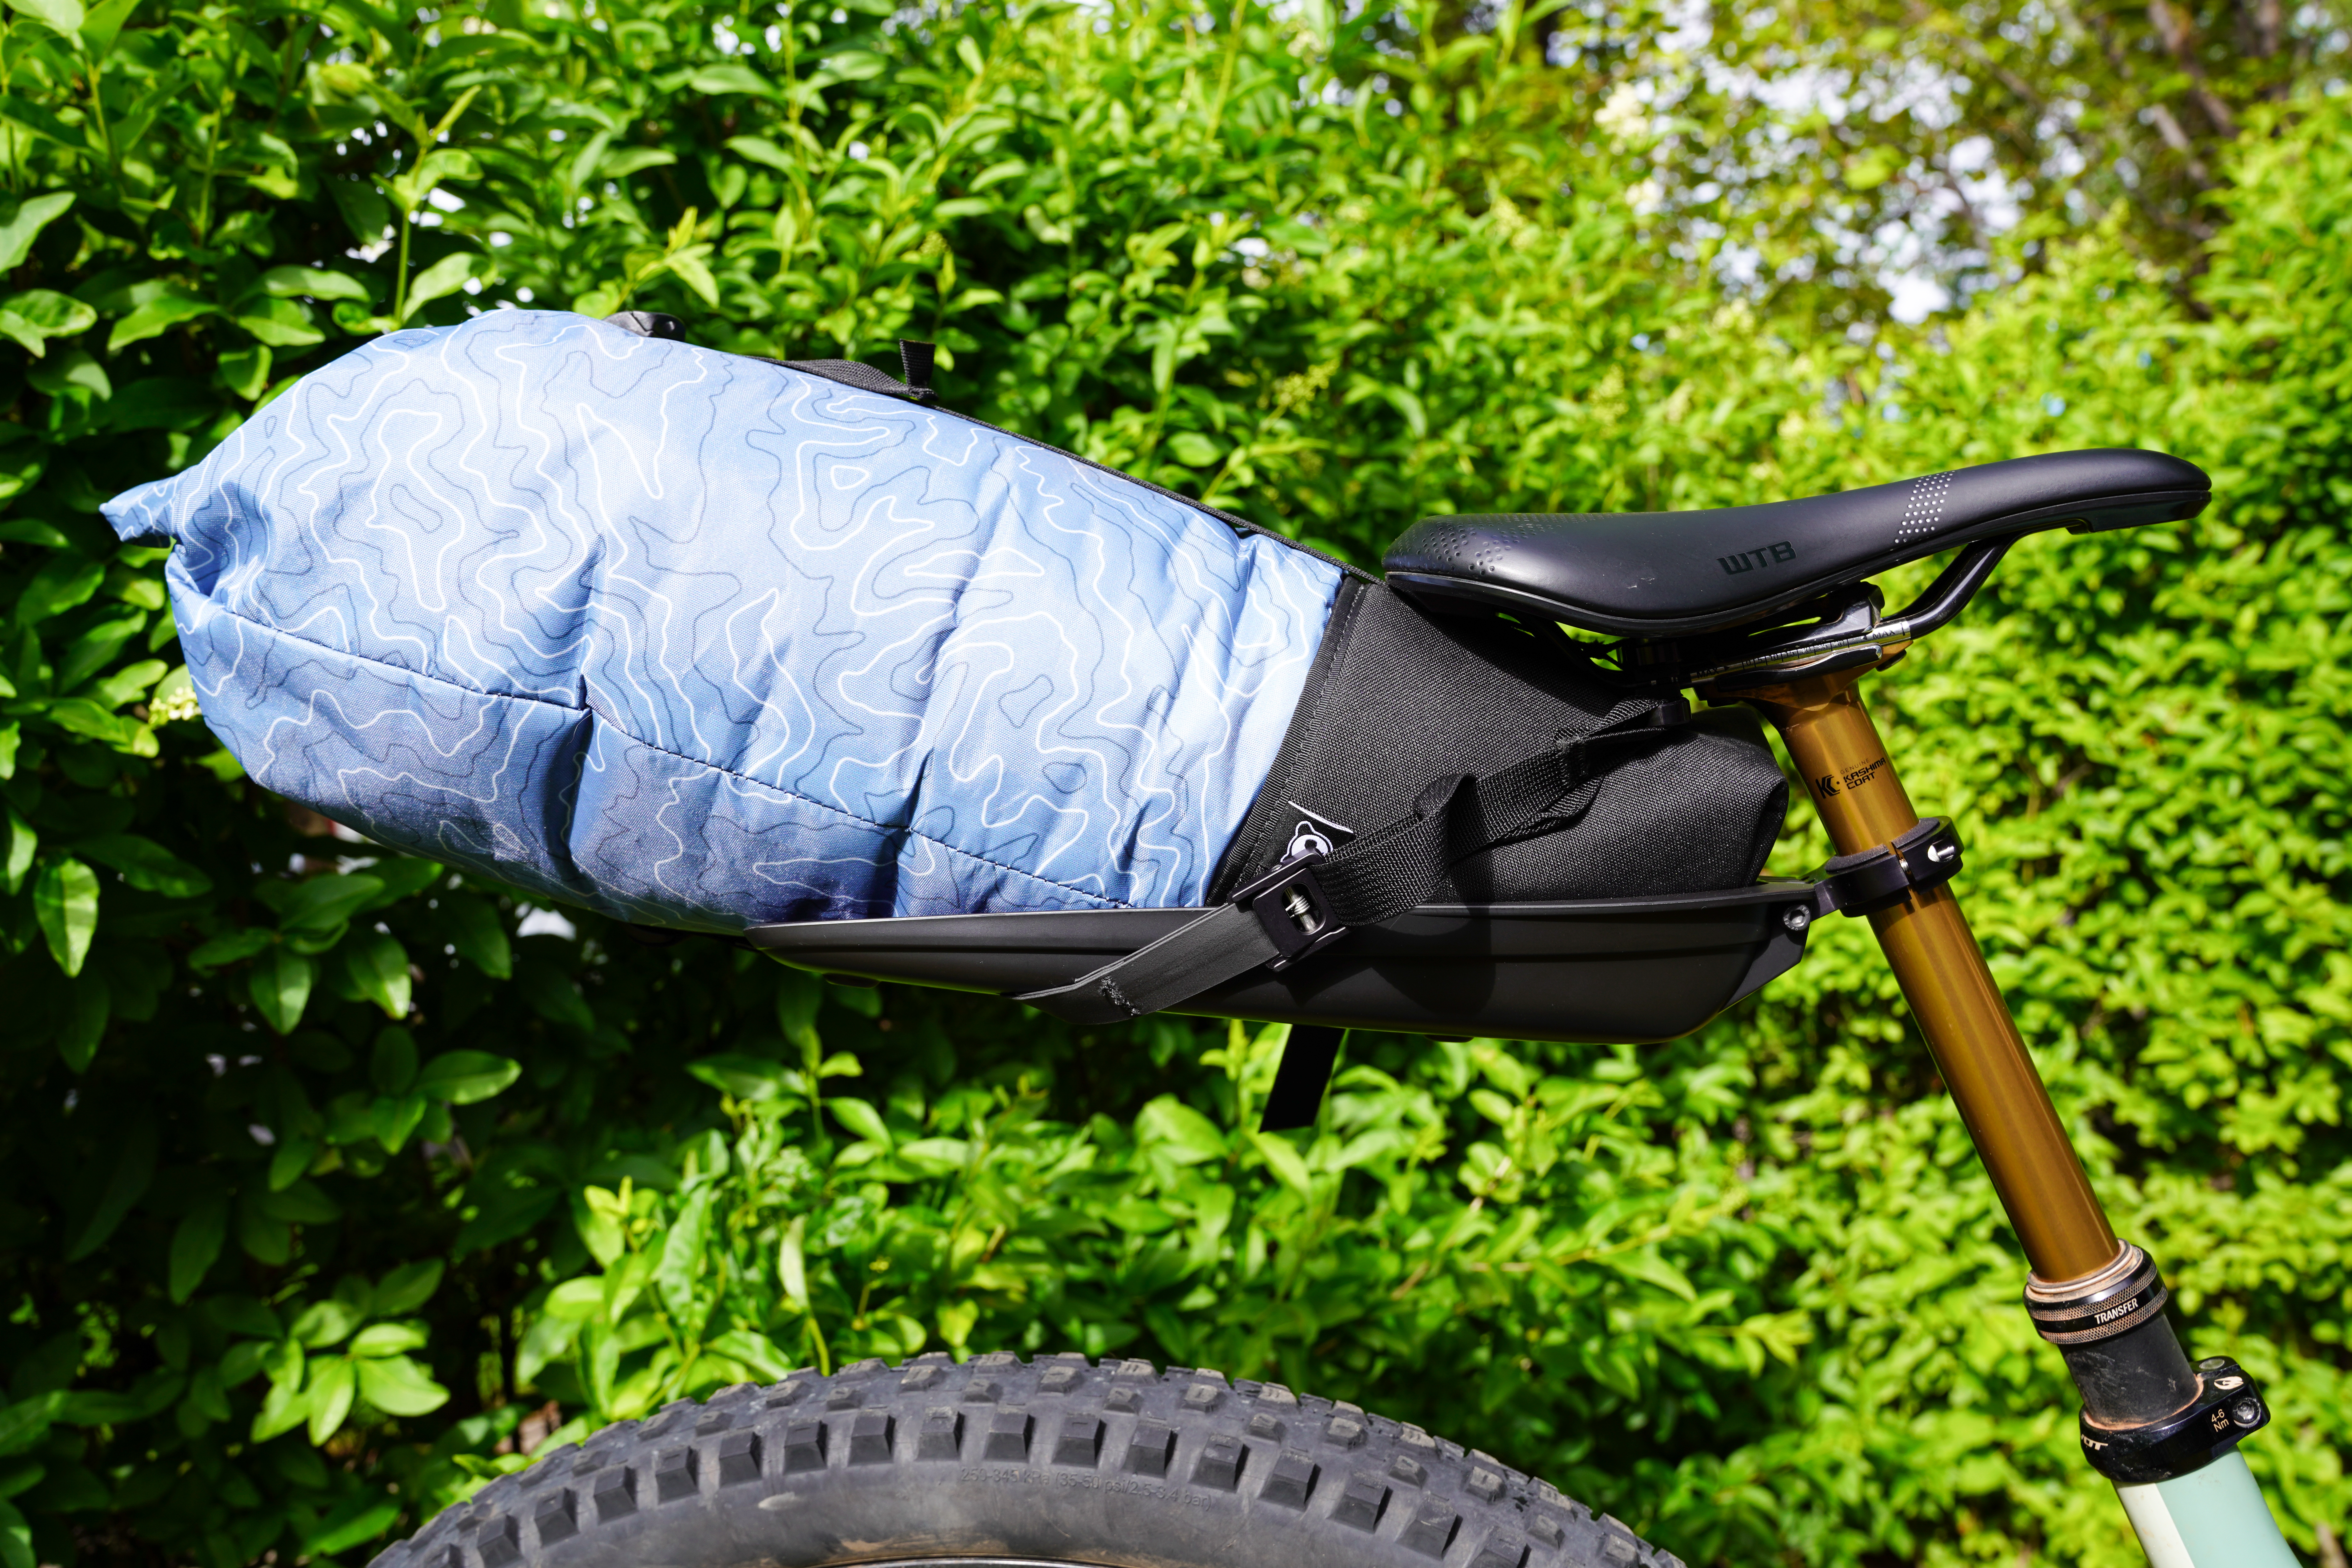
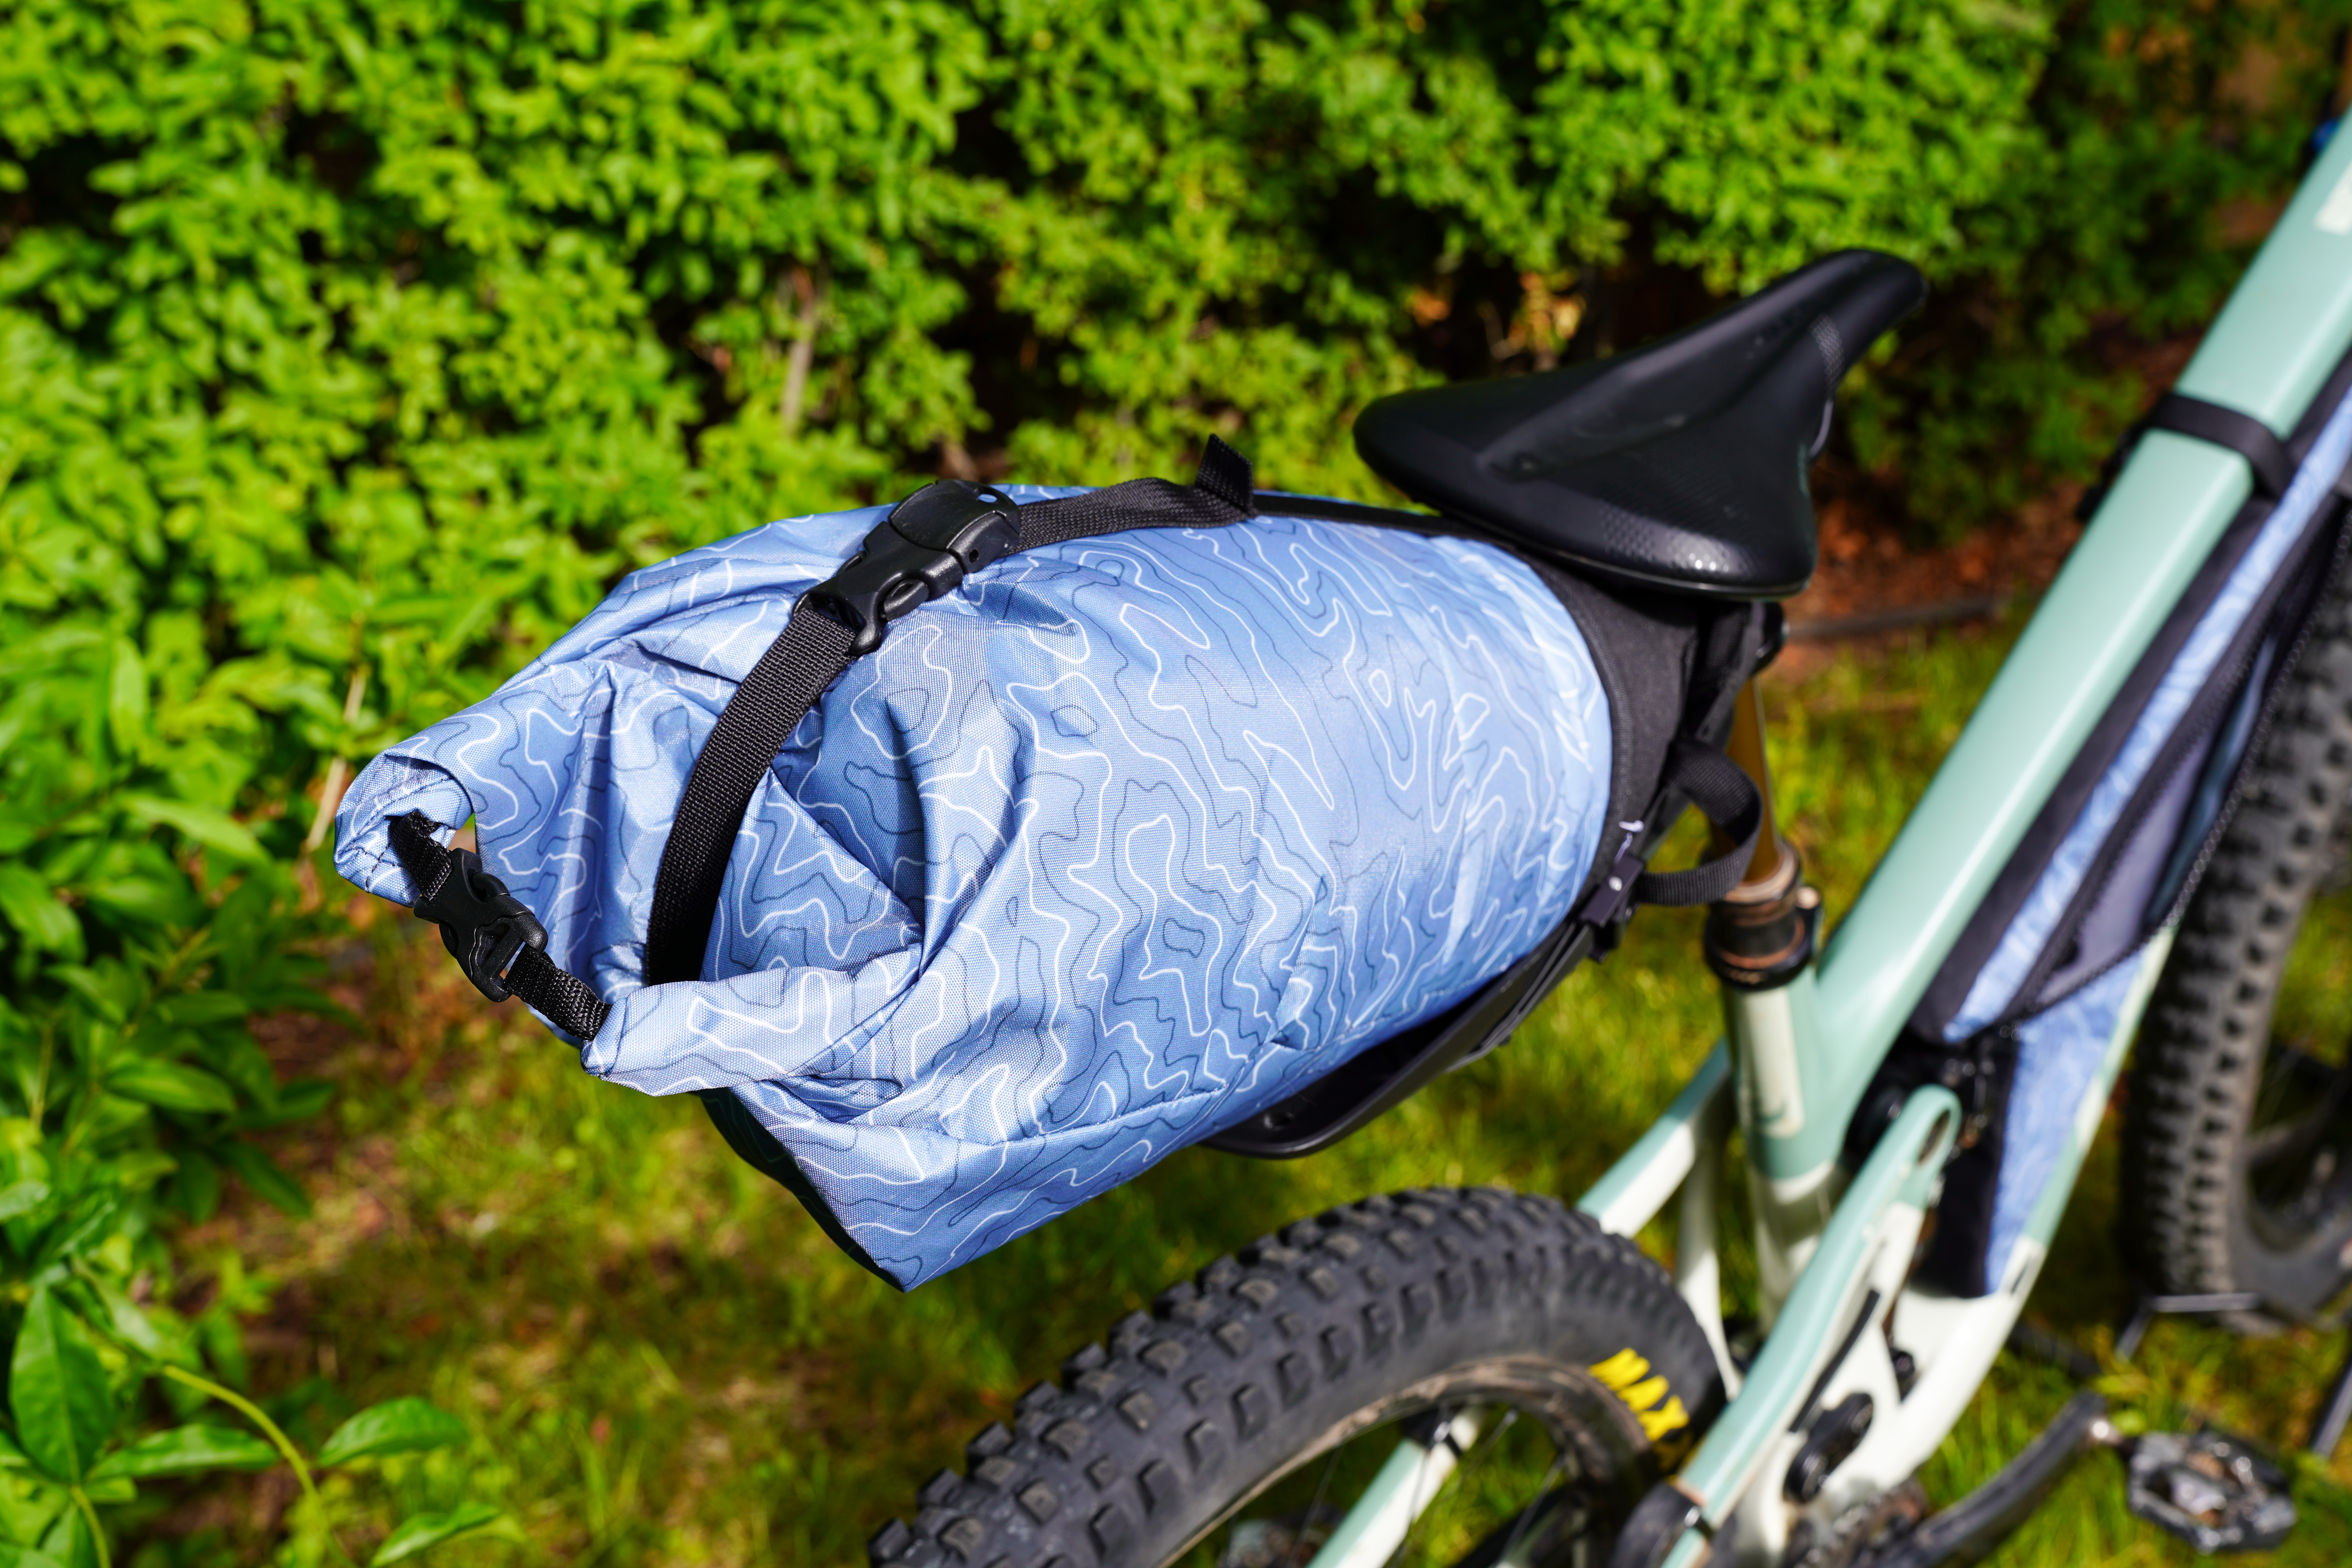
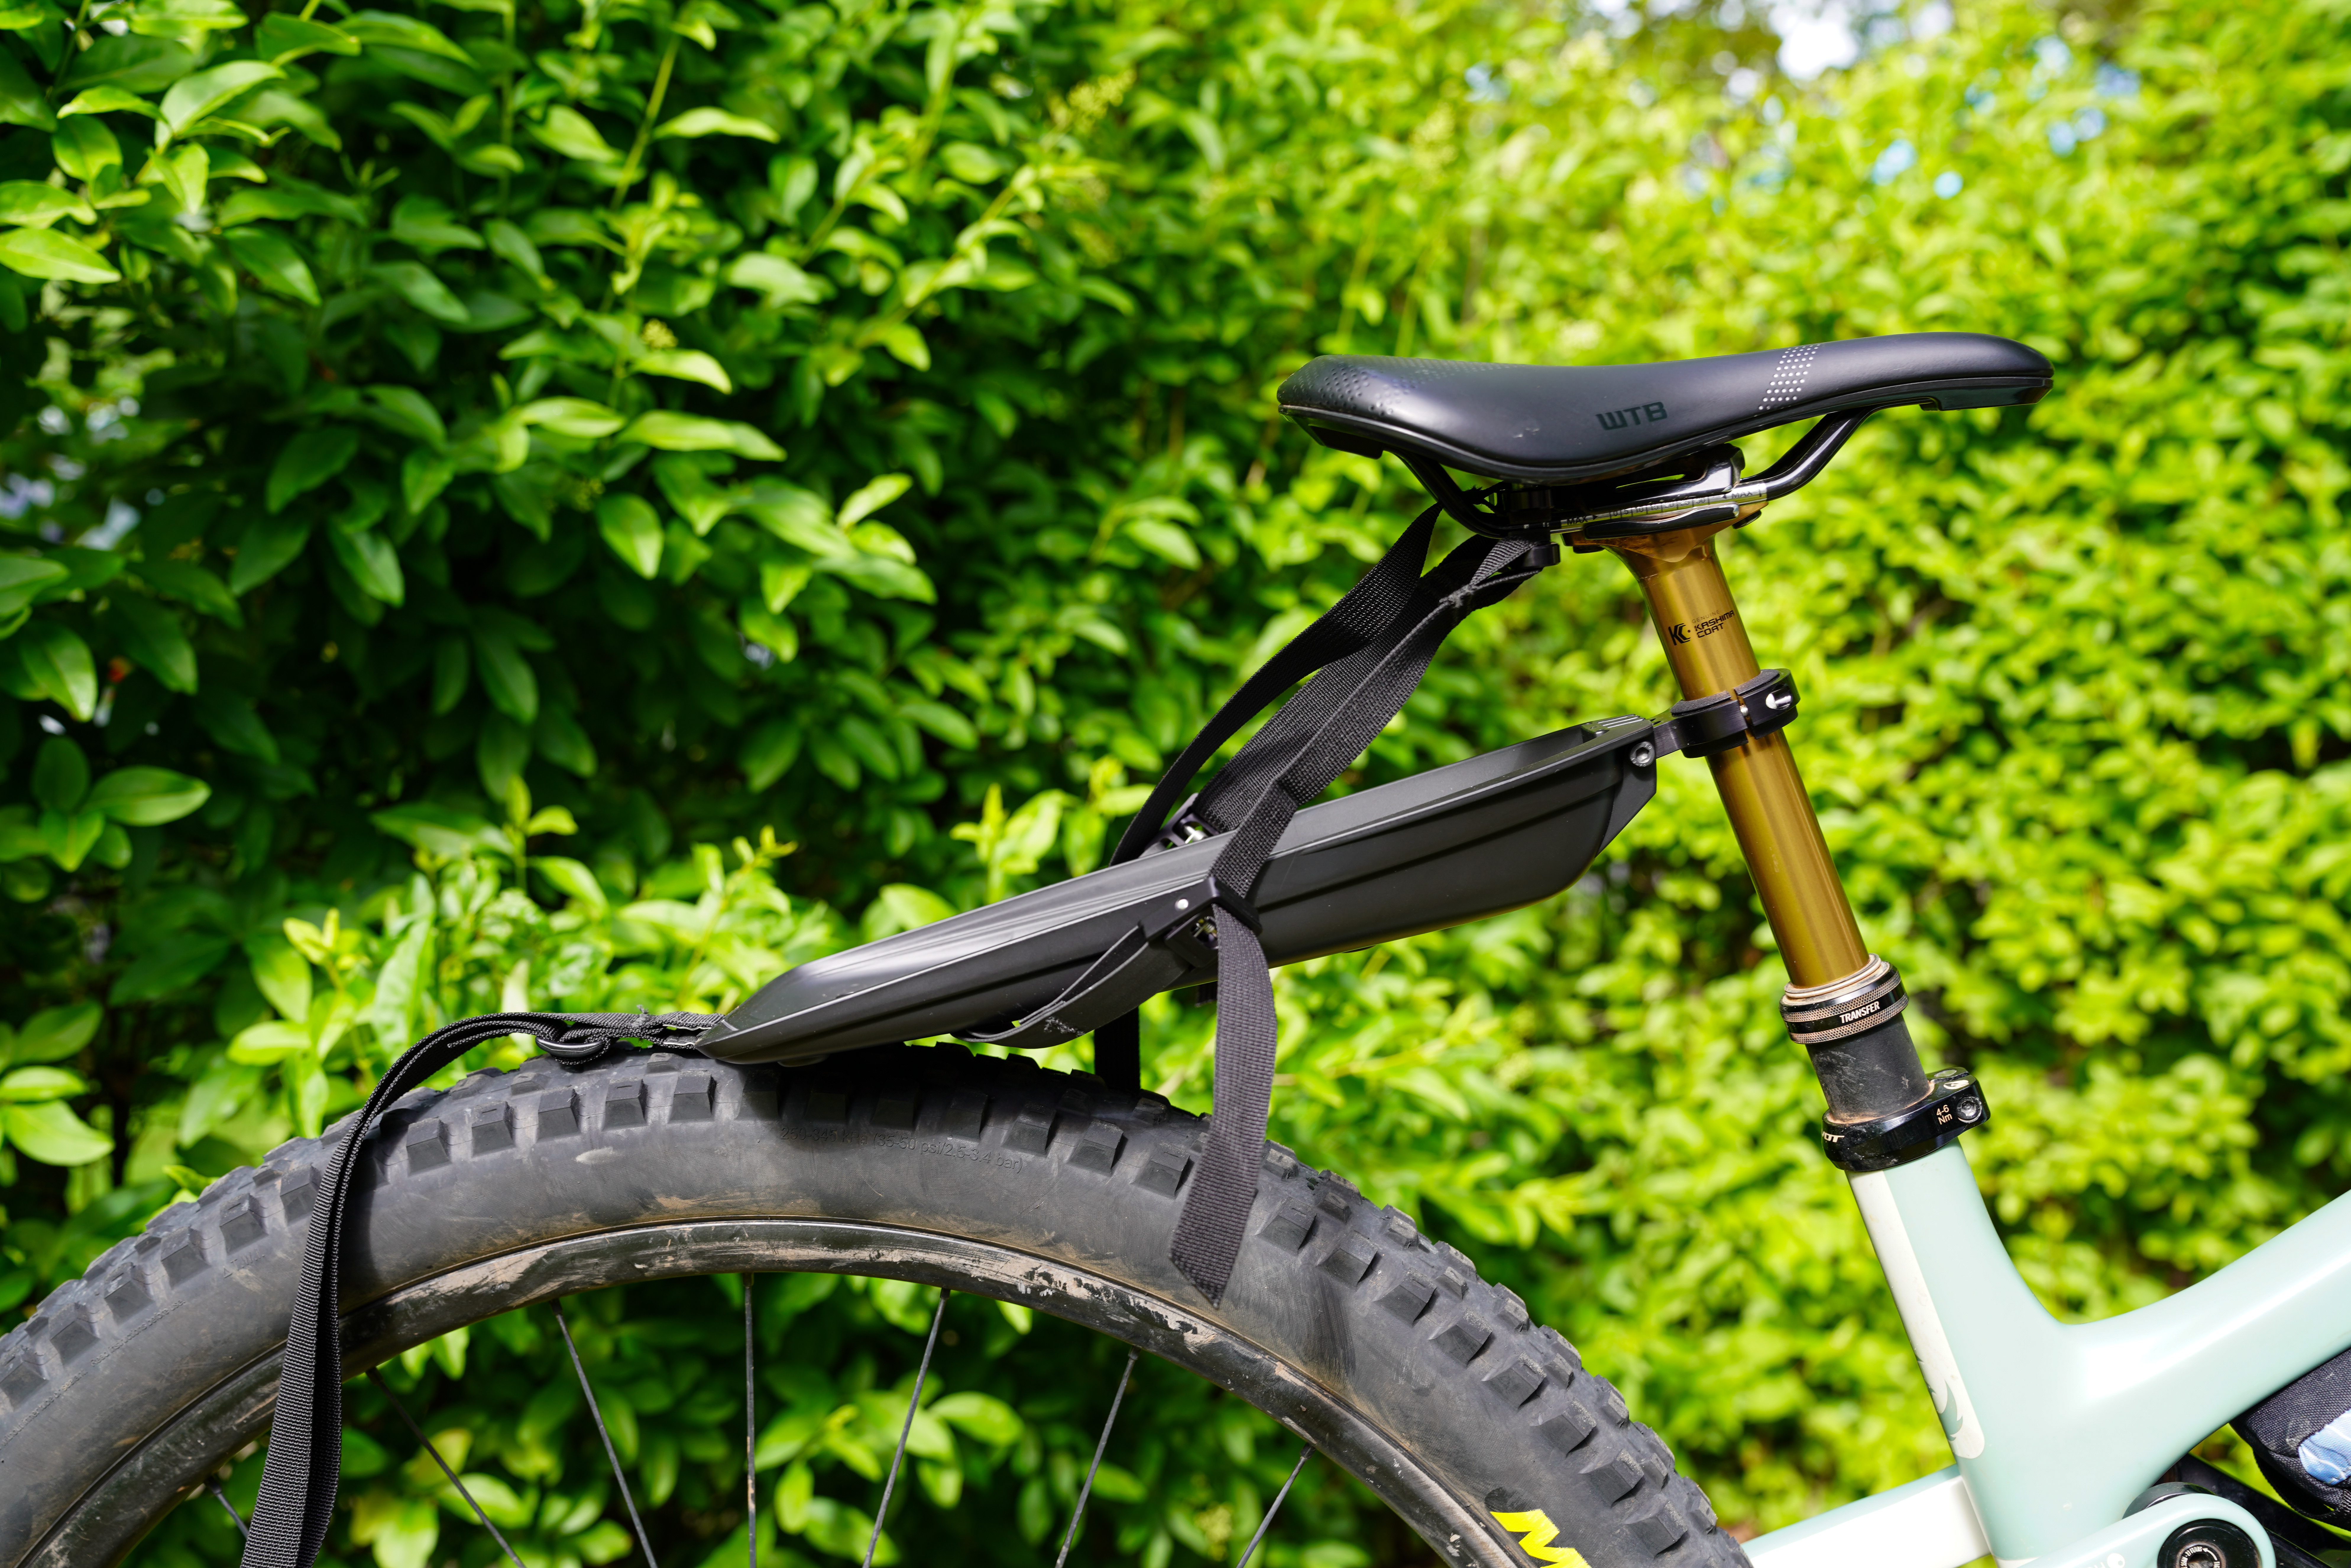
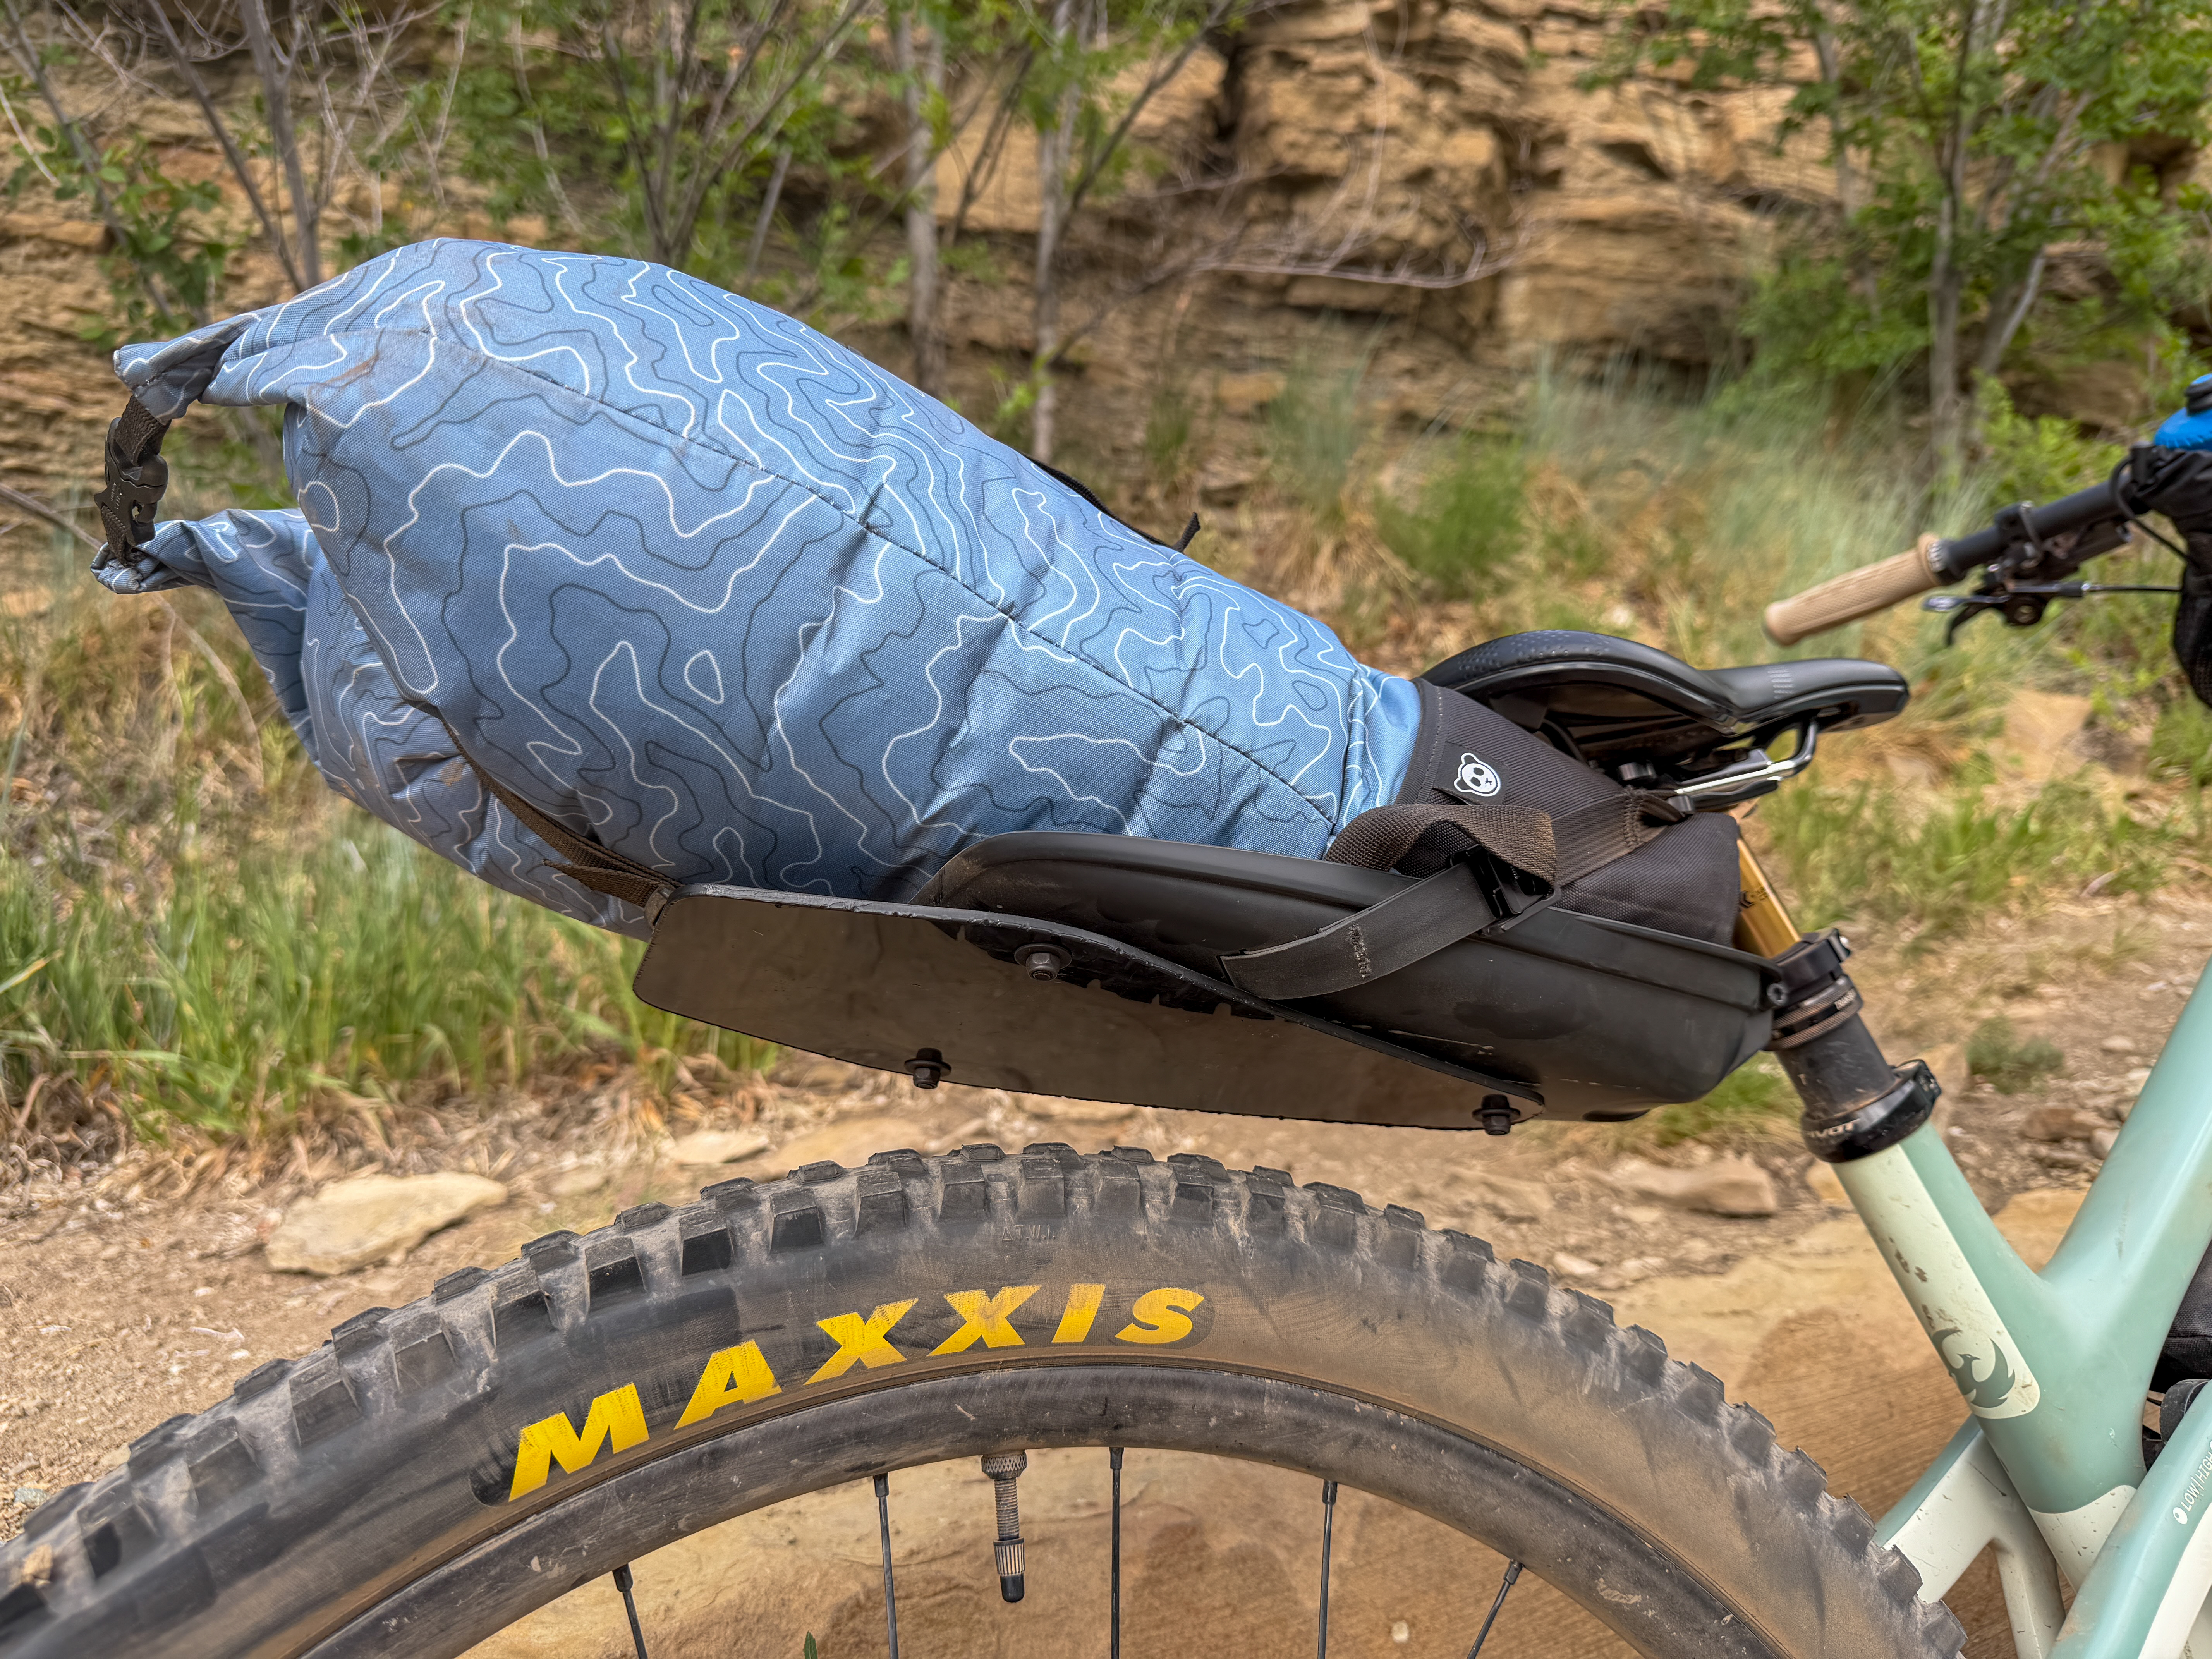
The Ripsey is comprised of two distinct components: the 8L dry bag and the plastic cradle. The dry bag features a classic roll-top closure and is made of EPL150 fabric that is seam-taped to make it waterproof. The tip of the dry bag is reinforced to protect against wear from the saddle.
The dry bag rests snugly in the cradle and is then strapped into place. When you get to camp, the dry bag can quickly be removed from the bike without detaching the cradle.
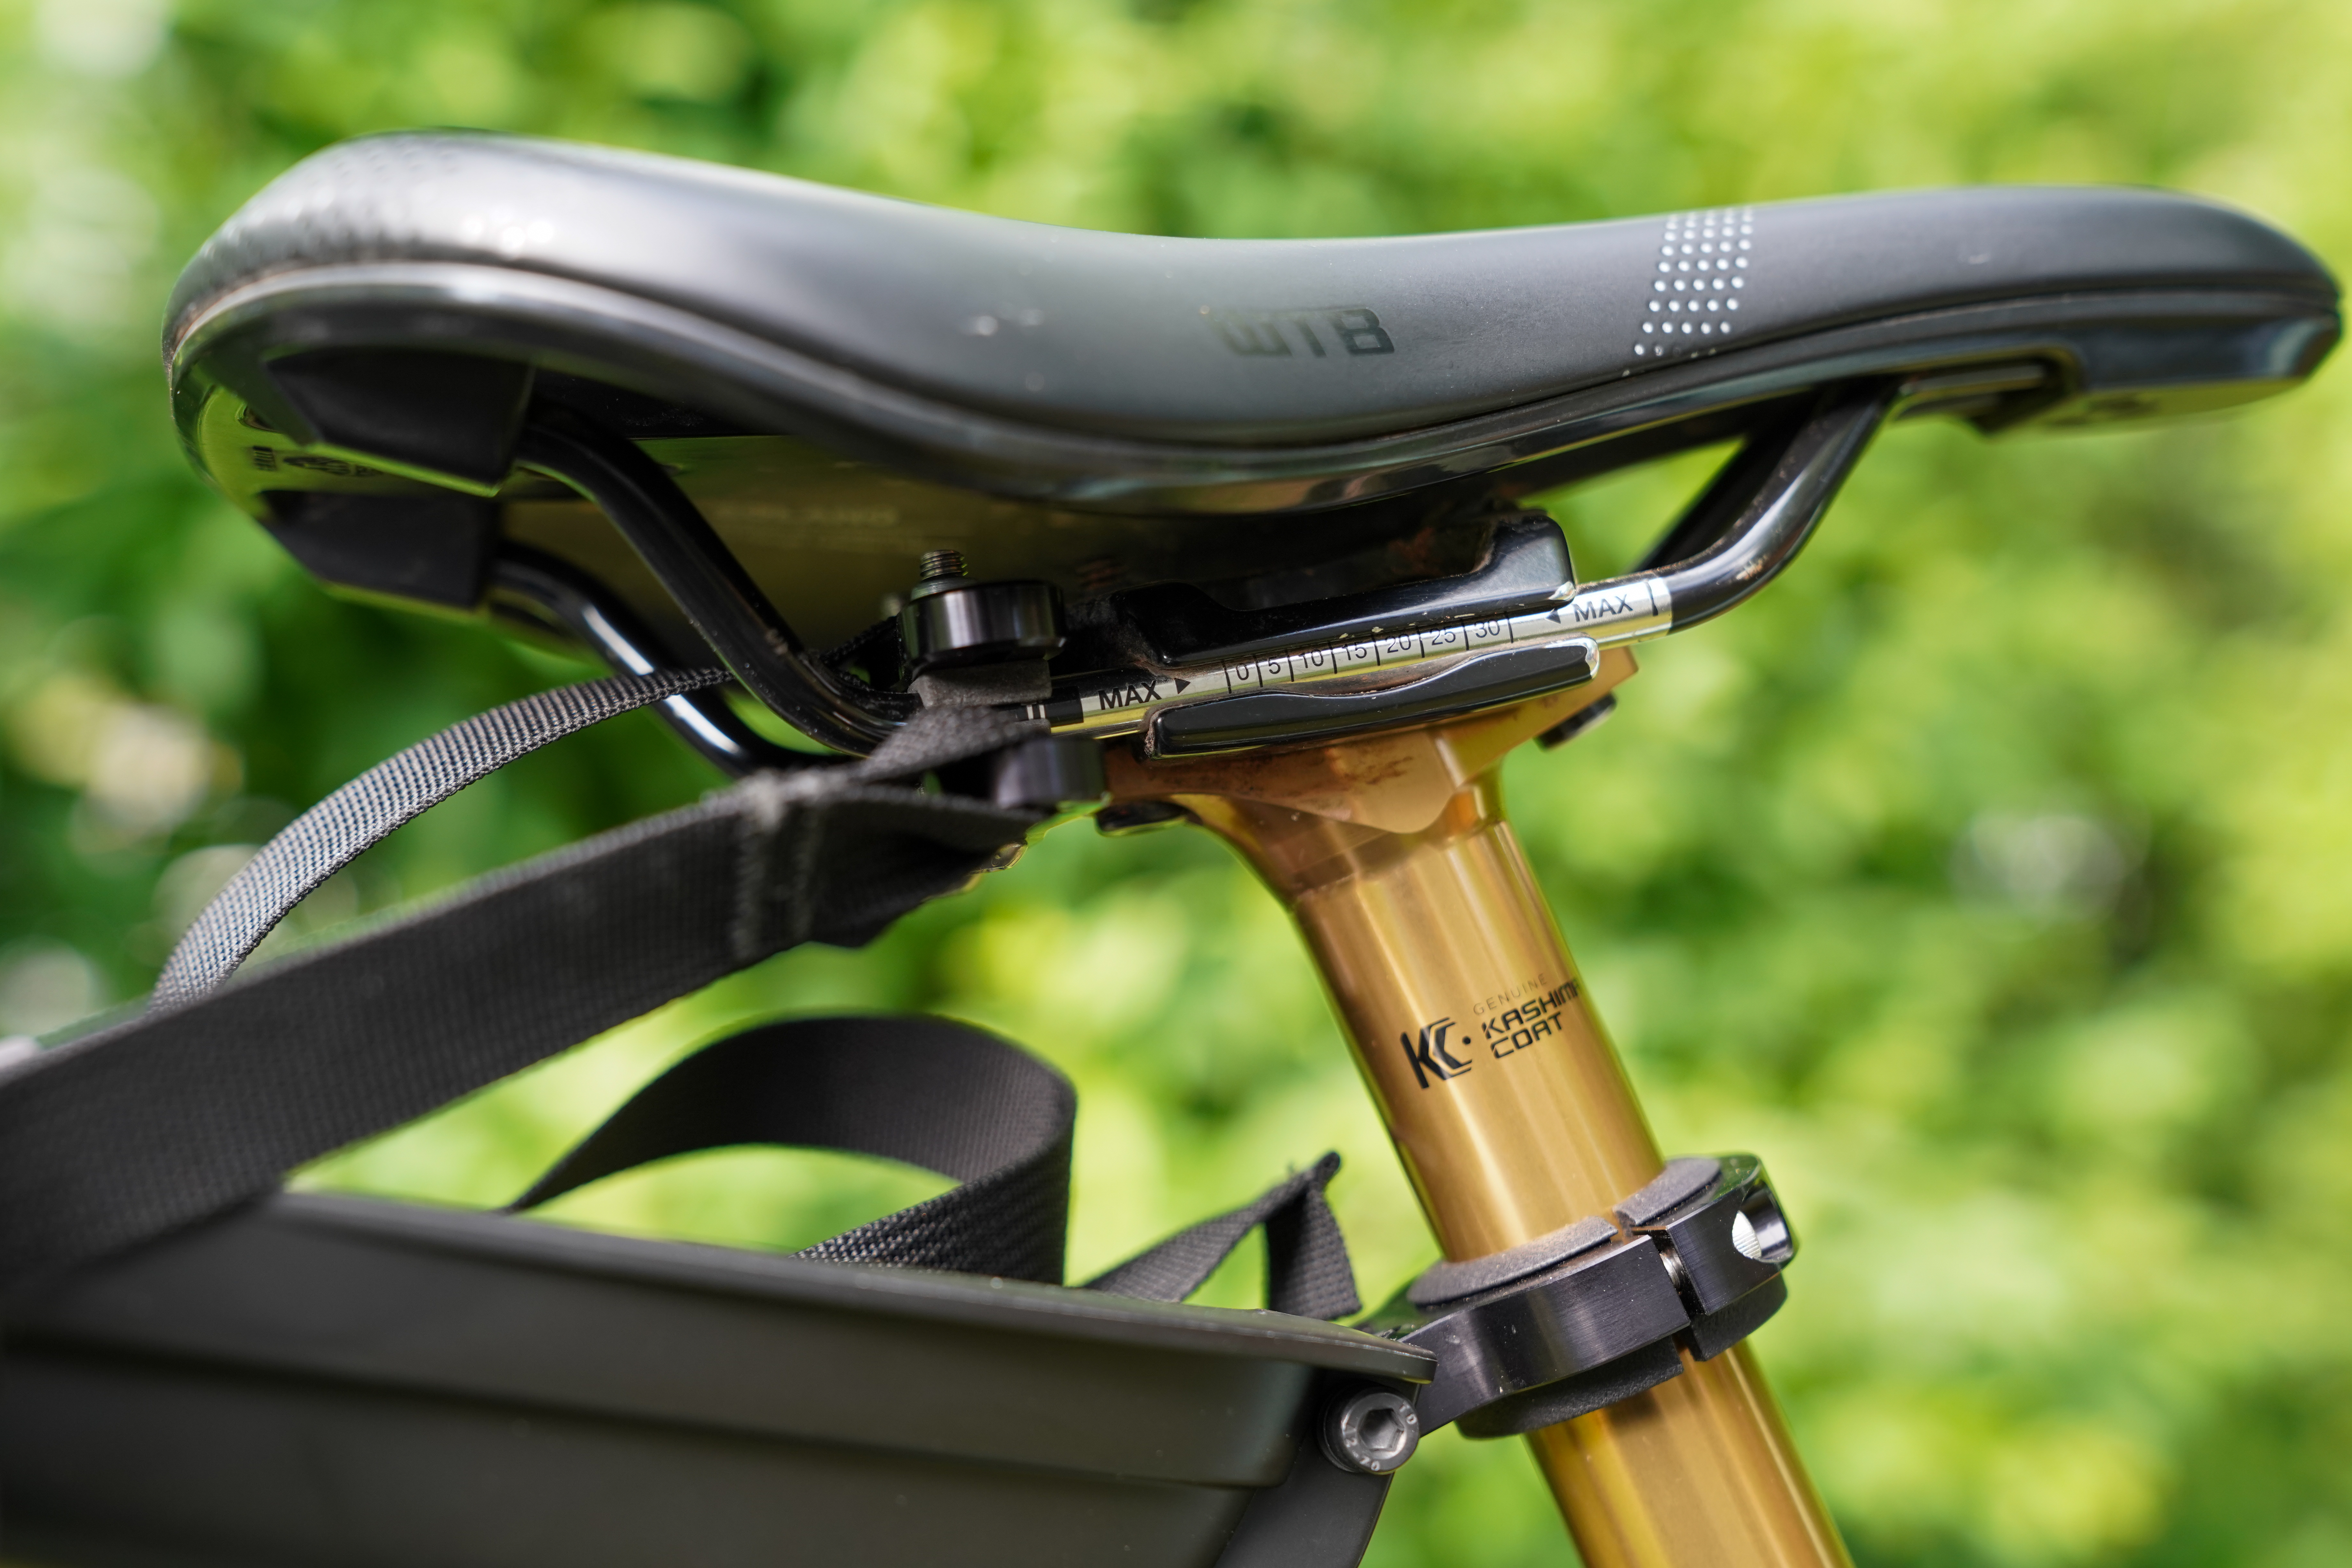
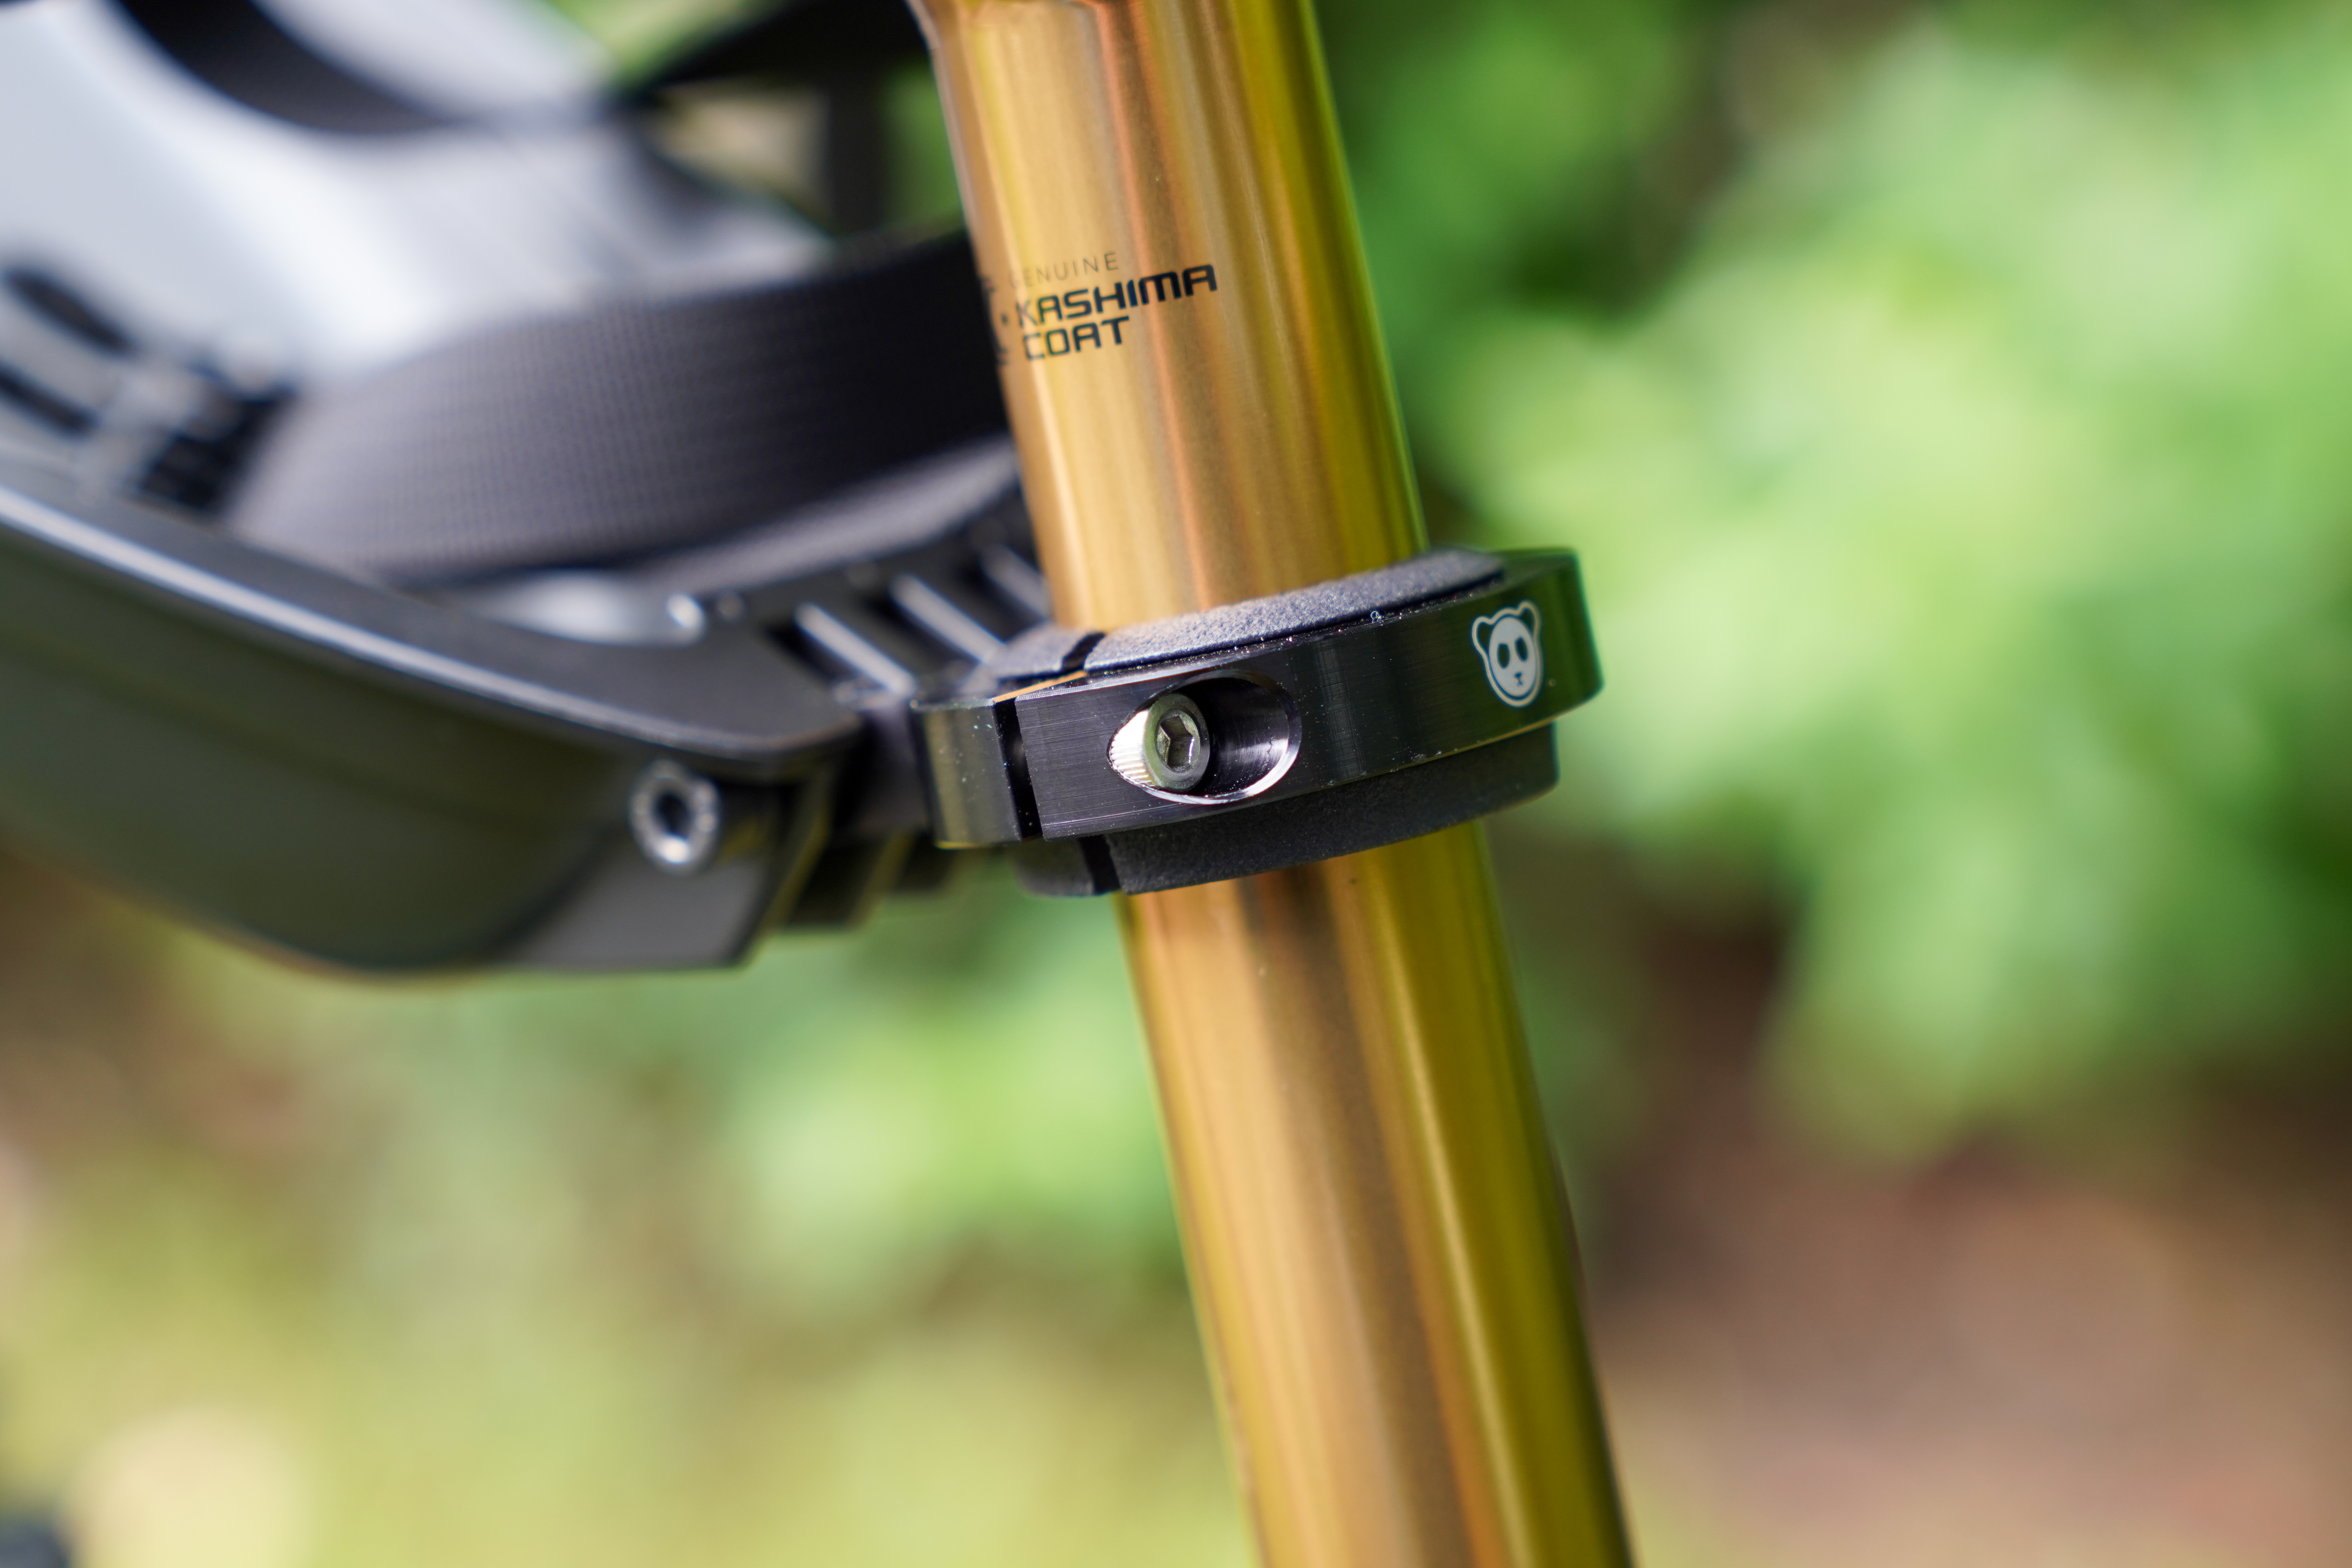
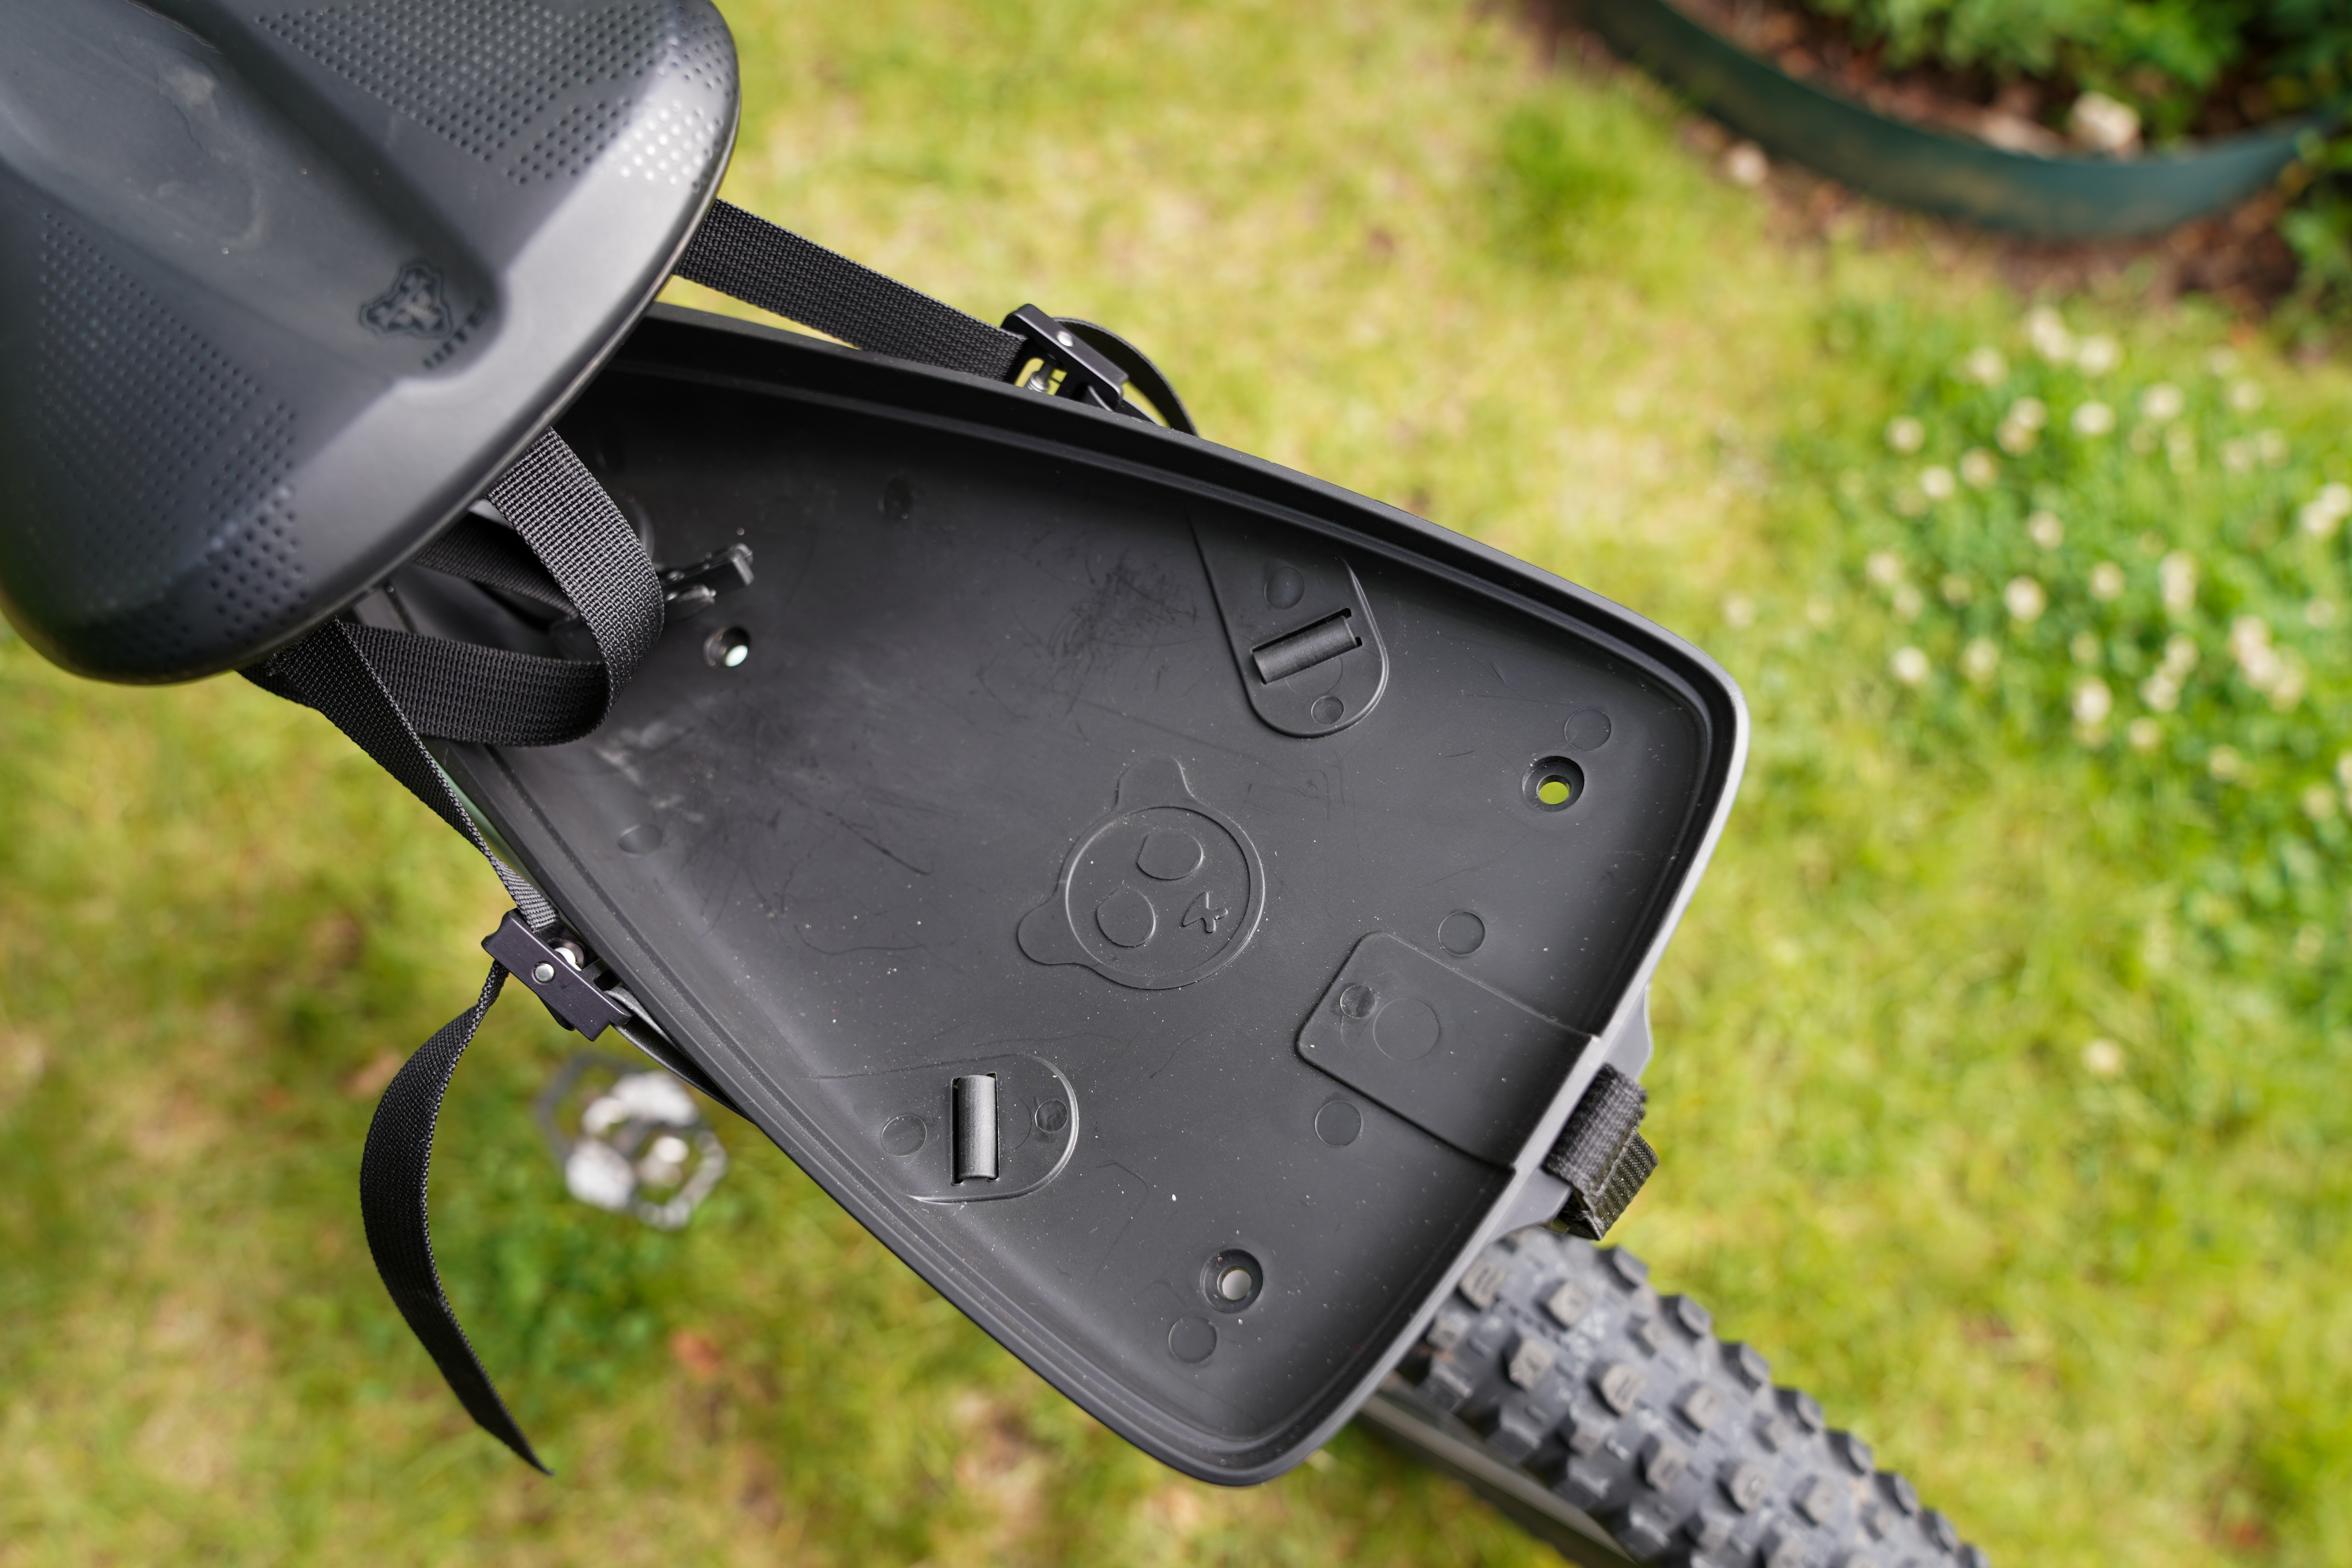
The cradle attaches to the seatpost via an aluminum clamp with a plastic bushing. The hardened plastic platform hinges at the clamp (more on this later). A machined aluminum saddle clamp attaches to the rails, with three straps hanging off of it. Two of the straps attach to the sides of the plastic cradle, holding it up. The third, longer strap goes around the entire dry bag.
Finally, Rogue Panda sells an optional skid plate that can be bolted to the bottom of the plastic cradle for additional protection. The skid plate extends further to the rear than the standard cradle, providing extra protection for the dry bag.
Installation
Rogue Panda didn’t include installation instructions with my seat bag, so I checked YouTube and found only one real installation video. The quality of that video was low, it was done with the previous version of this bag, and some of the recommendations were actually inaccurate, so I can’t recommend it.
That said, once you start monkeying with the system, installation becomes fairly self-evident. Here are the basic steps:
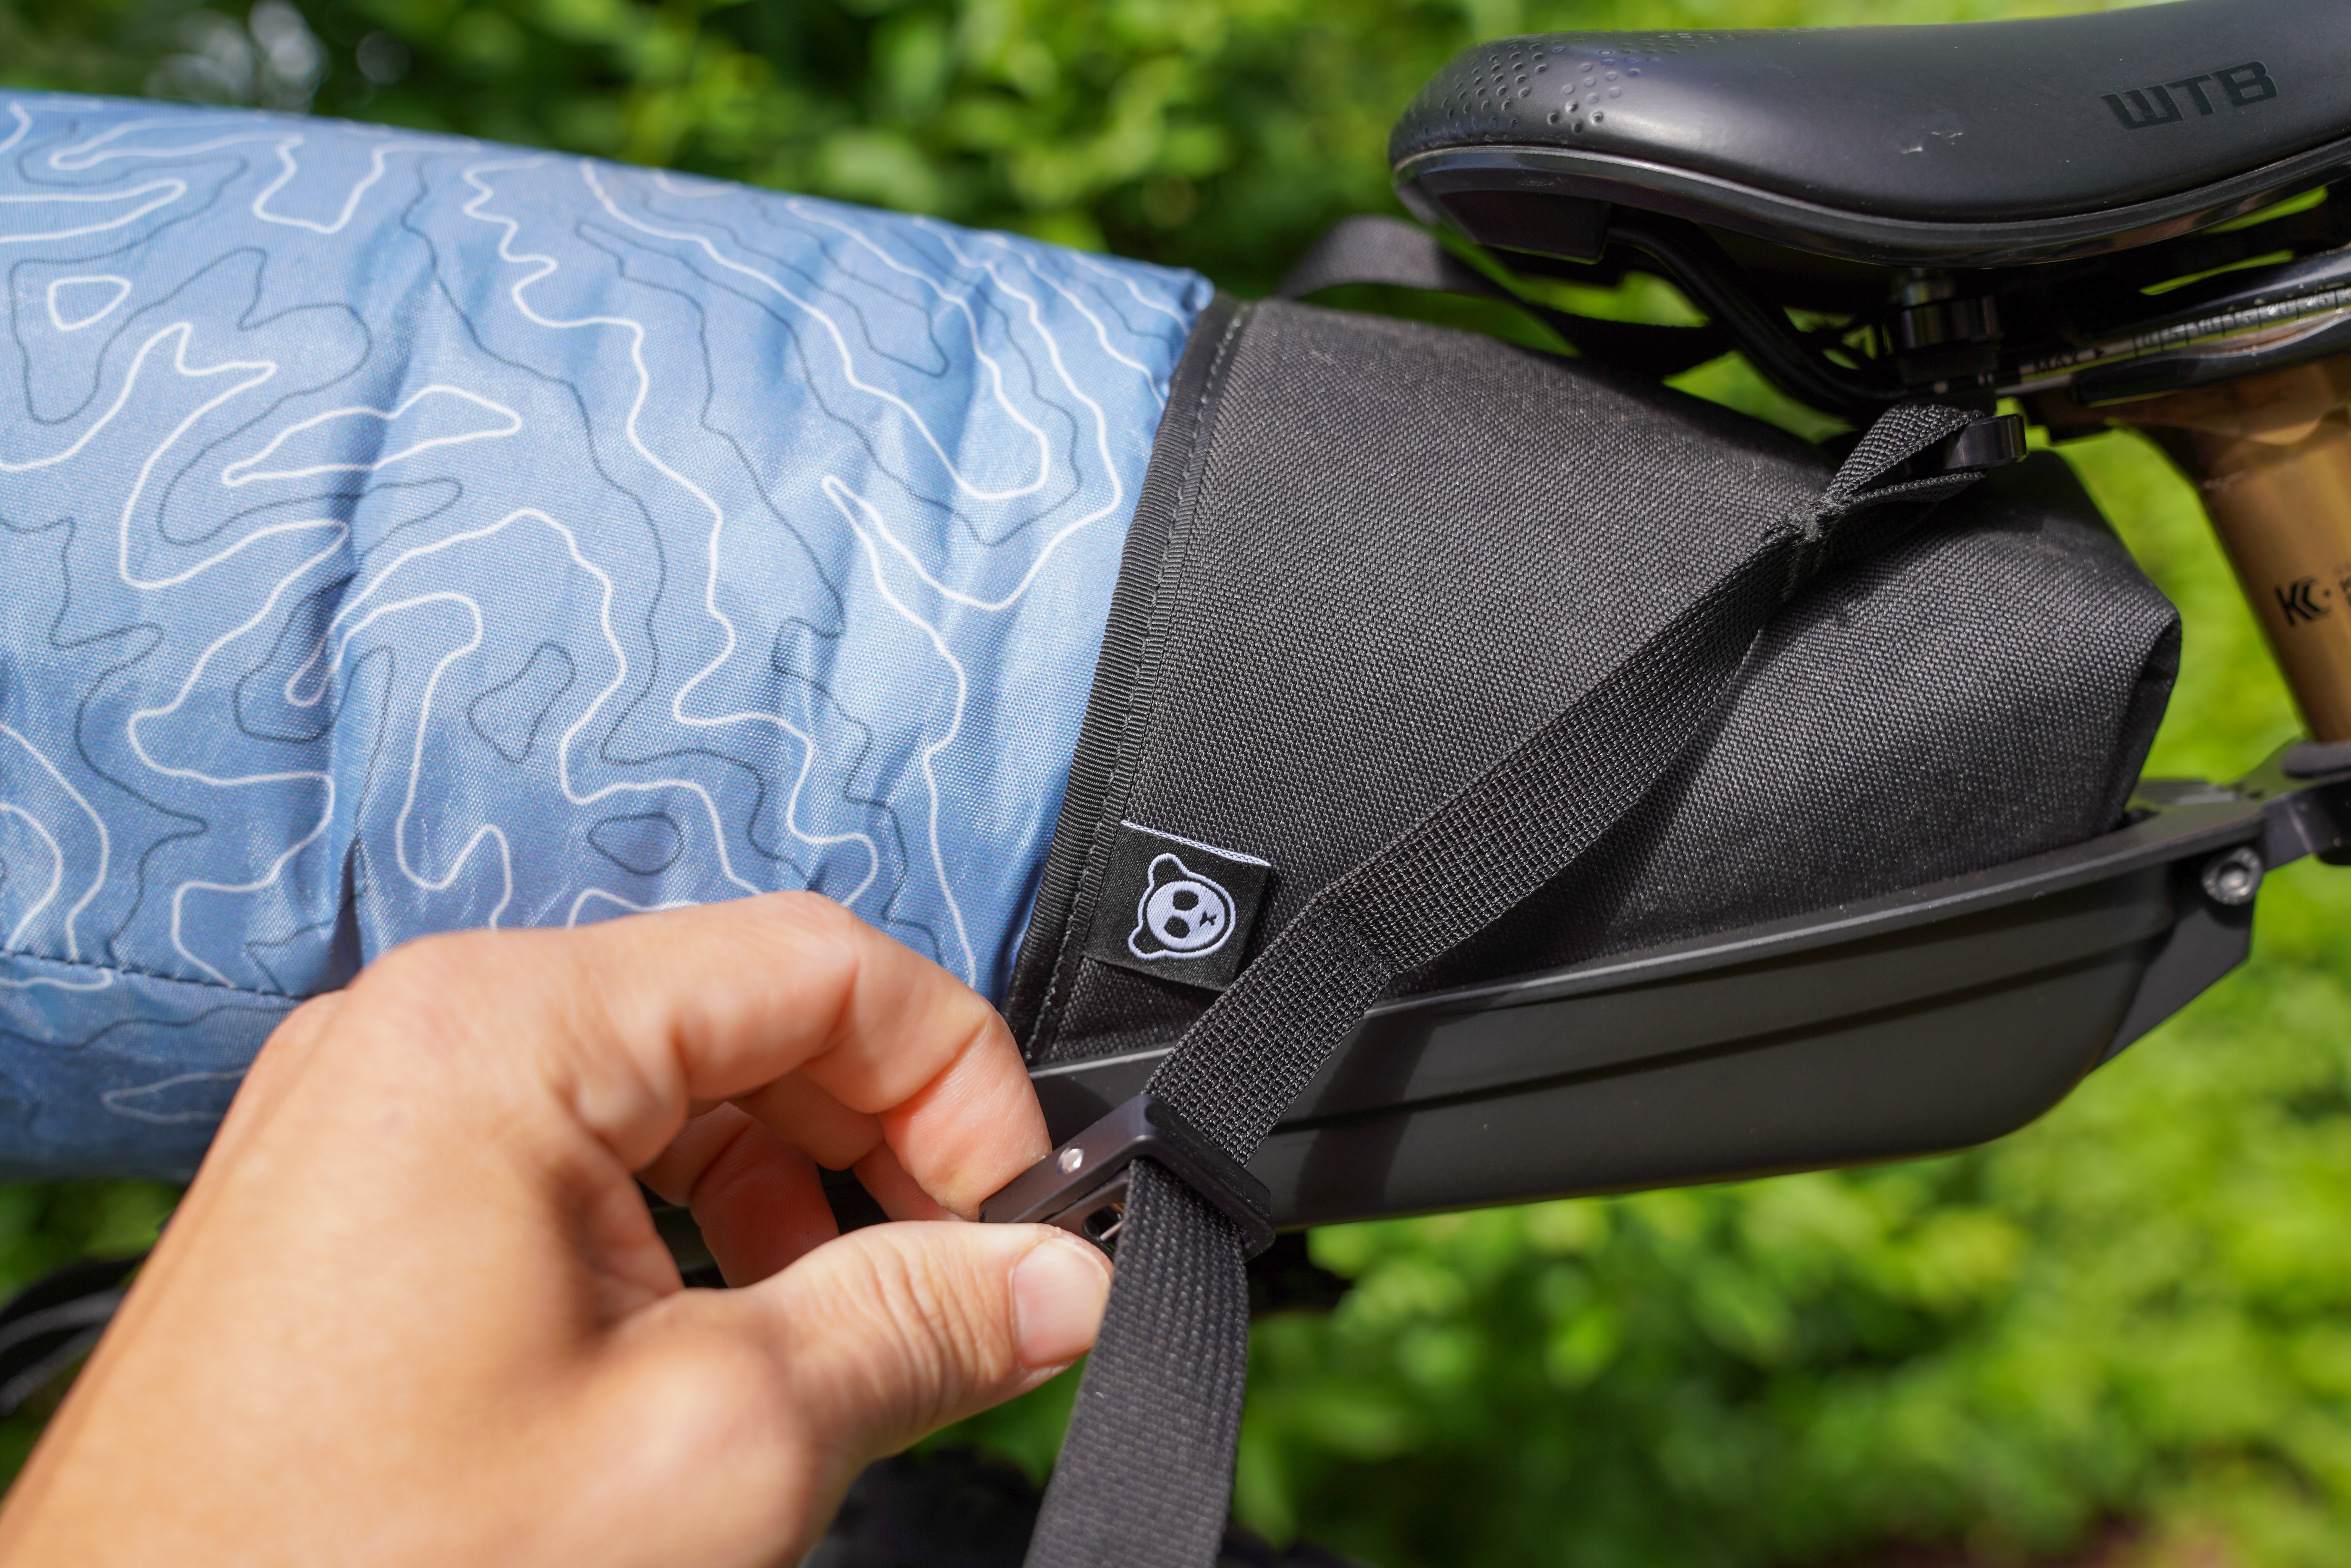
- Install the saddle clamp, with the long strap facing toward the rear.
- Lightly attach the clamp to the seatpost.
- String the two side straps through their respective buckles.
- Fill the dry bag, and position it in the cradle.
- Adjust the seatpost clamp up and down until you’ve achieved your desired bag angle. Then, clamp it down.
Share your Rogue Panda Ripsey Seat Bag V2 review
Finding the perfect angle for the bag, depending on how high or low you attach the clamp to the seatpost, can take some experimentation. If the seatpost clamp is attached close to the seat, the bag will stick out straight, but it might be tougher to tuck the end of the dry bag under the saddle. If you clamp it lower, the bag will angle up higher behind the saddle, but might tuck in better. That would also reduce how much dropper post you’re able to use (more on that below).
Ultimately, the point is that this system offers considerable adjustment potential, allowing each rider to fine-tune it for their own use.
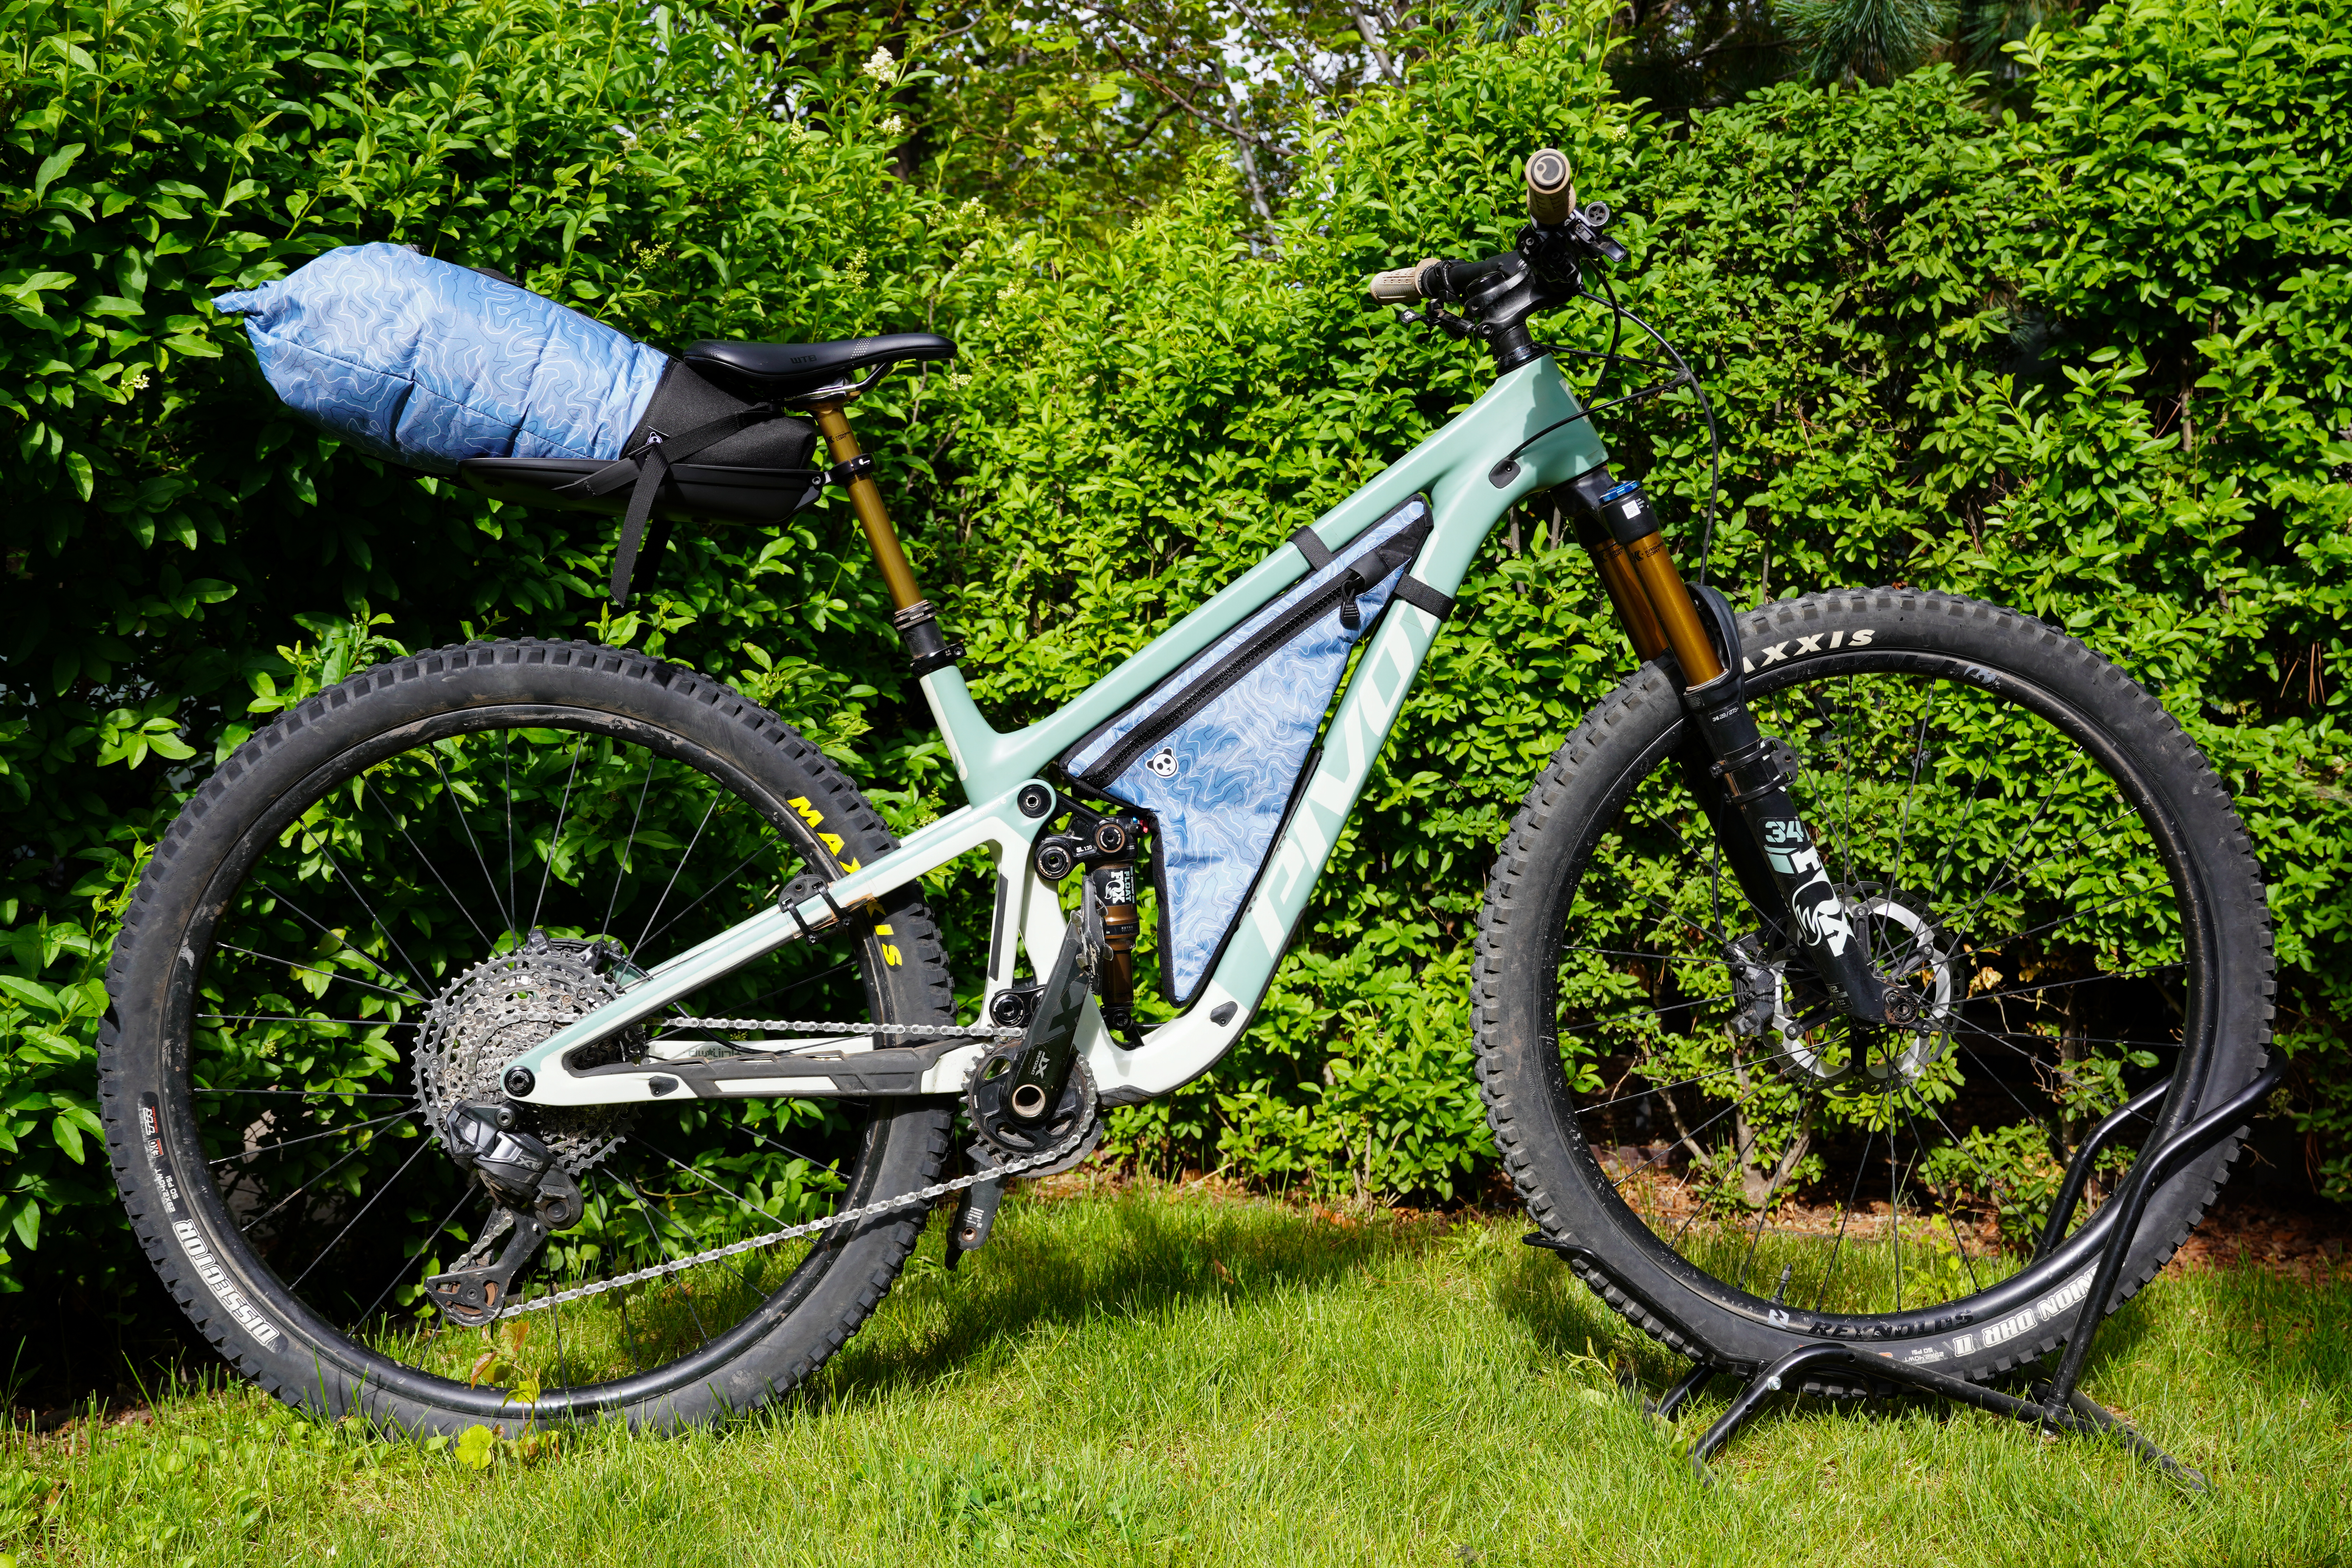
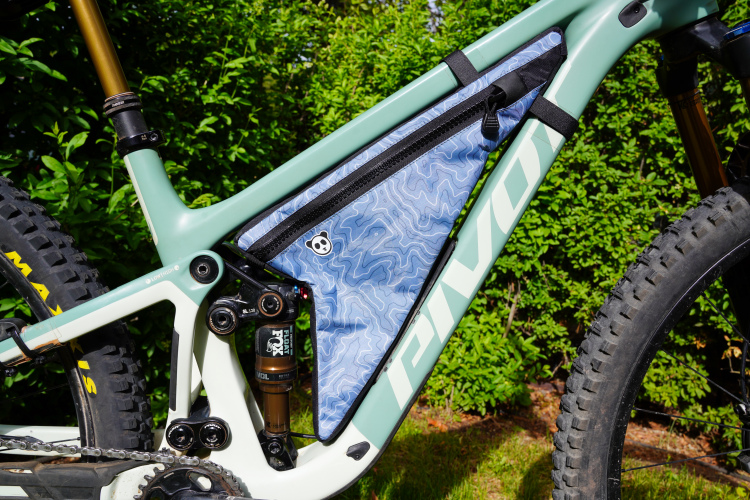
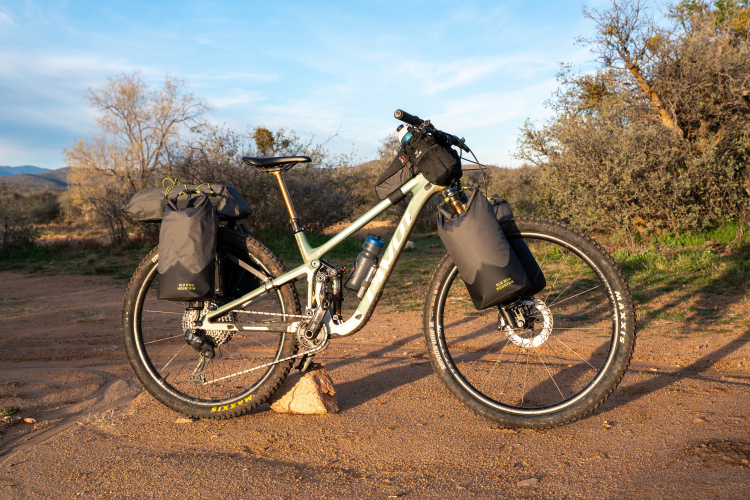
I installed the Ripsey on my size-medium Pivot Trailcat SL for this test.
Out on the trail with the Rogue Panda Ripsey Seat Bag V2
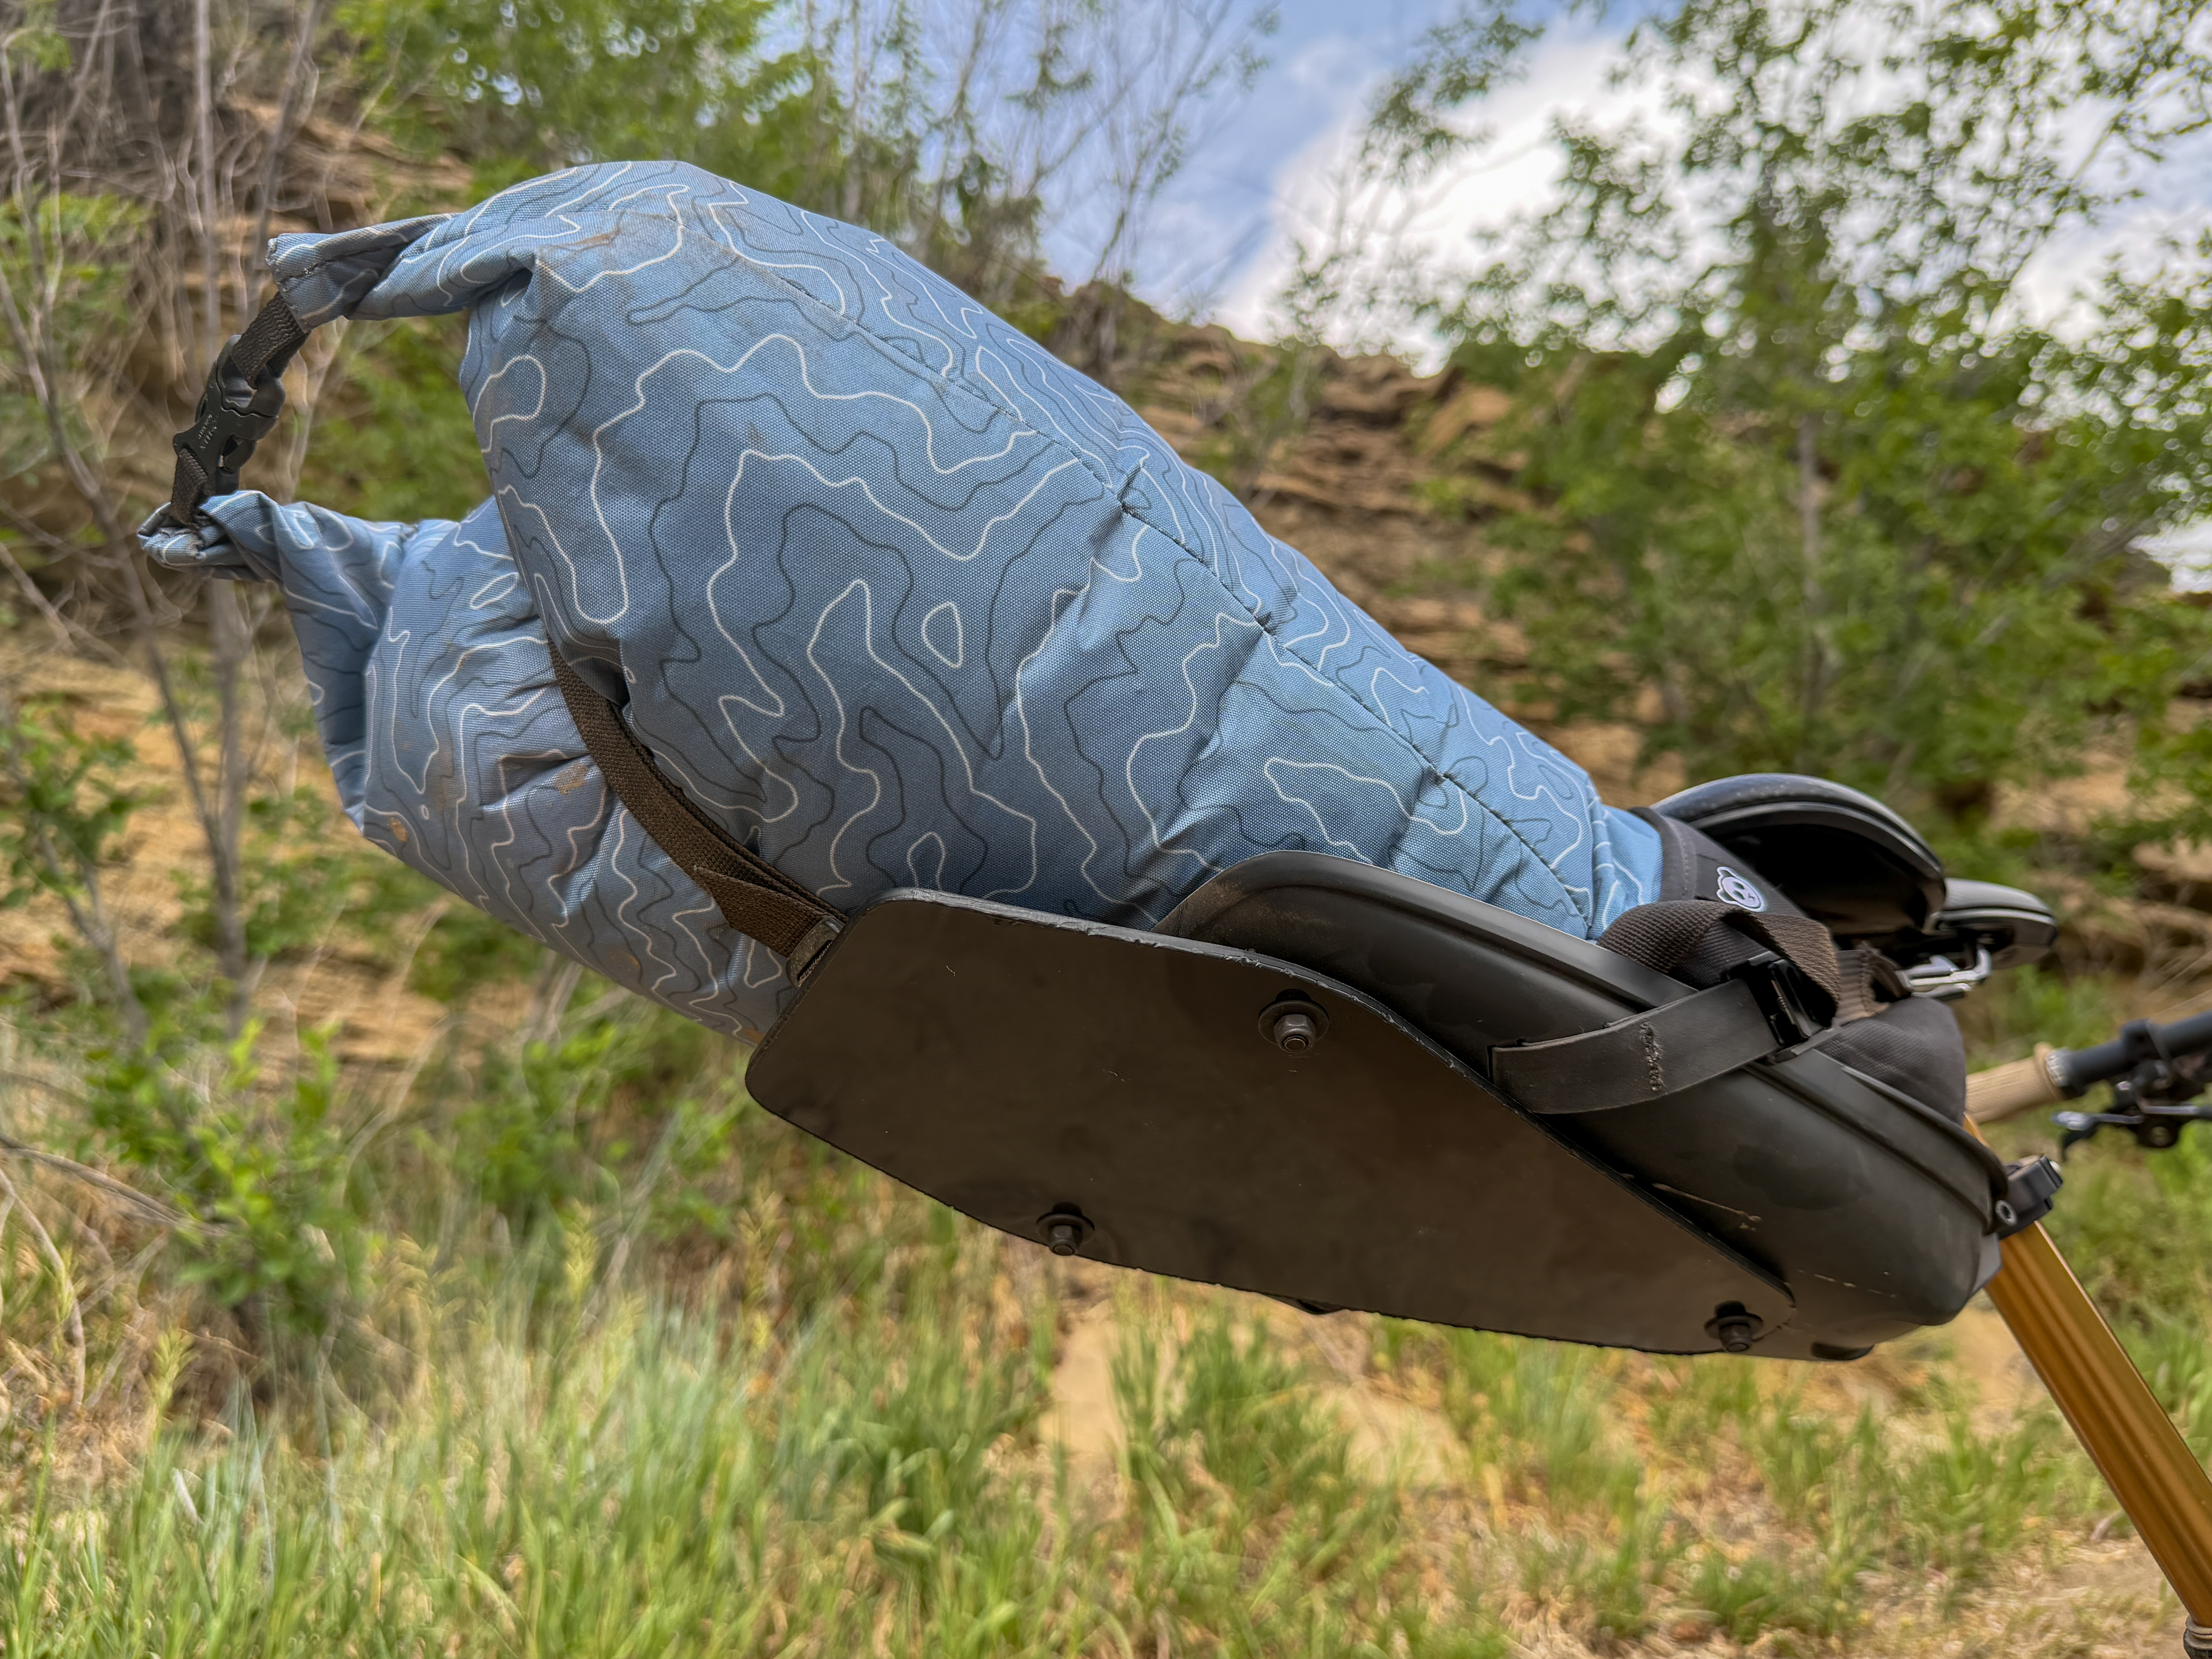
I began by packing the Ripsey with the majority of my sleep system: my 15-degree Nemo Argali Sleeping Bag, a sleeping bag liner, and an inflatable Sea to Summit pillow. That’s about all I was able to fit in the 8-liter capacity dry bag, while still being able to close it securely. That’s an intentionally lightweight load, which would come in handy as I activated the dropper post.
On my first couple of rides with the Ripsey, I was nervous about hitting the cradle with the rear tire, so I only dropped my post a couple of inches, and then stopped dropping it entirely. During that first ride, I found the Ripsey to ride securely and provide plenty of rear tire clearance — a huge improvement over every other seat bag I’ve used.
So it was time to take it up a notch.
When I spoke to Smolinske, he assured me that the cradle is fully intended to smack the rear tire when the post is dropped. So I installed the skid plate to see just how much of a beating this seat bag cradle could take.
I headed out to my local trail system to rip a rocky descent filled with ledge drops, kickers, and chundery rock gardens to see just how much the Ripsey could take if I completely disregarded its safety.
I quickly found that when I dropped my seatpost all the way down to the Ripsey’s clamp, even modest hits would smash the rear wheel into the skid plate. When this happens, the cradle pivots up at the joint connected to the seatpost collar, as intended. However, in my opinion, this created a fairly unpleasant sensation, even though the skid plate admirably protected the cradle.
Note that if you’re taller than me and are also riding a medium-sized frame, but with the seatpost protruding out of the frame a bit more, your experience might be very different. There’s infinite variability here.
As the ride progressed, I found myself dropping my seatpost into a middle position where the tire might hit the skid plate when I sent it off drops, but not every time I hit a rock. This was a good compromise: I enjoyed additional clearance above the saddle by having it down halfway, but I wasn’t feeling the wheel constantly smashing the skidplate. The only problem was that it was tricky to find the perfect position on the fly. For a long trip, I’d recommend conducting a test to find the perfect sweet spot in the middle, and then add a clamp to the dropper post to prevent it from dropping any further.
You might wonder just how much abuse the skid plate can take. I did, too, so I asked Smolinske.
“The skid plate’s made out of HDPE (High-Density Polyethylene), and HDPE has an incredibly low friction surface, like tire sliding on it,” he said. They call it ‘self-lubricating,’ it kind of disintegrates into micro ball bearings, and then smooths it out as you go. It’s just very hard to wear through it, so that’s kind of the reason why it’s a separate add-on.” He went on to clarify that “the best plastics for tire contact are not the best plastics for durability, which are not the best plastics for stiffness,” which is why the skid plate bolts on to the cradle — it’s a different type of plastic specifically intended for tire contact.
Pros and cons of Rogue Panda Ripsey Seat Bag V2
Pros
- Fits small full-suspension bikes and short riders
- Highly adjustable for your situation
- Robust construction for all parts: cradle, bag, and skid plate
Cons
- Low-volume dry bag
- Can’t use entire dropper post travel, but your mileage may vary
Bottom line
It “takes a village to make a bag,” Smolinske concluded with a laugh. The result is a dependable product that solves a serious problem for shorter riders, or those who just want to get sendy while going long.


0 Comments