Trails
Reviews
Tips
Community
Deals
Latest
Support
Trails
Find trails
Best bike trails
Destinations
Add a new trail
Reviews
Mountain bike reviews
Components
Tires
Clothing & shoes
Helmets
Accessories
Product news
Community
MTB Clubs
Races & Events
Bike Shops
Tips
Skills
Fitness & Training
Health & Nutrition
Beginners
Repair
Latest Articles
Podcast
Deals
Support Singletracks
Sign in
Create an account
About us
Newsletter signup
Light & Motion
Lights
Color Match Lights to Your Bike with Custom Light and Motion Options
Lights
Light and Motion's Vis 360 Pro Helmet Light and Vya Pro Head and Taillights [Review]
3
Culture
MTB News Mix: Transition Patrol Coils Up, Norco's Progressive Youth MTBs, the First Ever Madeira Bike Race, and More
Culture
How New Tariffs Could Affect Bike Prices In The USA
10
Sponsored
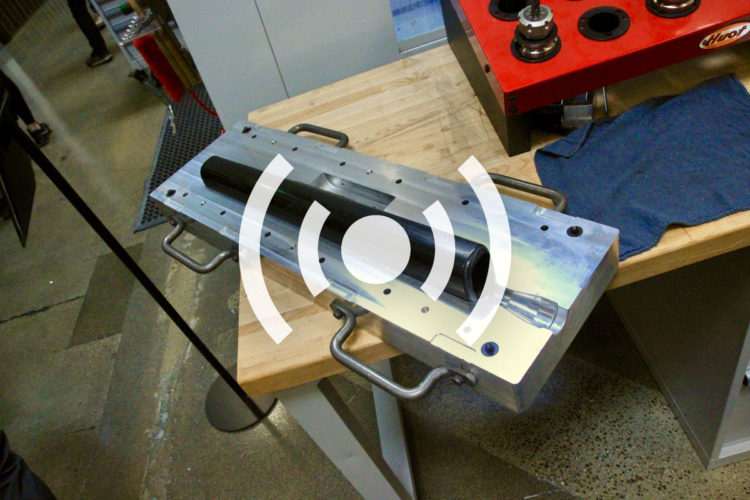
How Light & Motion Builds Their Bike Lights in the USA
2
Sponsored
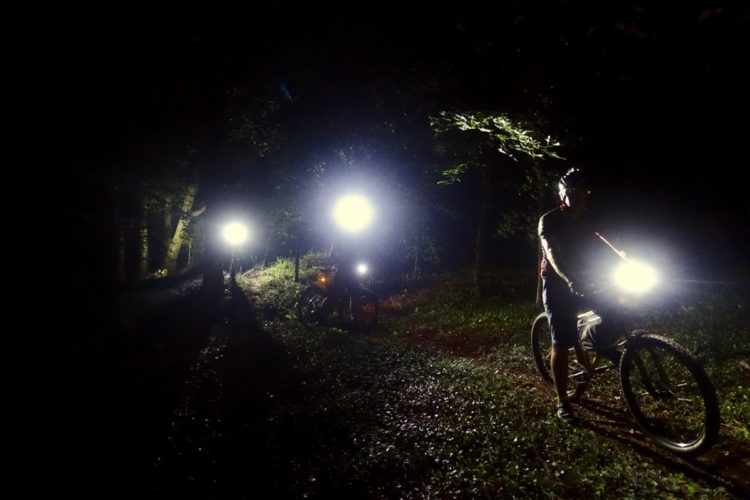
8 Killer Tips for Mountain Biking at Night
2
Lights
Bright Mountain Bike Light Throwdown: From 1600 Lumens to More Than 6000
11
Sponsored
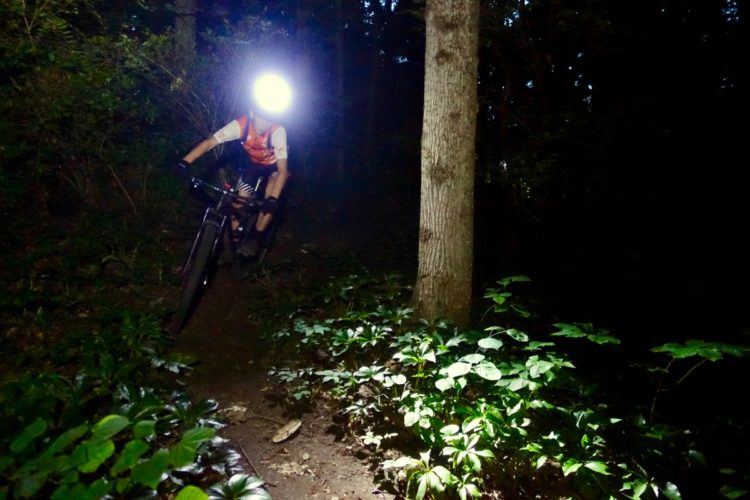
Which is better for night riding: Helmet or bar mount, or both?
2
Sponsored
How Many Lumens Do I Need for Mountain Biking at Night?
12
Mountain Bike Podcast
How Mountain Bike Stuff Gets Made [Podcast #156]
Lights
Mountain Bike Light Review: The Light & Motion Imjin 800
Lights
(Almost) Everything You Need to Know About MTB Lights [Podcast #80]
Mountain Bikes and Gear
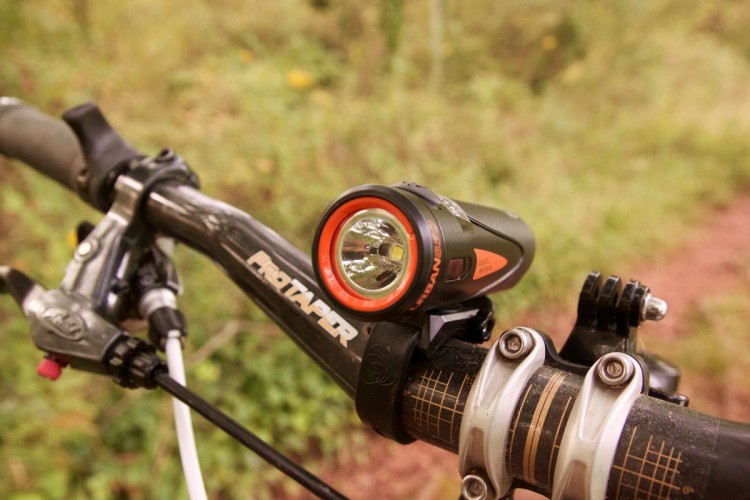
Light & Motion Urban 850 Trail Bike Light Review
Mountain Bike Podcast
Mountain Biking at Night [Podcast #15]
Lights
Review: 5,000 Lumen SolarStorm
20
Mountain Bikes and Gear
Light & Motion Launches Kickstarter Campaign for GoPro Light
Mountain Bikes and Gear
Review: Light & Motion Taz 1500 Bike Light
3
Lights
Infographic: MTB Night Riding by the Numbers
16
Mountain Bikes and Gear
Review: Light & Motion Seca 2000 Enduro
Mountain Bikes and Gear
Light and Motion Seca 1700 Race: Reviewed
5
Culture
New 2012 gear from Interbike
3
Mountain Bikes and Gear
Light & Motion Seca 800 Review
11
Mountain Bikes and Gear
Light & Motion Seca 1400 Trail Light Review
1
Mountain Bikes and Gear
Light & Motion Stella 200L Review
Mountain Bikes and Gear
Light & Motion Seca 900 Ultra Bike Light Review
8
Mountain Bikes and Gear
Interbike Tidbits Part II
Mountain Bikes and Gear
Light & Motion Seca MTB light system
1


 3
3