Trails
Reviews
Tips
Community
Deals
Latest
Support
Trails
Find trails
Best bike trails
Destinations
Add a new trail
Reviews
Mountain bike reviews
Components
Tires
Clothing & shoes
Helmets
Accessories
Product news
Community
MTB Clubs
Races & Events
Bike Shops
Tips
Skills
Fitness & Training
Health & Nutrition
Beginners
Repair
Latest Articles
Podcast
Deals
Support Singletracks
Sign in
Create an account
About us
Newsletter signup
How-to
MTB Tips
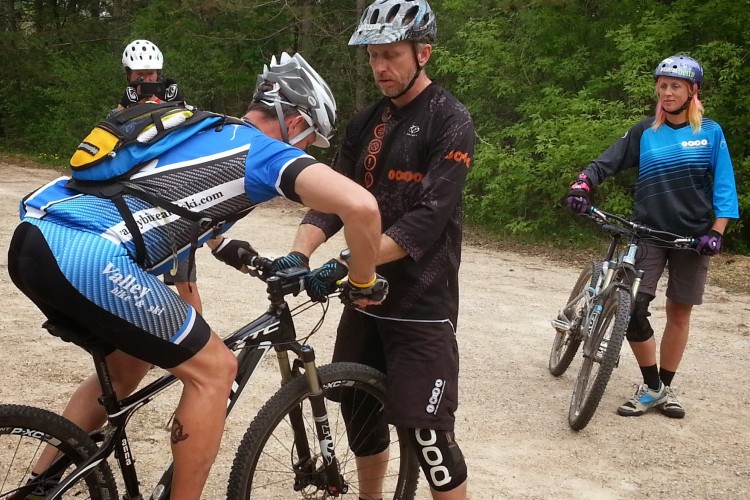
How To: Bring a Beginner up to Full Mountain Bike Speed
10
MTB Tips
How to Prevent Leg Cramps When Mountain Biking // Tips to Avoid Cramping
25
MTB Tips
How To: Mountain Bike Stream Crossing Tips and Techniques
2
Mountain Bikes and Gear
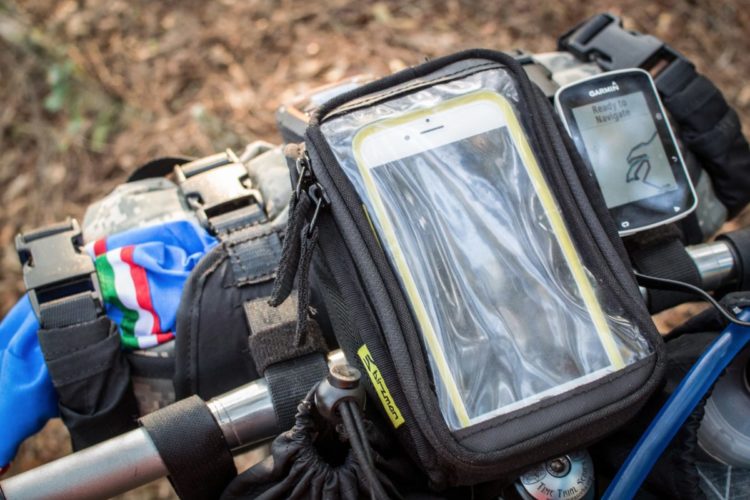
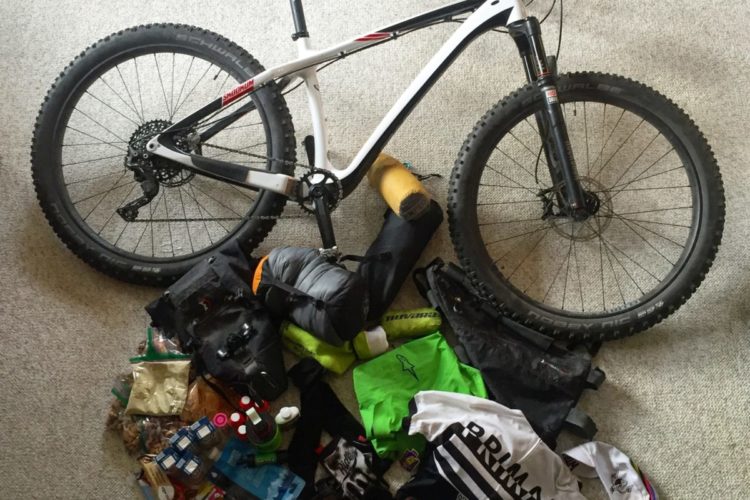
How Do You Pack for an Epic 340-mile Bikepacking Route?
4
MTB Tips
Don't Scare the Newbie! How to Take a First-Timer Mountain Biking
2
Culture
How To Become a Bro-Brah Mountain Biker in 25 Easy Steps
23
MTB Tips
Watch: Your First MTB Trail Ride - Explained
Mountain Bikes and Gear
Watch: How To Prevent Foggy MTB Glasses
6
MTB Tips
How To Prevent Saddle Sores
8
Community
How to Prepare for a Bikepacking Race
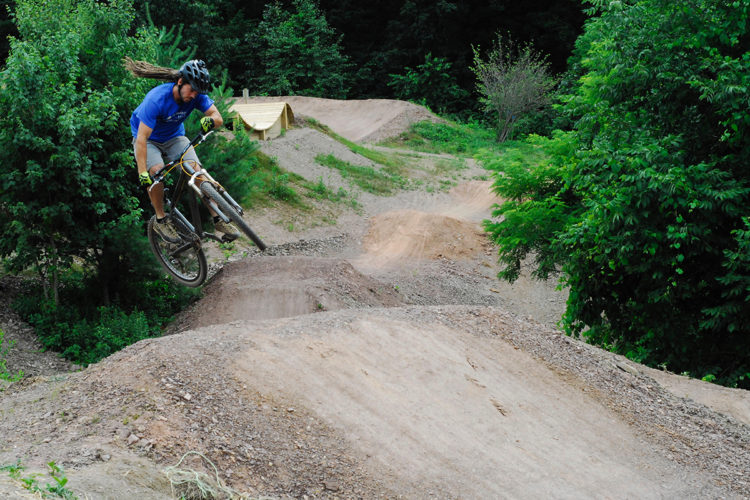
Pennsylvania
How to Build a Bike Park: Navigating an Unprecedented Path in Pennsylvania
1
Mountain Bike Podcast
Tips for Bikepacking [Podcast #74]
1
Hydration Packs
How to Clean Your Funky, Moldy Hydration Pack Bladder
11
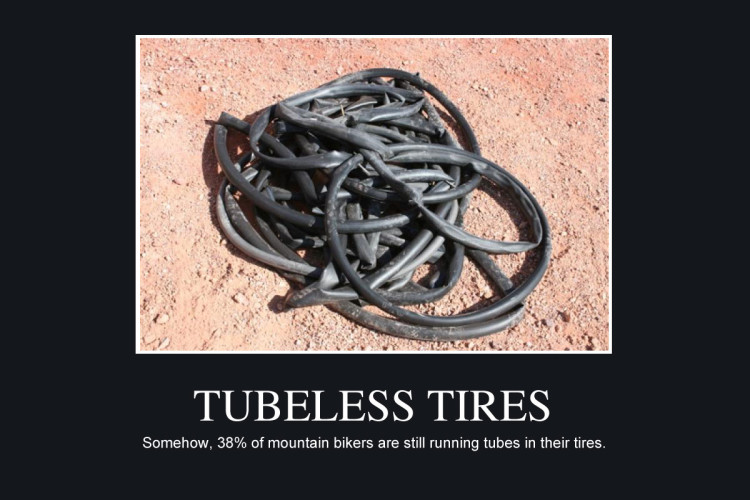
Mountain Bikes and Gear
Somehow, 38% of Mountain Bikers Are Still Running Tubes
20
MTB Tips
Watch: How to Get the Stink out of Your Mountain Biking Clothes
6
Lubes & Cleaners
How To Lube Your Bike Chain: A Beginner's Guide
24
Pedals
The Best Mountain Bike Pedals for Every Type of Riding
21
Mountain Bike Trails
How to Identify and Treat Poison Ivy and Poison Oak Exposure: The Mountain Biker's Bane
6
MTB Tips
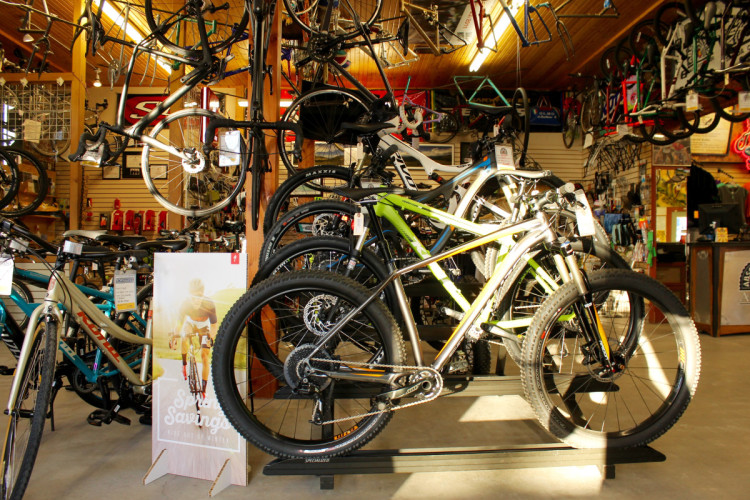
How To Choose Your First Mountain Bike
19
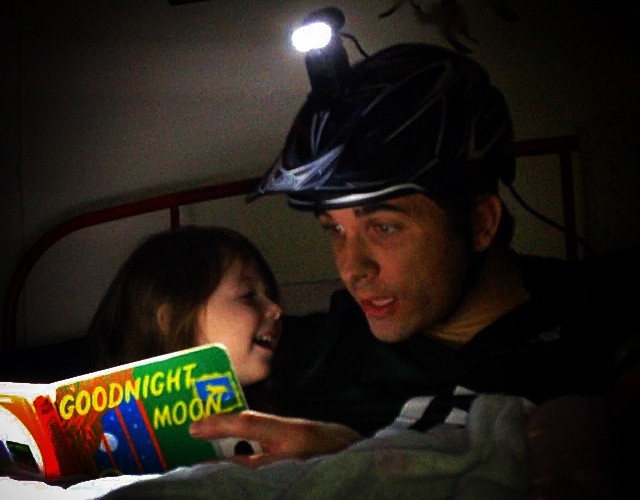
MTB Tips
How To Be a Mountain Bike Dad
4
MTB Tips
How to Choose a Mountain Bike Trail to Ride
MTB Tips
7 Life Lessons About Parenting I Learned by Teaching My Kid to Ride a Bike
1
MTB Tips
How to Buy a Used Bike Online: A Practical Guide
Culture
How To Start a Mountain Bike Club
Mountain Bike Podcast
How to Sell Your Bike Online plus Orbea Occam and Breezer Supercell Reviews [Podcast #7]
MTB Tips
How To Sell Your Bike Online: A Practical Guide
4
MTB Tips
The Importance of Positive Self Talk When Mountain Biking
9
MTB Tips
How To Interpret Topographic Maps
3
MTB Tips
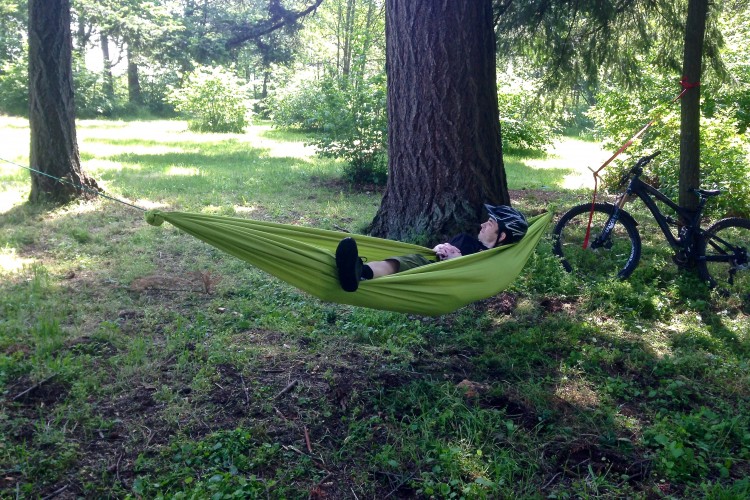
How To: DIY Hammock for Bikepacking
3
Mountain Bikes and Gear
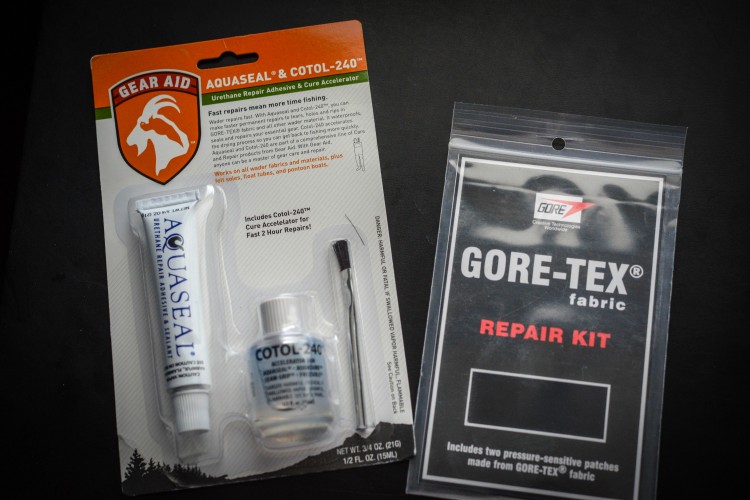
How To Repair Waterproof Mountain Biking Apparel
MTB Tips
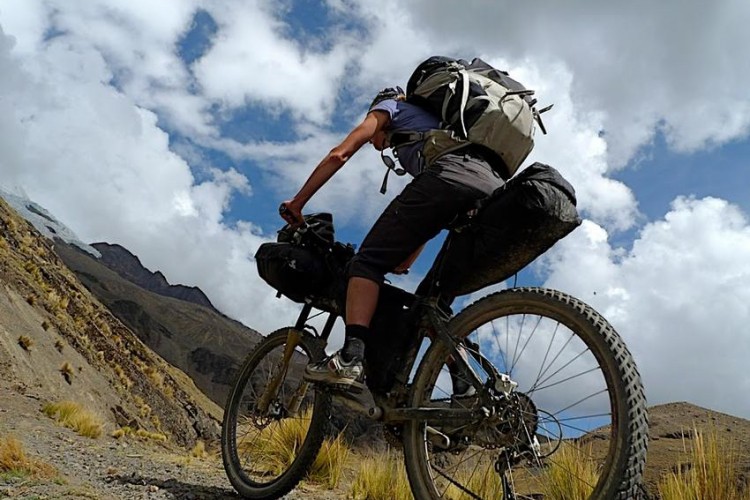
How To Start Bikepacking
6
MTB Tips
How To Decide How Much Suspension You Need
4
MTB Tips
Bikehacking Week Is Here!
Mountain Bikes and Gear
DIY: How to Build a Hanging Bike Rack
1
MTB Tips
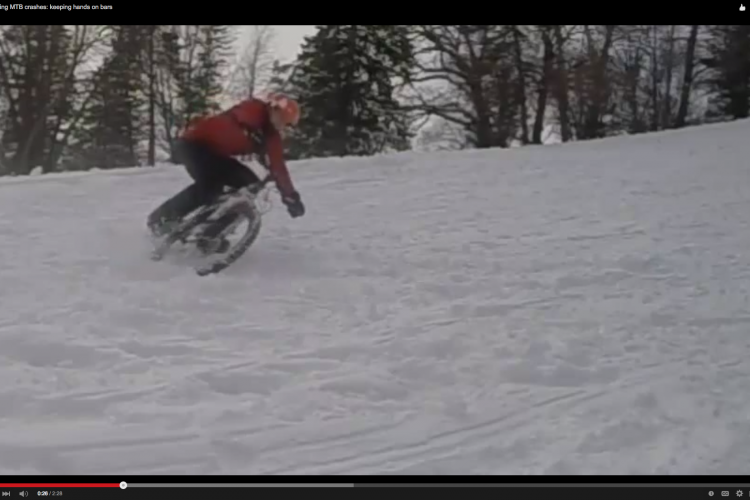
Learning to Reduce the Impact of Some Mountain Bike Crashes, Part 1: Sliding out Sideways
2
MTB Tips
Video: How To Pump Terrain for More Speed
3
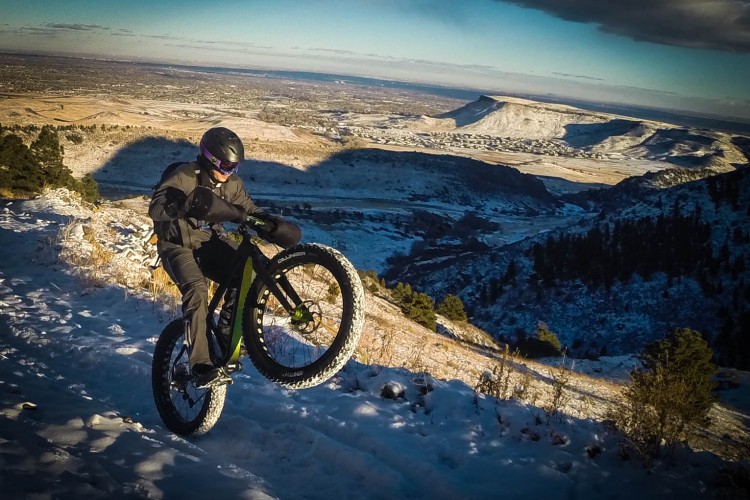
Mountain Bikes and Gear
4 Tips for Converting Your Fat Bike Tires to Tubeless
2
MTB Tips
Video: How To Set Up Suspension Forks
Culture
How To Quit Squeezing in Your Rides
6
Mountain Bikes and Gear
How To Convert Race Face's Turbine Cinch Crank for Fat Bike Use
1
MTB Tips
How to Make Hitting the Trail as Easy as Possible
6
Mountain Bikes and Gear
How To Prevent Scratches on a Budget
5
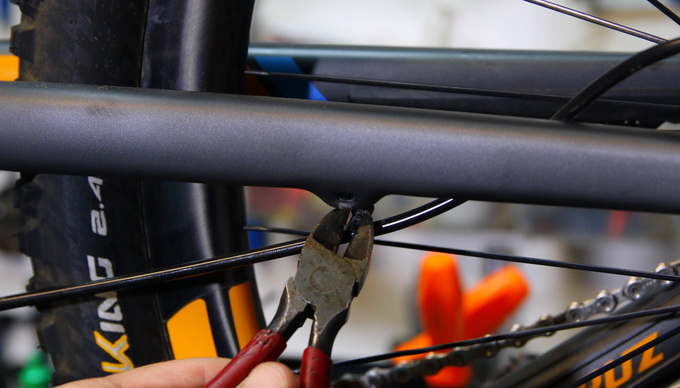
Brakes
How To Change a Hydraulic Brake Line on Your MTB
4
Mountain Bikes and Gear
How To Service, Repair, and Replace Your Bottom Bracket
1
Community
6 Secrets to Taking Mountain Bike Trips with Kids
6
Mountain Bikes and Gear
Video: How To Set Up Your Bike Cockpit
Mountain Bikes and Gear
Video: How To Replace Your Disc Brake Pads
4
MTB Tips
How To Prepare Your Eyes to Ignore Your Survival Instincts When Riding Skinnies
9
«
1
2
3
4
»

 10
10