Winter is almost over, but spring conditions in certain parts of the country are a great time to get the kids out for some last minute snow adventures since it is generally warmer. It is also a great alternative activity for families who travel to the mountains for spring break, but don’t have the legs for seven straight days of skiing.

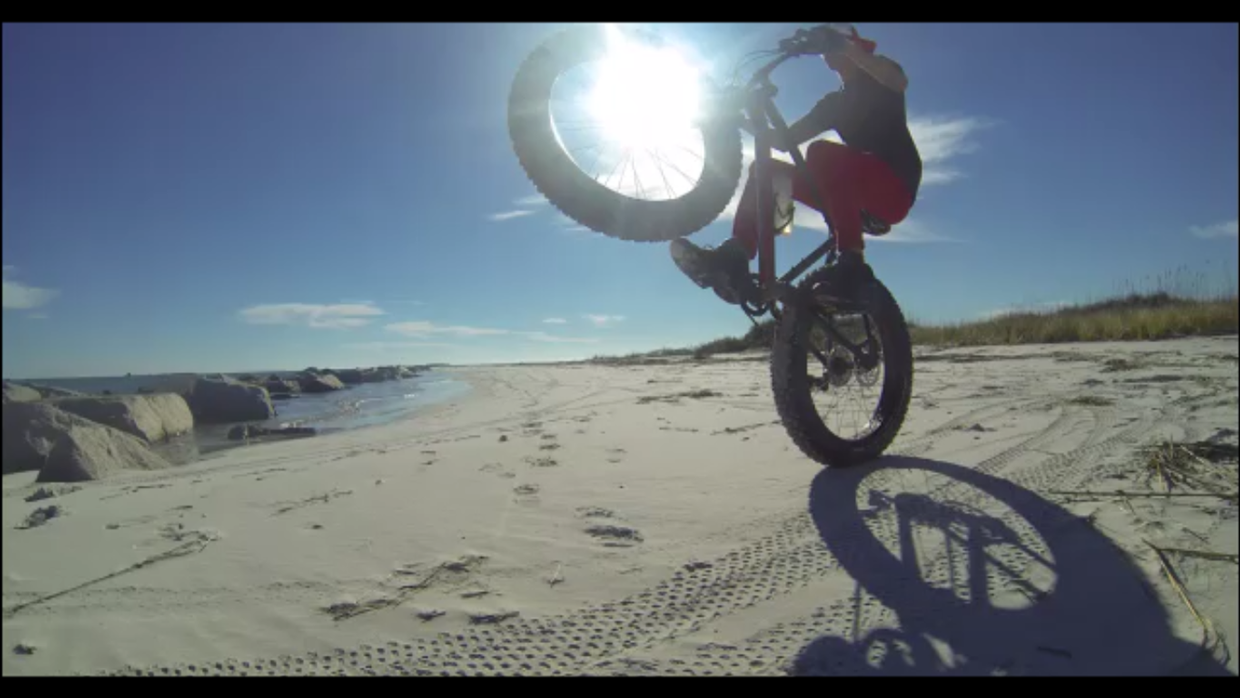
First, you’ll need a fat bike of course.
Sure, you could use a regular bike, but a fat bike will allow you to explore in deeper snow and on groomed trails, especially Nordic trails that may allow this. You’ll also need a kid carrier, such as the Chariot or B.O.B, to haul one or two children in. FYI, you can pick one up pretty cheap on Craigslist. You can purchase or sometimes rent ski attachments for the carrier to replace the existing wheels. All of the carriers make attachments to secure it to your bike, but the problem these days is that axle standards vary widely, and there are no stock thru axles that are carrier-compatible.
One forward-thinking company, called the Robert Axle Project, has starting designing specific axles with adapters for common carriers. After going to their website, you simply print out a sheet and match your existing thru axle to their template to find the correct length and thread pitch, choose your carrier manufacturer, and order online. It’s a breeze, and their website has helpful instructional videos to help you install it in less than five minutes.

The good thing about buying an axle/adapter like this is that you can use it year-round, and it may work with multiple bikes if the thread pitch and length are the same. This isn’t a product review per se, but I have not found anyone else that makes anything like this, and they work perfectly… so buy one. 🙂
The MSRP is around $70, but it is worth it just to get outside with your kids.

After following the carrier’s instructions to attach it to your bike, you are all set. Most of them, such as the Chariot, utilize an arm that protrudes from the front of the carrier that has a ball that inserts into the socket on your now-assembled Robert Axle. There are usually redundant safety straps to make sure the arm stays attached to the carrier and your bike if something fails, so make sure you attach those as well.

There are a few additional things you need to take into consideration when biking with children in the snow:
Dress them in appropriate clothing.
Conditions can change dramatically in the winter and spring in some areas of the country, so be sure to take layers in case your child gets too hot or cold. Remember that he or she will not be moving around much, and even if you protect them from the wind with a clear plastic flap, you will be warmer than they are because you are pulling an extra 50+ pounds. It is a good idea to pack extra layers for you as well.

Secure your child with the seat belt.
Children are restless and may want to move around, but if they are willing to sit for a nice long bike ride behind mommy or daddy, then they need to be strapped in to prevent injury in case something happens to you or the carrier. A patch of ice, or another cyclist/vehicle skidding out of control, could send you or the carrier upside down. Though very unlikely, better safe than sorry.
Plan on frequent stops.
Taking your child on a ride through picturesque parks and meadows without stopping to let them play makes you a mean parent. Let them get out and explore, especially if they get fidgety. If you simply want to take them on a spin around the neighborhood, make it fun for them by riding on snowy sidewalks and stop to visit one of their friends or a relative. Even better, plan to stop at a park or playground that they enjoy, then let them out and have fun playing in the snow. Chances are, they’ll have the playground to themselves, and you’ll be a hero when they get cabin fever.

Bring extra snacks and water.
If all goes well, you will be cycling with your kids for a long time, and they will enjoy it. In fact, you can also make your adventure even more fun by packing a picnic and taking a break to share a snack with them. I like bringing a thermos with hot cocoa, which is a special warm treat when we stop to play.

Be careful where you pedal.
Obviously ice can be a hazard when riding in the cold, so be alert and realize that powder can hide icy spots. I have taken several spills on unseen ice hidden by powdery trails–it it is very unpleasant. Deep powder is also a hazard: anything more than six inches will likely be impassable with this setup if the snow is soft and fluffy, and you may find yourself exhausted trying to pedal through it, and get stuck. Deeper powder, however, might be a good place to stop and take a break, have a snowball fight, make a snowman, make snow angels, or go for a small hike. Deeper powder may also be a fun place to find a hill to practice sledding or skiing… which are generally easy enough to attach to most carriers.

In my opinion, the very best places to ride a fat bike, especially with a kid carrier, are on groomed Nordic trails. Not all of them allow fat bikes (in fact, few of them do), but here in Colorado there are public groomed trails in Crested Butte that are open to anyone (and paid Nordic trails that do not allow fat bikes). There are also paid groomed trails at Tennessee Pass near Leadville, and trails at Howelsen Hill in Steamboat Springs that encourage fat biking. You may want to check them out if you vacation there on Spring Break–or plan a winter vacation there next season. If you don’t have a fat bike, you can also tow your child in a carrier with cross country skis–but of course fat bikes are way more fun! 🙂

Now, go explore the snow with your little one!


