

Mountain biking is difficult enough on a horizontal plane. Tip the trail to one side or the other and things get trickier. The contact patch grows narrower, as does the margin for error.
To help us work through the nuances of riding off-camber trails, I leaned on Jeremiah Stone, a master trail builder and professional mountain bike instructor with Ninja Mountain Bike Performance for advice.
Set the bike up for traction
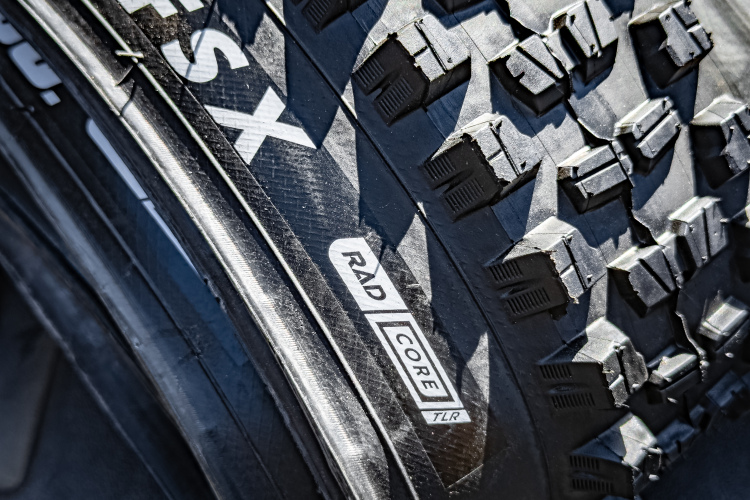
Stone recommends riders start with a solid baseline first and then focus on traction. “With off-camber sections, too much pressure in the tires will make the tire harder and not let it conform to the surface. This means the contact patch is much smaller than it would be with the proper air pressure. On the other hand, a tire that is too soft will risk burping or folding all the way over and damaging the rim or disrupting the rider’s control.”
Stone uses the SRAM Tire Pressure Guide for tire pressure recommendations because it accounts for things like weight, riding style, tire type, and rim profile. “If I don’t have a tire pressure gauge handy then I try to make my tires feel more like an orange than an apple. Tires with too much pressure bother me and convince me that my suspension is out of whack.”
Body position is crucial for riding off-camber trails
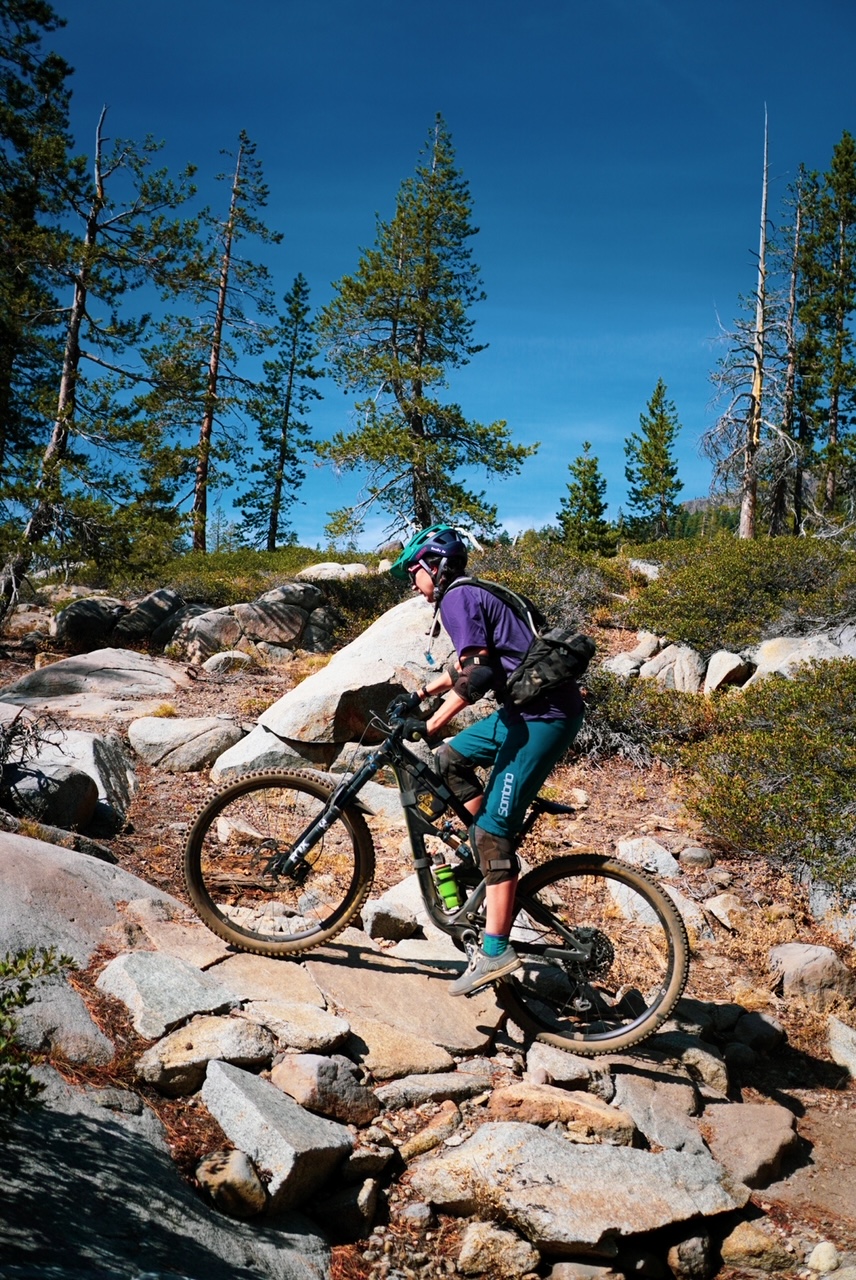
Stone believes body position is the most important part of riding off-camber sections. “You want to be in a low ready position with a good bend in the knees and elbows, back flat, feet evenly pressured, and your hips over the bottom bracket. Make sure you go down and not back when you drop into the low ready position. Otherwise, you’ll unweight the front tire and wash out.” Stone states riders want to be in the low ready position so they can adjust to any movements or wiggles that happen without being thrown off balance.
Stone encourages riders to consistently practice body position. “Focused practice leads to consistency and consistency leads to confidence! Find controlled areas to familiarize yourself with the techniques. In an urban setting there are lots of opportunities to try things out. Concrete drainages or retaining walls have good, consistent traction to test out your technique.”
Foot position is also important when riding off-camber trails. “In most cases, riders want their pedals evenly weighted and horizontal for maximum balance and clearance. But, in an off-camber section, riders can drop the outside pedal or give it some extra weight to increase traction. The key is to push the bike straight down into the ground instead of at an angle with the camber of the trail. Lowering the outside pedal also raises the inside pedal, creating more clearance and lessening the chance of a pedal strike.”
Successful off-camber cornering takes practice

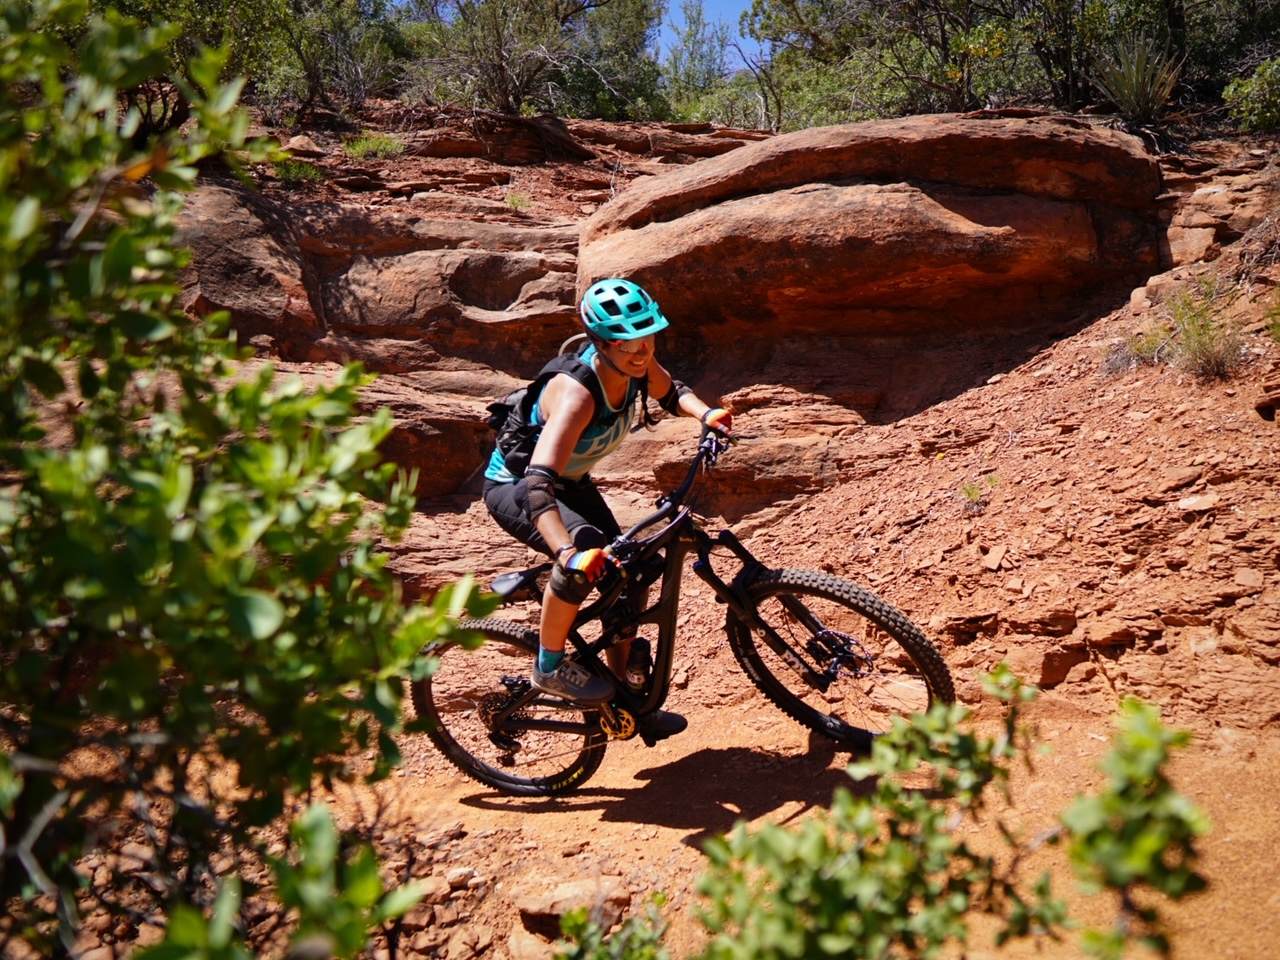
Riding off-camber corners can be nerve-wrecking. Stone advises riders to practice cornering off-camber turns repeatedly to get better at it. “Session one or create one somewhere to practice. Cornering is all about looking where you want to go, getting into a good low ready position, and then separating the bike from the body. The more off-camber the turn, the more separation is necessary.”
Stone says it’s good to practice on flat ground until you have the technique down pat. “Open the knees, low and put pressure on the outside foot, get the elbows up, and lean the bike over hard like you’re spearing something with the handlebars.”
Stone states the preferred way to corner off-camber is to start early and stay high. “That way, if I get disrupted and pushed downhill, I can still hit my exit. If there’s not a ton of room, then I might use a pre-turn technique to help get the angles right (similar to a switchback). Whatever I choose, the key is to not disrupt anything while in the off-camber corner, but be ready and adaptable. As with most of mountain biking, it’s easier to drop down than it is to climb up.”
Off-camber climbs and descents present their own unique challenges
Both climbing and descending off-camber trails can be tricky. Stone has some helpful tips for each situation. When it comes to climbing, “you’ll want to use your ratcheting technique to avoid pedal strikes. Practice this technique on both sides before you have to rely on it! Keep your eyes up and get your gearing before the section gets tough so you can minimize the disruptions. If you have to bail, then always bail on the uphill side so you don’t trip and tumble.”
For descents, Stone stresses the importance of body position and vision. “Get balanced, favor (and possibly lower) the outside (downhill) foot, and look where you want to go. Don’t panic when the bike wiggles! Be very, very smooth if you need to use the brakes and avoid any disruptions if you can.”
Think of off-camber sections like corners
Stone recommends riders view off-camber trails in the same way as corners. “You’re relying on the tire’s side knobs and your body position to hold traction. Any disruption or imbalance will cause problems. If your weight is too far back, then the front wheel will slide down the hill. If you hit brakes and lose traction, then the wheels will slide down the hill. If you hit your pedal and lose balance, then your bike will wobble and try to go downhill. You’ve got to stay smooth and be ready for movement if anything happens.”


6 Comments
Jun 8, 2022
Since that time, I spend a little time on each ride thinking about the basics, like body position, bike lean, eyes up, and proper braking, and it's definatly helped make my riding smoother, safer, and more fun.
Kudos to Jeremiah and the Ninja team.
Jun 9, 2022
Jun 25, 2022
Apr 29, 2024
.... to me those the most problematic turns. I imagine the above advice still applies?
Jun 25, 2022
Apr 29, 2024