
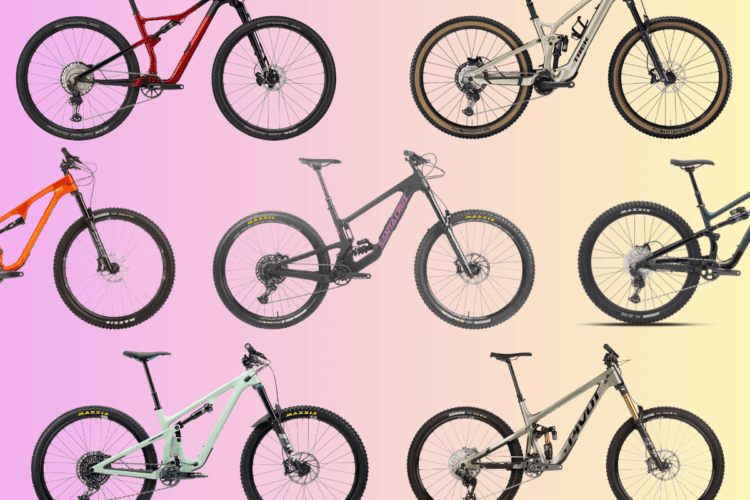
If you’re thinking about buying a trail bike and aren’t sure where to start, you’re in luck. While I can’t pick your new bike for you, I can walk you through some of the factors you’ll need to weigh to narrow down the somewhat intimidating field of options.
While I’m not willing to draw specific, hard-and-fast parameters for what constitutes a trail bike, I’ll point out that the class generally occupies the space between more XC-oriented machines and those all-mountain or enduro rigs that specialize in putzing around the woods with the occasional interruption of a screaming downhill.
In other words, if you’re somewhere between full Lycra and full-face, trail bikes are for you. They’re also great if you can only afford one bike in your stable and aren’t willing to specialize. Yes, you can ride a cross-country bike down some rowdy hills or take a 180mm-travel enduro beast on an all-day epic, but that doesn’t mean these situations are ideal. If you’re looking at trail bikes you’re looking at an intelligent balance of efficient and extreme, and – if I may be so bold – you’re on the right track.
Frame Material
The frame is the foundation of any trail bike, so comparing materials is a great place to start. With the exception of a few brands residing on the more “boutique” end of the spectrum, most manufacturers opt for traditional aluminum and carbon offerings.

Since someone will end this article upset no matter what, I’ll make the seemingly safe claim that carbon is the more desirable material. It’s stronger, lighter and stiffer but nevertheless has a few downsides. Besides the huge bank account hit, carbon won’t dent. Given the right impact in the right place from the right rock, it can crack. Repairs are possible, but they’ll probably void the warranty and they aren’t exactly bulletproof. A quick search of YouTube will demonstrate that carbon is also prone to more catastrophic failures. Although it takes less stress, aluminum tends to bend instead of breaking. Hopefully, stressed aluminum will be noticed in the parking lot instead of in the landing zone.
Aluminum is better suited for taking impacts from kicked-up rocks so riders won’t find themselves wincing as much with every ding on the downtube. The downside? It’s the heavier choice. Whether riding up a gravel road or using lots of body English on the way down, an identical aluminum bike will take more energy to maneuver.
For those buying a first trail bike or planning to upgrade in the near future, I would recommend saving money by going with an aluminum frame. This allows time to get some experience and learn preferences before throwing down upward of $5,000.
On the other hand, if a certain frame is your absolute favorite and you plan to keep it until your fifth grader graduates college, a carbon model will be a more appropriate platform for upgrading to whatever new innovation the bike industry throws at us next.
Geometry
I’ll keep this section brief, but if you need an overview of the terms most commonly used to describe bike geometry, check out Aaron’s article here. Most trail bikes will have a head tube angle between 66 and 67 degrees, and if we remove two major outliers in Aaron’s test group, the effective top tube length will fall between 615 and 630mm. Just 1.5cm is a pretty narrow range for a field of 16 bikes.
The picture is the same for measurements such as bottom bracket height and reach, both of which show less than 2cm of variation. Aaron’s findings illustrate that, with few exceptions, bike manufacturers seem to be finding a geometric sweet spot for trail bikes. For information on how trail geometry differs from enduro geometry, look into another article from Aaron.
If a bike falls far outside the average on any of these measurements, take note. This could be a sign that the bike is designed for an edge use case within the trail riding spectrum that fits a particular style of riding. Or, it could be an indication of a unbalanced bike design that should be avoided.

Wheel Size
One of the most polarizing subjects in mountain biking today is wheel size. If it’s been a while since your last bike purchase, you’ve probably been riding 26” wheels. At some point, someone decided bigger wheels would roll over obstacles better. They were right. 29ers entered the picture, and the people rejoiced. Then some folks decided 29” wheels were a bit large, especially when airborne, and the industry reached a classic, split-the-difference compromise with 27.5” rims.
The 29” wheel was adopted most passionately by cross-country riders who found monster-trucking over obstacles improved their race times. At the other end of the spectrum, downhill racers were slower to adopt the new size. These days, however, certain companies are experimenting with downhill 29ers with rather positive results.
In my opinion, wheel size is mostly a personal preference, and I don’t feel qualified to recommend which is the best. Rider size is definitely a factor, since someone who is 5’1” and rides an XS frame is going to have some Martian geometry trying to rock 29” wheels. At the same time, a rider who’s 6’4” on an XL bike will probably benefit from the improved rollover and geometry. And those in between? You’re catching on. Unless you have a strong preference for a particular size, a 27.5” wheel is pretty well suited for your new trail bike.
Tire Size

Like everything else, mountain bike tire width is a compromise. The good news is that tires are easy to change, and most riders end up replacing tires earlier than they had hoped. However, when shopping for a trail bike, pay attention to tire widths.
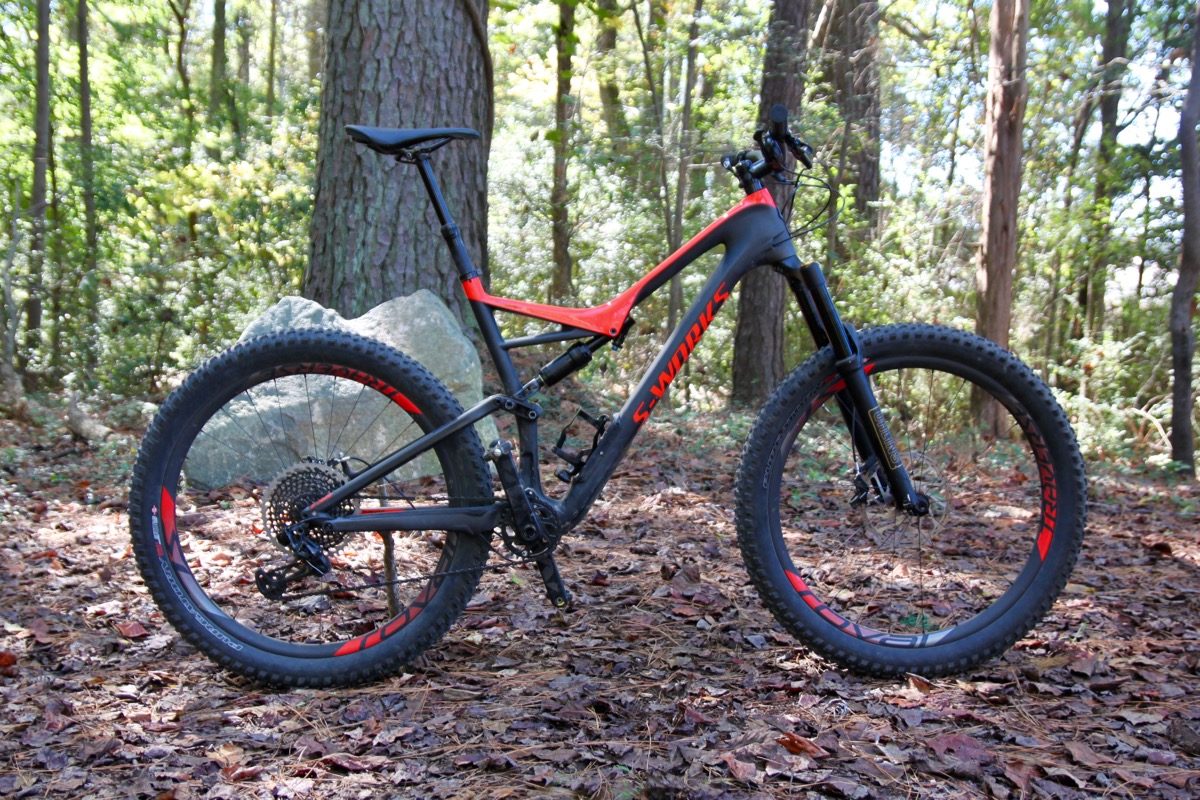
The recent emergence of the “plus” bike — tires roughly 2.7-3.0” wide — initially caused quite a stir. These bikes have components designed specifically to accommodate the increased size, such as wider rims and seat stays, so know that it’s not possible to simply throw plus tires on any bike. Tires in this class have grip for days due to the additional rubber contacting the ground. The higher volume also enables lower air pressures without putting rims in harm’s way, which adds even more grip.
Now for the downsides: all that grip adds additional rolling resistance and the extra rotational weight of a heavier tire tends to slow riders down. Plus tires also have taller sidewalls that don’t support hard cornering as well, especially when running lower pressures. Aggressive riders may find they tend to squirm.
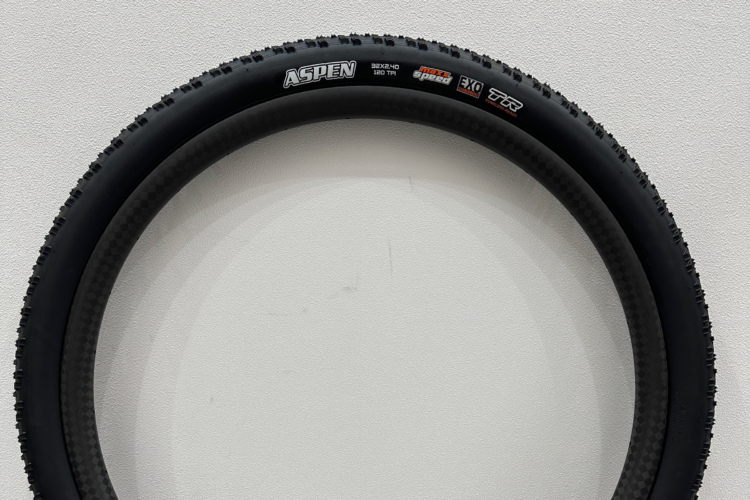
A trail bike with standard-size tires will probably be spec’d with 2.1-2.3” wide tires. Most bike frames will accommodate up to about 2.6” tires and still offer a little bit of clearance for mud buildup, though check the recommended rim width from the tire manufacturer. Like most every aspect of a trail bike, tire size will come down to personal preference, so make sure to try before buying.
Travel

The trail bike is a do-it-all category and there’s a huge range in the amount of cush in this class. That being said, most rides will be somewhere in the ballpark of 120-150mm in the front and rear. Since the trail bike is largely meant to be a quiver-killer, choose the amount of squish based on your skill level, riding style, and most-often encountered terrain.
Suspension performance has been steadily improving, and many longer-travel rigs are now surprisingly capable climbers. True to theme, however, everything is a trade-off. As travel increases, climbing performance tends to decline.
A trend that’s becoming more and more common in the trail bike arena is a fork with slightly more travel than the rear shock. Combinations such are 150/140 (front/rear) are aimed at downhill shredding with the acknowledgment that all good things must come to an end. If your lift- or shuttle-assisted days are few and far between, this split is created with you in mind.
If your ideal trail bike is also well-suited to an endurance race instead of the enduro variety, look at travel in the neighborhood of 120mm. These steeds will still shred the downhills, but they’re aimed at a crowd looking for efficiency. If you’re planning some truly long days in the saddle or you shoot for the KOMs when you’re fighting gravity instead of using it, shorter travel trail bikes will be light, nimble, and fun to rip.
Of course, it’s only fair to acknowledge that other perennially popular steed, the hardtail. Not all trail bikes have rear squish, because frankly, not all trail riders want it. The simplicity and efficiency of a hardtail paired with modern geometry seems to keep fans endlessly entertained. However, in my completely anecdotal experience, I see far more full-suspension bikes at my favorite local trailhead these days.
Suspension system
Cheaper full-suspension trail bikes are likely to have a single pivot suspension design due to the simplicity of manufacturing. Single pivots will generally go through their travel at the same rate from beginning to end, so they don’t resist bottoming out as well as some of the other multi-pivot designs out there.

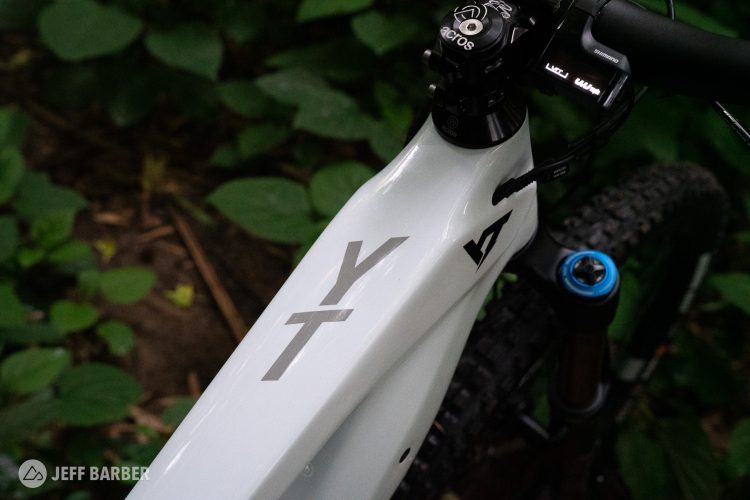
Designs with more complicated linkages can have a plusher initial feel and a firmer middle or end of the stroke, depending on what the manufacturer is trying to accomplish. I won’t get into the weeds here because tons of manufacturers have their own systems, such as Giant’s Maestro, Yeti’s Switch Infinity, and Trek’s ABP. They all make various claims about how effective they are, typically involving terms like “anti-squat,” “pedal bob,” something “floating” and “small-bump sensitivity.” Frankly, I have no clue if any of these claims are legit. I don’t think manufacturers do either, and you can go down that rabbit hole at your own risk. Personally, I ride a Giant. I like my bike. Your experience may vary.
Drivetrain

Depending on your point of view (and chances are, you’re pretty passionate about it) you’re either holding onto your two front chainrings or pedaling away on your 1x and never looking back. It comes down to personal preference, but I’ve found the gearing offered by SRAM’s 1×11 (and now 1×12) systems provide enough range for all but the steepest climbs. And I probably couldn’t ride up those anyway.
With the advent of Eagle (or other options such as e13’s 9-46 11-speed cassette), a 500% gear range means riders can opt for larger front chainrings without sacrificing their easier gears. This setup is useful for pedaling through mellower, sustained downhills or riding on the road to the trails.
Brakes

We spend plenty of time thinking about how to go faster, but it’s arguably even more important to think about slowing down. Even the most entry-level trail bikes should come equipped with hydraulic disk brakes, and for the most part, they’ll be pretty effective.
Trail bike brakes will generally have calipers with either two or four pistons. The pistons are the things that squeeze the brake pads to apply friction and slow the bike down. Four calipers will be more effective and require less pressure at the lever. The trade-off is increased weight, but in my own humble opinion, it’s worth it.
Another consideration is rotor size. Larger rotors will increase breaking power and also improve heat dissipation for those extended downhills. A typical trail bike will likely have a 180mm front rotor paired with a 160mm rear. A 180mm rear rotor can be a cheap upgrade, just be prepared to get an adapter to fit the 20mm increase.
Handlebars
If it’s been a while since your last bike purchase or you come from a cross-country background, you’ll need to spend some time adjusting to wider handlebars. Once you do, I doubt you’ll look back. Wider bars increase control and stability when going downhill without many downsides other than a minimal weight penalty and some additional clearance requirements for zooming between trees.
Trail bikes generally have bars that are either 760mm or 780mm in length, although some will come with bars that are 800mm wide. I know many riders who won’t settle for anything less.
Dropper post
When considering specific features, remember that pretty much everything is a compromise one way or another. Except for dropper posts. Definitely choose a trail bike with a dropper post, or at least plan to buy one separately.
How much drop you rock will largely depend on the size of your frame and the shape of your seat tube. Ideally, your dropper post should be at the proper riding height when fully extended with room to drop as close to the frame as possible. Since some seat tubes have a bend in them, that limits how far a post can be inserted. Some bikes might be limited to a 125mm dropper instead of 150-170mm.

One final bit of advice: when you do settle on a trail bike, ride it extensively before you start chasing after “upgrades.” You’ll learn a lot about what you like and don’t like, and will be more informed when it comes time to go from a stock machine to something more customized.
Finally, as you buy new parts it’s a good idea to start with the major contact points. The right grips, pedals, and seat will make things much safer and more comfortable, but shouldn’t be a deal breaker when choosing among bikes initially.
You can also read our latest mountain bike reviews and news to help find a bike that suits your riding style and budget.



5 Comments
Jun 23, 2018
Jun 15, 2018
Jun 15, 2018
Jun 15, 2018
Jun 15, 2018