

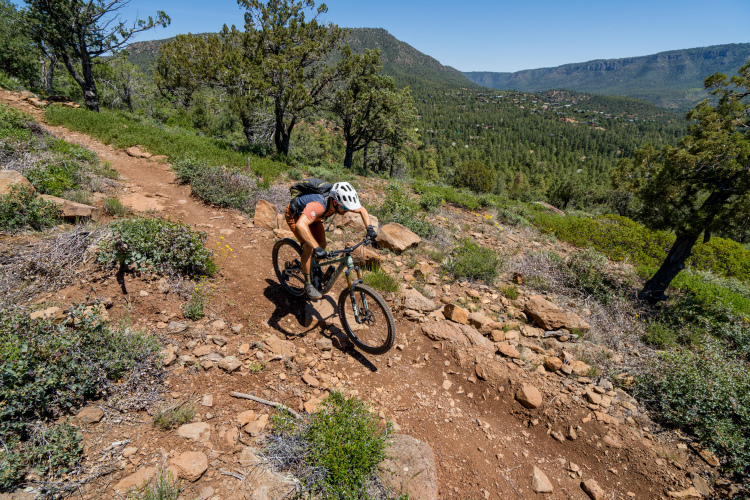
I get to ride a good amount of rim crushing rock terrain, and as a result, I have amassed a few skills for cramming tough foam into my tires. The mounting method below is a culmination of tips from other folks who busted their knuckles before me. We are forever shredding on the shoulders of giants.

Step 1: Prep the rim as you would for any other tubeless setup, with tape and a valve installed. Most inserts will require a special valve that has cutouts at the base, allowing you to add sealant through the valve. If you add sealant before a tire and insert are fully mounted on the rim, most of the sealant will squish out and be wasted. You’ll see why as you mount up the insert.
Step 2: Mount the driveside (rider’s right) of the tire on the rim. If you are adding an insert to a tire that is already mounted, simply remove the bead from the non-driveside (rider’s left) and leave the driveside in place.

Step 3: Stretch the insert onto the rim. Each insert manufacturer designs these things to fit in a particular way, so you will want to check the spec for your chunk of fancy foam. Some fit super tightly in the rim bed and are nearly as hard to mount as a tire, and others sit higher inside the wide part of your tire and mount up without a fight.

Step 4: With the insert, er inserted, it’s time to mount the other side of your tire bead. To begin, mount the bead as far as you can by hand, starting at the valve.

Step 6: Fold an old tire over itself twice, as it was when you bought it. Put the folded tire on the ground, and place your wheel on top of it, with the cassette resting squarely on the tire. Then, place your knees on the portion of the bead that is already seated to keep that portion in place, and continue mounting the tire with both hands. Remember to seat the bead as far into the rim channel as possible.
With this step, you can clearly see why you want to have the driveside of the tire mounted first. You would likely put some frustrating wobble in a rotor by pressing your body weight into it like this, but my cassette has never been bothered. If you are concerned for the health and well-being of your cassette you could remove it, or remove the rotor, and press the hub shell directly into the tire.

Step 7: With the bead seated as much as you can manage by hand, hold one side of the seated bead with your hand (or a tire lever), and use a sturdy tire lever to pull the rest of the bead into place.
If the bead feels too tight to fully mount, push the mounted portion further into the rim channel all the way around the rim while stretching the slack of the tire toward the unmounted chunk of the bead. If it remains too tight to mount you may need to remove a layer of tape from the rim to give the bead more space, or ask someone with strong hands to help you seat the last bit.

Step 8: With the tire fully mounted, add sealant and air and go slam your wheel into whatever you like.
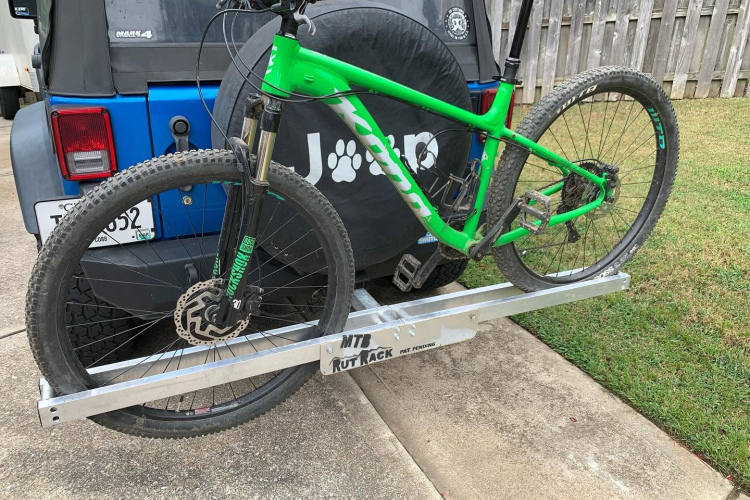
This procedure is a major pain the first few times, but I promise it becomes easier with practice. Most inserts last through the life of a tire or three, so take comfort in the fact that the hard work should leave you flat free for the season, barring any unrepairable sidewall tears. The Pepi’s Tire Noodle that I mounted for these photos took roughly ten minutes and no bloodshed to complete.
Having trouble changing a tire with an insert already inside? This article has some ideas.


3 Comments
Jun 26, 2019
I'm getting an Ibis Ripmo, frame up custom build at one of my local bike shops, Chainheart Cycling in Asheville, NC. Keeping it local!
Will be trying out the new Ibis S35 rims with Industry Nine Hydra hubs and spokes. I think the collaboration with Stan's on the rims will make it easier to get tires on and off, and hopefully a little easier to install tire inserts.
Jun 25, 2019
I was not able to get a Vittoria Airliner in my rear wheel. I had to take it to my local bike shop. It took two of them to wrestle it in.
It worked great for about 6 months, then had to remove it. My rear tire got deformed and was not true after the shop removed and reseated it a few times for service. Will give a rear tire insert another go soon on my new bike being built.
Jun 26, 2019