
Hopefully my recent post, One Is Enough, convinced some of you to give singlespeed mountain biking a try. The nice thing about singlespeeding is you may be able to do it for cheap by converting a bike you already own for less than $50! You could spend a lot more, but the basic conversion will get you rolling with only one gear and is perfect if you just want to try singlespeeding out. Converting an old bike to SS is also a great way to breathe new life into it and finally get it outof the garage and onto the trails again.
After riding my SS to help with the One Is Enough article, BrianW decided to convert his old 1991 Trek 830 to a SS. We did just the basic conversion on his bike, and that’s what this article will focus on. Future upgrades are included at the end however if you want to do a proper full-on, bomb-proof conversion.

Parts You’ll Need
Spacer kit – get one that includes lots of different spacer sizes to fine tune the rear cog position to achieve a really straight chain line. Some cheaper kits include only two spacers – I don’t recommend these.
Rear cog – if your hub has a steel freehub body (common on most lower end bikes), a cheap stamped cog will work, but if your hub has an aluminum freehub body you should get a dedicated SS cog with a wider base to prevent gouging the freehub body.
Tensioner – this will keep the chain nice and tight and keep it from falling off. There is a slight chance you wont need it, but very very slight. Go ahead and pick one up – you can always take it back if it turns out you don’t need it.
Chain – most SS rear cogs will not fit 9spd chains so you’ll need either a SS chain or an 8spd chain. If you’re converting an older bike it may already have an 8spd chain on it so feel free to reuse that chain on your SS set up as long as it isn’t too worn.
Several companies offer SS conversion kits that include the spacers, cog, and tensioner which is easier and cheaper than buying the parts separately.

Quick note on gearing: The gear ratio/combo you use is dependent on your fitness level and where you live. Someone in Denver, CO probably needs an easier gear than someone in Savannah, GA. Ask around your area for recommendations.
Tools You’ll Need
Performing the conversion takes limited mechanical knowledge and only a few bicycle-specific tools. These are tools every cyclist should own anyway as they’re required for basic maintenance/parts swapping. This project is a good excuse to get the tools if you don’t already own them!
- Chain whip and lockring tool – used to remove the cassette from the rear wheel.
- Chain tool – you’ll need to shorten the chain to the correct size.
- Big adjustable wrench – used to turn the lockring tool.
- Various allen wrenches – used to remove the rear derailleur and shifters, install the tensioner, etc.
Step 1 – No More Shifty Bits
This is pretty basic so I’m not going to go into too much detail. Just remove all of the parts you’ll no longer need:
- chain
- front derailleur
- rear derailleur
- front shifter
- rear shifter
- all shift cables and housing

Won’t need any of this crap any more.
Step 2 – Rear Cog Install and Alignment
Remove the rear wheel from the frame and the cassette from the hub. Use the chain whip to hold the cassette in place and the lockring tool and adjustable wrench to remove the lock ring. Once the cassette is off, it’s time to put the rear cog on and get your chain line straight. You’ll want to use the spacer kit to get the rear cog aligned with the middle ring on the cranks – it’ll take a few tries to get it right.
Put the cog and spacers on the wheel where you think it might be close but don’t tighten the lockring down too tight. Put the wheel into the frame and lay the chain across the cog and chainring. Is it straight? Probably not. Remove the rear wheel, and move the cog/spacers around to get closer. Repeat as necessary and once you’re happy with it, tighten the lockring down. You probably can’t get it 100% perfect, but get as close as possible. A straight chain will run smoother, wear much slower, and is less likely to come off the chainring.

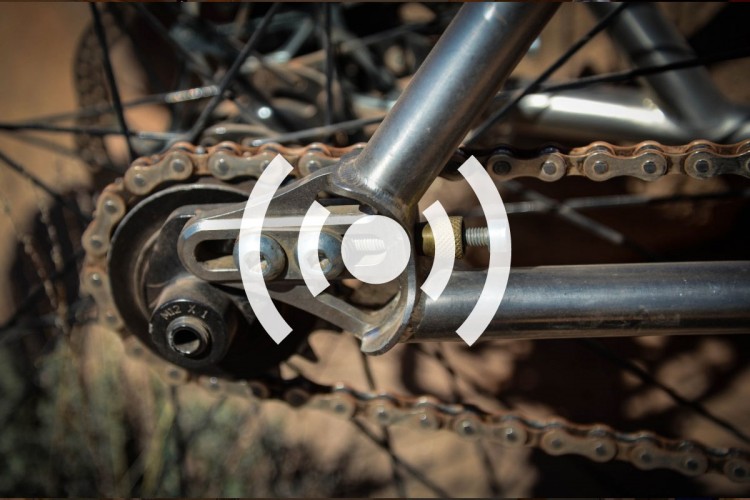
Nice straight chain line.
Tip: It’s hard to tell if the chain is straight just by eyeballing it. None of the frame tubes will be parallel to the chain so it makes it hard to visualize. Here’s what I do: place a straight edge (I use a level) on the chainrings extending back towards the rear wheel. If the chain is straight, it will stay the same distance from the straight edge all the way back.

A straight edge makes it easy to tell if your chain line is good or not.
Step 3 – Chain Length and Tensioner Install
We’re almost done! Now it’s time to shorten the chain to the correct length. Without the tensioner on the bike, wrap the chain around the middle chainring and rear cog. Figure out where you need to remove the excess chain – you want the chain as short as possible – then put the remaining chain back together. Chances are the chain will be a little too longand you’ll have some slack but that’s what the tensioner is for. If you get lucky, the gear combo and chainstay length will work out perfectly and you wont need the tensioner. But, this is rare.

The chain didn’t quite line up perfectly on BrianW’s bike so we had to use a tensioner. When you shorten the chain be sure take it apart at the correct place, so you have a pair of outer links on one end and inner links on the other – can’t connect two sets of outer links!
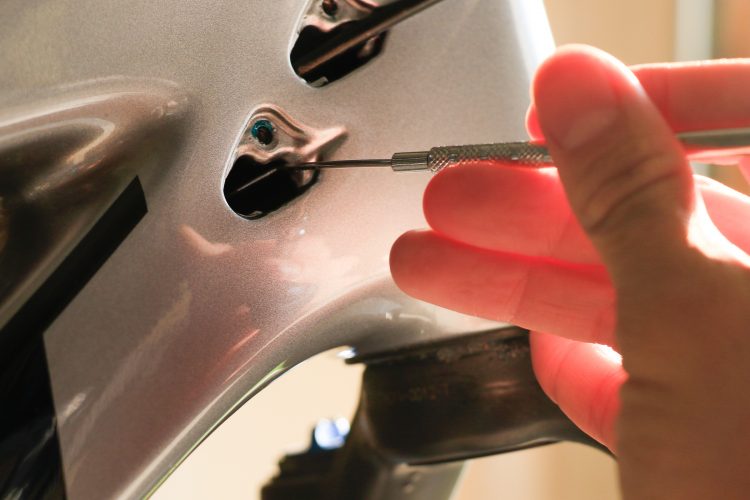
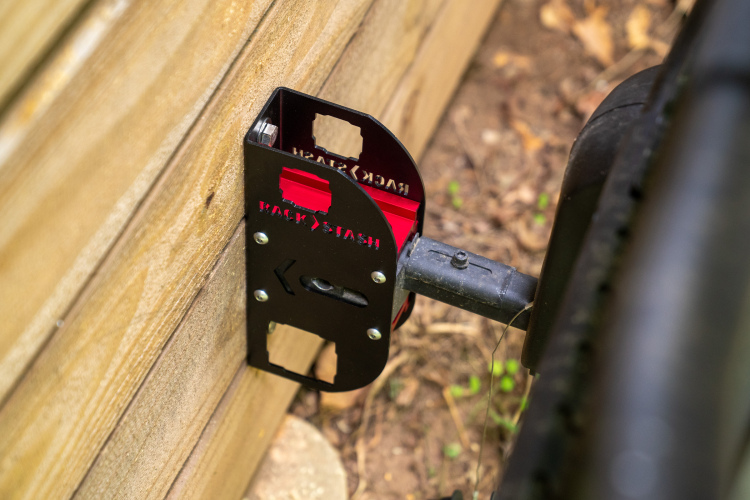
Installing the tensioner is easiest if you remove the pulley wheel so you don’t have to fight the chain. The tensioner should have a spring peg near the derailleur hanger mount – that peg should sit in the ‘hook’ of the derailleur hanger. The pulley wheel is usually adjustable so you can set it up to match your chainline.

Looking through the wheel, you can see the spring peg sitting in the derailleur hanger hook.
Some tensioners are designed to push the chain down, some are designed to push the chain up, and some can work either way. A tensioner that pushes up on the chain is desirable because it causes the chain to wrap around the rear cog better, so there’s more teeth engaging the chain and less chance of slip or dropping the chain. However, a decent tensioner that pushes down on the chain will work okay too.

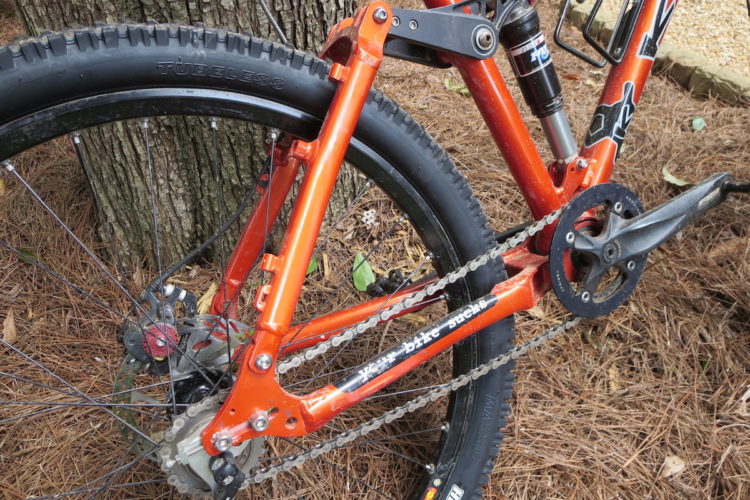
The Origin8 tensioner pushes down on the chain. This bike is ready to ride!
Okay, you’re done! Go ride and enjoy the simplicity of singlespeeding.
Go All Out
There are a few additional upgrades you can do to make your SS set-up better for long term use.
SS chainring – A dedicated SS chainring will not have any shift pins/ramps and will have taller and widerteeth than a ring designed for shifting. The taller/wider teeth are stronger and engage the chain better for reduced chance of slipping and dropping the chain.
Wider SS cog – conversion kits all come with rear cogs that are stamped out of a flat piece of steel. They are thin and under high load they can gouge into the cassette body on your hub, especially if it is a lightweight aluminum body. True SS cogs are machined out of a large piece of metal and have a wider base to spread out the load to prevent messing up your expensive hubs.
SS chainring bolts – these shorter bolts will let you remove thebig ring from your crank. Less weight, more ground clearance, and no exposed teeth to cut into your leg in a crash. And it looks nice and clean.

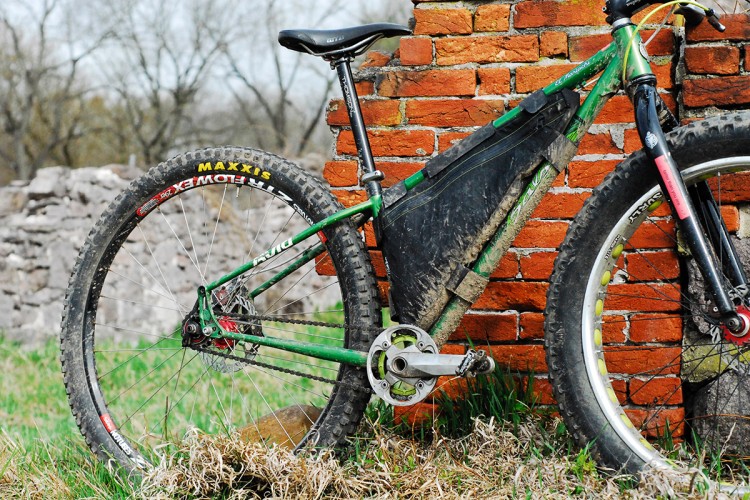
BrainW’s old bike is now ready to hit the trails once again!

16 Comments
Apr 24, 2012
Dec 22, 2013
Dec 23, 2013
Gears are for the weak legged and weak willed.
SS4Life!!!
Aug 8, 2011
I'm in the process of tearing apart a Trek 820 (just to take it apart) and when I re-assemble it I'll be turning it into a single speed.
Thanks for the write-up!
Aug 11, 2011
Aug 10, 2011
Have you heard of it? Care to shed any light on it?
Jan 15, 2015
Oct 8, 2016
I got the frame for cheap (old airborn liberator hardtail), and built the rest as I went. Even tho i am somewhat chubby I get up most hills on it. And the view from the top is so much sweeter.
Aug 11, 2011
Aug 8, 2011
Oct 25, 2015
Jan 13, 2017
Aug 8, 2011
Aug 8, 2011
Aug 8, 2011
Aug 8, 2011