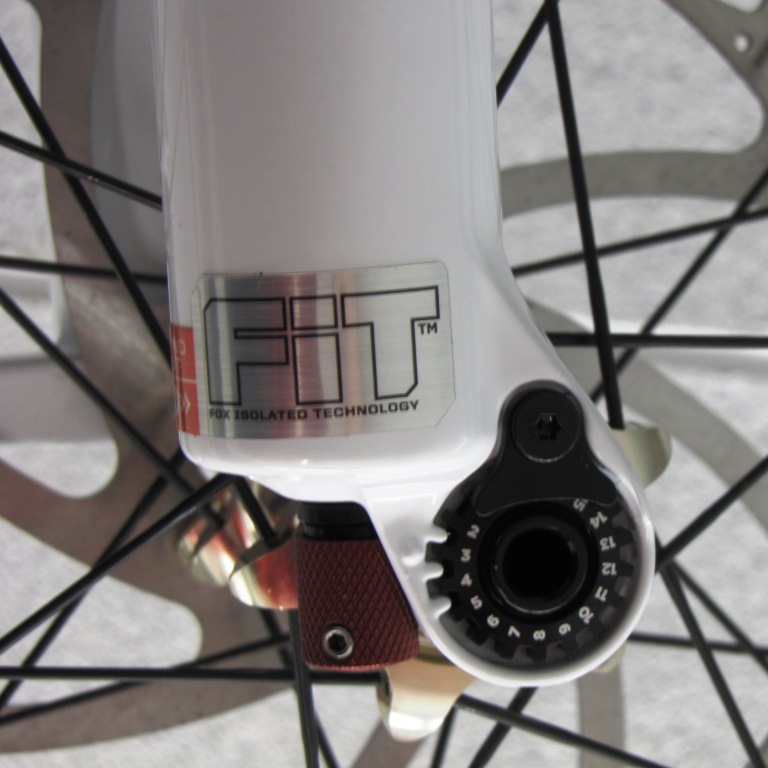
Here’s a quick guide to installing (or not installing) the Fox 32 Float 150 FIT RLC fork and how to dial it in for max performance on the trail. If you’re looking for a review, check this out.
Installation Tips
Don’t plan on installing this fork yourself unless you have all the proper tools handy and are competent enough for the task. Just in case you’re wondering, you will need either a pipe cutter with a new blade on it or a steering tube cutter guide and a hack saw. You will also need a star nut installation tool. Having said that, once the steering tube and star nut are installed, the rest of the installation is actually easy.
You’ll want to make sure you have enough brake hose for full travel (though you can step the travel down to 130mm using the included spacers). Always follow the recommendations on the included interactive installation CD when mounting the wheel and setting up your quick release for the first time. Keep in mind that the QR should not brush up against the fork at all when the QR locks in place.
Take your bike around a parking lot or on the street and jounce the fork for a while to get all the fluids in place. Let everything settle in for a bit before continuing onto bigger and gnarlier stuff. This is actually an important step and should never be skipped before setting op the fork, no matter how hard it may be to wait. 🙂
Setup
The 32 Float 150 RLC has four settings: air pressure, rebound, low speed compression, and lock-out threshold. The first setting you’ll want to adjust is the air pressure and sag. To do this you should have ridden around a bit to get all the bushings well lubricated to make sure that nothing sticks. Dial all the settings to the lightest levels by backing out the knobs (counter-clockwise) on both the compression bezel and the rebound knob on the bottom of the fork leg. Once that is complete you can set the sag on the fork.
Get dressed up in your full cycling gear and weigh yourself in. Look up your weight on the chart in the owners manual to find the correct pressure setting and use the provided shock pump to pressurize. For example, at my weight (full in @200lbs), Fox recommends 95 psi for the correct amount of sag.
Setting compression and rebound along with lock-out settings are all about user preference and will vary from rider to rider and will depend on your terrain, riding style, and ability. Ultimately you want the fork to track the terrain without feeling like it wants to toss you off the bike. You also don’t want a fork that feels like it’s about to bottom out on moderate drops. I generally like to set rebound first, then compression.
You can get a good idea of the initial rebound setting while standing in one spot and jouncing the fork. Start turning the rebound dial clockwise a few clicks at a time, and test each change by opening your hands and pushing down hard on the bars. The rebounding fork should not push your hand off the bars when it returns; if it tosses your hands off, there is too little rebound. Now, go for a ride and pay attention to how the fork is returning. On multiple hits the fork should not pack down (that is, lose travel every hit). Once the rebound is set, it’s time to get the compression and lock-out dialed in.
Compression should be set on the fly, preferably on a section of trail that you know well. With the compression knob you want to add enough compression (clockwise) so that when you take a drop / bump you don’t blow through the entire travel. Instead, you want to have a controlled compression without hitting the bump stop. You can also use the lock-out feature as a higher-level compression setting when taking larger drops or as a way to improve efficiency when pedaling through flats and climbs.
The 2010 Fox 32 Float 150 FIT RLC offers a wide range of settings you can tweak to get the perfect ride. Experiment to find the settings that work best for you!


