
Much has been written about the benefits of lowering your seatpost for some of mountain biking’s terrain challenges, especially since the advent of dropper seatposts. Better maneuverability on technical descents seems to be mentioned most often.
But lowering your seatpost has another advantage, and it can come into play when you’re riding skinnies, holding a line through a rock garden, or tackling difficult rocks and logovers.
It’s all about pain.
Your raised seat becomes an enemy in two ways when you need to put a foot down: 1) it acts as a catapult if you’re sitting on it; and 2) it has a tendency to prevent you from getting your other foot down in a hurry when you need it to prevent your body from crashing to the ground.
Here I’m riding a block wall that’s a foot or so above the ground on one side, sitting on my seat. I pretend to lose my balance, and as I start to put my right foot down, some of my weight is on my left pedal but the rest of it is on the seat:

That higher center of gravity becomes more of a liability as I continue to tip over as it launches my body weight to the right–so much so that I have to get my left leg over quickly to keep from falling flat on the ground:

Here are two views from the front, again, sitting on my bike’s seat. And again, I’m being launched. At this point, you can imagine what could happen if my trailing foot (second photo below) got stopped by the handlebars. No biggie here, as I’d be landing on soft green grass. But if there was a steep drop off or a bunch of jagged rocks, I might be toast:


Those of you who are more experienced are probably thinking, “Well sure, but I stand on the pedals when I ride a skinny, so what you’re saying doesn’t apply to me.” True, your crotch is more likely to be over the frame when you start to fall, not the seat, giving you more room to put a foot down and stabilize yourself. And you won’t be catapulted by your seat because your weight will be on the pedals.
But there’s another problem. Here I am, same setting, a view from the front. As I step off my pedals and straddle my crossbar to get a foot on the ground, look what happens to my trailing leg as I try to bring it around. It gets blocked by the raised seat:

Here’s a view from the rear, again showing the raised seat obstructing my leg:

I have to hop several times on my right foot to keep my balance because I don’t have my left foot on the ground. Again, not a biggie on flat ground with soft green grass, but that’s not often the case with technical obstacles along the trail:

So it’s much better to stand on your pedals and have your seatpost lowered when you tackle challenging obstacles like skinnies. Here are two views of what this looks like. You can see, I’m not being catapulted by a raised seatpost and I have no problem getting my trailing leg over the lowered seatpost.


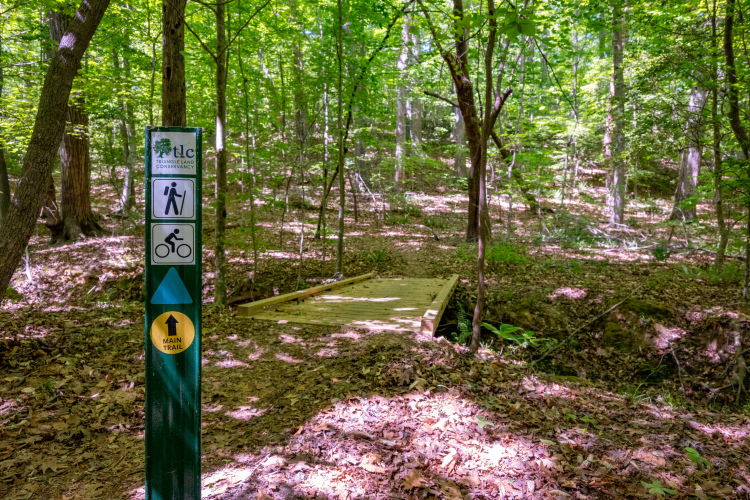
Here are two real-world examples of me riding rocks at the Lebanon Hills Mountain Bike Park in Eagan, MN, with stills taken from video clips.
Example 1: I’m in a rock garden, with my intended line in red. I’m standing on my pedals, trying to ride the tops of the rocks and sneak by the tree. It’s a rock garden version of riding a skinny:

But when I get to the last rock, I just miss its peak and my front wheel slides out, throwing me off balance. And so out goes my left foot. I’m straddling the crossbar, seatpost lowered:

Unobstructed by my lowered seatpost, my right foot can quickly come to the rescue, preventing me from falling into the larger rock on the right as my left foot is partially obstructed by a small rock. A possibly painful outcome has been averted, as I have both feet on the ground instead of other body parts:


Example 2: Here I am trying to ride over a big rock, intentionally taking a more difficult line by riding over the small rock in front of it:

I don’t make it and I have to put a foot down. My right foot is planted but my body is leaning. I’m possibly going to fall and fall hard, maybe on the rock to the right (arrow #1) unless I can get my left leg over the bike and seat and on the ground in a hurry:

Imagine a raised seatpost (arrow #2) that could have blocked my leg. Maybe I’d have been able to hop my right foot and save it. But then imagine if the little rock to the left of my right foot (arrow #3) was on the other side and blocked my hop. A hard fall into the big rock on the right (arrow #1) would have likely ensued. It didn’t happen, in part because my left foot was quickly available. A possibly painful outcome was again averted:

Anytime you crash and get hurt trying to ride terrain that’s just beyond your current ability, it can become a disincentive to keep trying it. Pain has an evolutionary purpose.
You can reduce the odds of getting hurt when riding skinnies and other technical terrain by both standing on your pedals and lowering your seatpost. You’ll boost your confidence and your desire to keep learning.
My “Holding a Line” instructional series
This is the third in my series of Singletracks articles on developing the ability to hold a line, a basic mountain biking skill. At least two more articles are forthcoming.
The articles are just one component of my “Holding A Line” instructional series. It also includes screencast videos, podcast episodes, and live webinars. To be notified when the entire series becomes available, subscribe to my free Thick Skull Mountain Bike Skills newsletter.
![]()


8 Comments
Jan 7, 2015
Jan 7, 2015
Jan 8, 2015
Jan 8, 2015
Next time I try it, I'll pay more attention to what's happening with the seat and if there's fulcrum-type pressure against my leg.
Thx for the tip.
Jan 8, 2015
Jan 8, 2015
Jan 7, 2015
Having the seat low like this is very similar to having flat pedals for technical trails. It lets you get off the bike much faster when bailing out.
Jan 7, 2015