When Garmin designed their eTrex recreational GPS series they certainly didn't have the Internet and data sharing in mind. It is possible, however, to upload saved GPS track data from your computer…
In many ways, exchanging data between your GPS unit and computer can be a confusing and frustrating process. Unlike iTunes and the iPod, there isn't a dominant piece of software or hardware…
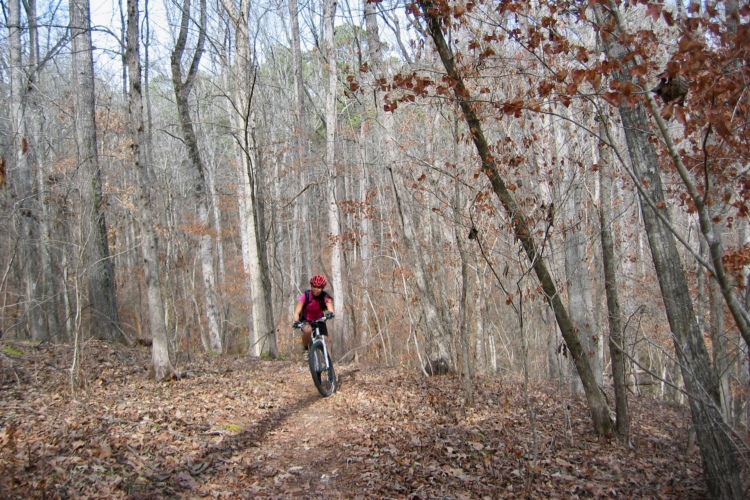
Paul and I decided to hit the Elena Gallegos mountain bike trail in Albuquerque since it came highly recommended from my buddy Mark Kittelson. After calling 5 or 6 bike shops in…
my photography skills dont do it justice but, alas, the wait is over... i think it deserves to be called the sex-c. this is truly the sexiest thing under 26 lbs! now,…
my bike finally arrived, only two months past schedule and five months since it was ordered. darn, i can't keep calling it "it", i had five months to think of a name…
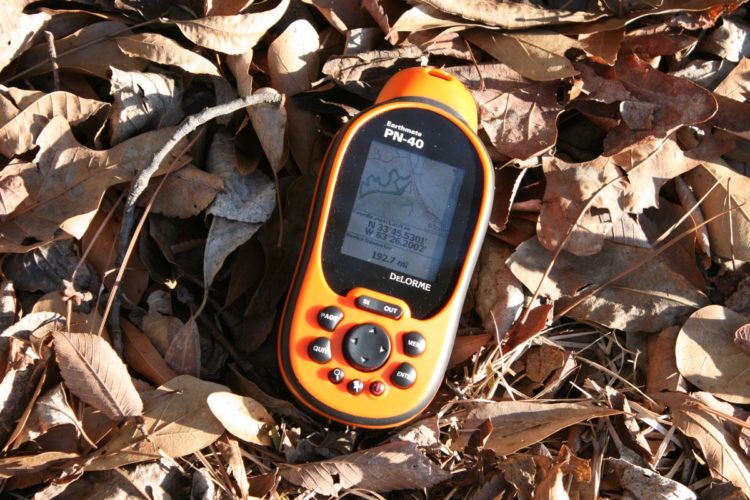
Learn how to use your mountain bike for geocaching. MTB geocaching involves using a GPS to navigate to a set of coordinates where a treasure awaits.
I recently gave a presentation for the outdoor club at school about mountain biking trails in the triangle and I thought I would share it here in the form of an article.…
i rode at lake crabtree recently and just like most other trail networks in town, the simplicity of the trails there have urged local riders to create man-made obstacles to make the…
my first xc race of the year. i thought it would be fun to race at hog run again, the last time i rode there was probably back in 2000 when i…
When I first moved out to Colorado Springs I was stoked to check out the biking scene and find out why people get so excited about mountain biking in the west. Within…
longing for some real "mountain" biking, we decided to check out the trails in roanoke, va, supposedly nicknamed "the colorado springs of the east." we got a 7am start and including breakfast…
Using computer software in conjunction with your GPS receiver opens a whole new world to navigation and planning your next cycling trip or other great adventure. Being able to compare the map…
You've probably heard the hype surrounding Global Positioning System (GPS) receivers lately or even seen someone out on the trails using one. But what can a GPS do for you as a…
It's been a while since I wrote an article for the site, but if you've been keeping up, you've noticed a number of fairly significant changes. We've added a ton of new…
The Tsali Recreation area is legendary among mountain bikers across the country. Well, legendary in the sense that there is a mountain bike named after if (The Litespeed Tsali). But beyond the…
When I first moved from the east coast to Colorado, I noticed that what we called mountain biking back east is much different than what people call mountain biking in the west.…
As you know, singletracks.com is all about the trails. We love checking out new trails and always having good places to ride no matter what town we might be in. We've checked…
Augusta, GA boasts more than 100 miles of singletrack trails in the area, including trails in the Sumter National Forest that are excellent for mountain biking.

 2
2