
Why would we ever need to ride exclusively on our front wheel? A nose wheelie; what is it practically for?
Well, to be honest, the first thing that comes to mind is impressing friends, not that I can actually impress anyone. I imagine those shreddits on social media of riders nose-pressing down giant Squamish rock slabs.
Doing a nose wheelie like that would be awesome, but it is probably not something I need to focus my time and attention on. But that doesn’t mean nose wheelies aren’t an important skill, as I found out in my conversation with skills coach Josh Whitmore.
Maybe a nose wheelie is closer to a manual…
The reality is, while a super long nose wheelie down a giant rock slab is awesome, most of us don’t need to learn it. Other than to impress your friends and folks on the internet, the trick doesn’t have much practical application.
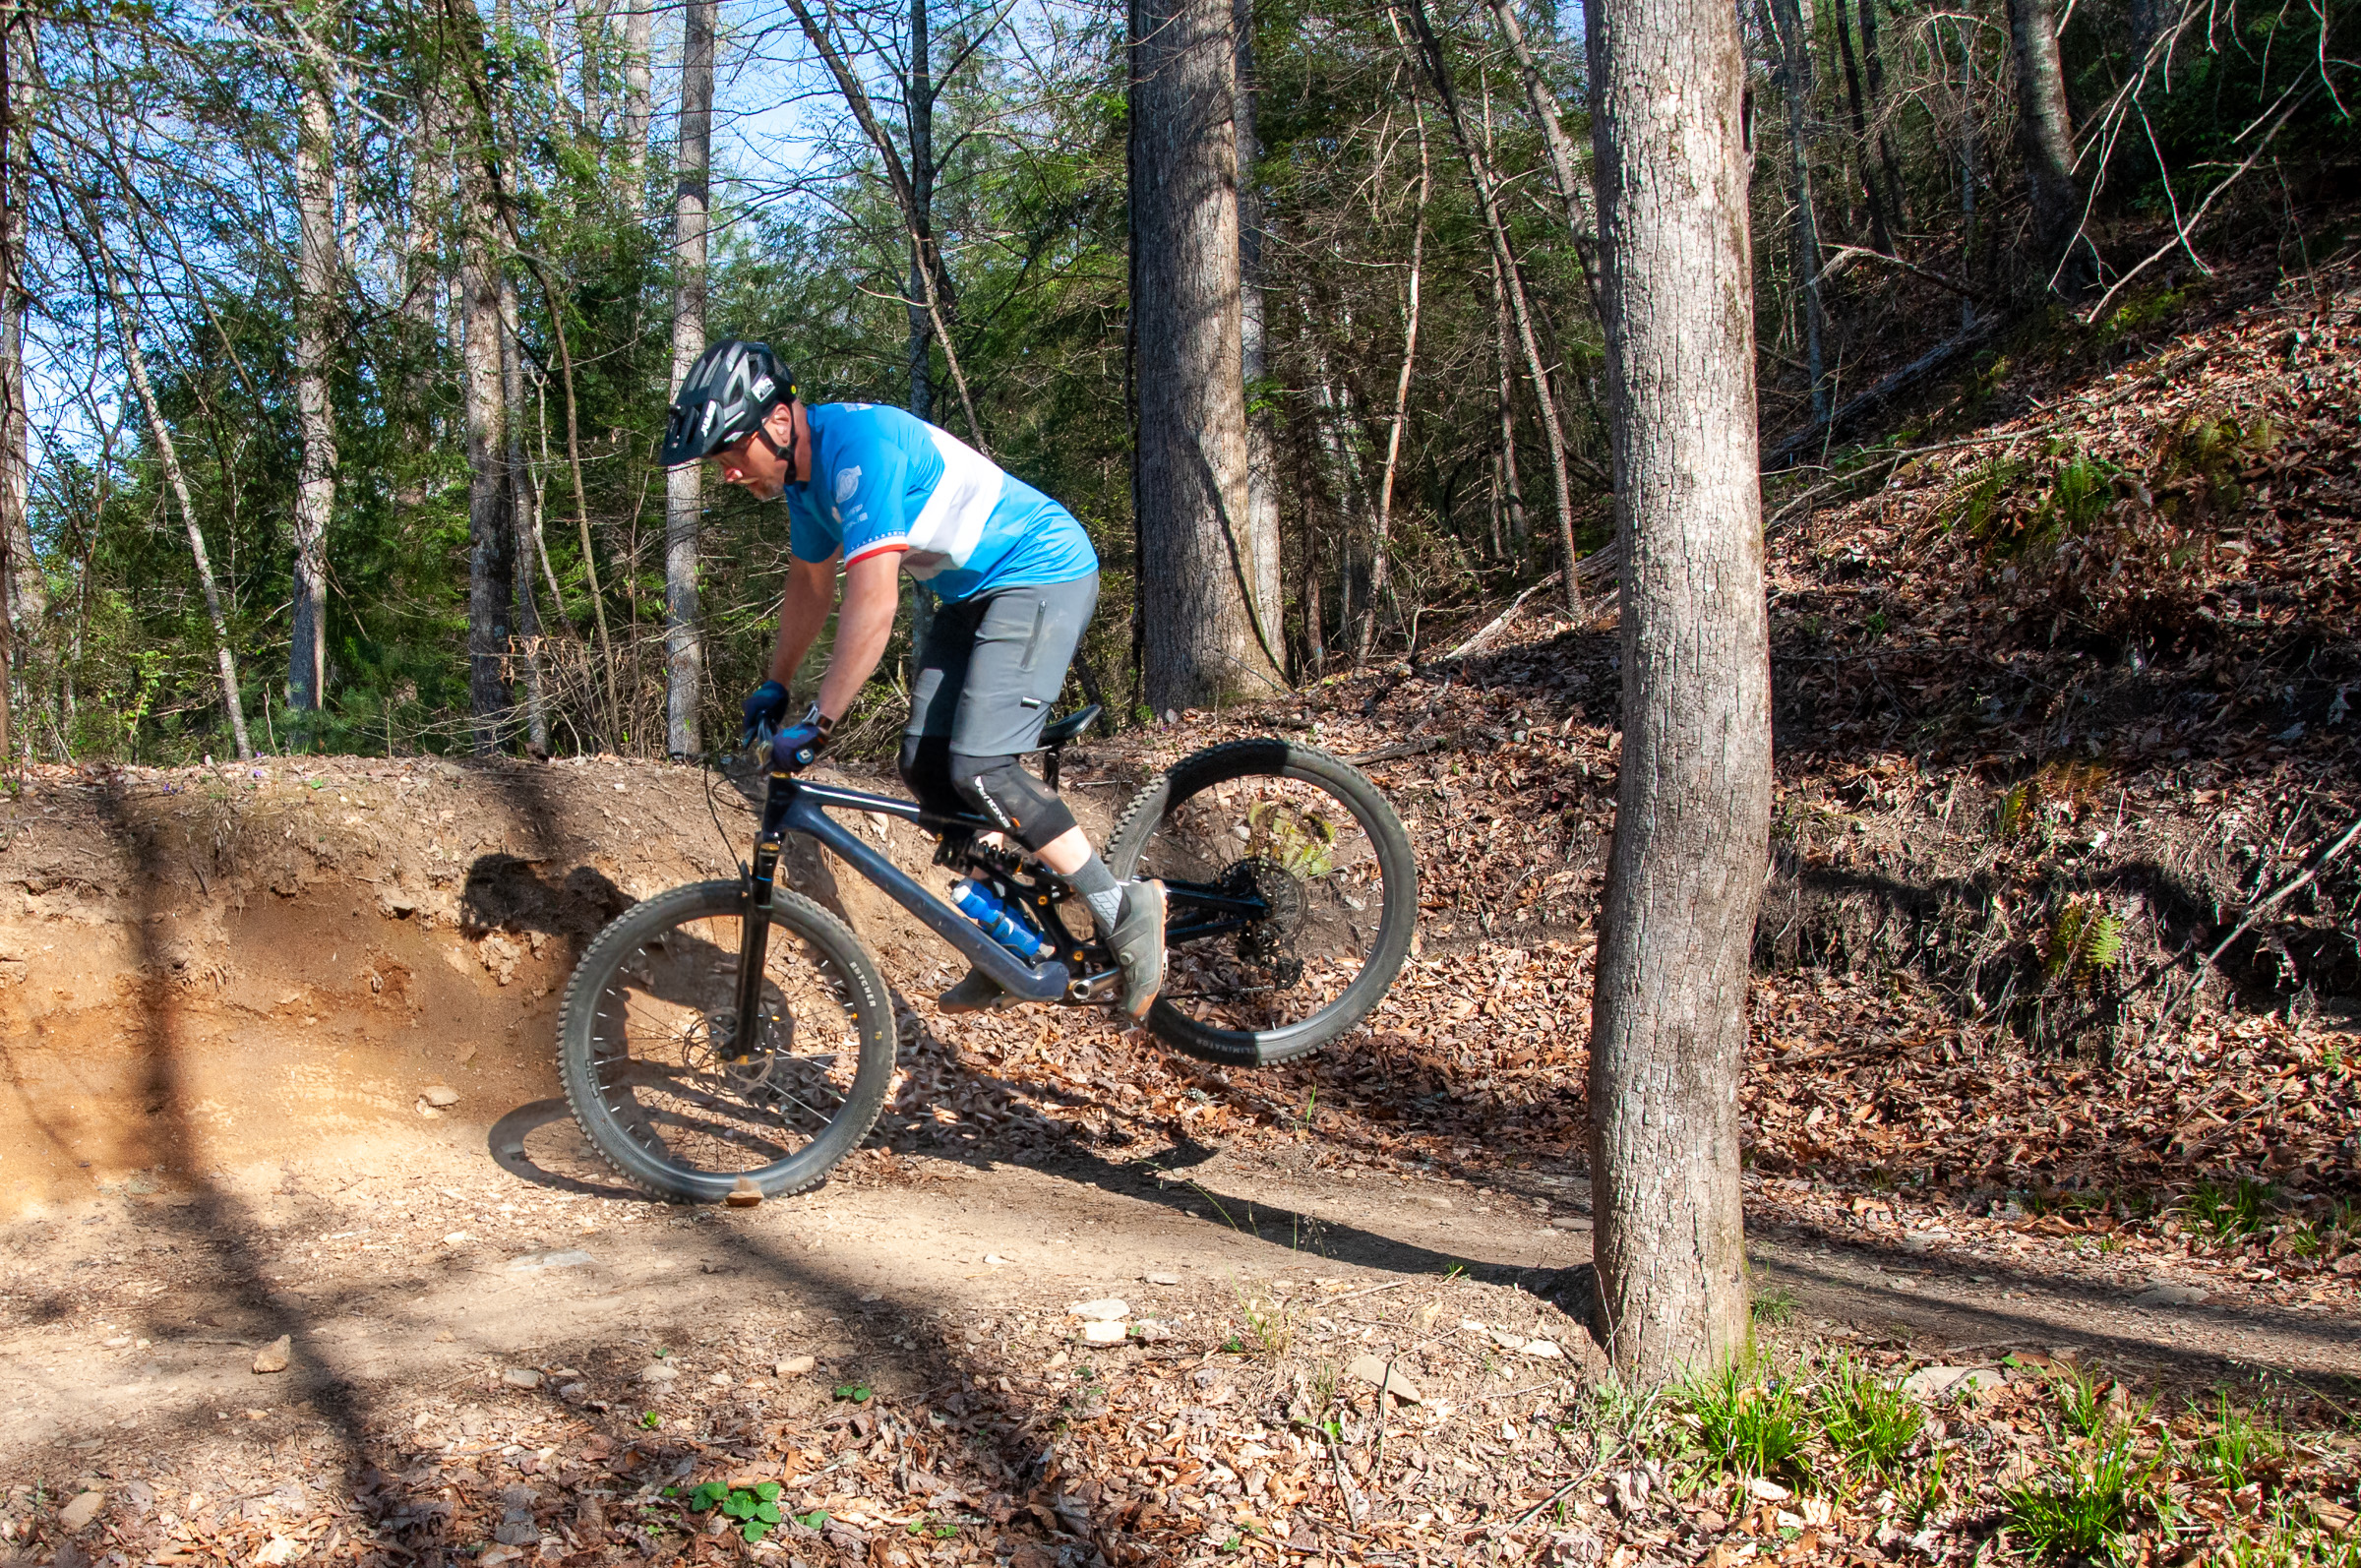
But maybe we need to disregard the long (and super awesome) nose wheelie/press and think of it more as a quick nose pivot. In this way, a quick nose pivot might be a very helpful skill on the trail, and it is actually more similar to a rear wheel manual than you’d think.
A handful of years ago, we had another skills coach, Simon Lawton, on the podcast. Lawton spoke of the importance of manuals and how, when we set out to learn them, we typically have goals to manual for at least half a mile. While that is another cool trick, it is actually more similar to the giant nose press down the Squamish slab.
Rather, Lawton emphasized short, quick manuals where it makes sense to ride only on the rear wheel. It might be through puddles, or over rocks and roots, and between rollers. There are certain features we encounter on the trail that just make sense when ridden on your rear wheel only.
The same applies to the front wheel, depending on the feature. And, as I listened to Whitmore explain the times you might need to only be on your front wheel, “nose wheelies” seemed to become a skill that made more sense.
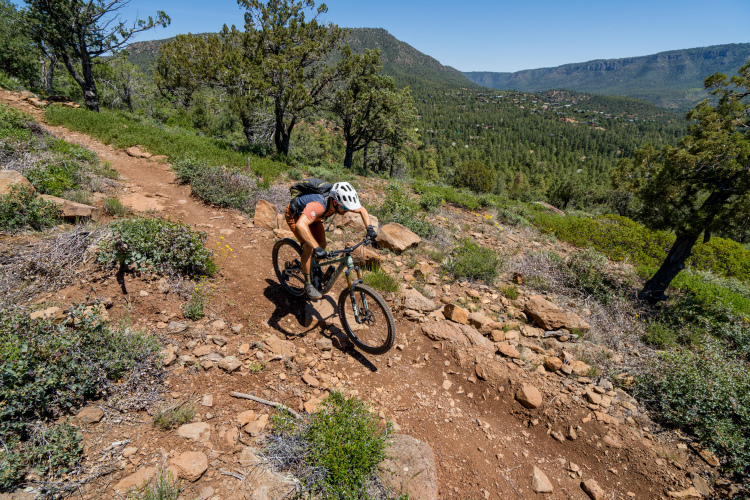
Slow tech trails
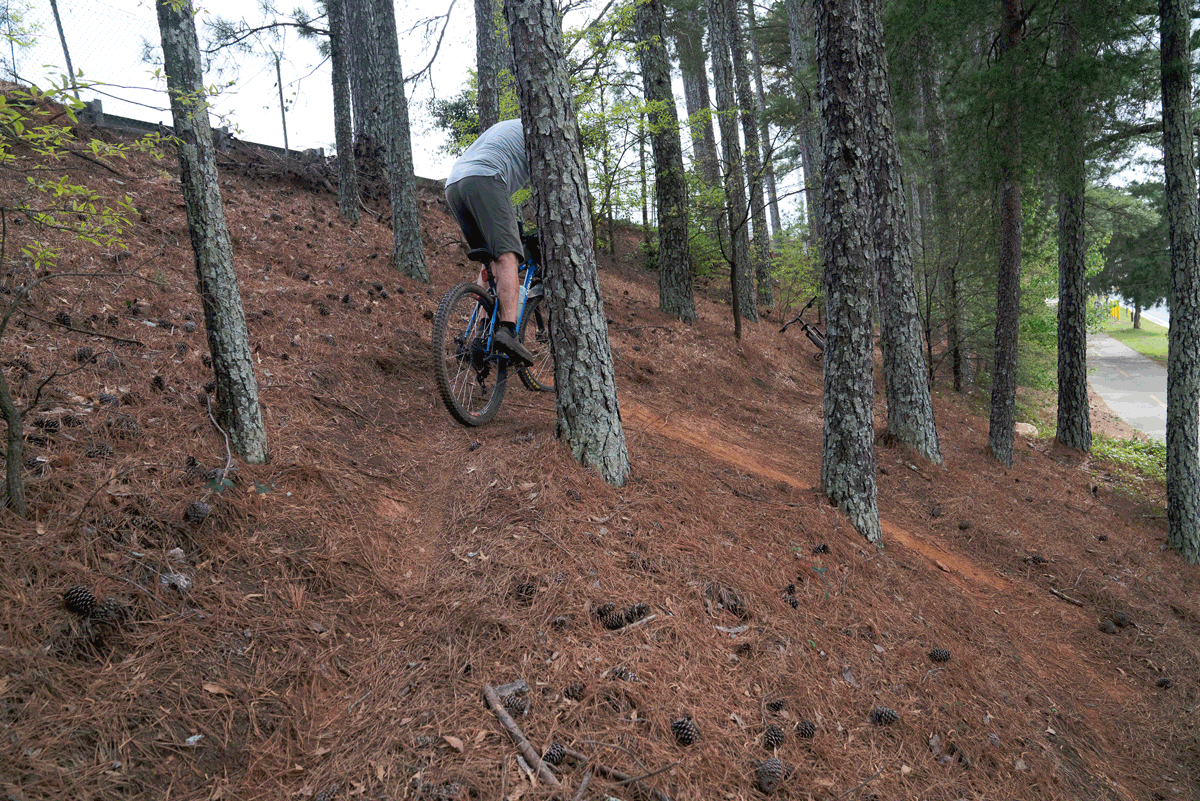
Whitmore explained that slow, techy trails are likely places where you might use a nose pivot. And, the techier the trail section, the more likely you are to use a nose pivot.
“One practical trail application is to reposition the rear wheel to point the bike in a different direction,” Whitmore said. “I can lift the rear wheel off the ground and move it laterally and get the bike lined up for a different line of travel.”
This move is for these ultra-techy situations, where your front wheel might be able to get around something, but the rear wheel can’t. Or, if it is janky enough, the pedals often won’t clear the obstacle.
Whitmore called this the “trailer effect,” which makes sense to those of us who remember learning to drive a trailer. Trailers need a certain turning radius depending on their length. Regardless, they all need a wider turning radius than the vehicle pulling them. During the worst days of learning to get a trailer into a tight spot, I (along with friends) got out, lifted the trailer’s rear, and swung it around into place.
This is essentially what you’re doing with a nose pivot in techy rock sections. Fortunately, it is a hell of a lot cooler than you and your buddies getting out of your truck and lifting the back of a trailer around because you’re a rookie.
Those really tight switchbacks
The other trail application Whitmore pointed out was really tight switchbacks. This is where the trail is particularly steep, and the turn is steep, tight, and nearly 180°.
It is probably rocky and techy as well. We’re talking about the type of corner that you’ll likely get off the bike and walk, or, in some instances, have to get off the bike and walk.
Unless, of course, you know how to nose pivot and get around the corner. This skill not only gets you around the corner much faster and more efficiently, but it looks damn cool as well. We’ve all been in a descending situation where we’ve had to stop, climb off the bike, and walk down switchbacks that were far too steep and sharp. While walking, we hear the inevitable: “Rider back,” only to be passed by someone far more skilled, nose pressing and pivoting around the corners.
This is a great example where being on the front wheel for a short period of time compares well to short manuals. There is a feature or obstacle in the trail, and being on one wheel will make it much faster to overcome.
Simple as that.

But how to nose pivot?
Real-world, real-trail examples make it sound easy. But the reality is that getting up on your front wheel is particularly scary, especially in these situations.
In the first example, you have a super technical trail, with rocks and roots and other obstacles that are placed so closely together that you can’t get through them. Pivoting on the front wheel here could mean going over the bars onto those very obstacles.
The second example is likely worse, as it adds speed and likely steep terrain. Whitmore talked about steep corners, basically heading down the fall line, where a tumble will send you, well, tumbling.
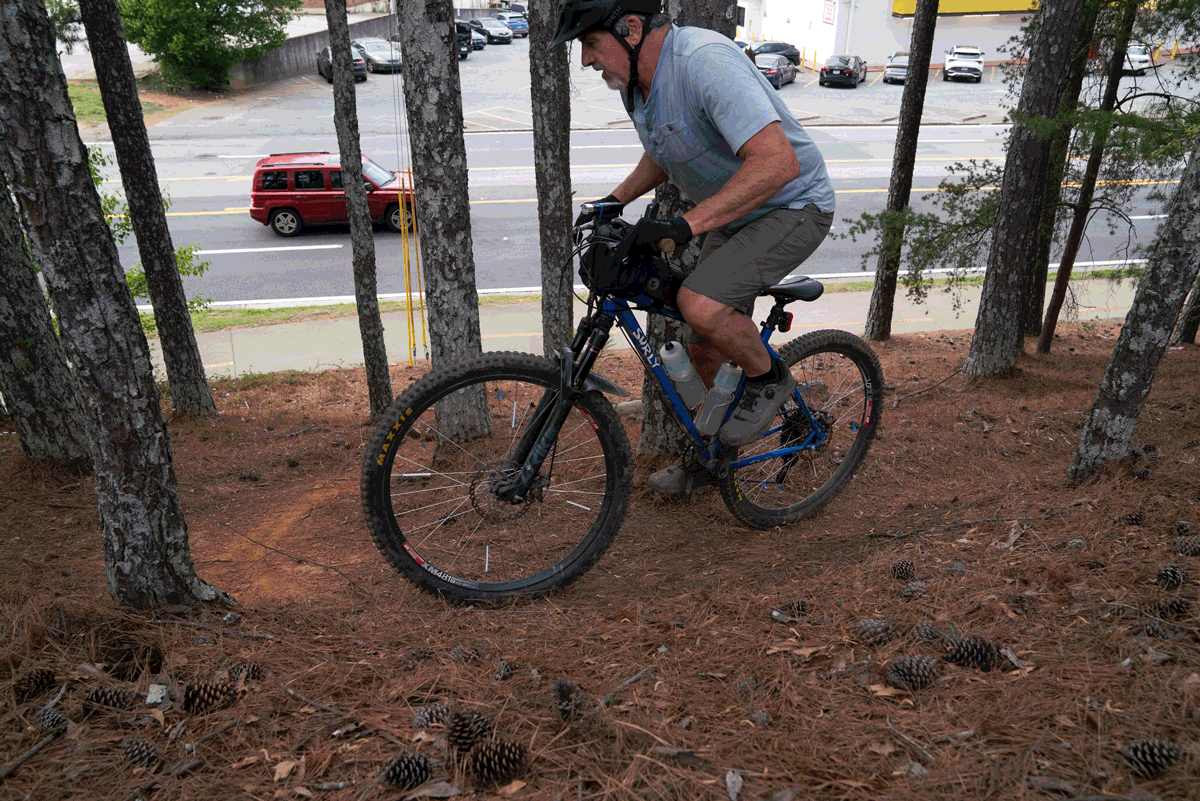
Fortunately, Whitmore explained that we can practice getting on the front wheel before taking this skill to the trails. And, to start, he recommends keeping the rear wheel on the ground.
“The way that we teach this stuff is to find some easy terrain, like a gentle slope or something that’s kind of wide open,” Whitmore explained. “Then do some emergency stops where we’re trying to slow down really aggressively and using a lot of front brake.”
Pushing into the bars, keeping your weight back, and braking aggressively provides a good sense of the front brake’s power and feel. As riders become more familiar with it, they may relax, shift their weight slightly forward, and naturally feel the rear wheel lift off the ground.
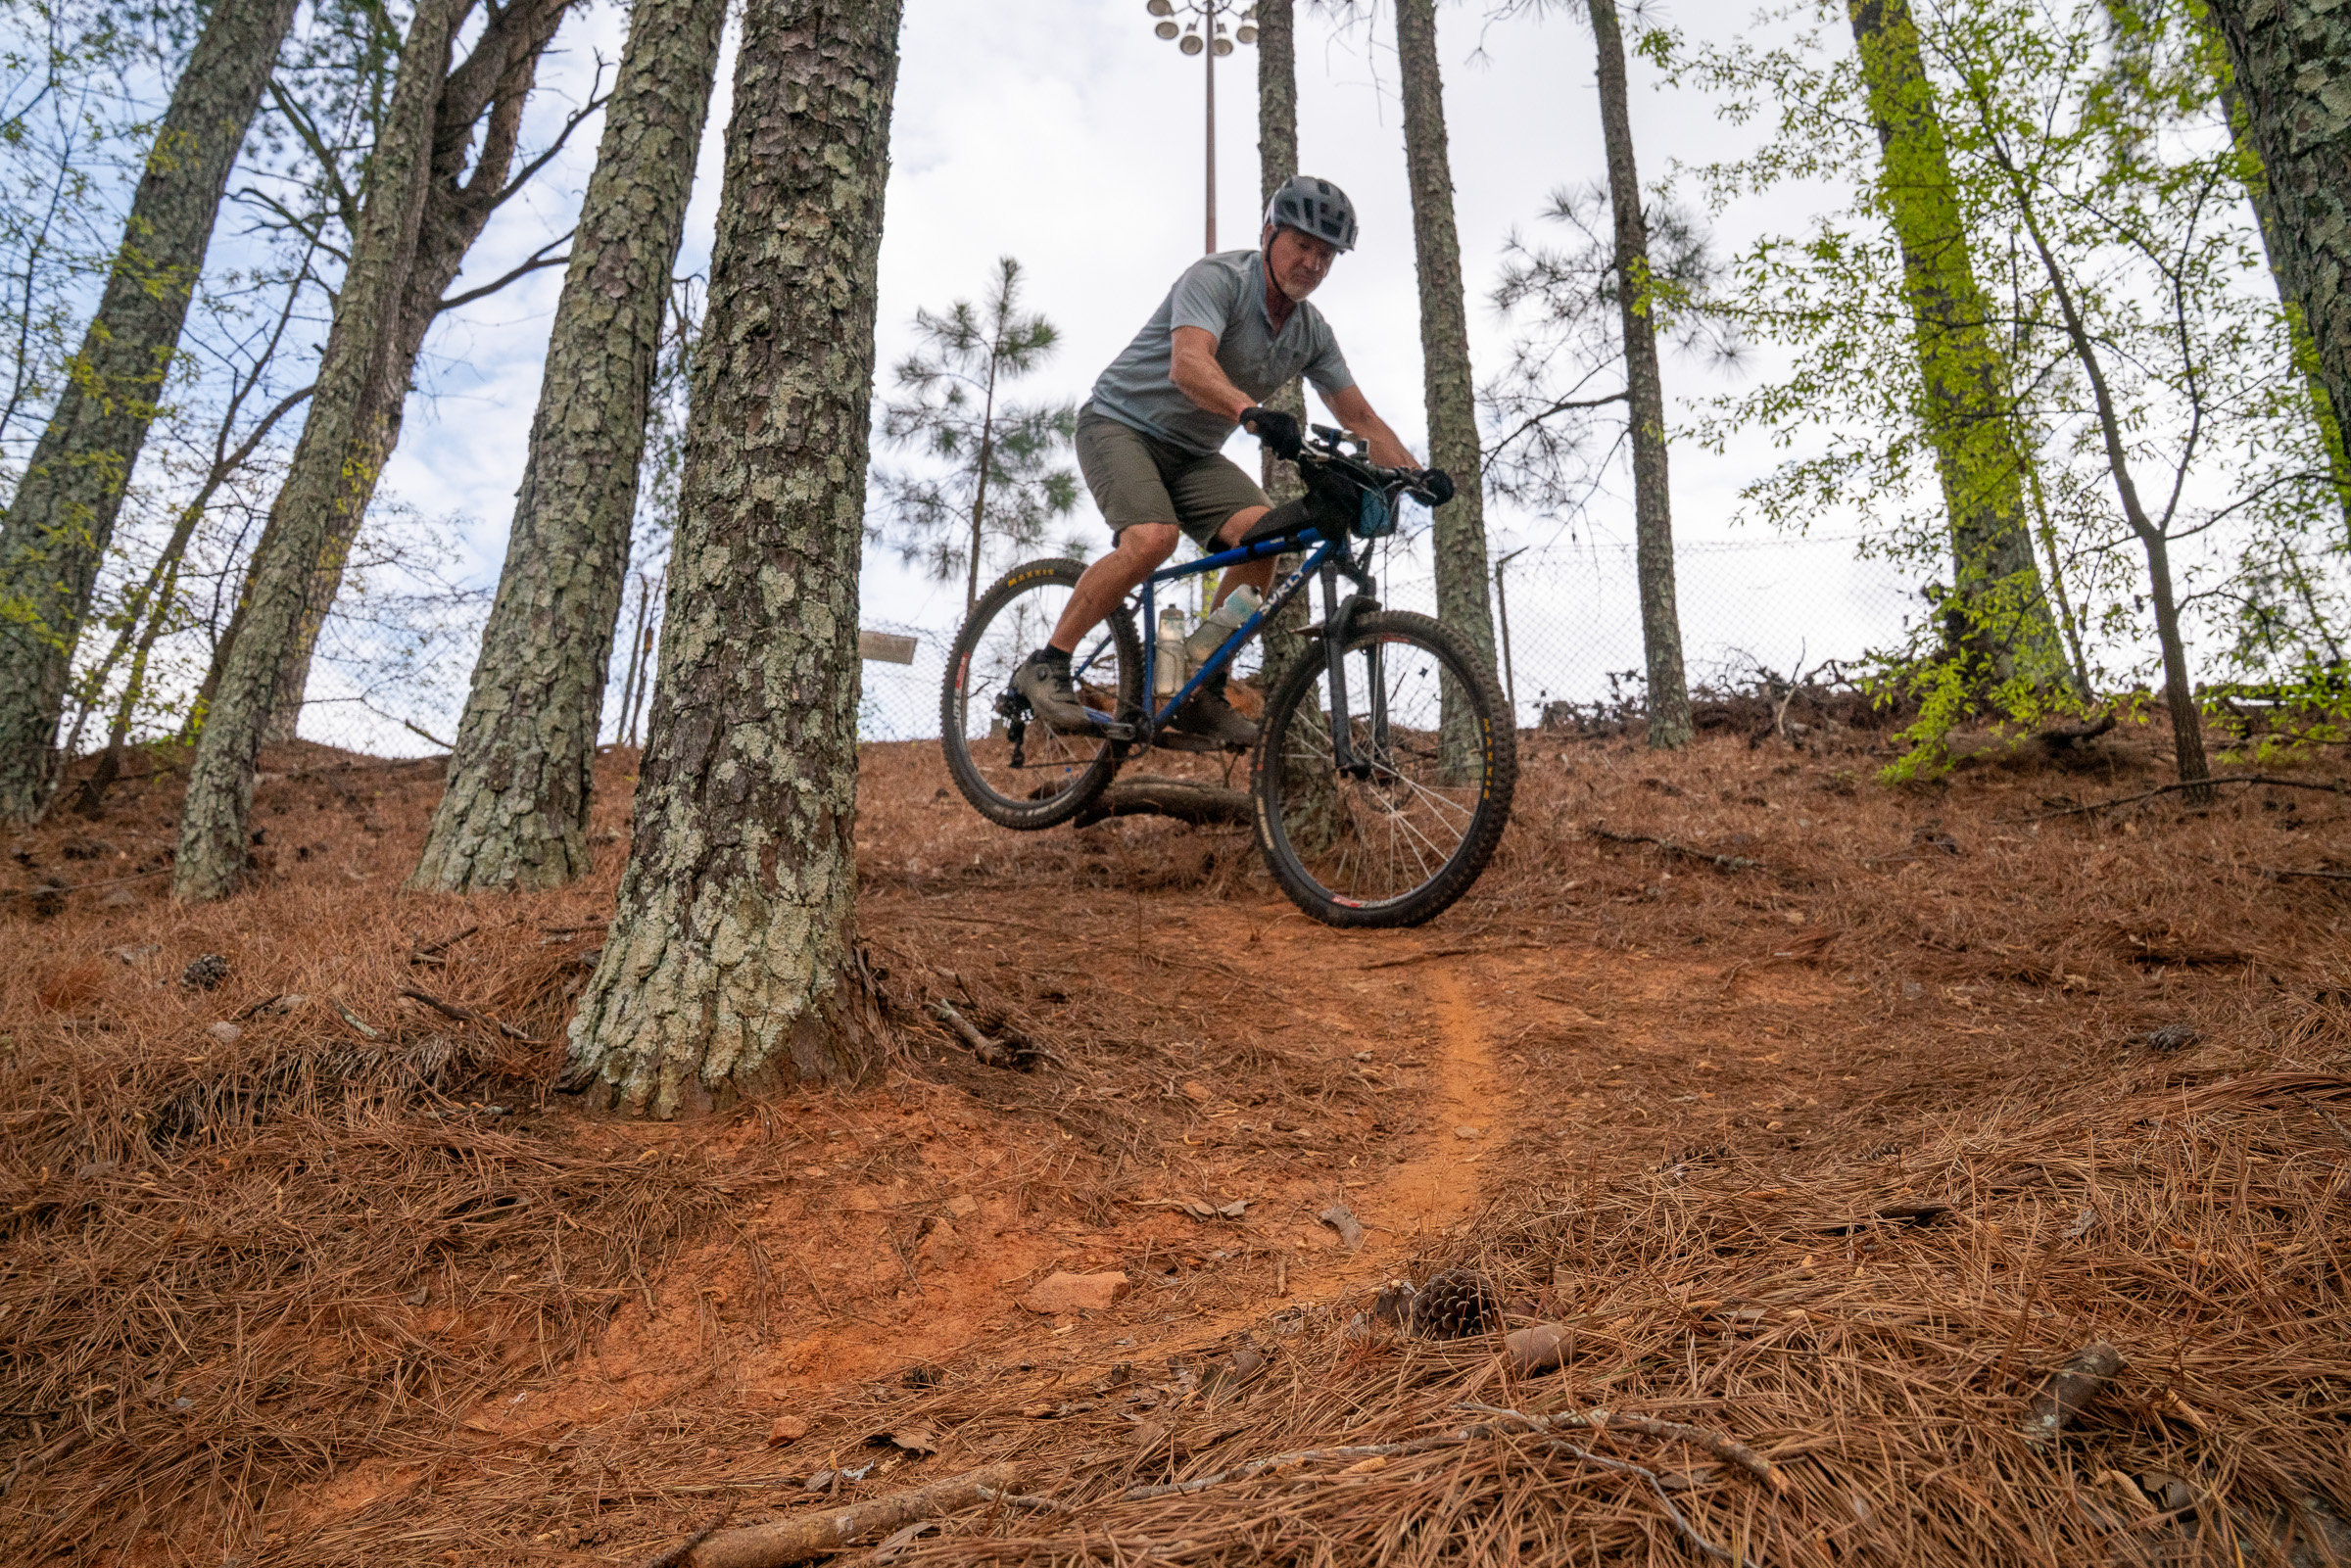
Slightly, at first. Then, Whitmore explained that he and his coaches begin teaching to enhance rear-wheel lift. Just as the front wheel is coming to a stop, a rider can put a bit of pressure into the bars and fork, encouraging the rear to lift off the ground more. As you gain more confidence in this move, you can start to scoop-and-poke.
“As you start to rock up on the front wheel, you scoop with your feet, bringing your heels toward your butt,” he explained. “At the same time, you push forward with the bars, or ‘poke’ forward with the bars.”
The scoop-and-poke is important because it teaches you to play an active role on the front wheel. As you get more comfortable with that, you can begin adding some lateral movement to the scoop-and-poke. Whitmore said you can do this by just slightly turning the front wheel before grabbing the front brake.
“So it is kind of like if you turn into it, lock the front brake, and then scoop the rear wheel, you can move it laterally.”
The movement will be the opposite way you’ve turned. If you turn the front wheel slightly to the left, the rear of the bike will swing right, and vice versa. And, as you gain more confidence, the initial turn at the beginning becomes slightly more significant.
Whitmore says he often practices this in a parking lot with a cone. Have the front wheel steer around the cone, turn, brake, and swing the back of the bike to a desired location around the cone. You can start small and easily increase the front wheel pivot.
After you gain more confidence, you can take skills like this to the trail. But start small, with easy obstacles on the trail, and work your way up. You might be surprised where skills like this take you, such as not really stopping on the front wheel and pivoting around a tight switchback, but dragging the front brake and floating the rear wheel around a corner.
Whitmore explained that it all starts with confidence on your front wheel.
Confidence on one wheel translates to two…
As with so many other points in mountain bike skills, one skill helps significantly in many areas. While nose wheelies and nose pivots may not be the most necessary or most used skills, they can translate to other skills that might be more handy.
Back to those Squamish slabs I mentioned at the beginning. Now, nose pressing down the entire thing is probably out of the question, but riding them with confidence is a practical skill I’d like to learn. Long, steep slabs require a lot of good brake control, managing speed by modulating the front brake and maintaining good pressure on the front end of the bike.
This means being comfortable with your weight forward on the bike. If you’re already using nose pivots and wheelies, scooping and poking your way down techy trails, you’ve likely built some quality comfort on the front wheel.
“Having a good mastery of the center of mass versus front wheel movement is so helpful. The more time you spend on your front wheel only, that’s a good way to set yourself up to feel more confident on those super steep rock slabs.”

1 Comments
Apr 19, 2026