Trails
Reviews
Tips
Community
Deals
Latest
Support
Trails
Find trails
Best bike trails
Destinations
Add a new trail
Reviews
Mountain bike reviews
Components
Tires
Clothing & shoes
Helmets
Accessories
Product news
Community
MTB Clubs
Races & Events
Bike Shops
Tips
Skills
Fitness & Training
Health & Nutrition
Beginners
Repair
Latest Articles
Podcast
Deals
Support Singletracks
Sign in
Create an account
About us
Newsletter signup
Winter
Jackets
Reserve these winter MTB jackets for the coldest days, or else you'll overheat
3
Mountain Bikes and Gear
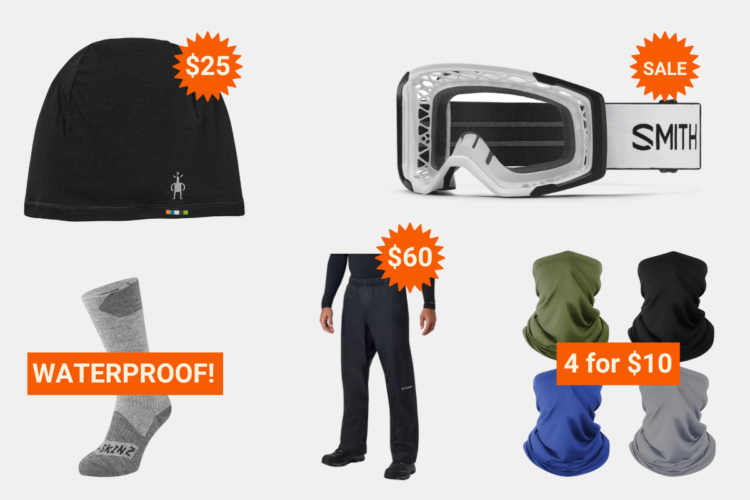
Cheap (but quality!) winter accessories for mountain biking on the coldest days
3
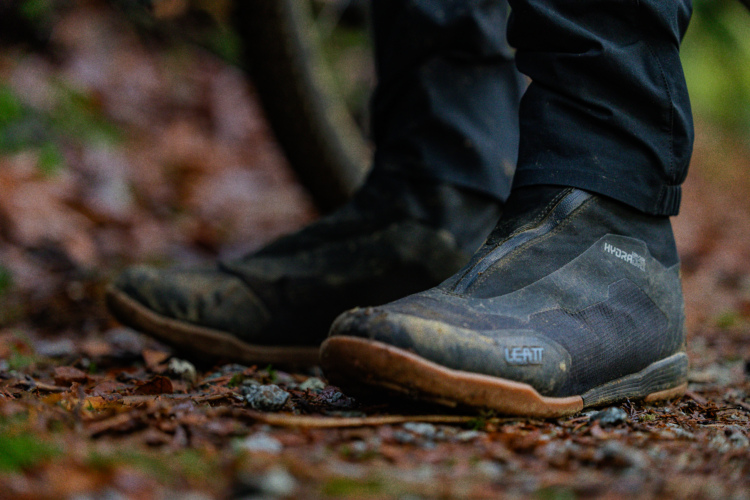
Clipless Pedal Shoes
Leatt Hydradri 7.0 Clip winter MTB shoes are warm and dry [Review]
1
Clothing
Fall and Winter Mountain Bike Clothing for Men and Women 2024/25
Jackets
Rapha Explore Down Jacket Makes Winter Easy [Review]
1
Fat Bikes
Trek Farley 9 Winter Fat Bike Snuffs Out the Winter Blues [First Ride Review]
4
MTB Tips
3 Expert Tips to Improve Winter Mountain Bike Performance
1
Mountain Bikes and Gear
Sick of Being Cold While Mountain Biking? Get This Gear On Sale.
Clipless Pedal Shoes
Fizik Terra Artica GTX Winter Mountain Bike Shoe Defeats Cold and Snow
1
Community
In Defense of Fat Bikes
21
Mountain Bike Shoes
9 Winter Mountain Bike Shoes Tested and Reviewed, Plus Cheap Fixes for Cold Toes
7
Mountain Bikes and Gear
Winter MTB Deals Up to 50% Off: Five Ten, Gore Wear, Saris
Clothing
Round Out Your Cold Weather Kit with the Latest Winter Mountain Biking Gear
MTB Tips
How to Stay Strong in the Off-Season, Even if You're Off the Bike
1
Fat Bikes
It's Almost Fat Bike Season. Who's Actually Excited?
38
Pants
7Mesh Thunder Pants Review: Fit for Slavic God Perun
Flat Pedal Shoes
Warmer Winter Rides With Adidas Five Ten Trailcross Gore-Tex MTB Shoes [Review]
2
Rain Jackets
14 Waterproof Jackets for Mountain Biking
Jackets
These MTB Jackets and Pants Will Keep You Riding Through Winter
Gloves
Fieldsheer Storm Heated, Battery-Powered Gloves Extend MTB Trail Season in a Warm and Toasty Way
10
Russia
Bikepacking Across a Massive Frozen Lake in Siberia: Gaëlle on Tour in Whiteout [Video]
1
Culture
What is the Best Season for Riding Your Local Trails?
3
Clothing
Big Fat Winter Fat Bike Apparel Roundup
5
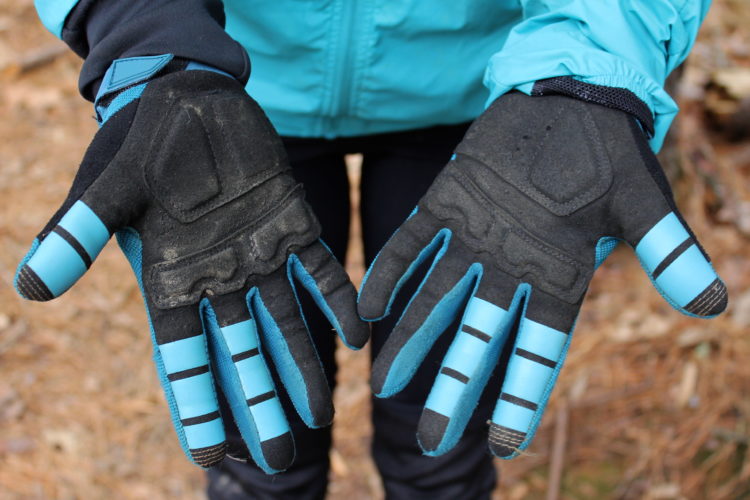
Gloves
Fox Women's Winter Mountain Biking Kit [Review]
Gloves
This Fox Kit Was a Winter Mountain Biking Game Changer
Clipless Pedal Shoes
Fizik Terra Artica X2 Clipless MTB Shoe is Made for Hard Rides in Cold Weather
2
Clipless Pedal Shoes
Shimano MW7 Winter Mountain Bike Shoe Keeps Its Composure After a Cold, Wet Beating [Review]
2
Forks
How to Tune Your Mountain Bike Fork and Shock for Cold Winter Riding
2
Gloves
15 Winter MTB Gloves Put to the Test in the Cold, Rain, or Freezing Temperatures
1
Community
We Lived to Make Better Decisions in 2020: A Cold Ride That Nearly Ended in Tragedy
9
Mountain Bike Trails
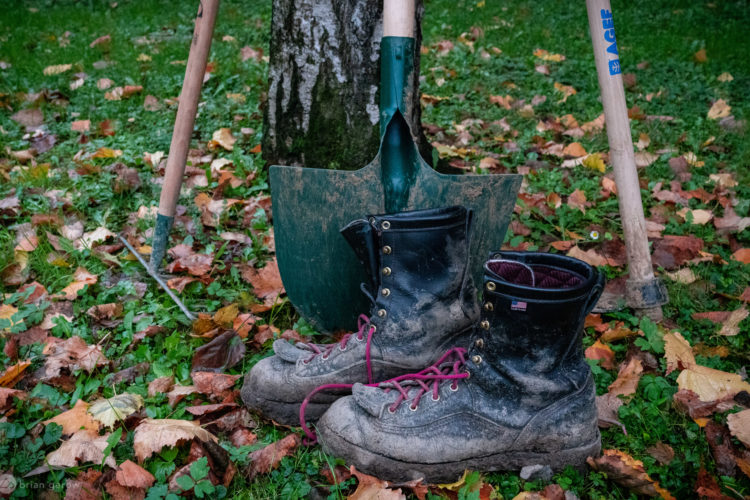
MTB Trail Maintenance Offers an Enjoyable Winter Workout
Culture
What's Your Cold Weather Cutoff for Mountain Biking?
20
MTB Tips
Survey: Which Mountain Bike Skills do You Hope to Master Over the Winter?
5
Mountain Bikes and Gear
Can't Stop: Tips for Winterizing Your Mountain Bike
6
Gloves
Review: VeloToze Waterproof Biking Gloves
1
Culture
The Balance: I Don't Think We're Good For Each Other This Time of Year
11
Tops & Jerseys
The Maloja SeverinM Fleece MTB Jersey is the Burrito of Winter Shirts
1
Fat Bikes
I Tested the Latest Giant Yukon, 27.5-inch Fat Bike in Northern Wisconsin During the Polar Vortex
3
Pants
Pearl Izumi Summit AmFib Thermal Mountain Bike Pants Review
4
Mountain Bike Podcast
How to Bike in Winter, According to Arctic Bikepackers Huw and Annie [Podcast #188]
Jackets
Giro Ambient Mountain Bike Jacket Review
2
Gloves
Review: Leatt DBX 5.0 Cold Weather MTB Jacket, Jersey, and Shorts
2
Jackets
Maloja AndriM Gore-Tex Jacket Makes Foul Weather Riding Fair
3
MTB Tips
How to Make Winter Mountain Biking More Enjoyable
2
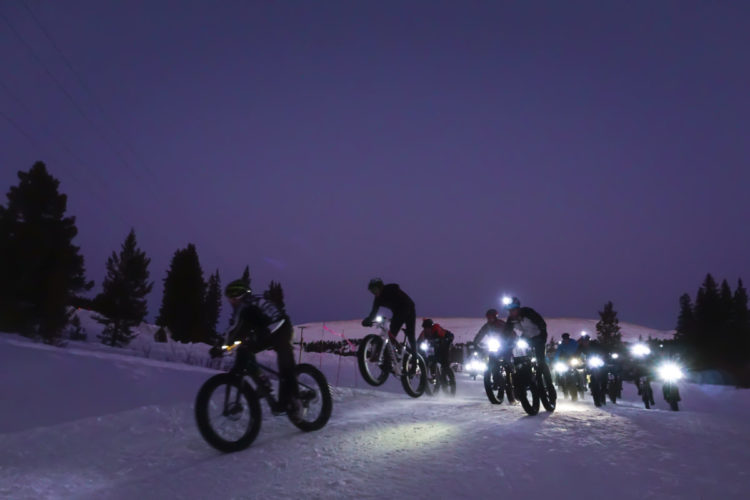
Community
The Longest-Running Winter Night MTB Race Series is in Leadville
Mountain Bikes and Gear
When Fat Is Fast: Fatback Corvus Review
1
Tires
Terrene Cake Eater Fat Bike Tire Review
1
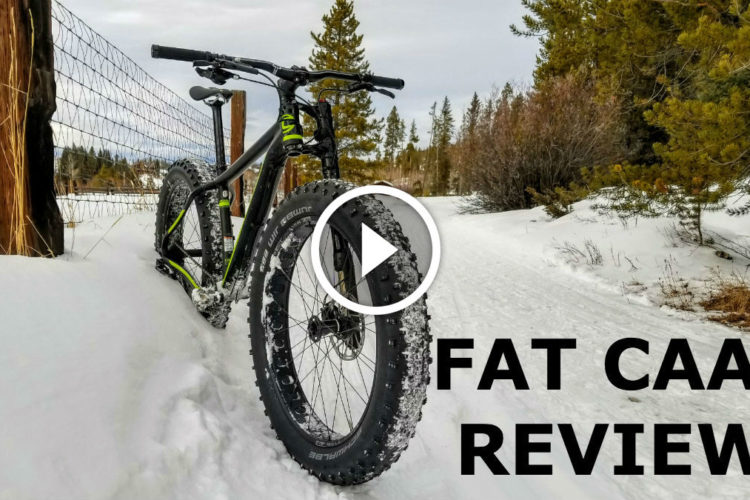
Mountain Bikes and Gear
Watch: Cannondale FAT CAAD Bike Review
7
1
2
3
»

 3
3