Trails
Reviews
Tips
Community
Deals
Latest
Support
Trails
Find trails
Best bike trails
Destinations
Add a new trail
Reviews
Mountain bike reviews
Components
Tires
Clothing & shoes
Helmets
Accessories
Product news
Community
MTB Clubs
Races & Events
Bike Shops
Tips
Skills
Fitness & Training
Health & Nutrition
Beginners
Repair
Latest Articles
Podcast
Deals
Support Singletracks
Sign in
Create an account
About us
Newsletter signup
Fr
Community
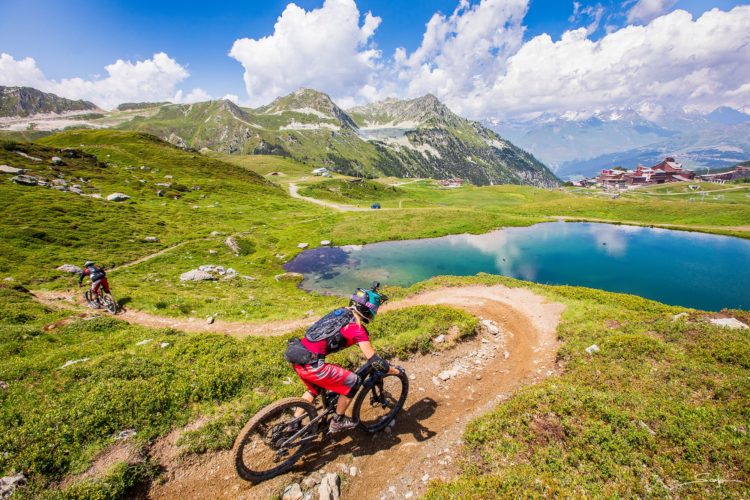
Paired Enduro Racing: What I learned While Racing Enduro2, in Les Arcs, France
6
Community
Photo Essay: Roc D'Azure in Fr
Mountain Bikes and Gear
Review: ION Avid Scrub-Series Shorts
Mountain Bikes and Gear
Review: Giro Chamber Shoe
1
Community
Video: Brendan Fairclough Bests Les Deux Alpes
1
Mountain Bikes and Gear
Review: ION Scrub Gear: Helium Jersey and Avid Shorts
2
Community
Cinema Sunday: "Dustin Gilding - The Revealing"
1
Community
Cinema Sunday: "Four By Three: The Family Film"
Community
2012 Answer Components: Carbon 780 Bar and ROVE XC Stem Review
2
Community
2012 Avid X0 Trail Brakes Review
4
Community
2012 RockShox BoXXer World Cup Fork Review
Downhill Bikes
Santa Cruz V10 Carbon Downhill MTB: Reviewed
12
Community
Five Ten Cyclone MTB Shoe Review
6
Mountain Bikes and Gear
Giro Remedy CF Full Face Mountain Bike Helmet and DND Glove Review
1
Mountain Bikes and Gear
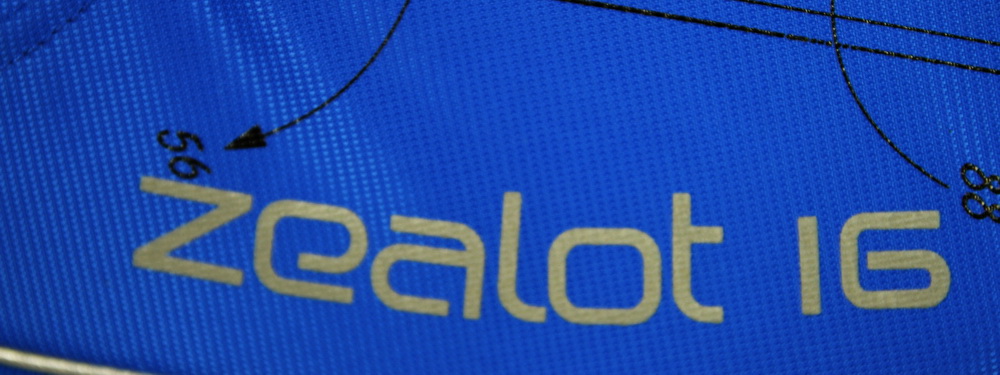
Osprey Zealot 16 Hydration Pack Review
4
Community
SunRingle ADD Wheel Review
6
Community
Fulcrum Red Fire DH Wheelset Review
7
Community
Dakine Descent Short and Descent LS Jersey Review
3
Mountain Bikes and Gear
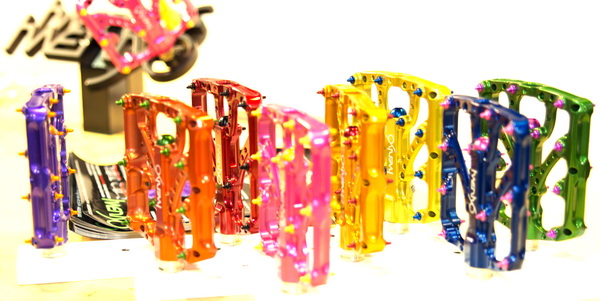
Twenty6 Gear for 2012: Pedals, Stems, and More
6
Mountain Bikes and Gear
Spank Spike Pedals: Reviewed
8
Community
ITS Invader 2.5" MTB Tire Review
2
Mountain Bikes and Gear
Easton is Control! The New Havoc Stems and Bars
1
Community
RockShox Vivid Air R2C Preview
Community
Truvativ Descendant Crank Review
2
Community
RockShox BoXXer World Cup Review
3
Mountain Bikes and Gear
Hangin' with RaceFace at Interbike
2
Community
Manitou Dorado Pro MTB Fork Review
3
Mountain Bikes and Gear
Formula The ONE MTB Brake Follow-up Review
3
Community
Race Face Respond Crankset Review
3
Culture
Flow Country Trails
8
Community
RockShox Vivid 5.1 MTB Shock Review
Mountain Bikes and Gear
Answer ProTaper Bars and DJ Stem Review
1
Community
RockShox Totem DH Solo Air Review
5
Community
Sneak Peek: Syncros FR Wheelset
2
Community
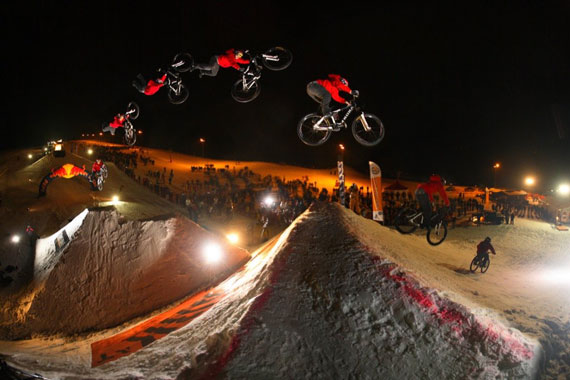
White Style @ Leogang Bike Park Friday
1


 6
6