
The massive popularity of Strava has changed the way many of us analyze data from our trail rides and has even changed how some people ride their mountain bikes. What some people don’t seem to realize, however, is that the data you collect via your Strava app can be used for much more than just proving that you’re actually the fastest rider to the top of the hill.
![]()
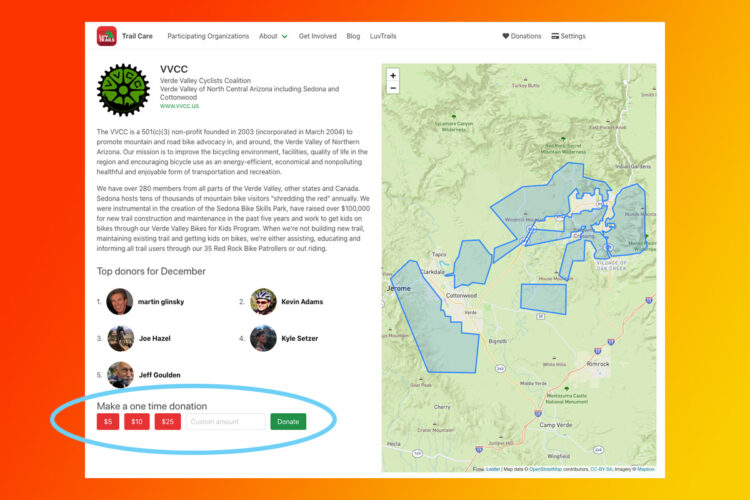
Mountain Bike Trail Maps
While Strava is a great way to track your personal data and compare yourself with others, it’s not a great app for finding trails to ride. Sure, there’s the “explore” feature, but that puts segments of all kinds on the map, including both pavement and dirt segments. The biggest problem is that the majority of segments are for just a single climb or single descent. Very rarely are there actual segments for an entire trail or trail system.

That’s fine with us, because as you’re probably aware Singletracks.com is the best place to go to find information about mountain bike trails near you, and we boast the biggest mountain bike trail map database in the world with well over 20,000 miles of mapped singletrack.
No, the maps themselves aren’t free… it takes a lot of work to create and curate all of these maps. However, if you’re a Strava user, you can easily take your Strava data and earn a free Singletracks.com Lifetime Pro Membership.
How to Export .GPX Files from Strava
To turn your Strava data into mountain bike trail maps, you need to first export your data as a .GPX file. To do this, click on over to Strava, and go to the ride that you want to turn into a trail map.

Click on “View Details” to pull up the complete page for that specific ride.
Next, click on the down arrow next to the “Actions” button.

Then, select “Export GPX” from the drop down list.

Then click the button verifying that you want to save the file to your computer.
How To Upload .GPX Files to Singletracks
Now all that’s left is to upload the GPX file to Singletracks.com. First, find the trail listing for the trail that you rode (in this example, that’s Pandapas Pond).
Second, scroll down a little ways and click the “Submit GPS Data” button on the right hand side of the page.

Now, click the “Upload GPS data file” button, click “Browse” to find the file that you downloaded from the Strava website earlier, add a title, and then click “Preview.”

If everything looks good, click the “Great – save it!” link, and then we’ll take care of everything from there!

Conclusion
With just three new map uploads or map updates, you can quickly earn a free Pro Subscription and access to thousands of mountain bike trail maps! But if you have a Lewis and Clark complex and just love to explore, don’t stop there… keep uploading your maps whenever you ride a new trail so that together we can build the best source of mountain bike trail information possible!
Your Turn: What are you waiting for? Start uploading your Strava data now!


43 Comments
Dec 6, 2012
Dec 6, 2012
Have at your data, Singletrack'ers!
Dec 6, 2012
Dec 6, 2012
Dec 6, 2012
Dec 6, 2012
Just wondering because I have tons of different places that I have logged on Strava that I would love to upload to you guys!
Dec 6, 2012
I've posted some trails to Singletracks that I've found on other sites and then uploaded the GPX data after.
If it can pass as singletrack, post it up here.
Dec 6, 2012
Dec 6, 2012
Dec 7, 2012
http://sourceforge.net/projects/gpxeditor/
It's especially useful for things like forgetting to turn off tracking before you drive home.
Dec 6, 2012
Dec 6, 2012
May 21, 2014
May 21, 2014
Cheers!
May 22, 2014
May 22, 2014
Dec 8, 2012
Dec 8, 2012
Dec 6, 2012
To the point of this article though. Thanks! I have months of data on singletrack in my area that i would love to share. I appreciate the step by step instructions and will be happy to contribute these upcoming weeks. Excited about the pro membership as well.
I dont get in the mix much with comments/post like i should but i do appreciate the information that Ive had at the tips of my fingertips to pursue my passion.
I have hundreds and hundreds of trail pics in my area as well that i will upload to the specific system that its on. ill be sure to contribute to reviews as well.
Im about to step up my singletrack.com game sir. And im going to start by purchasing 2 shirts that i saw on the feed. (the 2 for $20)
Thanks Gregg and company!
Dec 6, 2012
Dec 6, 2012
And it's my pleasure to help out!
Dec 6, 2012
Dec 6, 2012
Dec 6, 2012
Feb 1, 2013
Feb 2, 2013
The files that you uploaded aren't listed on the trails page because they are now "pending," meaning that we are waiting for the PDF files to be made. Once that's done, they'll be reset to "active."
Once you have 3 accepted submissions, we will upgrade your account to pro for you! (Note: combined submissions, rejected submissions, and duplicate submissions, do not count towards this total.)
Hope that helps! :)
Feb 8, 2013
Feb 8, 2013
Dec 14, 2012
Dec 14, 2012
We'll get to that new trail data soon, thanks!
Dec 15, 2012
Dec 14, 2012
Dec 7, 2012
So it reads "filename.gpx.xml" after downloading it from strava onto my macbook.
Any suggestions??
Thanks.
Dec 7, 2012
Problem solved; trail uploaded.
Dec 6, 2012
Dec 6, 2012
Dec 6, 2012
Dec 6, 2012
Everyone else, take a look in the forums for other GPX logging apps available out there. MyTracks is one where you can ride, save the data as GPX and then upload to both Starva AND Singletracks. I've found it to be a bit more accurate, too. But the Strava app may have updated and changed that.
Either way, there are options for submitting your data. It might mean a bit more on the head end (not just log, and submit), but it isn't that tough.
Dec 6, 2012
Dec 6, 2012
This is going to make my local trails a lot more fun to ride seeing as I finally have a reason to explore every nook and cranny lol.
Dec 6, 2012
Dec 7, 2012
Dec 7, 2012