
You’ve likely read Choosing Your Line Part 1 and Mountain Bike Trailbuild How-To. This article continues to detail the finer points of choosing your line. By the end of this article you should be able to flag out a flowy, well-drained trail with more natural features than Megan Fox.
Flow
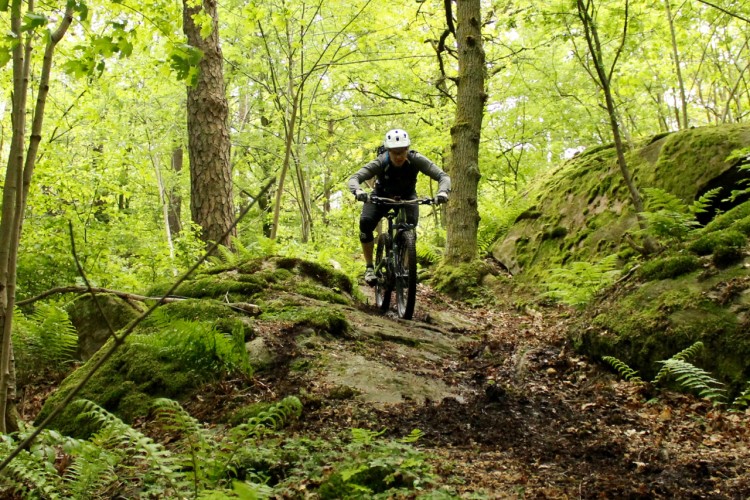
Flow is the ability to carry momentum through an entire trail without having to brake or pedal excessively.


Ideally you want to pack as many features into your trail as you can while maintaining good flow. A trail with good flow will allow riders to maintain momentum from start to finish. The flowiest trails will not require riders to change speed drastically and allow riders to maintain momentum by avoiding long, steep uphills and extended straight sections. If you need to slow riders down, build a series of opposing turns.

Even slow speed trails can be flowy. The key is to decide what kind of trail you are trying to build and stick with that type. Trails can be fast with no steep hills or sharp turns, slow with steep and technical sections or in between. Avoid mixing high speed and low speed maneuvers on the same trail.
Build technical sections on a downhill slope to allow riders to maintain speed through features. One of the best ways to create flow is to include rolling uphills and downhills, or contours, throughout the trail. A rolling contour benchcut trail drains extremely well. More information about creating flow will be available in my next article, Benchcutting. It takes more thought and work to build a trail with flow but the final product is well worth it.

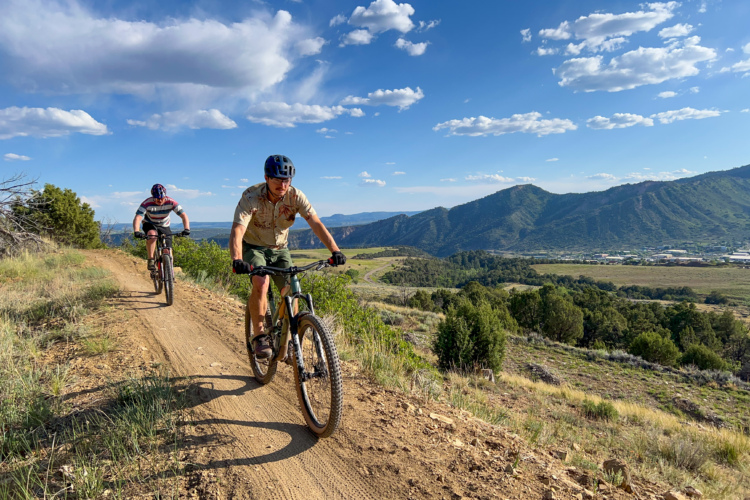
Choose Your Line
After you have familiarized yourself with the area on foot and identified some natural features you want to use, its time to choose your line. Again, include as many features as possible without disrupting flow. A trail that flows well and has fewer features is better than a trail packed with features but no flow.

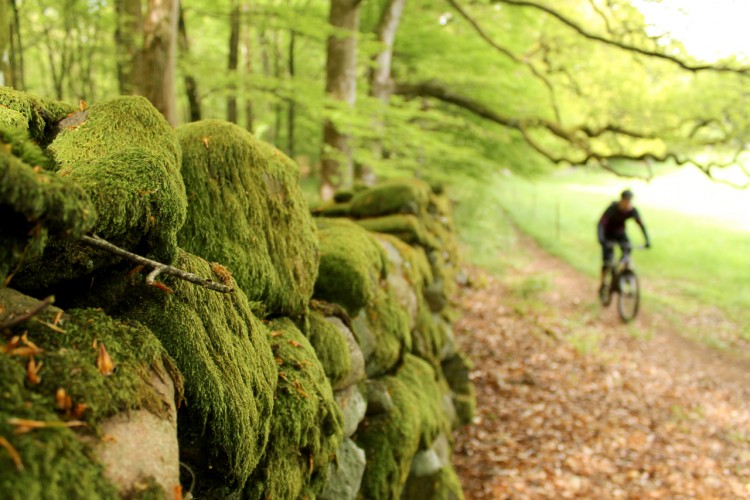
Drainage
Route the trail along well drained areas. Avoid topographic low points, as these areas turn into speed sucking mud bogs. Muddy areas just get muddier and more rutted as more people ride through. Traversing a hillside is the best way to ensure that water flows off the trail, not down it. If the trail must be routed through a low lying or flat section, be prepared to dig drainage ditches.

Ruts
Ruts are every riders enemy. Few things in mountain biking rob riders of control like a big, rocky rut. Its our job as trailbuilders to know how to design trails that remain rut-free for years. The principle is simple: the steeper the trail, the more prone it will be to ruts. Avoid ruts by designing trails with frequent changes in pitch. Route a trail straight up or down a hill and ruts will appear faster than Tiger Woods can bed a cocktail waitress.

Walk it, Flag it
Walk a few different lines multiple times. This will allow you to decide which line will yield the best finished product. You will likely be spending 50-100+ hours building your new trail so choose your line wisely. Once I choose a line I usually walk it top to bottom 3 times to get a good idea of what the final product will be like. After choosing the line, insert flags into the ground to mark where the trail will go. Dont stress about being exact with flag placement. The line (trail) often changes slightly during construction.
Whats Next
In this article youve learned about Flow and how to build trails with Flow. Ive also outlined the following strategies:
– Walk the area
– Look for natural features
– Consider Drainage
– Design a Rut-Free Trail
– Envision the line
– Walk the line
– Flag the line
If you enjoyed this article, youll want to catch the next one in the Singletracks.com series on trailbuilding. The next article, entitled Trailbuilding: Work Smart, Not Hard, identifies the most useful trailbuilding tools and strategies to gain new building partners.
About the Author
Kevin Johnstone is an avid mountain biker from Ontario, Canada. He has been building trails across Canada for 4 years. He has worked with the worlds #1 bike park builder, Jay Hoots, to build a mountain bike park on the Sunshine Coast of British, Columbia, Canada. He spent 2 seasons improving the trails at Kelso Conservation Area in Milton. He is currently building downhill specific trails. Kevin can be reached by private message at Singletracks.com
*Disclaimer* Kevin Johnstone and Singletracks.com will not be held responsible for the consequences of illegal trailbuilding. Always get permission and build legally.

3 Comments
Dec 24, 2009
Dec 25, 2009
Apr 5, 2010