MTB Hopper broke onto the scene a handful of years ago, creating durable, adjustable, and portable ramps for BMX and mountain bikes. A couple of years later, the European company introduced its first ramp sturdy enough to accommodate the weight and forces of dirt bikes.
Over the past few months, I’ve been testing the MTB Hopper Coach ramp, arguably the brand’s most versatile kicker. From a boosty radius to a flat drop, the Coach offers multiple settings and tons of adjustability, allowing users to progress when they’re ready.
MTB Hopper Coach ramp specs
- 4-position adjustment
- Weight: 33 lbs (15kg)
- Packable
- Tool-free quick assembly
- Price: $545
- Buy from MTB Hopper
Assembling the MTB Hopper Coach ramp
MTB Hopper claims a five-minute assembly on their website. While that’s undoubtedly an ambitious goal for my first time putting the ramp together, each assembly became much closer to the Hopper’s lofty goal.
The first time I assembled the ramp was in my garage, where I managed to put the MTB Hopper Coach together in around 30 minutes. There are around ten pieces total, all of which are clearly numbered and labeled “inside” or “outside.” I followed the easy, step-by-step directions the first time, and never needed them again.
Every time I used the Coach ramp after the initial assembly in my garage, I was able to get the ramp together in under ten minutes. The more I did it, the closer I likely got to MTB Hopper’s five-minute claim, although I stopped timing myself after the second assembly. Each piece is numbered, and how they fit together is pretty straightforward.
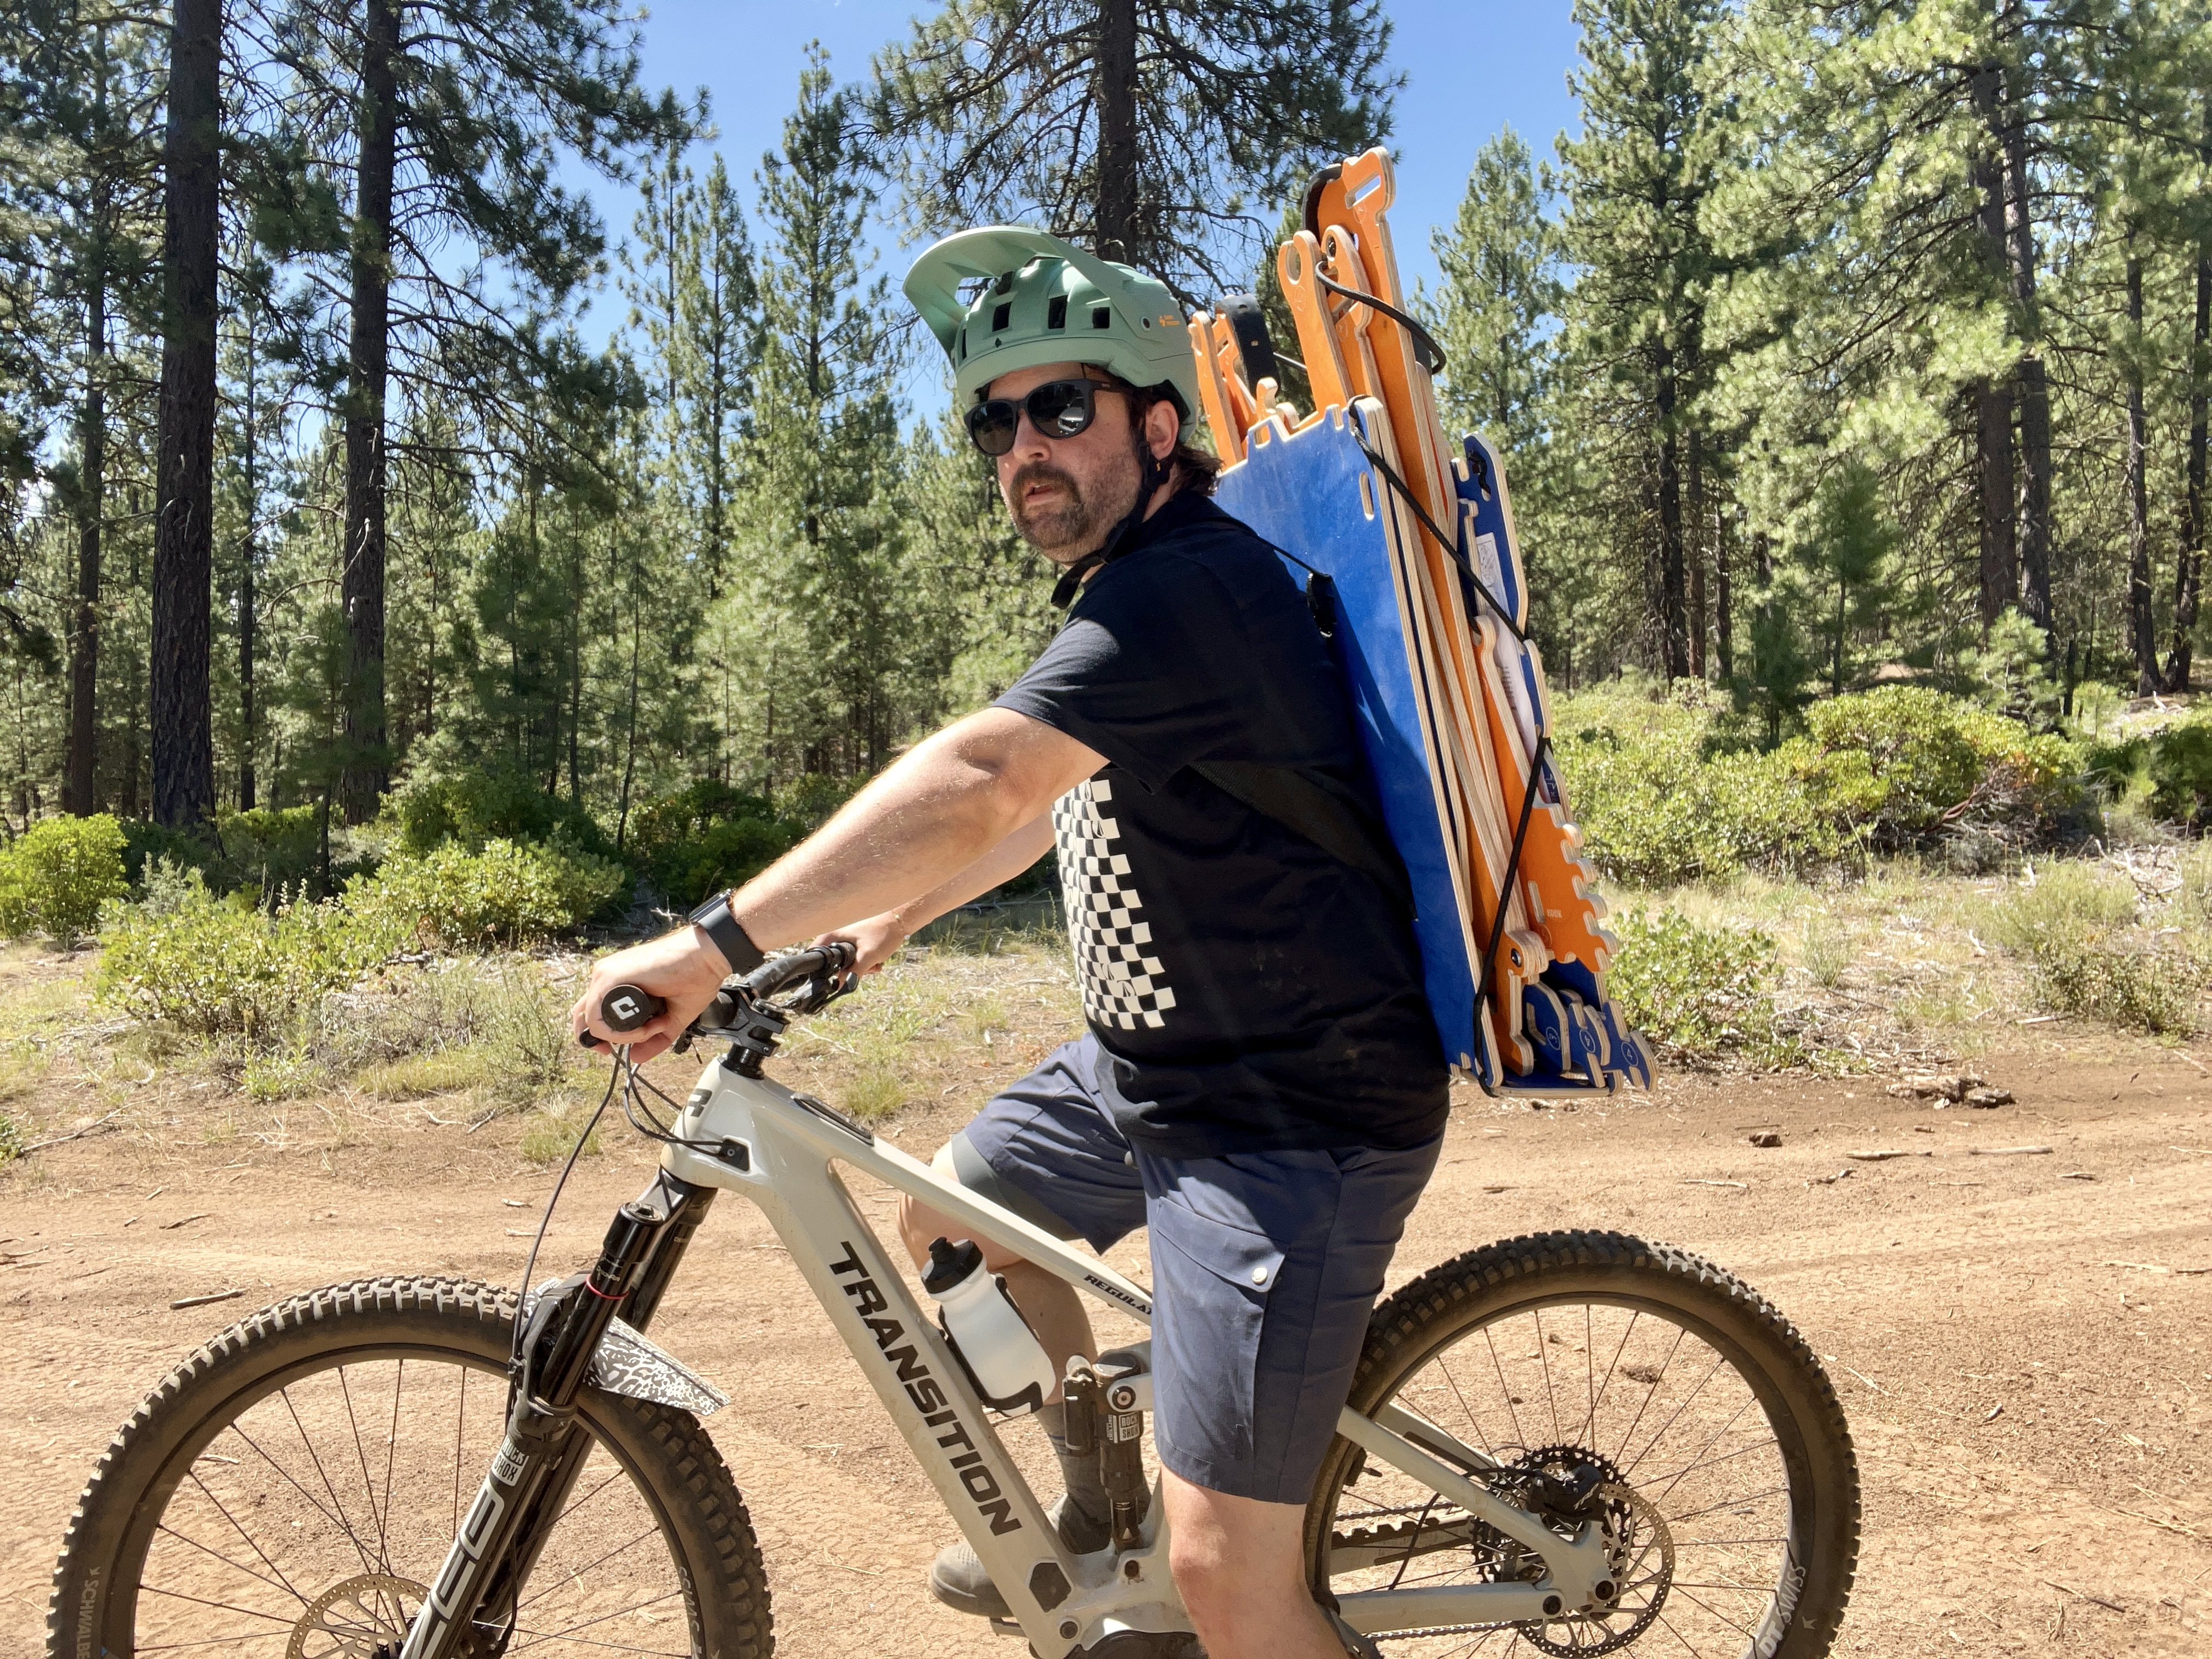
If you own one of these ramps, you’ll become proficient at the assembly and disassembly process. While the ramp folds up nicely and can be worn as a backpack when in transport, it needs to be taken apart to do so.
That is, unless you are using it somewhere near your home. For close-in missions, you can flip the wheels over and roll the MTB Hopper Coach to and from your destination.
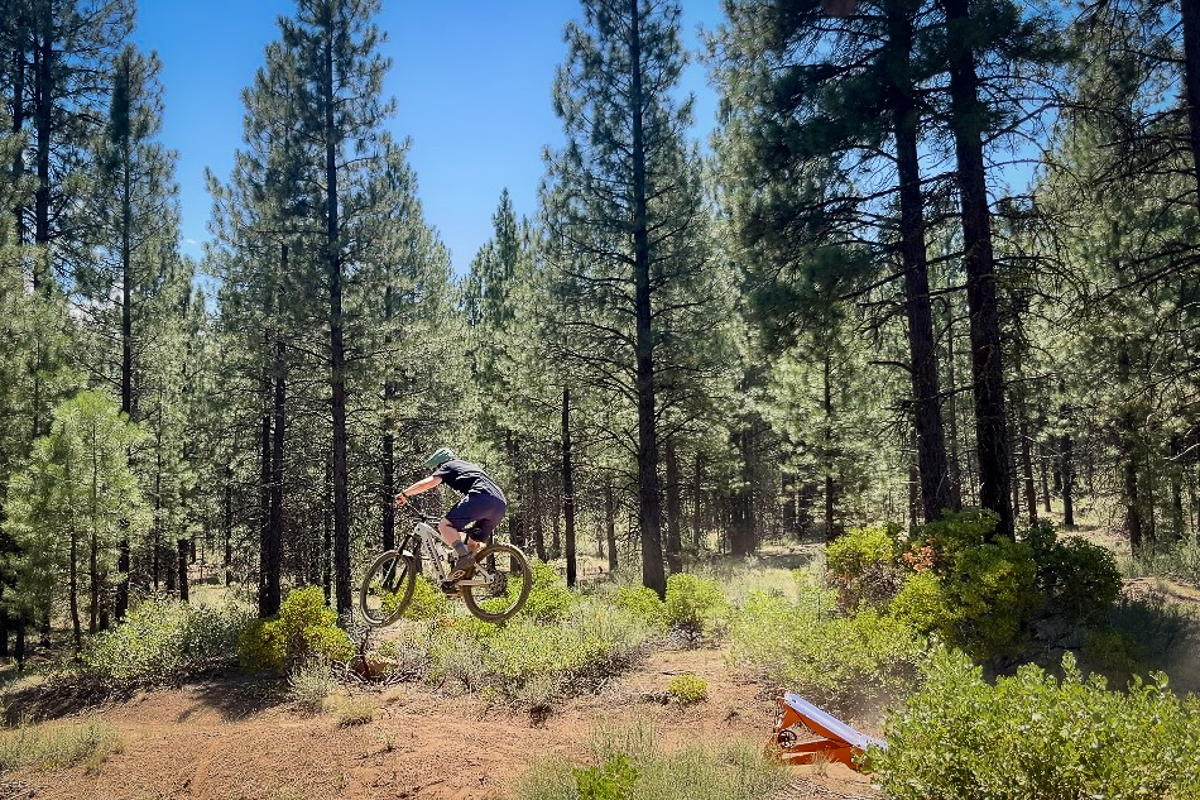
Air time
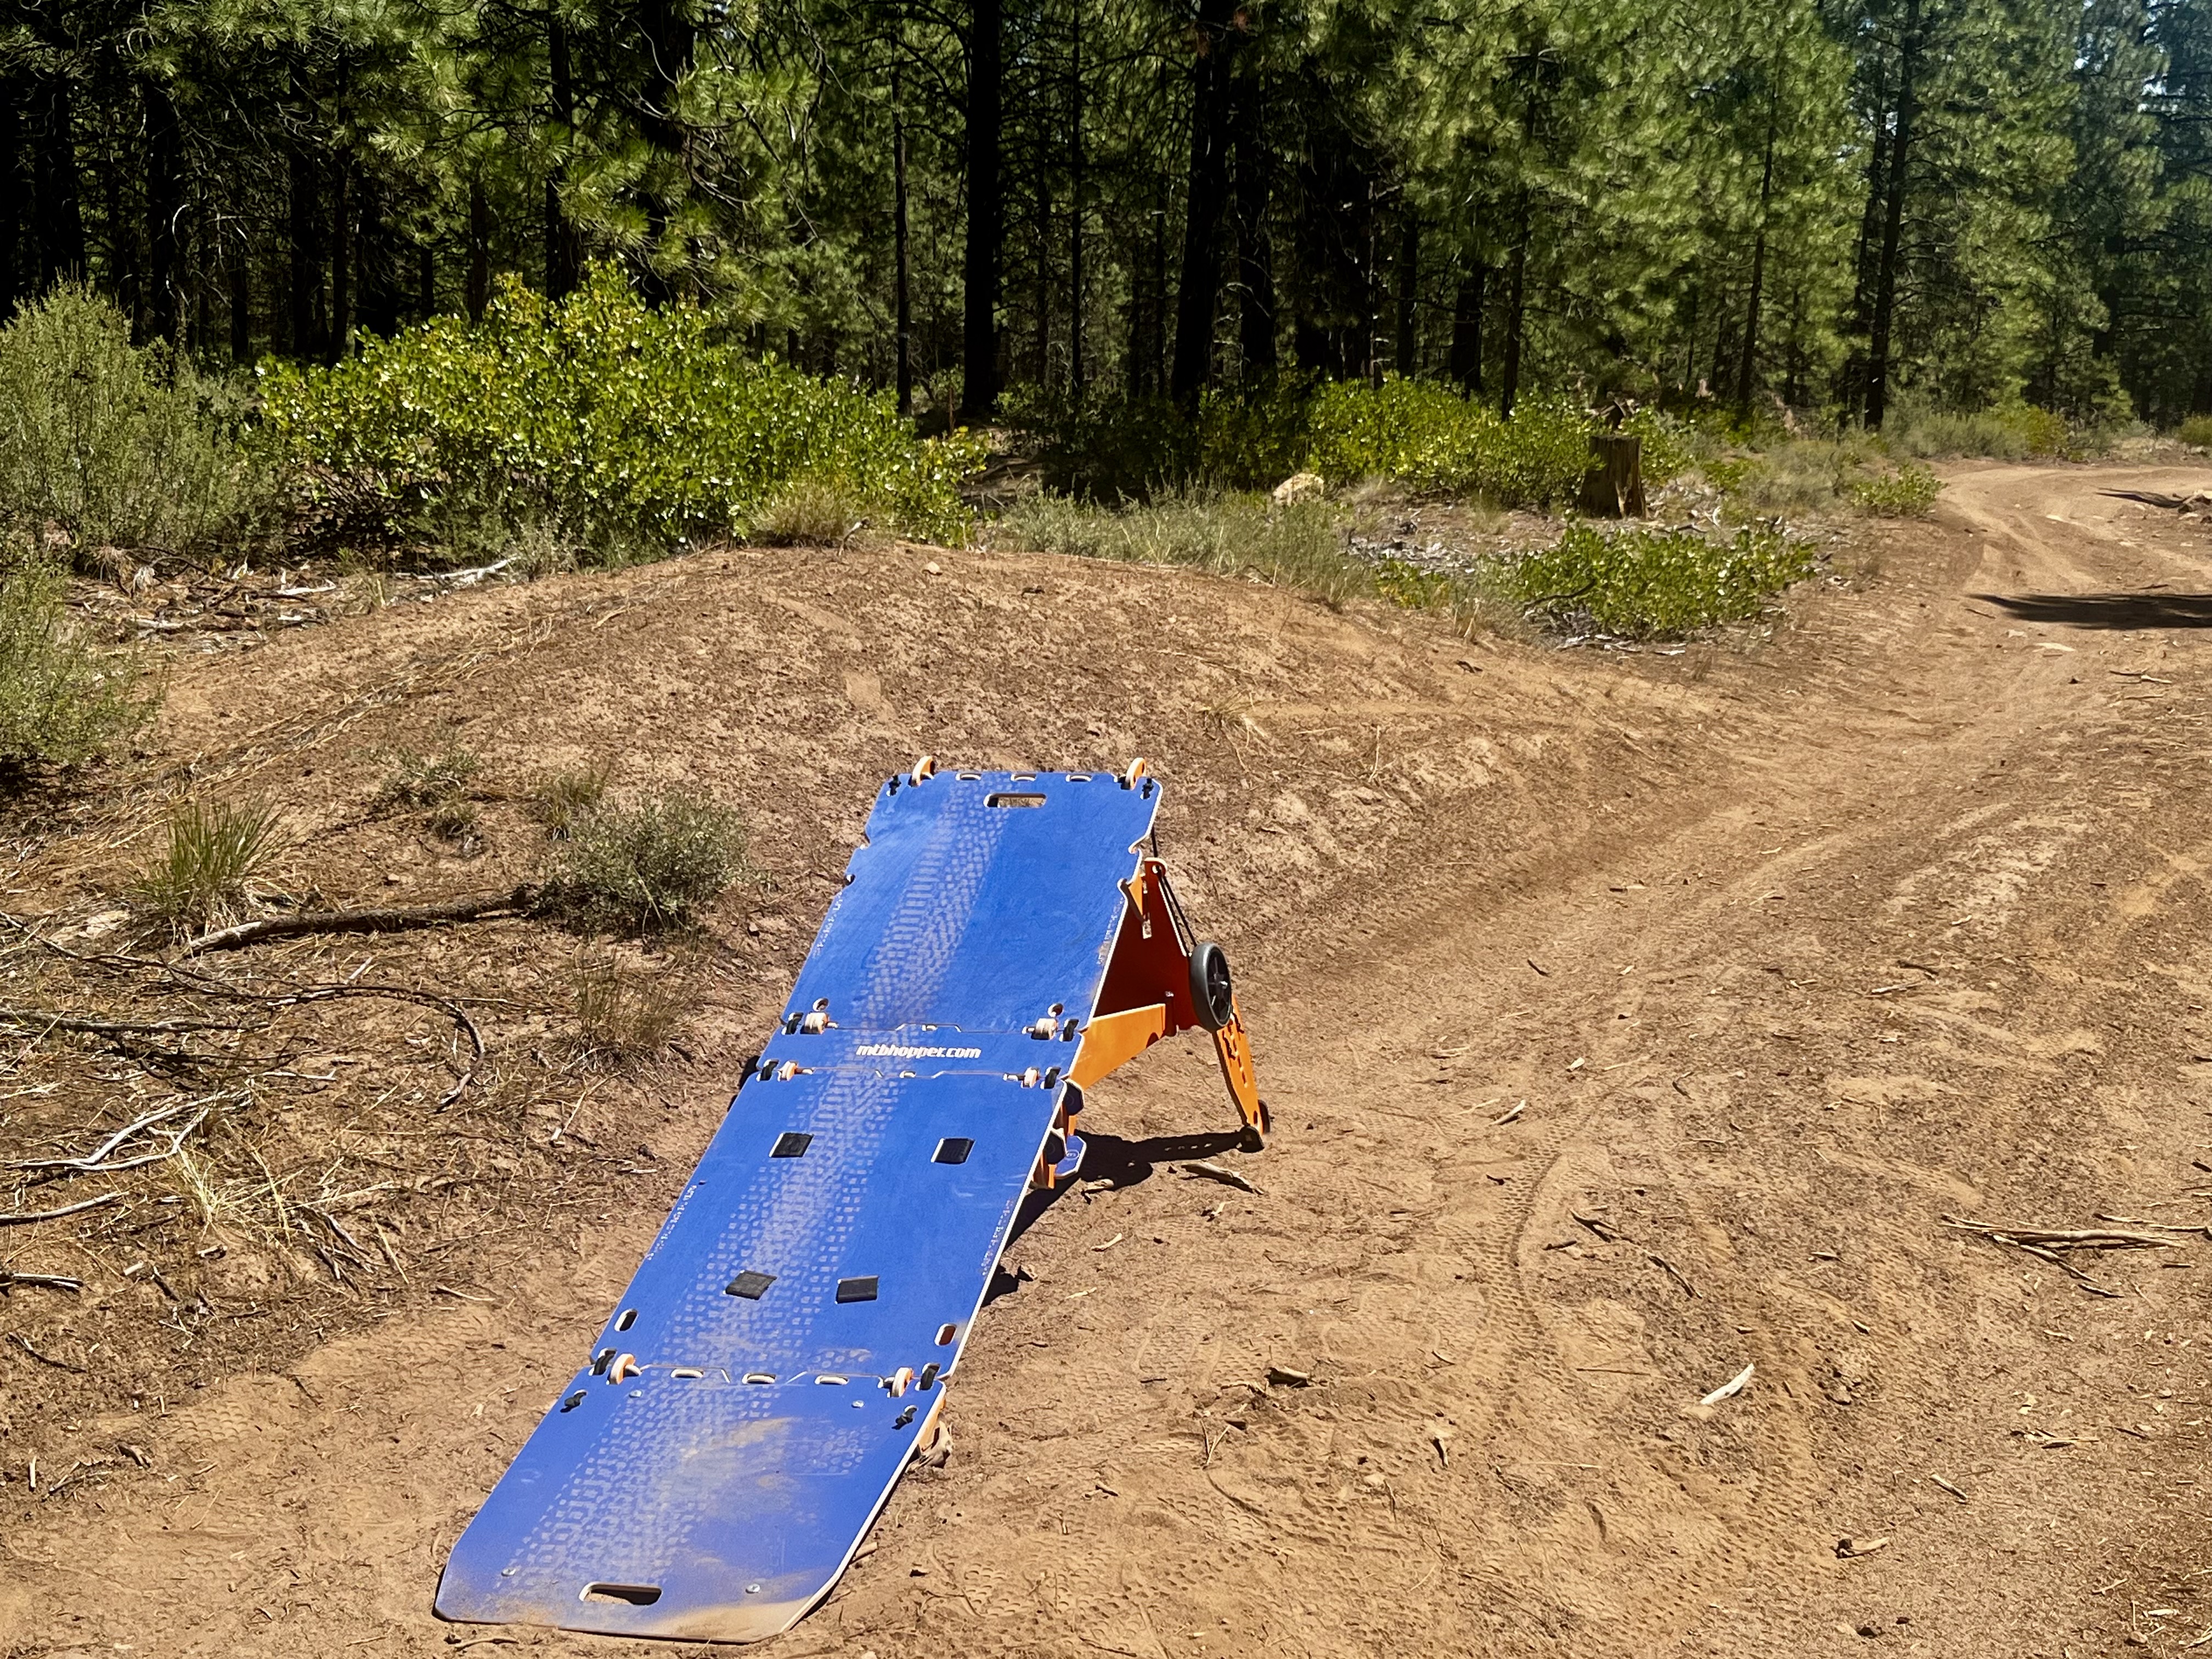
To be clear, if you are putting the ramp in your car and driving somewhere, you will need to assemble it where you intend to use it. Fortunately, it packs small — it fits in the trunk of a car — and can be put together easily.
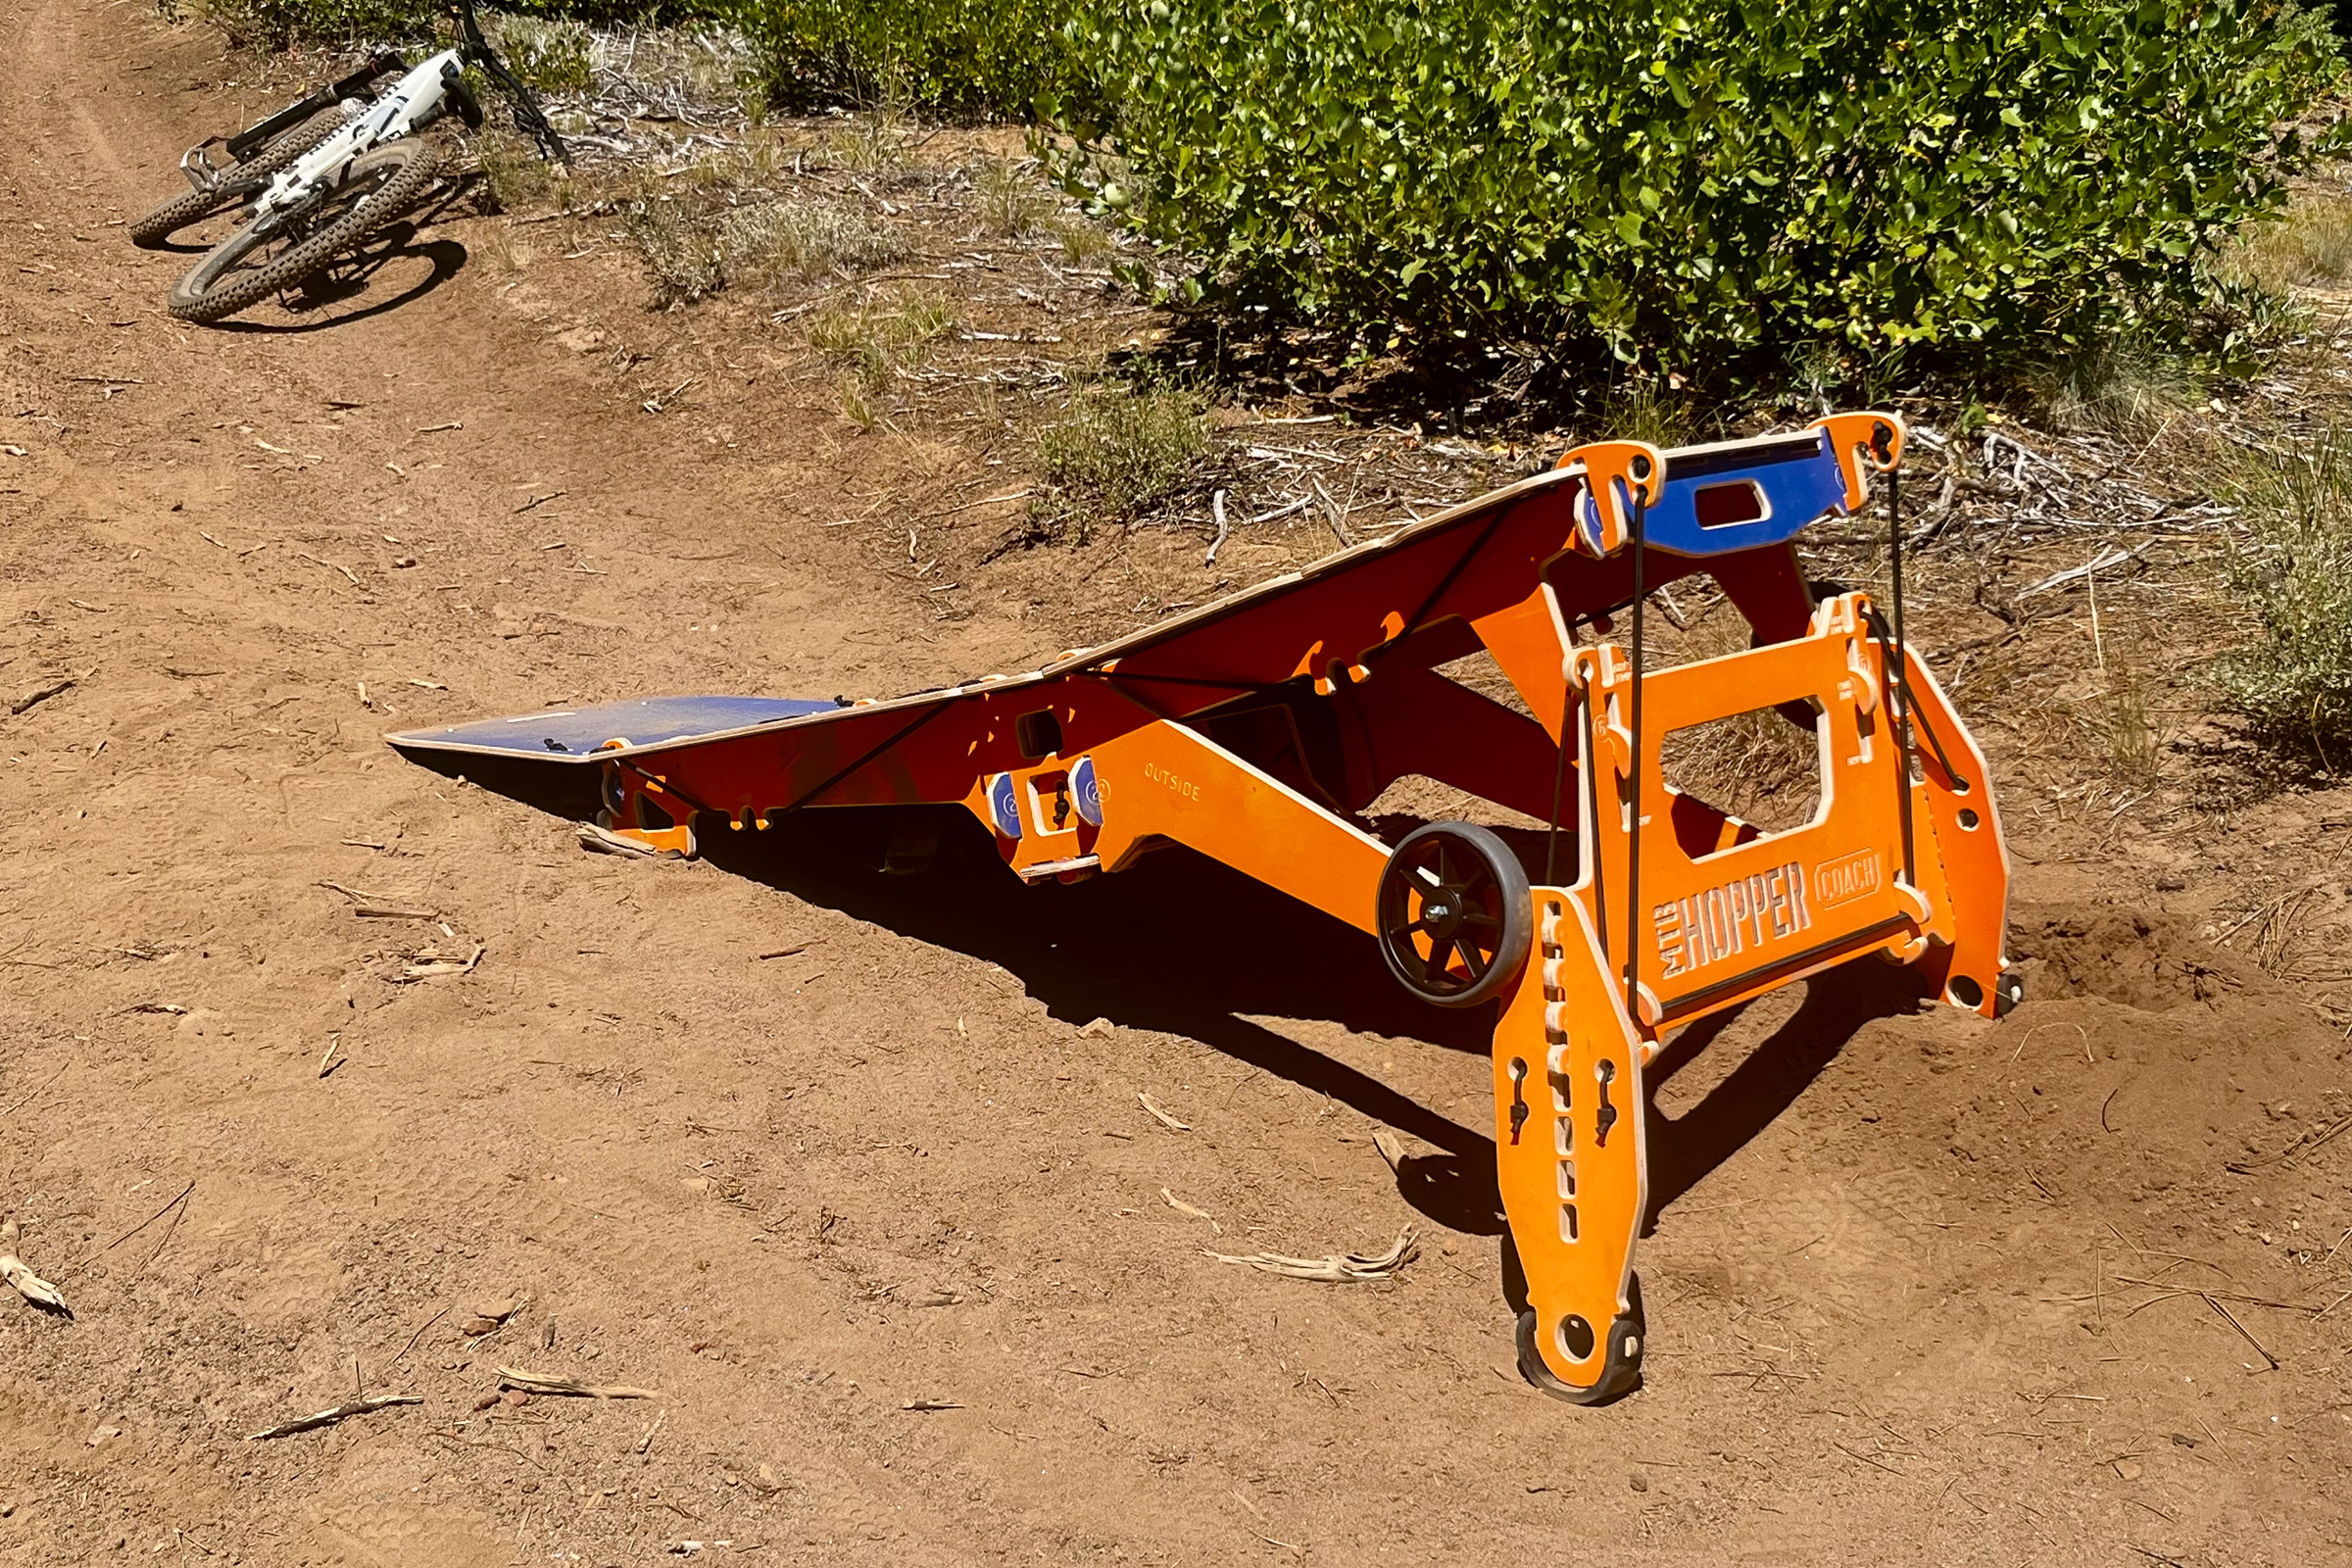
When you find that perfect spot to use the ramp, there are several options to choose from based on what you are looking to do. The ramp itself has three different lip options — drop, long jump, and airy jump. The MTB Hopper Coach also has a “Coach Mini” option, where essentially half the ramp is used for less of a boost.
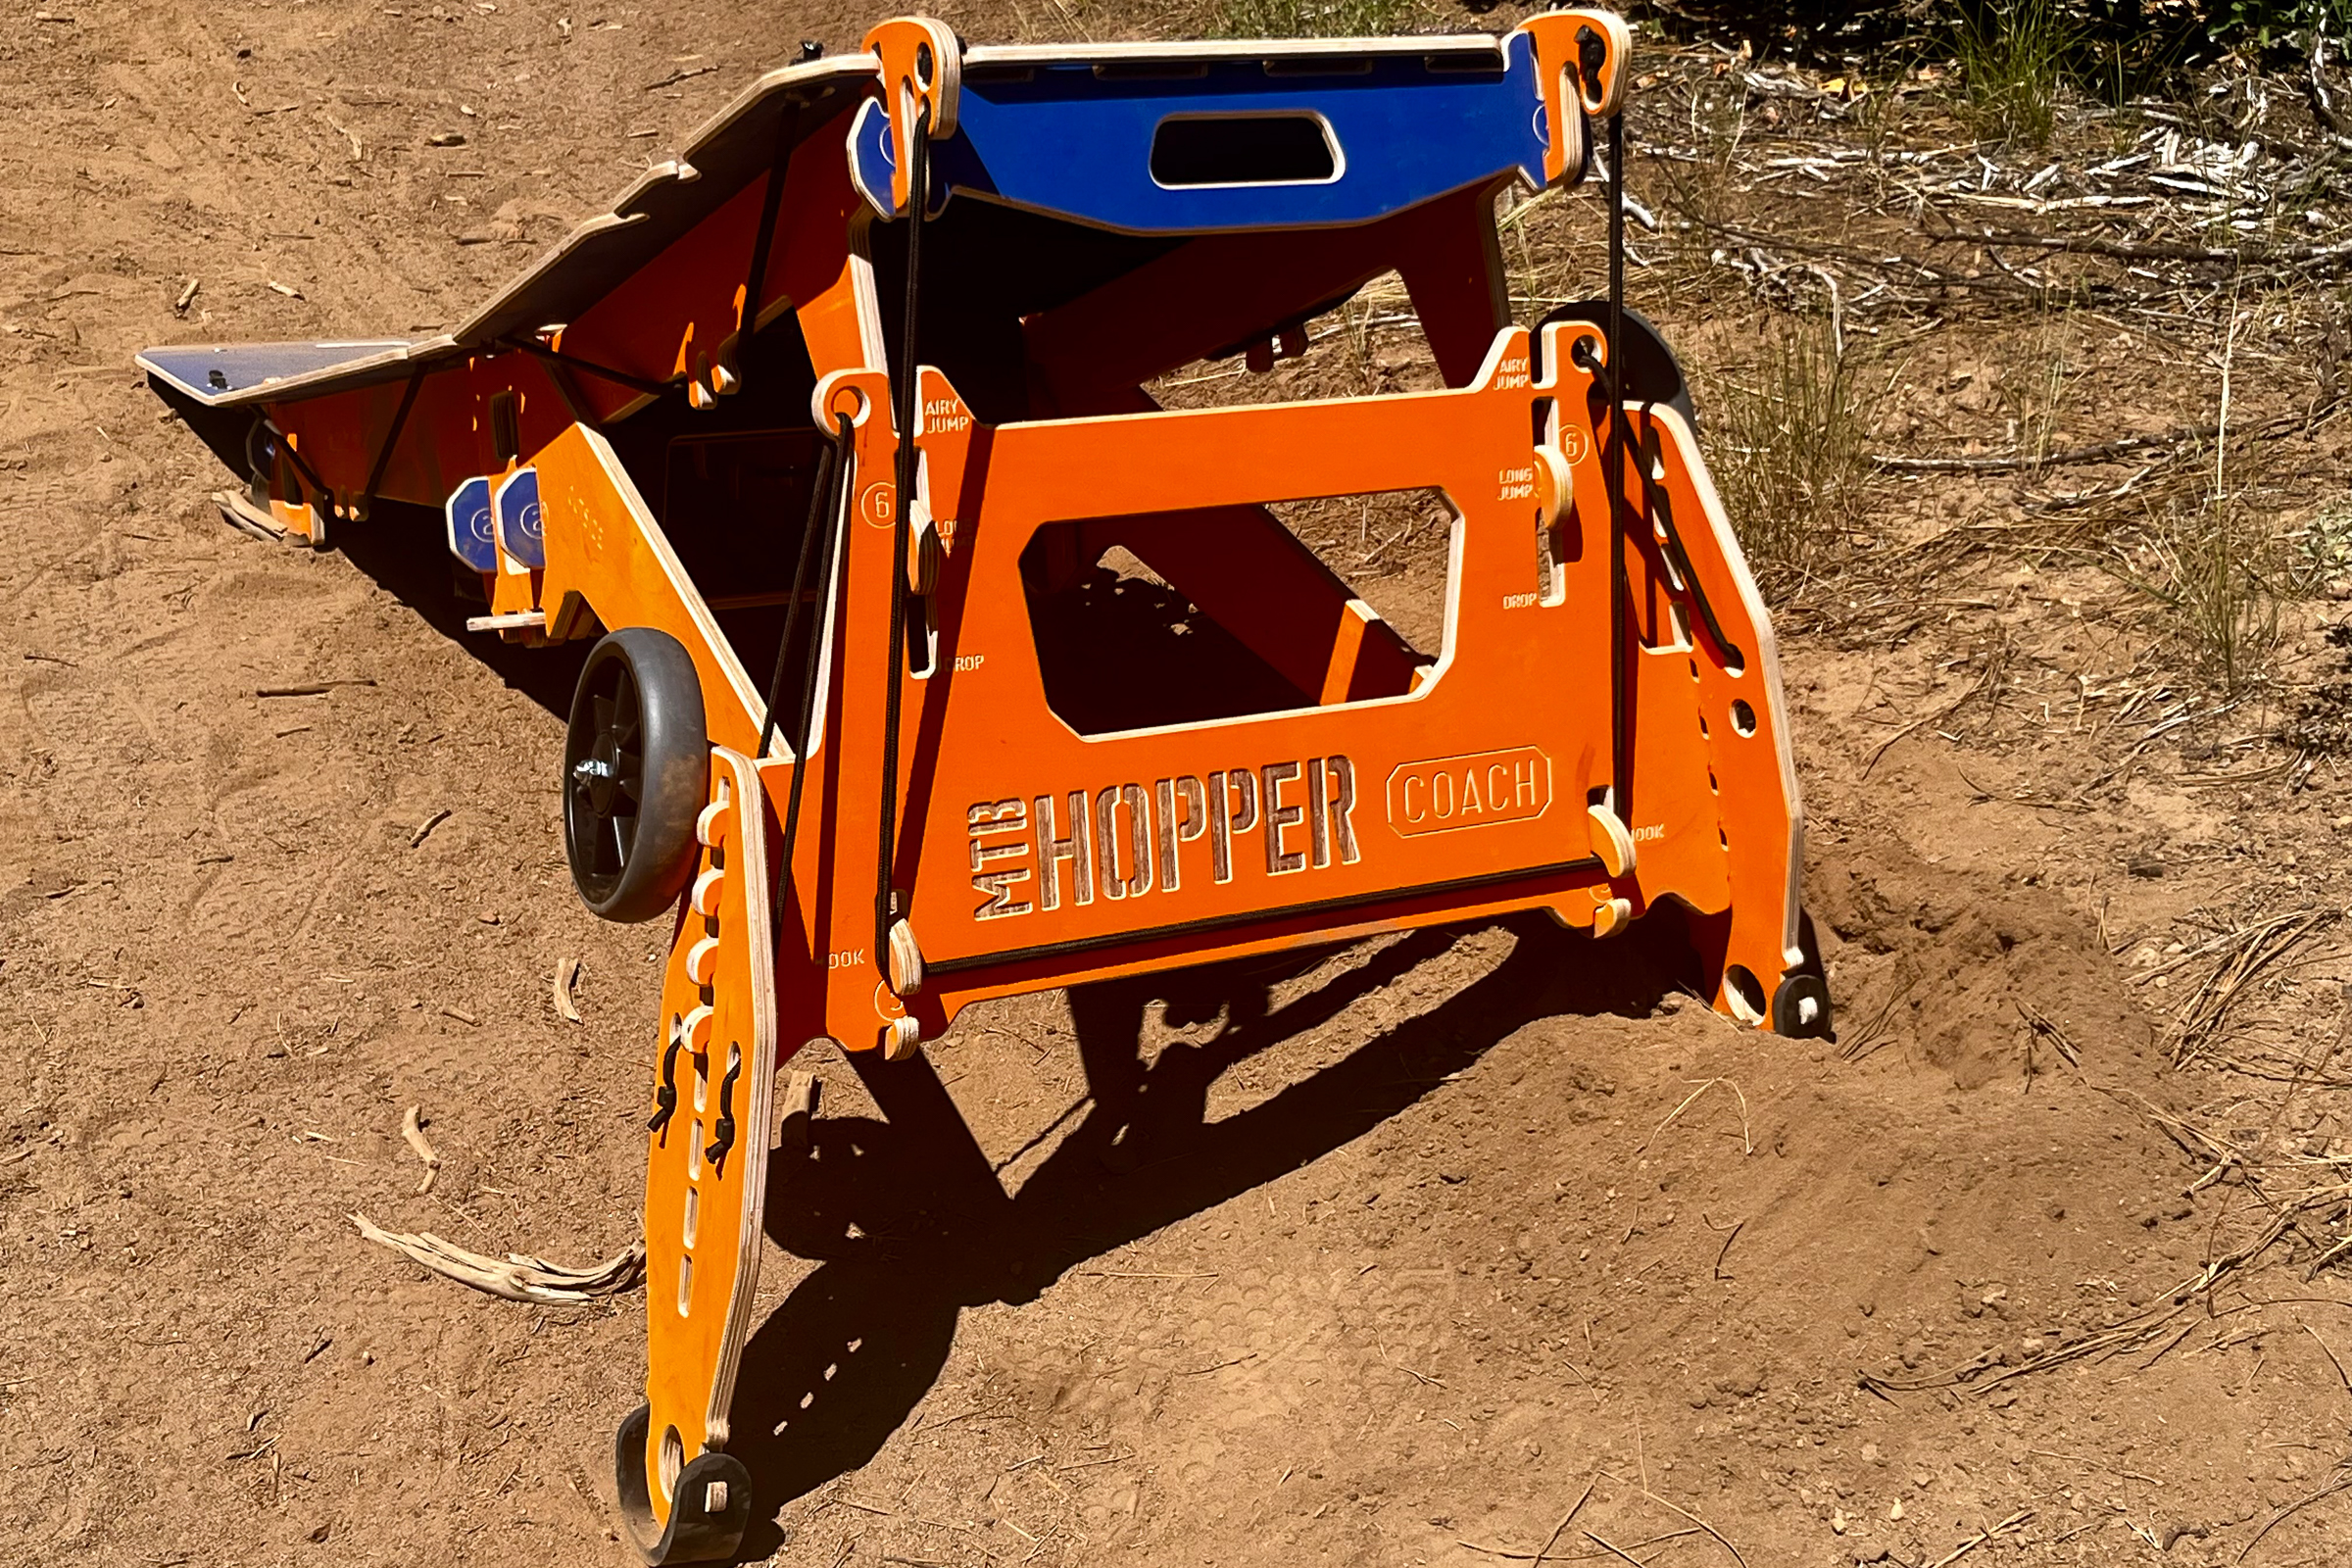
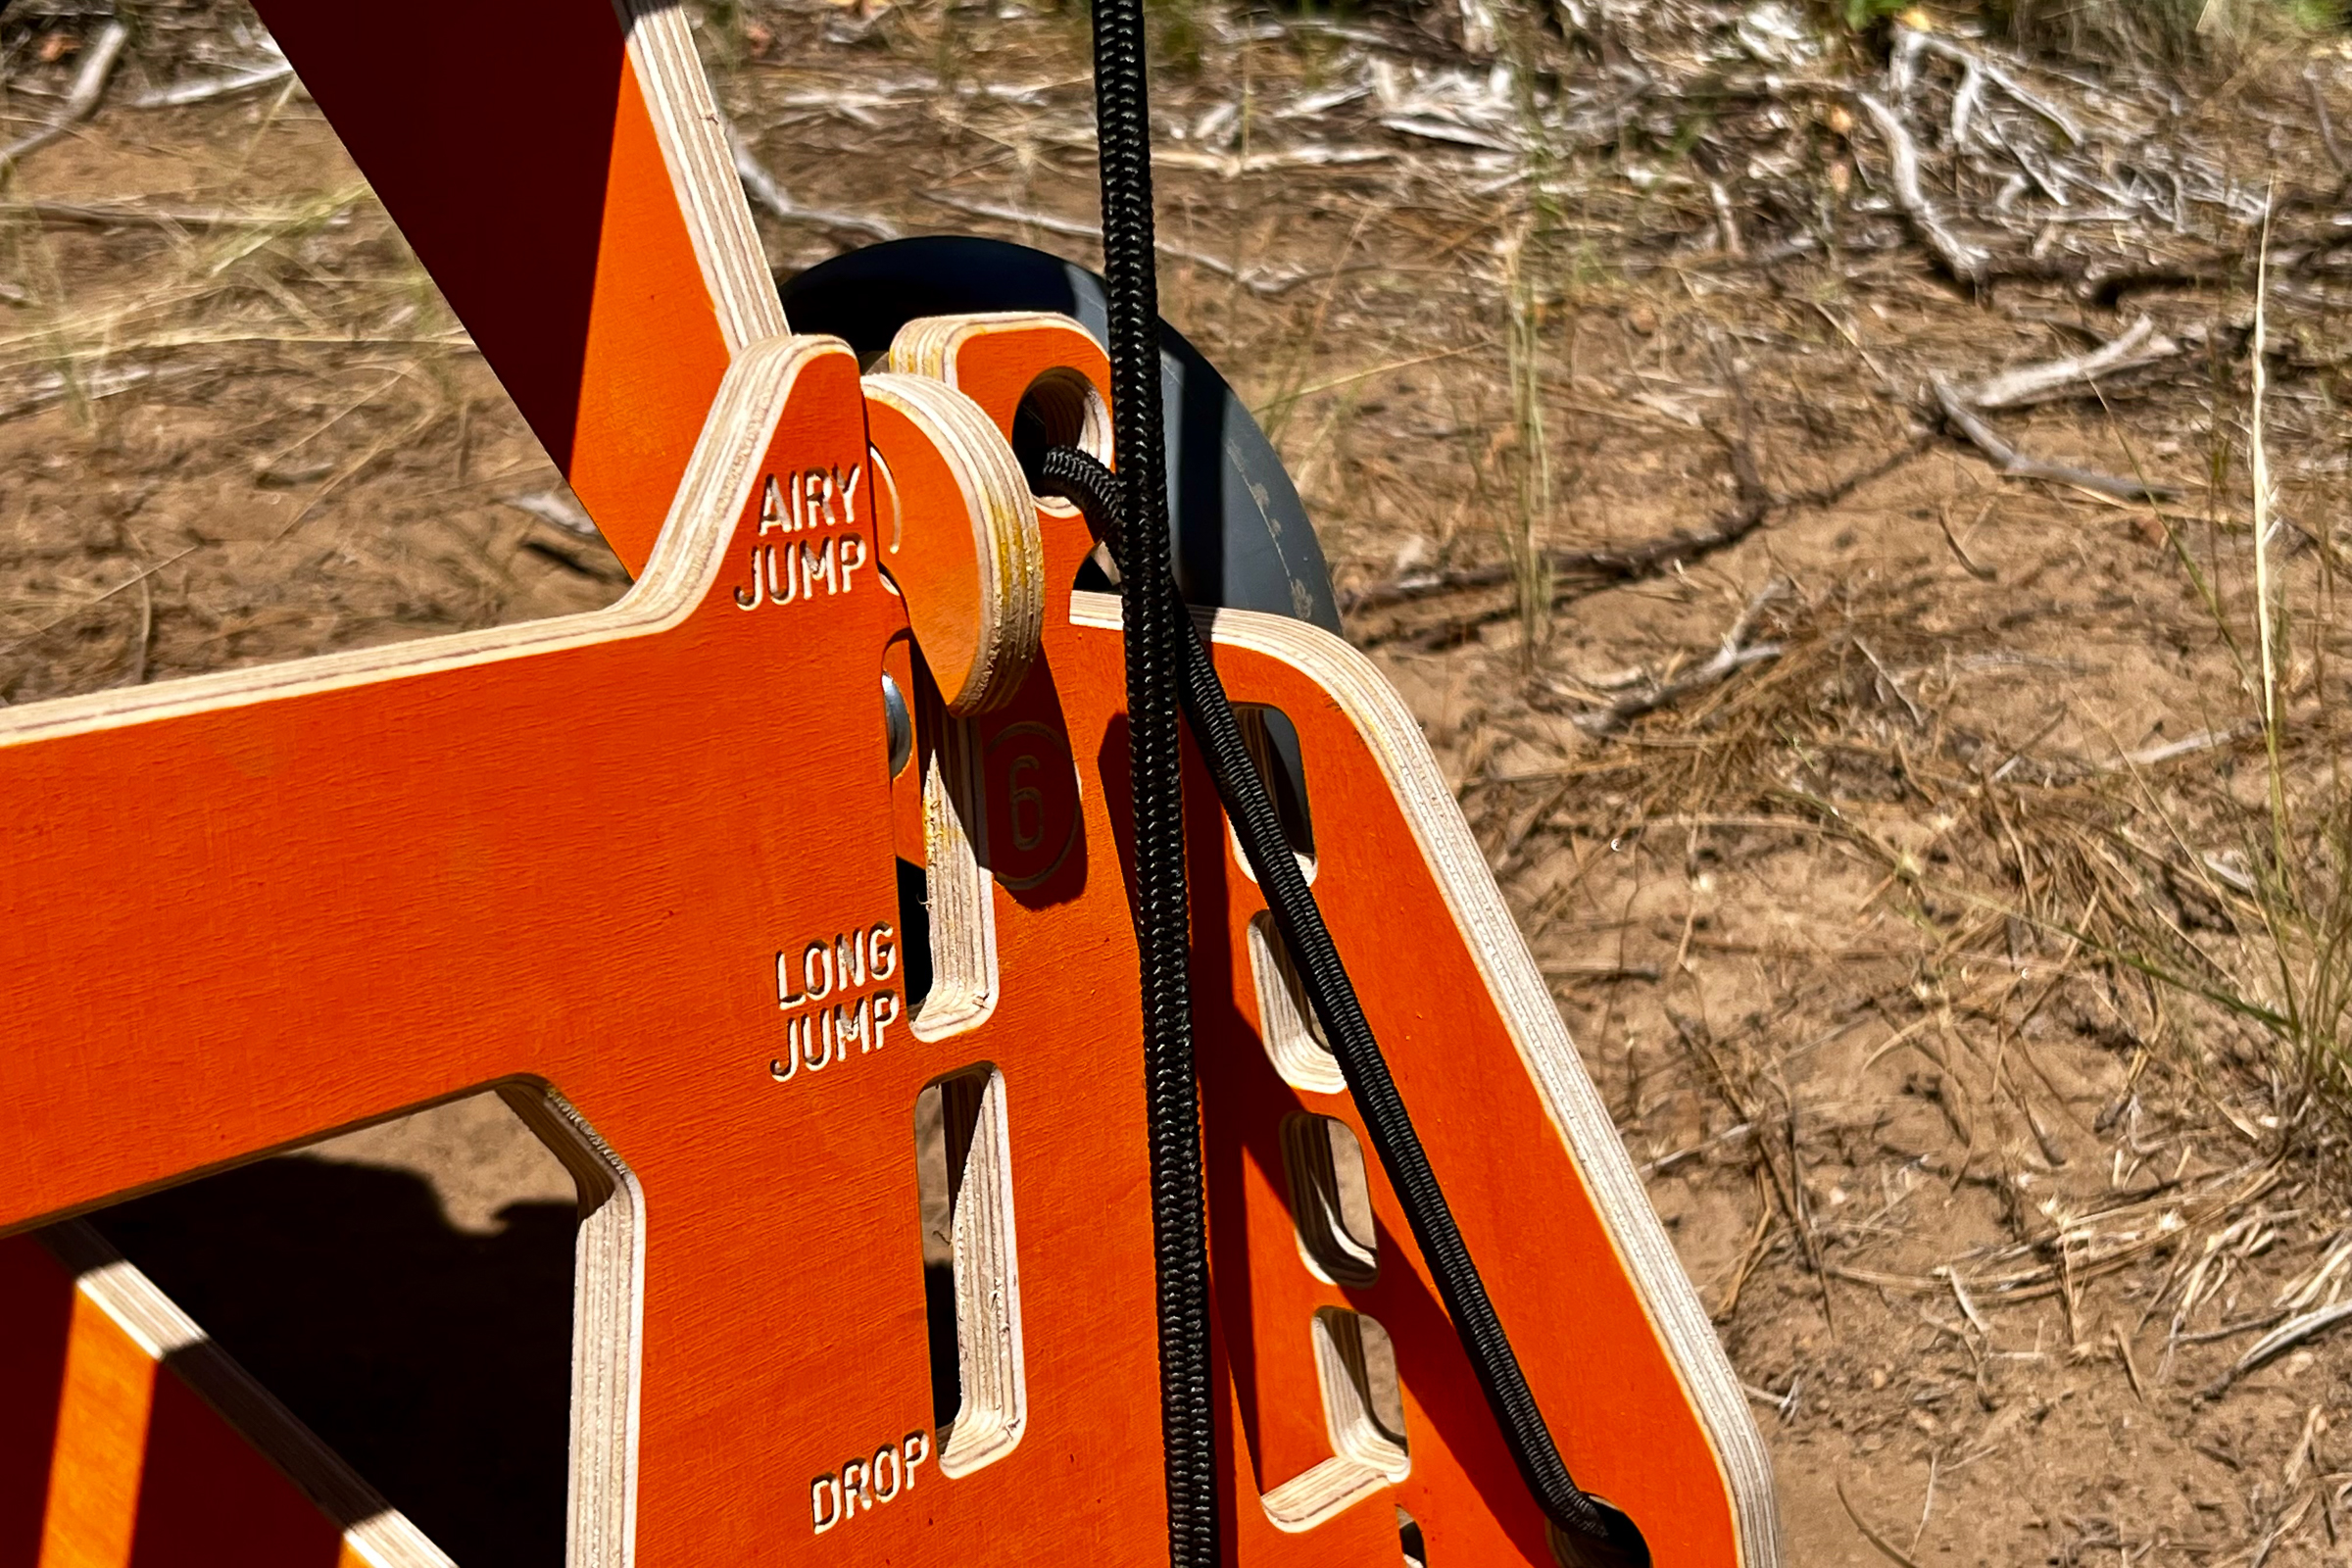
The legs on the ramp adjust further, taking the “airy jump” from just above knee height to close to the hip. These legs can also be adjusted independently, allowing for one to be higher and the other lower if the ramp is on uneven ground.
These adjustments — airy jump, long jump, drop, and leg height — make a significant difference when riding. You will notice a considerable kick into the air when going from “long jump” to “air jump,” for example. This was great when it came to tailoring the jump to the landing. Some spots require a longer, low-style ramp, while others require a boost higher into the air. And the drop setting turned nearly any embankment into a mountain bike feature.
Once I found a spot and set up the MTB Hopper Coach, it was tough to leave. While having a “jump session” isn’t my first thought regarding mountain biking in my late 30s, I was surprised by how much of a blast it was. Progression was easy, as I could push myself as I felt comfortable, increasing the lip radius, distance, and basically any other factor to increase my stoke.
Practicality of the MTB Hopper Coach… or similar ramps
Yes, every time I used the MTB Hopper Coach ramp, I truly had a blast. Embankments became landings, dirt mounds were potential hips, and nose bonk potential on large boulders was through the roof. While I never got to wall rides, it was certainly on my mind. I was channeling early 2000s jib vibes.
Yet, I still found myself questioning the practicality of a ramp such as the Coach. If I lived on a chunk of land and wanted to build backyard trails, I could see something like this ramp coming in handy. Even if I had a chunk of land with trails, the $545 price tag is a lot, and I would likely build wooden features myself. Yet, I do realize DIY projects require having tools and the know-how, both of which are eliminated with MTB Hopper.
However, my “yard” is just over 100 square feet, which meant I was using “other people’s” land to test the MTB Hopper Coach. And that can be tricky. Trail organizations and land managers don’t necessarily want a ramp added to a portion of the trail. The Forest Service, especially, isn’t too keen on essentially creating my own trail, short as it may be, because I found a potentially cool feature.
Another option was neighborhood parks. As a dad who frequently visits our city’s parks with my two kids, I often notice potential features and lines that only need something like the Coach. However, many of those lines would also mean destroying landscaping that I now know was paid for by my tax dollars. As I try to teach my children to be kind, respectful, and responsible citizens, it feels pretty hypocritical to consider flowerbed landings.
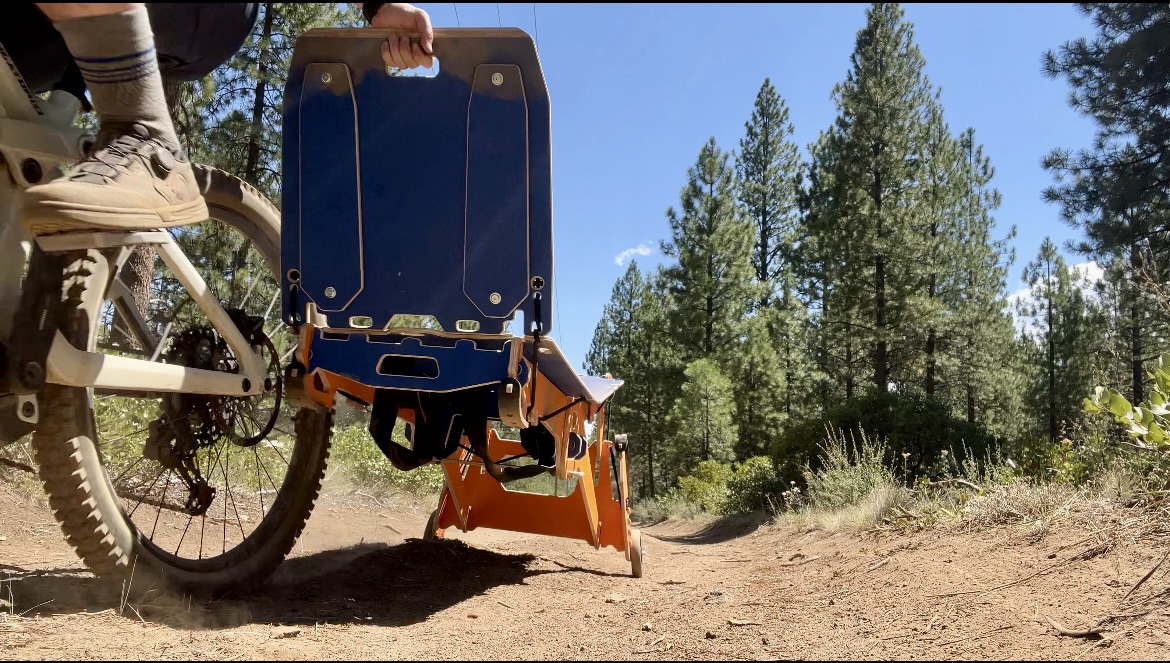
Ultimately, I struggled to find places where I could use the MTB Hopper Coach. Pedaling any significant distance with its 33+ pound weight was out of the question. Plus, the Coach is uncomfortable as a backpack, and bounced around a bit too much on rough terrain. Given the difficulty of transporting it outside my car, I used an eMTB for most of my ramp tests. And, with nearly all of the trails in my area not open to e-bikes, service roads were often my testing grounds.
And, the forest road adventures were great. While the user case for a ramp like the Coach may be a bit niche, it is certainly a solid option to progress your jumping, especially if you have a few spots in mind.
Pros & Cons of the MTB Hopper Coach ramp
Pros
- Adjustable
- Can control nearly all variables
- Quick, easy assembly/disassembly
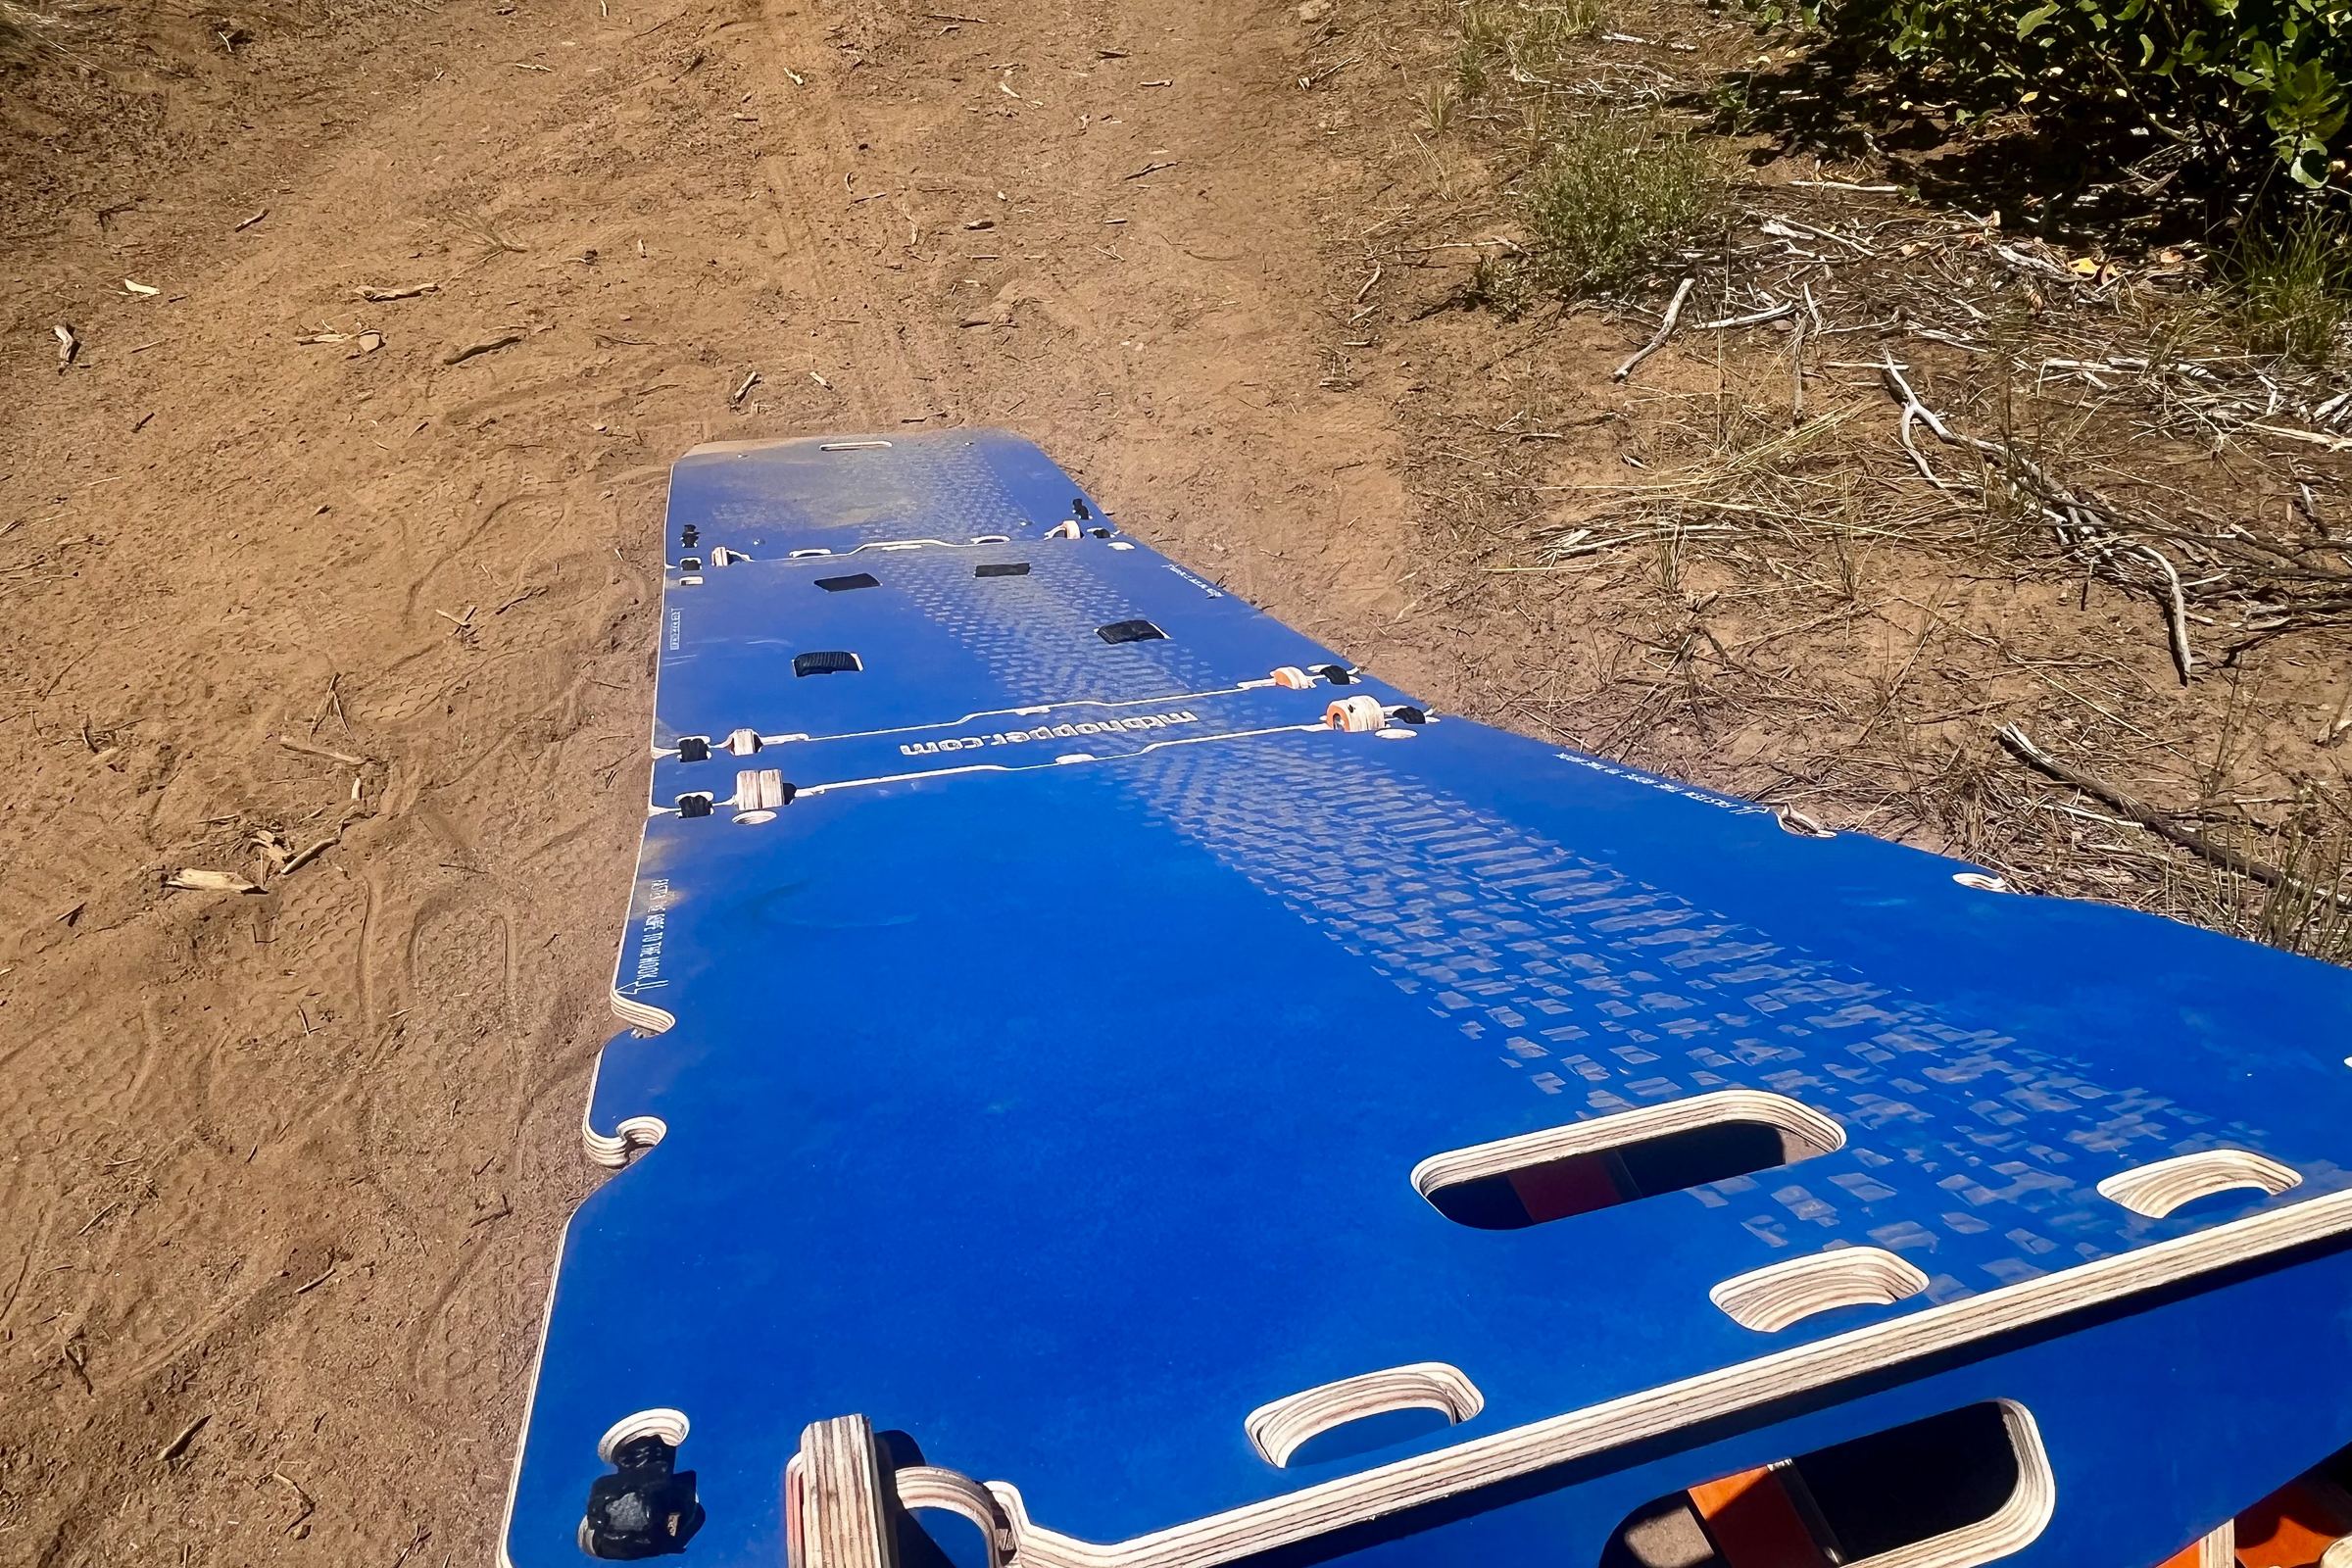
- Durable, sturdy
- Wheels for quick transport
- Jeez, it was so fun!
Cons
- More niche use case than I thought
- Folding and carrying require disassembly
- Not practical to ride with
- Expensive
Bottom Line
I had an absolute blast every time I used the MTB Hopper Coach ramp. Its adjustability and various settings allow for easy progression for beginning jumpers, while its “airy” setting and adjustable legs enable advanced riders to go big.


0 Comments