

As a left-handed bass-guitarist, I have ample experience buying expensive instruments based on reviews and technical charts, rather than testing them in a store. For many consumers, buying a bike is a similar process.
Unless you can plan a vacation to Outerbike, Sea Otter, some similar mass-demo gathering, or your local shop happens to sell the bike you are salivating over, you need to rely on reviews and geometry tables to make your selection. Having a good understanding of how geo-tables work and how those measurements can translate to your riding style and local terrain is quite valuable.
With the growing number of bike brands implementing a direct-sales model, riders need more upfront information than ever. Companies are sharing precious technical information with consumers, granting us the power to make more informed decisions. Below I will share how I employ that information to select frames and bikes for myself.
For an overview of more specific geometry standards in the industry today, check out these in-depth articles on modern enduro geometry, trail bike geometry, and this recent piece on how trail geo has morphed over the past few years
Why geo-tables are helpful
A confident grasp of geo-tables will enable you to compare a bike you know well to one you are interested in, and will give you an idea of what elements of your next bike you want to be longer/lower/slacker, or not. Understanding frame measurements will also help you better decipher bike news and reviews so that you can form your own idea of how particular bikes might perform with your riding style and trail selection. I enjoy reading all of the information about a bike and then riding it to get a feel for how all of those numbers look when covered in dirt. Only you know your riding style and how you want it to progress, so learn how to use geo-tables to your advantage.
How you can use a geo-table to select your next frame or complete bike
Every frame company has a different manner of explaining their theory behind bike geometry, and we consumers ingest and analyze that information in unique ways. I prefer to look at the numbers that affect where my body interacts with the bike, including the bottom-bracket, saddle, and handlebar positions, and where the bike contacts the ground via its wheelbase.
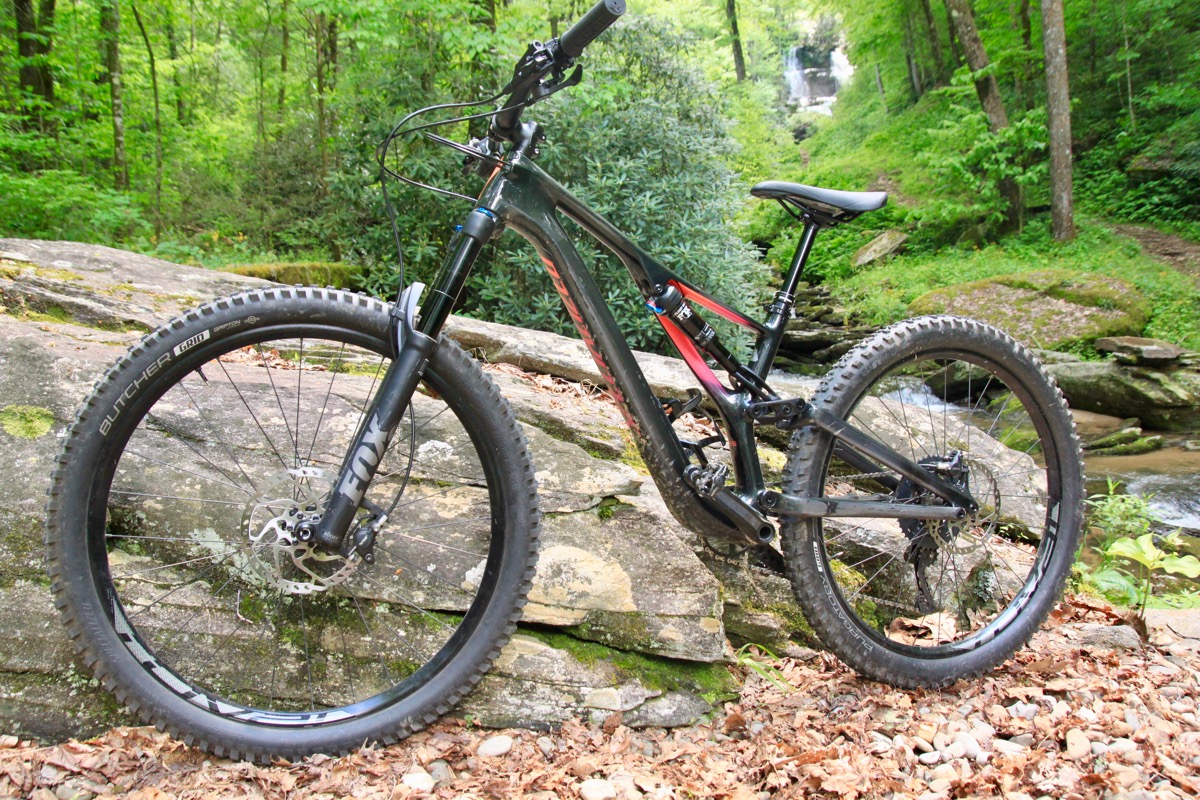
An equally important factor is my intended use for the specific bike. The next frame I am going to build up will be a long-travel 29er for riding steeper and more technical tracks. I am looking for a bike that I can pedal uphill without it feeling like a waterbed, that has a true penchant for gnarly descents as its raison d’être.
In the search for this long-travel 29er I will compare two different bikes that I know intimately as reference points. For the past year I have been riding a medium YT Jeffsy 29er trail bike, and recently switched to a size medium Nordest Bardino enduro-hardtail 29er. The Jeffsy felt too short and squirrely on faster technical tracks from day one, and though the bike has many redeeming qualities I have secretly wanted to sell it since the first few rides. The Nordest Bardino, on the other hand, feels amazing on nearly any track, and I would love to find it’s double-squish cousin with a bit longer reach.
As my understanding of frame geo has grown, geo-tables have helped me better consider how well balanced a bike might be and how it will perform compared to others I have ridden.
Below are some of the measurements I find helpful when choosing a new frame. I am no engineer, but a lifelong mountain biker, privileged to have tested a lot of different frames. Lucky for us all, with contemporary design innovations, it would be far more difficult to select a frame with bad geometry than to randomly pick a bike that fits and offers a decent ride.

Ride characteristics to consider
Note: These measurements are helpful when considered together, but alone tell little about how a bike will perform.
Headtube angle (A)
I consider this measurement first because I feel it has the most immediate effect on how a bike descends at speed. Slacker headtubes add stability and aid proper suspension functionality on descents, but often produce a wandering sensation on slower tracks and steeper climbs. There are certainly compromises with this geometry element. A half degree in either direction will not make the decision for me, but I want a proper slack bike for confident gravity riding. Bikes with headtube angles between 64-66° will check this initial box. The Bardino’s HTA tilts to 65°, and the bike feels amazing up front on the steep stuff.
Seat tube angle (D)
While this angle can change based on the position of the saddle, as well as suspension sag, I will only be seated on this bike on ascents. I want a steep seat tube angle that will help me get my weight over the front tire to maintain traction while ascending and keep the aforementioned wandering in check. I appreciate the industry movement toward steeper seat tubes and on most frames, this piece of the puzzle should be in place. A seat tube angle between 74-75° is ideal for the steep style of riding I will do on this bike. Both the Bardino and Jeffsy had seat tube angles in that range, with 74.5° and 74.7° respectively, and both allowed me to climb sufficiently.
Reach (G)
This is the element I want to augment most on my next bike. The reach is a horizontal measurement from the center of the headtube to the center of the BB and can play a significant role in the stability of the bike on rough tracks. Along with fork offset, headtube angle, and chainstay length, the reach has a direct effect on the overall wheelbase of the bike.
A longer reach can add descending stability to a bike without greatly affecting its playfulness. Right out of the box my YT Jeffsy felt very short with a 425mm reach, while my Bardino is a better length for my body size at 438mm. For this leggy 29er build I will look for a minimum reach of 438mm, and I am game to reach a little further.
Fork offset
Fork offset is the distance from the center of a bike’s steering axis to the midpoint of the front axle. With the length of many long-travel 29ers exceeding that of DH bikes, I will want to reintroduce some agility to the bike through the build spec. This can be accomplished by using the shortest stem possible, as well as a fork with a short offset. The shorter fork offset pulls the front tire back toward the rider slightly, adding some pressure-balance for better traction and faster steering. Transition Bikes have been pushing this element more than any other brand.
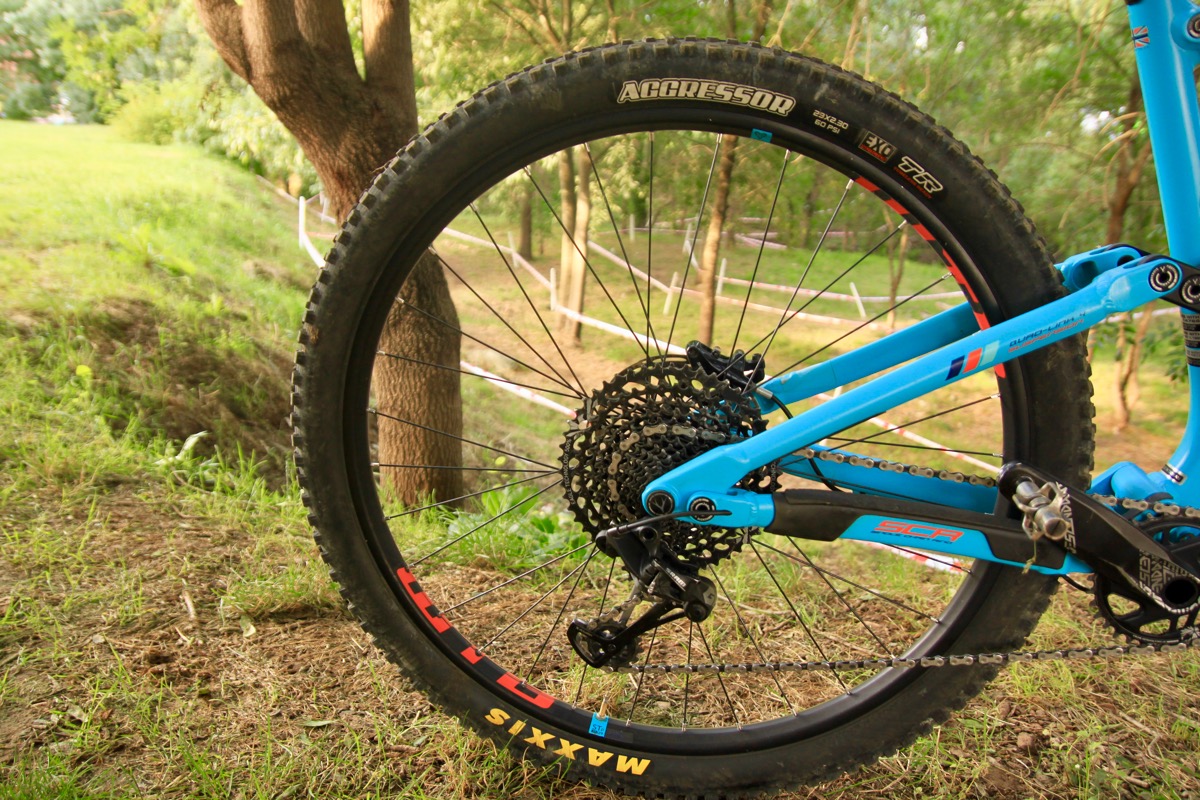
Chainstay length (F)

My trail skills shine when the track is twisty and technical, forcing me to look for speed. My clear weaknesses arise when it’s flat-out fast. I want to challenge myself to let go and enjoy more speed, and longer chainstays coupled with ample reach will help. That said, I don’t want a bike with giant grasshopper-leg stays because as chainstays lengthen, the bike becomes more difficult to manual, wheelie, and play around on. I will be looking for a frame with stays measuring 425-440mm, though this is a measurement I would prefer to keep on the shorter side.
Wheelbase (J)
No matter how it is achieved, a longer wheelbase measurement equates to a more stable ride at speed, and a less lively and playful ride when the trail is slow and technical. Bikes can have shorter stays and a longer reach, and vice versa, and achieve the same wheelbase. I prefer bikes that have a long wheelbase to get that length from the reach measurement, as it makes for a more playful ride than one with long chainstays. My Jeffsy had a short wheelbase at 1154mm, while the Bardino was slightly longer at 1184mm. As with the reach measurement, I am interested in experiencing a longer axle-to-axle frame with my next build.
Stack height (H)

Stack is a vertical measurement between the center of the bottom bracket and a virtual horizontal line that intersects the top of the steer tube. It tells you how high your hands will feel in relation to your feet, which is particularly important for very short and very tall riders.
If you are exceptionally tall you will want to make sure frames have high stack height figures so that you don’t have to run heaps of spacers below your stem. Similarly, if you are exceptionally short you will want a frame with a low stack height measurement so you can achieve an aggressive position when you need it.
For average height riders, bar-height can be shifted around by changing the handlebar or swapping a few spacers to achieve the desired feel. I like my handlebars fairly high on enduro and trail bikes, but at 5’8″ (173cm) I don’t have much trouble finding frames with an adequate stack.
As you can see, some of these elements start to weigh against one another, and tradeoffs abound. Fortunately, there are well-shredding engineers out there testing and designing bikes to make sure our rides are amazing. Unless you are purchasing a handbuilt frame, there will always be compromises.
Fit Characteristics
Bike geometry isn’t just about performance characteristics. It also affects how well the bike fits the rider. Here are some geometry numbers to understand when it comes to bike fit.
Seat tube length and maximum insertion

Traditionally we purchased bike frames based on the length of the seat tube, and the height of the top tube. This convention was carried over from road frame geometry. With both of those bits shrinking shorter and lower, we can instead choose frames based on their reach, and other elements that will affect ride quality.
For riders with shorter legs, like myself, seat tube length is still a number that needs to be considered. For example, my Jeffsy has a 420mm seat tube and I used a 150mm dropper post on it, but that left only 1cm of the fixed portion of the post that was not inserted in the frame. This tells me that for my next frame I need a seat tube measurement of 420mm or less if I want to use the 150mm dropper.
The maximum amount a post can be inserted into the frame is also vital info and may require a call or email to the manufacturer, as it is almost never listed in the frame info. Bends in seat tubes, high internal dropper post routing ports, and seat tubes that are only honed out to a certain point will affect how much seat post can be inserted. As one example, if the internal routing port (the hole where the dropper hose enters the frame’s seat tube) were too high on my Jeffsy I would not have been able to ride with a 150mm post, despite having enough space above the frame to make it work.

Top tube
Top tube height is less important on mountain bikes, as there is little-to-no reason to stand flat footed over the top-tube, regardless of your leg length. There are crash related safety issues with high top tubes, but I would argue they are negligible for most riders.
Similarly, top tube length is no longer a useful measurement for most mountain bikes, as the angle of the tube and where it connects to the seat tube vary greatly. Reach measurements have supplanted the importance of TT lengths for mountain bikes, as tube slopes and seat tube angles have evolved.
Reach
This measurement affects the ride as much as fit. If your current bike feels long with a 40mm stem you will want a bike with an equal or shorter reach. If you are running a long stem or slamming your saddle back to make your bike feel long enough, you will want to look for a frame with longer reach numbers.
Long bikes are fun, but a bike that is too long will leave you with annoying shoulder and neck pain among other unpleasant issues. Have you ever tried to do pushups with your hands in front of you, at more than a 90° angle to your torso? You won’t want to hold this position for 2+ hours.
Wheelsize
Mountain bike brands want everyone to fit on their frames, and they work hard to make that possible. When all the numbers are crunched, a lot of shorter riders report feeling better on smaller wheels, and taller riders appreciate larger hoops. Some companies, Orbea for example, make their small and medium frames 27.5″, while their large and XL sizes get wagon wheels.
There are no hard and fast rules around this whatsoever, but some shorter riders feel that 29″ bikes are more machine than they need to do the job. Chainstays on 29ers have to be longer to make space for the larger wheels, and taller riders’ bodies have a higher leverage point to loft and lean these longer bikes. Still, I am 5’8″ with a short 30″ (76.2cm) inseam and I will only ride 29ers because I like how they roll through the choppy rocks and holes.
Additional variables to consider
Crank length
Crank length can be an important element to consider. Longer, 175mm cranks may work well for long-legged riders, but with low-slung, modern bottom brackets, most of us will benefit from the ground clearance of a 170mm or shorter crank. I personally use 170mm cranks on all of my bikes.
Stem length

The stem included in a given build can greatly affect the way a bike handles, and the way it fits your body. Shorter stems will speed up a bike’s steering, while longer stems can make it feel more stable. Bikes with larger reach numbers (for a given size) should be equipped with shorter stems to add to their agility characteristics, and bikes with shorter reach will most often ride better with a longer stem. I rarely keep the stem that comes with a new bike, instead swapping around until I find the length and angle that works best for the bike.
Bar width
Most bikes today come equipped with appropriately-wide bars that you can trim to your liking, but if you are buying a used bike this is something to consider. For example, if you are purchasing a trail bike that was made in the last 5 years and the handlebar is narrower than 740mm, this may be something you will want to replace in the future.
Geometry adjustability
“Three bikes in one” is a valuable selling point for many frame companies today, and it is good to know how the frame’s adjustability works and if its functions are something you want. One example is the “flip chip” on the YT Jeffsy. A lot of riders will leave their bikes in the “low” position, making the chip unnecessary, and ultimately cumbersome when servicing pivots. Also, when I am racing I prefer to have fewer variables to sift through. I don’t want to sit at the start line wondering if I chose the correct one of those “three bikes in one.”
Conclusion
What seems like a junk drawer of variables can come together quite nicely with a little effort. Go borrow a friend’s bike, check the geo-table for the frame, and see how it compares to other bikes you have ridden. Then go ride any other available bike you find interesting. After shredding several frames with their different geo numbers in mind you will start to get a feeling for what measurements you want for your next bike. With this experimentation, you can determine which bike will get you out the door and riding your best, rather than depending on what the marketing team wants you to ride.
After analyzing the geo tables of the two bikes I have owned, and those of a few I recently rode, the Transition Sentinel, Mondraker Foxy 29, and Orange Bikes Stage 6 are at the top of my list.
Now I will see about getting a test ride on at least one of them…


9 Comments
Oct 2, 2018
As I wrote, I am only sharing my thoughts on how to chose a bike based on geo, and on my experience riding a lot of bikes, and I am not an engineer or frame designer. I'm sure I could have made at least one (non-grammatical) error while writing this article. The fork trail/offset factors can be confusing, and I can see why what I wrote could seem counter to what I intended. My intention was to share the design logic that Transition, Specialized, Orbea, and several other brands building long wagon-wheelers use to justify using shorter fork offsets and longer reach numbers on their 29ers, with the intention of making the front end steer faster and feel less like a shopping cart. These companies are rethinking geometry a bit, and their bikes are fantastic as a result!
The fine folks at Transition have done a fantastic job of explaining their version of this geo redo, called "Speed Balanced Geometry" here.
https://www.transitionbikes.com/sbg.cfm
Sep 24, 2018
and other bikes (noteably the Ripley LS with a too low BB), I decided to go with the Mondraker Foxy 29. Thanks again, interesting reading.
Sep 24, 2018
Sep 24, 2018
Sep 24, 2018
Oct 2, 2018
A fork with short offset will increase the Trail the same way as slacker head angles will at the same time as making the bike floppier. To build in some agility with slacker head angles one would want to INCREASE the offset of the fork. Just as Gary Fisher.
The other statement "The shorter fork offset pulls the front tire back toward the rider slightly, adding some pressure-balance for better traction and faster steering." is also misleading. What you really need is a short Front Center which is a combination of Reach, head angle, wheel size and to some small extent fork offset.
Oct 4, 2018
Oct 4, 2018
So I have read some reviewers and also plenty of bike blurbs talking about how the shorter offset will 'calm' steering on the latest bikes. I'm yet to test this theory as I have been riding 29ers with 51mm offset for years but I've switched to a 44mm so I'm interested to see if I can even notice any difference.
Oct 4, 2018