Trails
Reviews
Tips
Community
Deals
Latest
Support
Trails
Find trails
Best bike trails
Destinations
Add a new trail
Reviews
Mountain bike reviews
Components
Tires
Clothing & shoes
Helmets
Accessories
Product news
Community
MTB Clubs
Races & Events
Bike Shops
Tips
Skills
Fitness & Training
Health & Nutrition
Beginners
Repair
Latest Articles
Podcast
Deals
Support Singletracks
Sign in
Create an account
About us
Newsletter signup
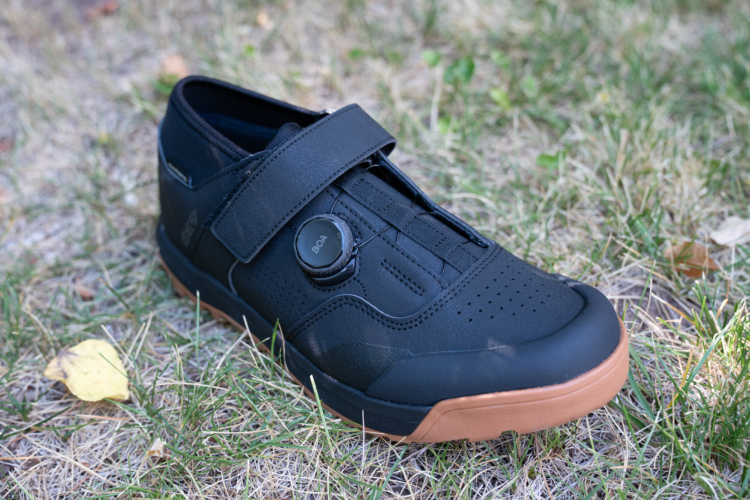
Review
Flat Pedal Shoes
Shimano GF600 mountain bike shoe review after one year of testing
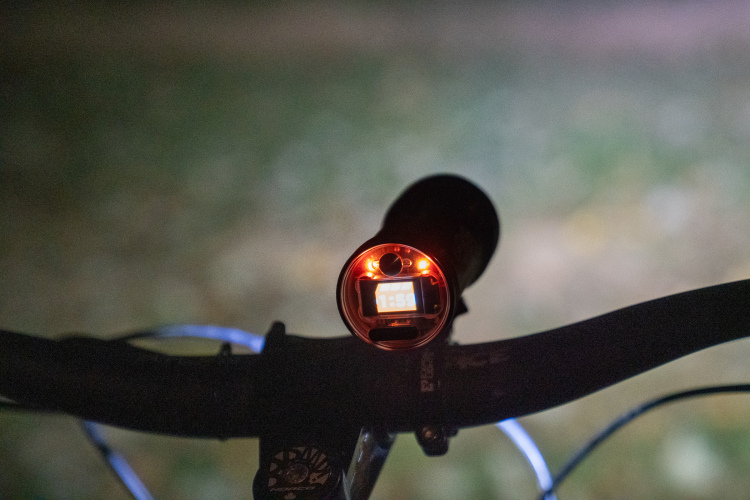
Lights
Exposure Diablo 15 helmet light review: Lightweight 116g design with a unique tap control
Watches
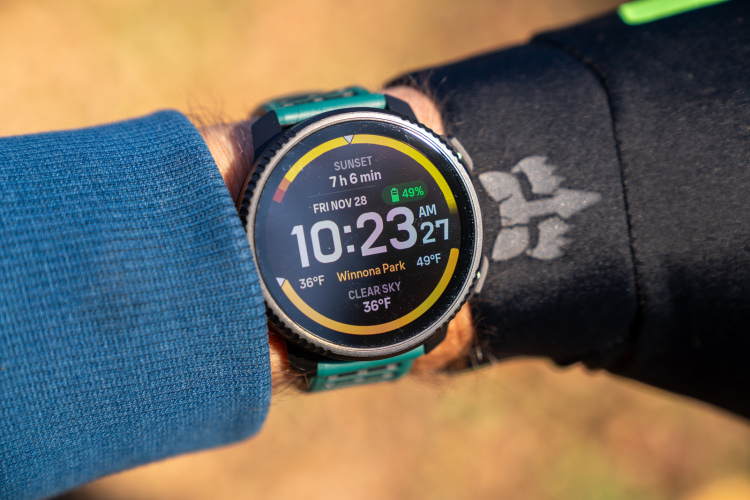
Suunto Vertical 2 GPS watch review: Multi-Sport smartwatch with offline maps for mountain biking
1
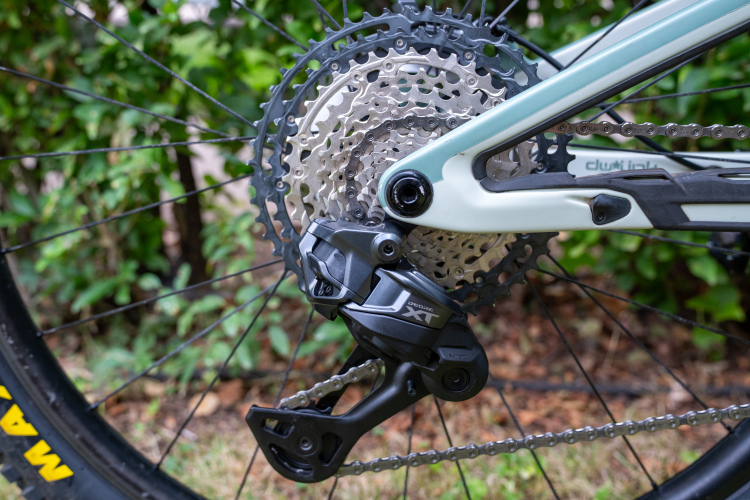
Drivetrain
Shimano DEORE XT M8200 Di2 wireless drivetrain review
13
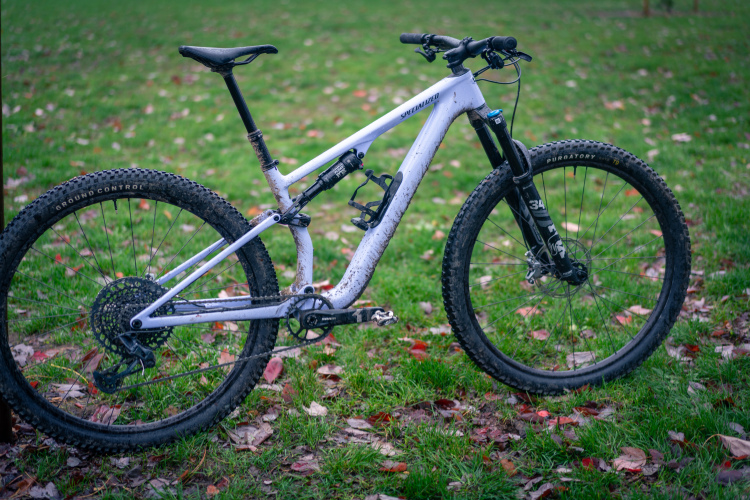
Trail Bikes
Specialized Epic 8 EVO Review: Why this $4,999 XC bike punches above its weight
9
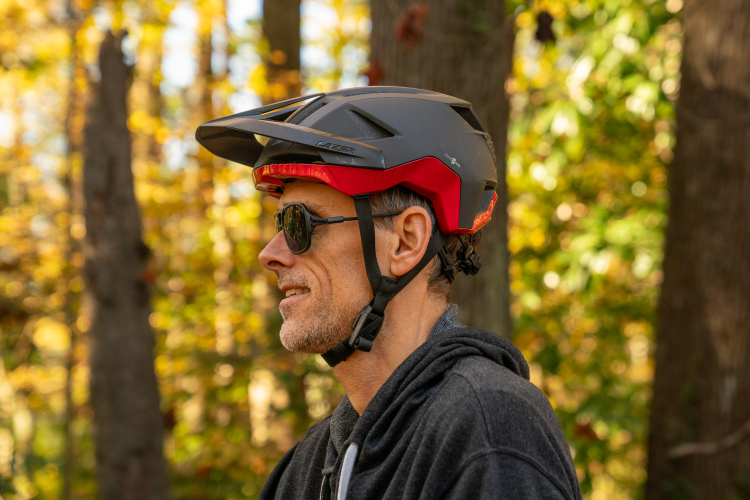
Half Shell Helmets
Lazer Impala KinetiCore mountain bike helmet review
Flat Pedal Shoes
The Lems Trail Thrasher is the Colorado brand's first mountain bike shoe [Review]
4
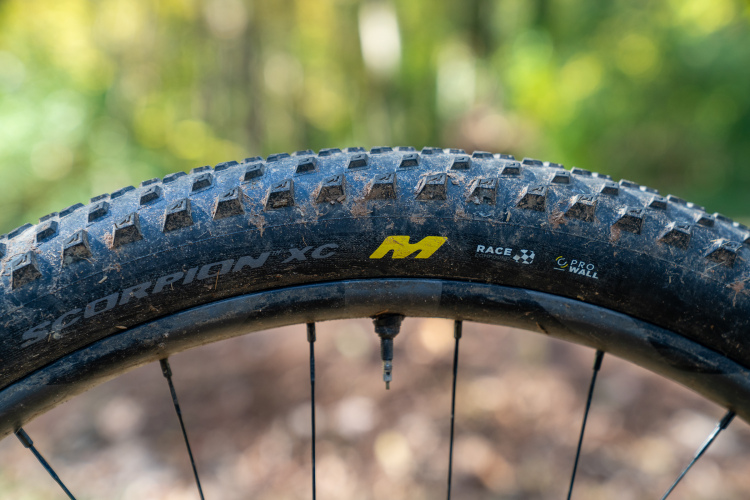
Tires
Pirelli Scorpion XC M mountain bike tire review: Surprisingly rugged performance for XC riding
1
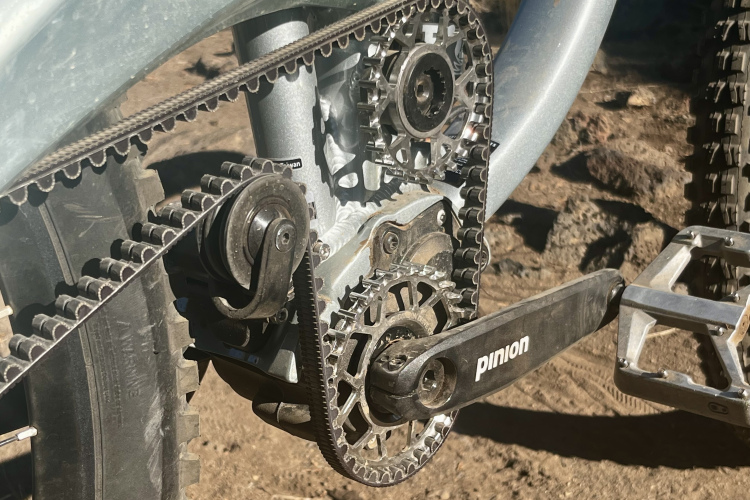
Enduro Bikes
The Priority Vanth is a unique belt-driven, gearbox enduro bike [Review]
3
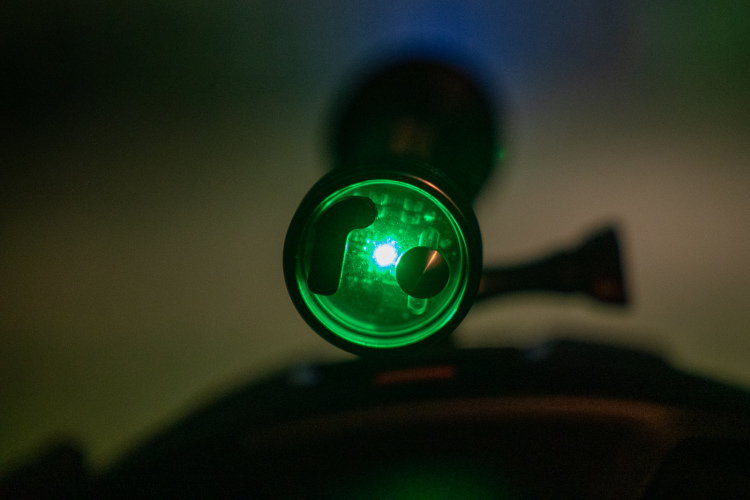
Lights
The Exposure Toro 16 bike light gets brighter the faster you ride [Review]
Clipless Pedals
Are one-sided clipless pedals any good? A Funn Ripper2 pedal review
1
Clipless Pedal Shoes
Shimano SH-GE900HS mountain bike shoe review
7
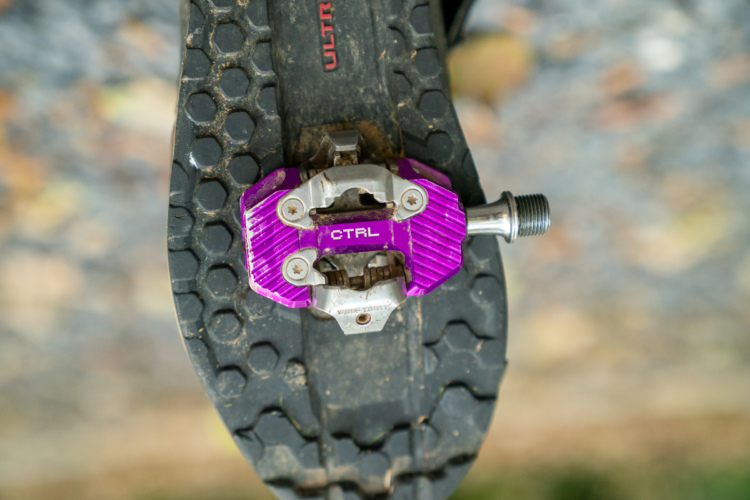
Clipless Pedals
Wolf Tooth CTRL clipless pedals deliver less weight, more contact [Review]
2
Tires
Teravail Clifty mountain bike tire review
Tools
The GÜP Industries tire plug tool finds a surprisingly secure stash spot on the saddle
1
Mountain Bikes and Gear
New Shimano MTB cleat design promises easier clip-in, but does it deliver?
6
Clipless Pedals
Shimano XTR M9220 Enduro Pedal Review
4
Rain Jackets
GOREWEAR Lupra 2.0 rain jacket review
6
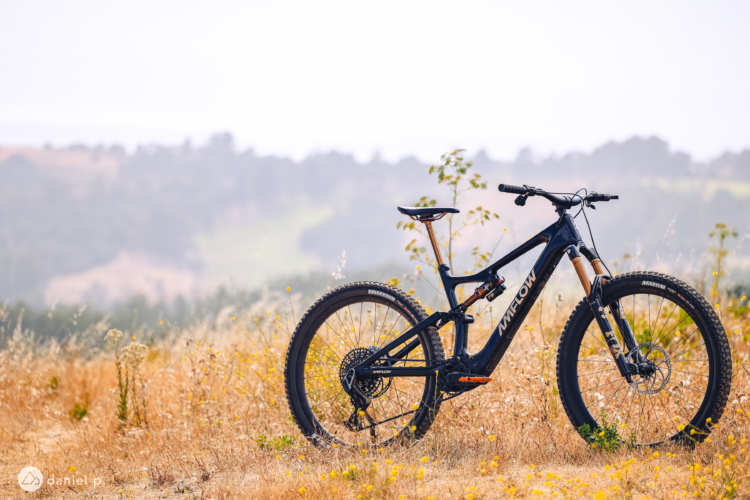
Mountain bikes
The Amflow PL Carbon Pro electric mountain bike sets a new standard [Review]
6
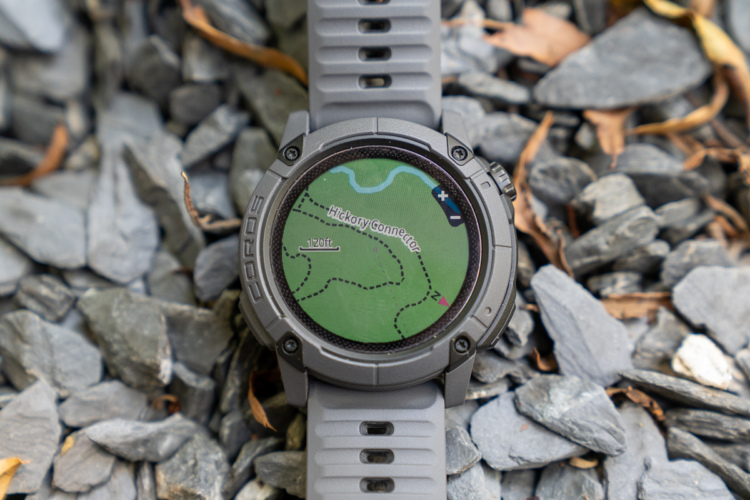
Electronics
The Coros Nomad GPS watch is designed for outdoor adventures [Review]
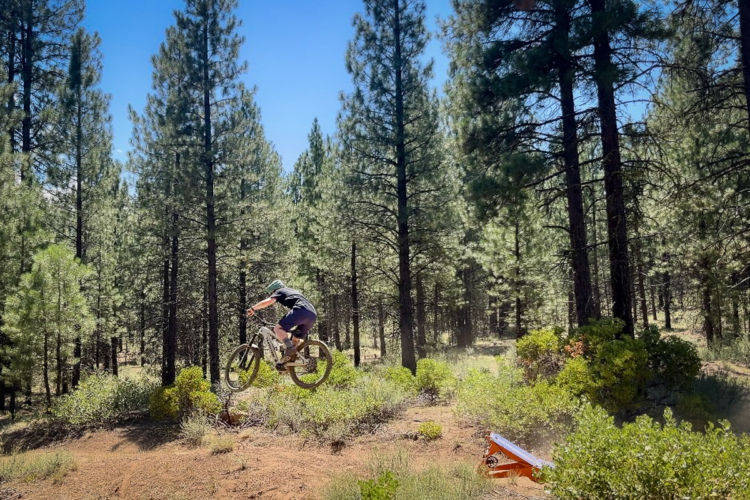
MTB Tips
The MTB Hopper Coach ramp is a versatile progression tool, but finding a spot to use it is tricky [Review]
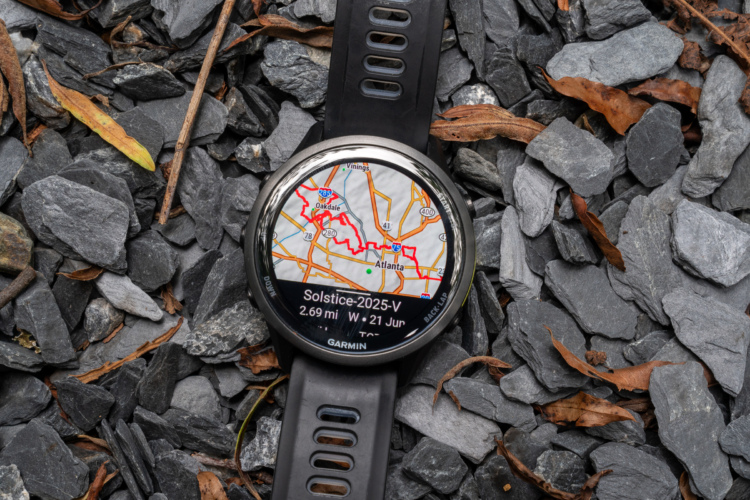
GPS
The Garmin Forerunner 970 multi-sport GPS smartwatch is the best I've tested [Review]
1
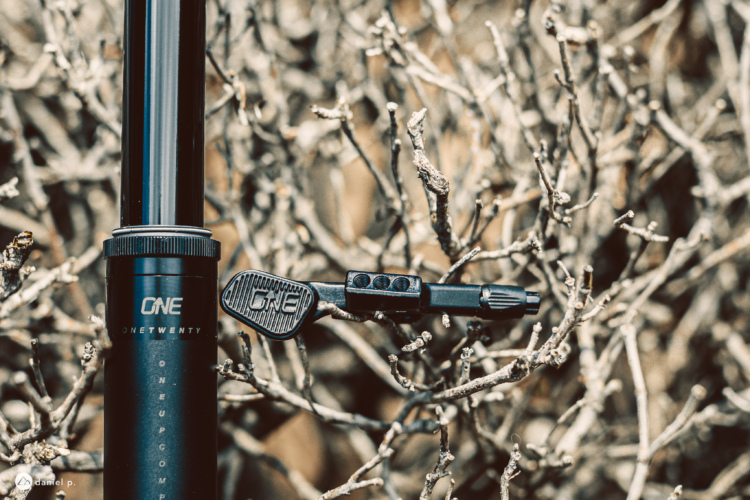
Dropper Posts
OneUp V3 Dropper Post drops weight and gets a lighter touch too [Review]
1
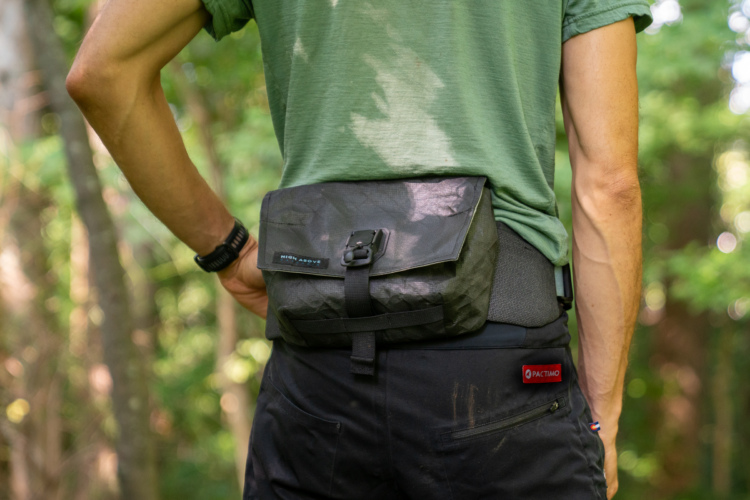
Hip Packs
The High Above Venture 3D hip pack is waterproof, durable, and made in the USA [Review]
1
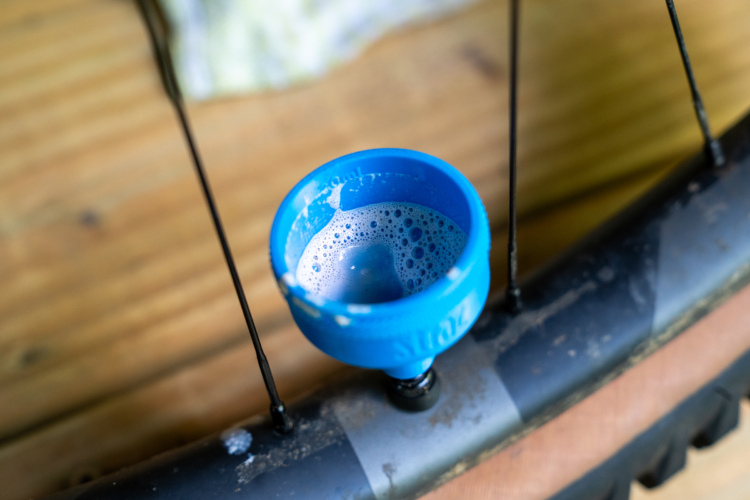
Tire Sealants
The Straz Sealant Funnel makes adding tubeless tire sealant simple
3
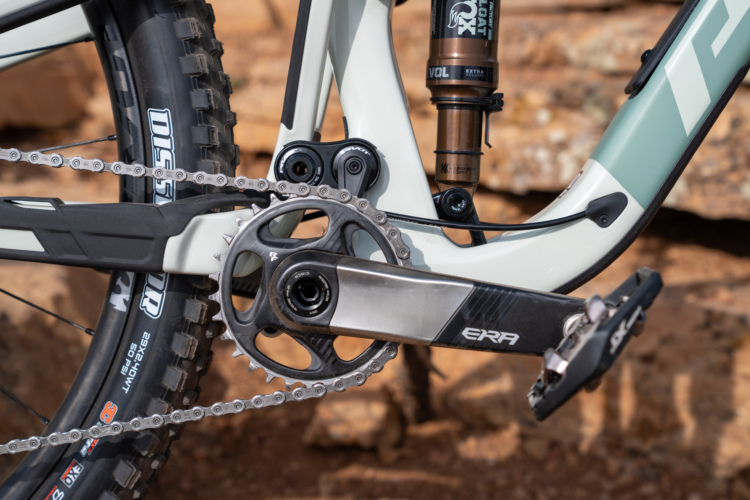
Cranksets
Race Face Era mountain bike crankset review
24
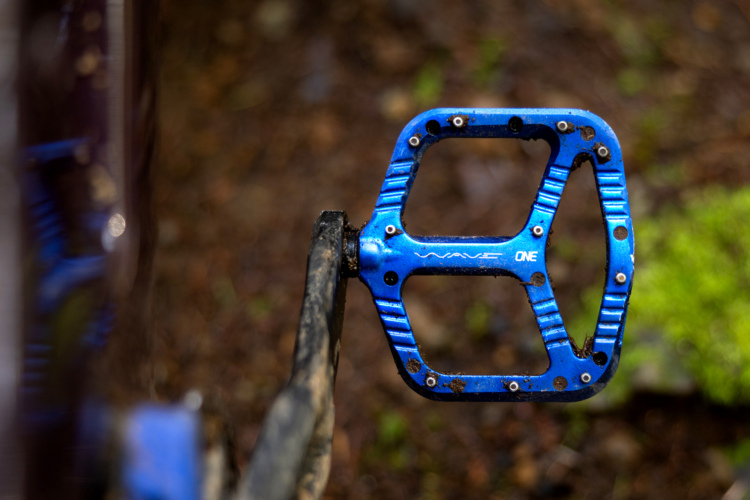
Flat Pedals
The OneUp Wave Pedals force proper foot placement [Review]
1
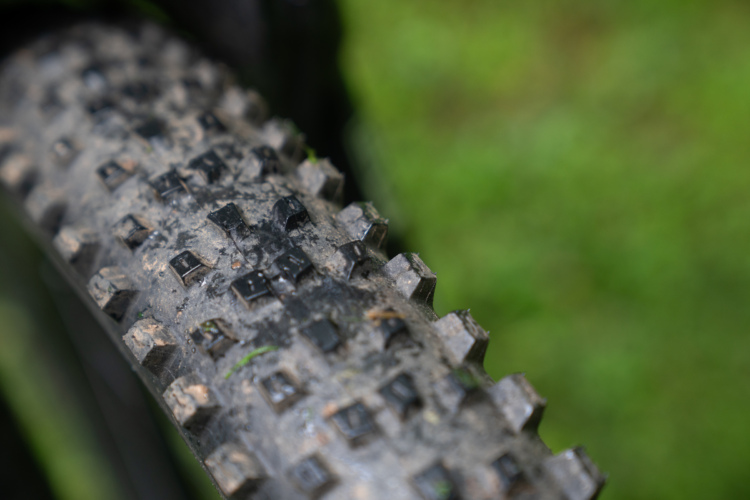
Tires
WTB Peacekeeper trail bike tire [Review]
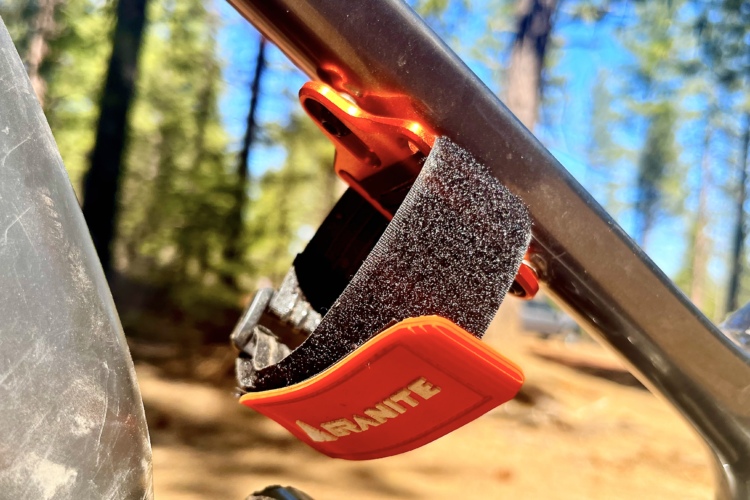
Accessories
4 bike tool mounts for your MTB frame
2
GPS
Finally, a GPS designed for mountain biking: The Garmin Edge MTB
2
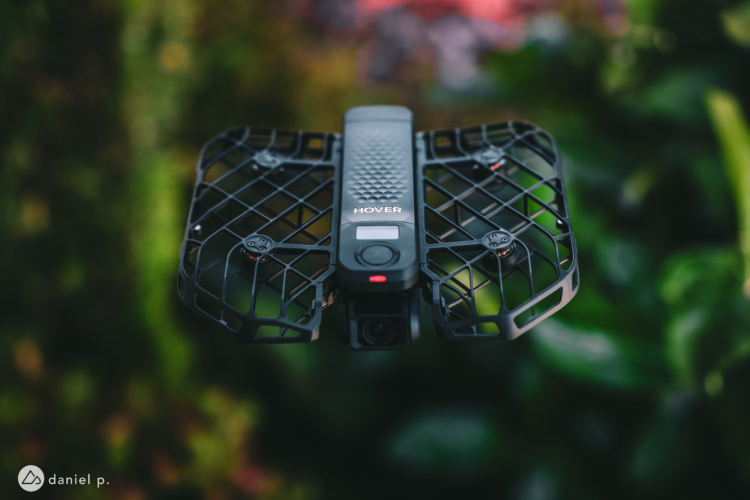
Electronics
HOVERAir X1 PROMAX 8K drone review
Drivetrain
Shimano XTR Di2 wireless drivetrain review
1
Brakes
Shimano XTR mountain bike brake review
1
Wheels
Shimano XTR M9220 trail/enduro mountain bike wheelset review
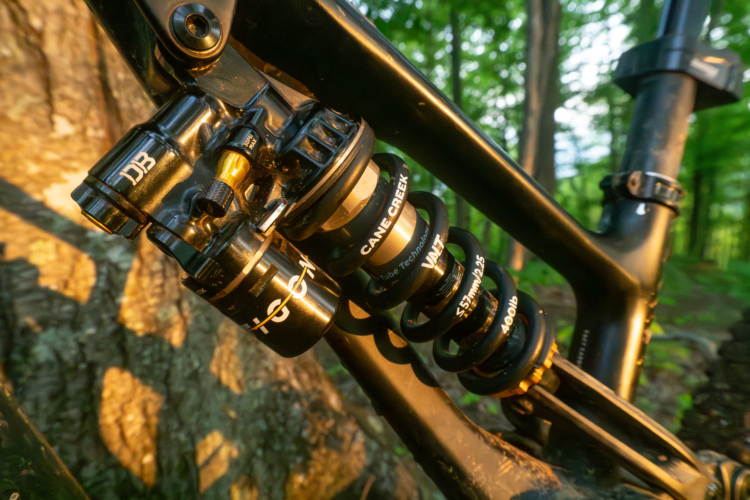
Rear Shocks
Cane Creek Tigon mountain bike shock review
8
Tire Sealants
Is Slime Tubeless Bicycle Tire Sealant any good? We put it to the test.
5
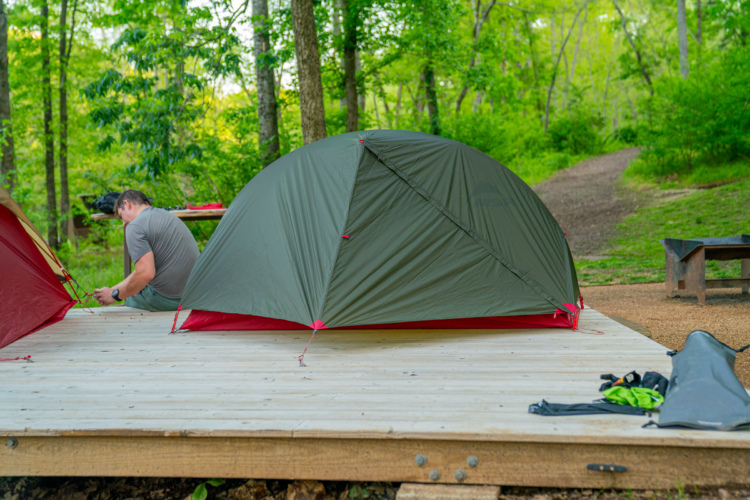
Bikepacking Gear
MSR Hubba Hubba Bikepack tent review
3
Bike Racks
Fox Tailgate Cover Review
11
Bike Bags
5 MTB frame bags that will actually fit (most) full-suspension bikes
2
MTB Tips
Is Garmin Connect+ worth the money?
1
Wheels
ENVE M8 29" carbon enduro mountain bike wheel review
4
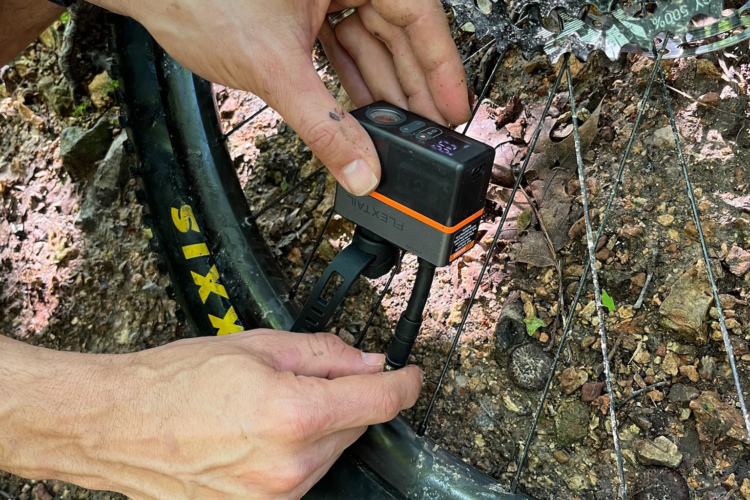
Pumps
Flextail Tiny Tire Pump ACS is a compact electric bike tire inflator with an integrated light
Hydration Packs
EVOC Trail Builder 35 backpack is designed to carry a chainsaw [Review]
5
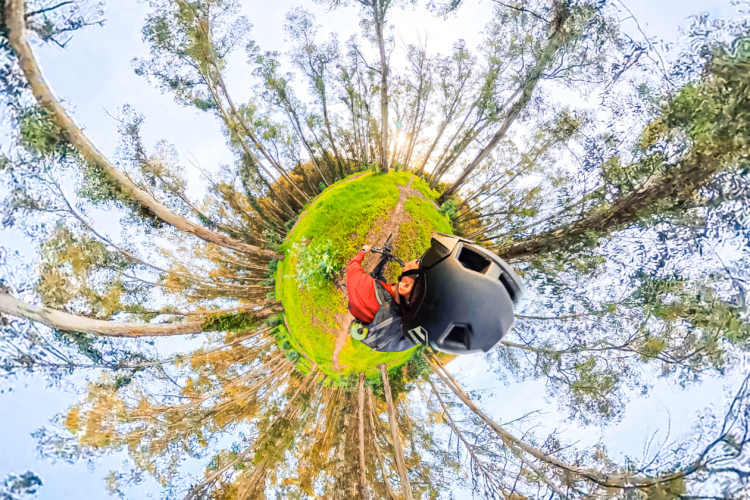
Electronics
Insta360 X5 action camera review
4
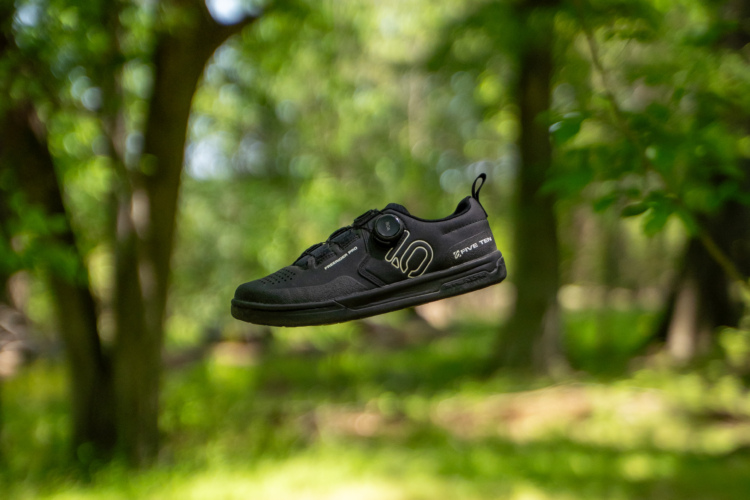
Flat Pedal Shoes
Five Ten Freerider Pro BOA flat pedal MTB shoe review
4
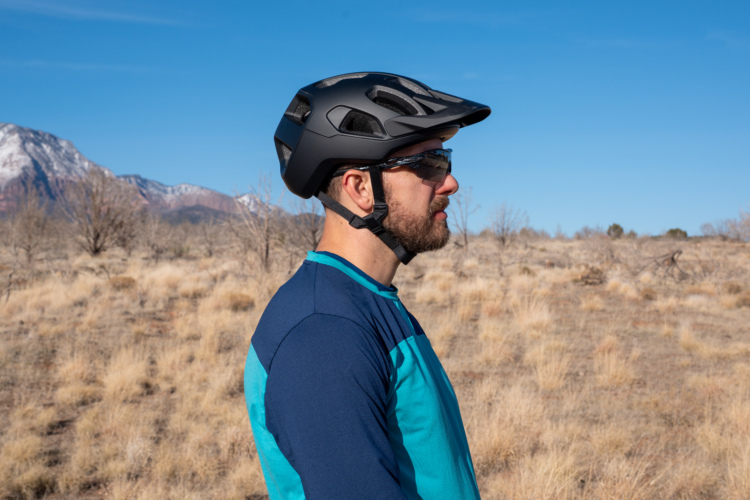
Half Shell Helmets
POC Cularis mountain bike helmet review
2
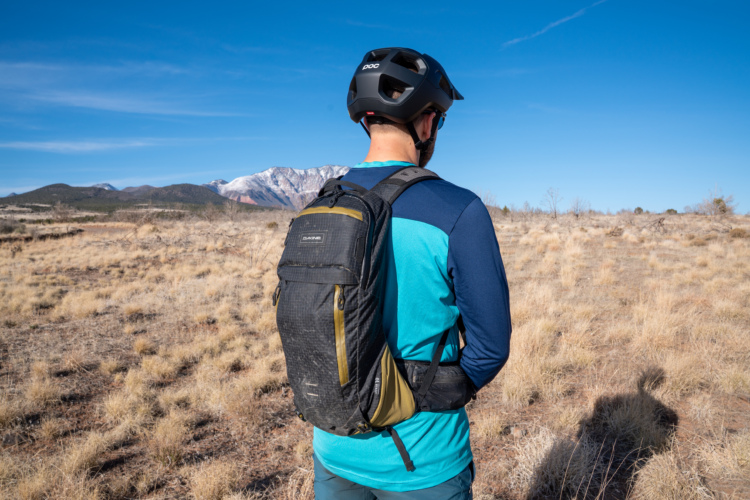
Hydration Packs
Dakine Seeker 10L MTB hydration backpack review
Cranksets
FSA Gradient MTB crankset review
«
1
2
3
4
…
41
»
 1
1