Trails
Reviews
Tips
Community
Deals
Latest
Support
Trails
Find trails
Best bike trails
Destinations
Add a new trail
Reviews
Mountain bike reviews
Components
Tires
Clothing & shoes
Helmets
Accessories
Product news
Community
MTB Clubs
Races & Events
Bike Shops
Tips
Skills
Fitness & Training
Health & Nutrition
Beginners
Repair
Latest Articles
Podcast
Deals
Support Singletracks
Sign in
Create an account
About us
Newsletter signup
Commuting
Community
It's Easier Than Ever Before to Ride to the Ride
6
MTB Tips
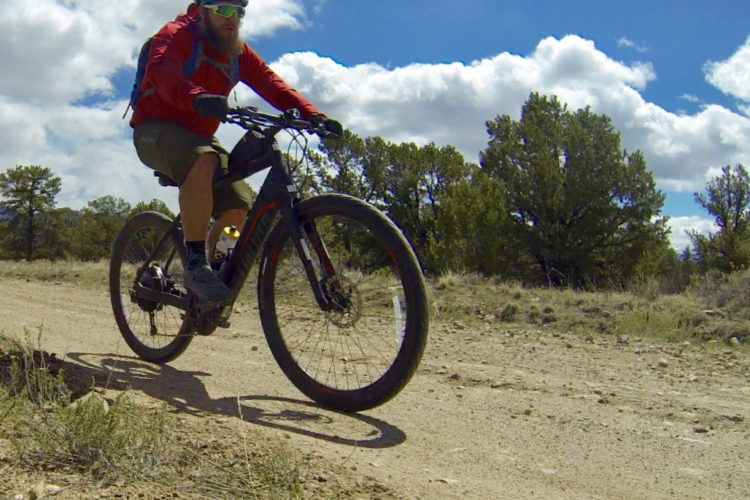
Safely Ride to The Trails With these Commuting Tips
Culture
National Study: Americans are Riding Bikes More and Want to Continue after Pandemic
Culture
Opinion: America Needs More Ebikes
11
Culture
A Lament for the Loss of the Dirt Commute
4
Mountain Bike Trails
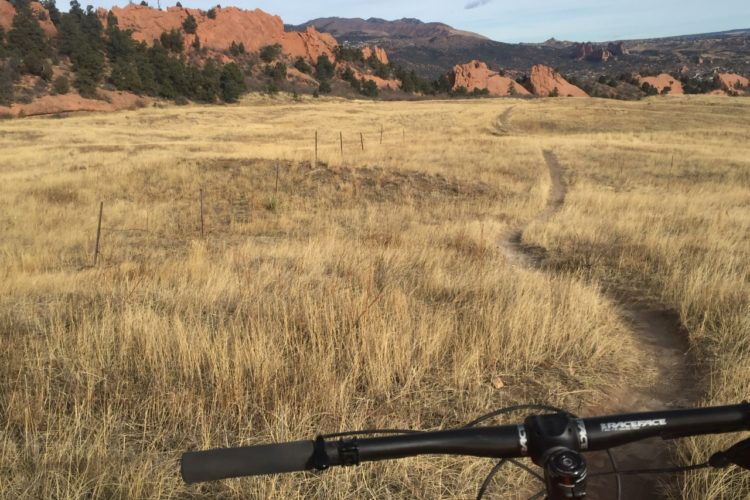
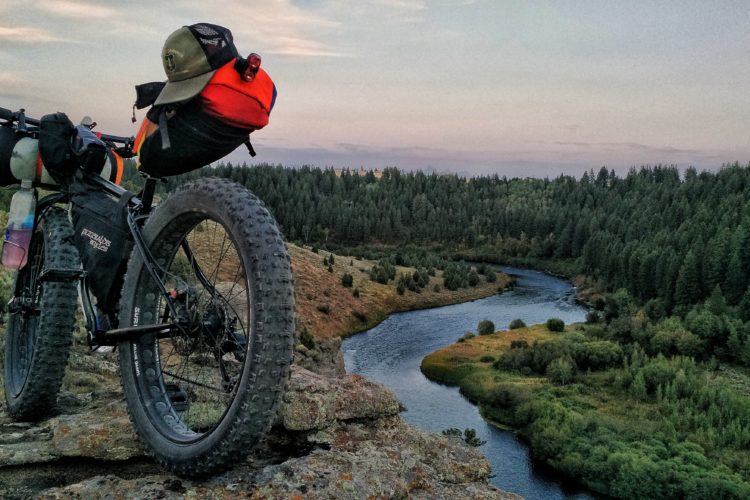
Bikepacking to Work: Turn Your Weekend into an Adventure
2
Culture
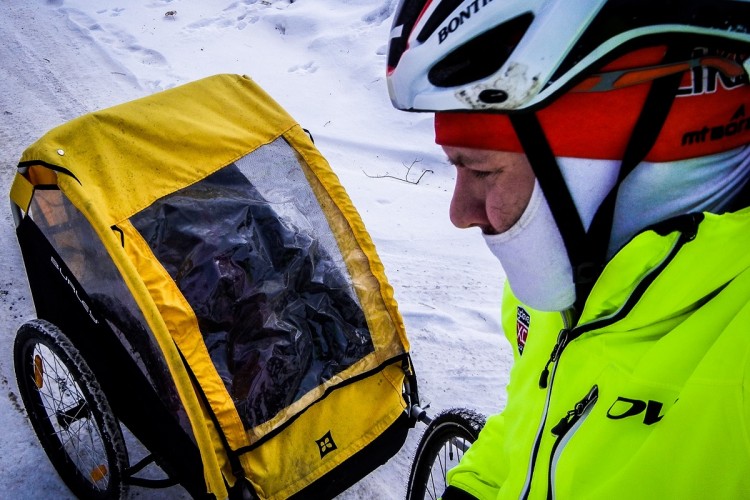
Taking the Kids Ice Biking: Adventures While Bike Commuting During a Wisconsin Winter
Community
#30daysofbiking Week 1: Weather Woes, and 5 Tips for Biking to Work
4
Mountain Bikes and Gear
Old Hardtail to New Commuter: How to Convert Your Rig for the Daily Grind
17
Mountain Bikes and Gear
Dakine Syncline MTB Short Review
6
Mountain Bikes and Gear
Mission Workshop: DZR District Shoe and Rambler Backpack
7
MTB Tips
Sometimes The Only Thing Left To Do Is Cyclocross
9
MTB Tips
Bike Commuting Steps Up Your MTB Game
21
Culture
Mountain Bike Rider Captures Bad Drivers on Helmet Cam
13
Mountain Bikes and Gear
Keen's Commuter Bag
Culture
Bike to Work Week
5

 6
6