Trails
Reviews
Tips
Community
Deals
Latest
Support
Trails
Find trails
Best bike trails
Destinations
Add a new trail
Reviews
Mountain bike reviews
Components
Tires
Clothing & shoes
Helmets
Accessories
Product news
Community
MTB Clubs
Races & Events
Bike Shops
Tips
Skills
Fitness & Training
Health & Nutrition
Beginners
Repair
Latest Articles
Podcast
Deals
Support Singletracks
Sign in
Create an account
About us
Newsletter signup
Hydraulic
Culture
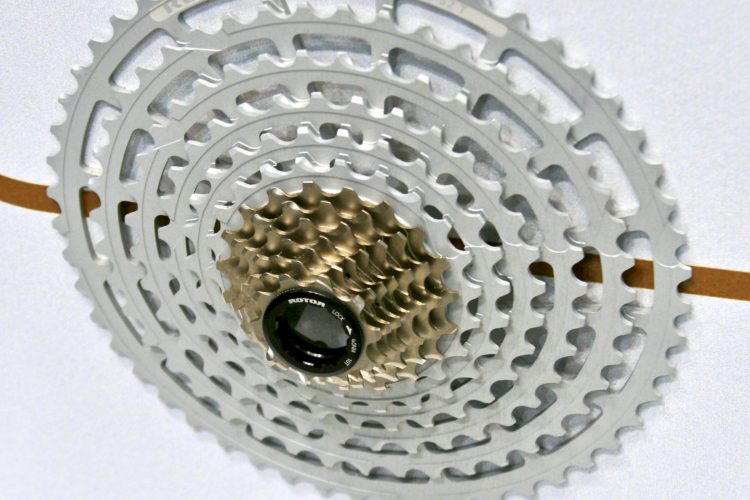
The ROTOR 13-speed Hydraulic MTB Drivetrain is Designed for Reliability, Available Soon
10
Drivetrain
13-Speed Hydraulic MTB Drivetrain From Rotor at Eurobike
3
Brakes
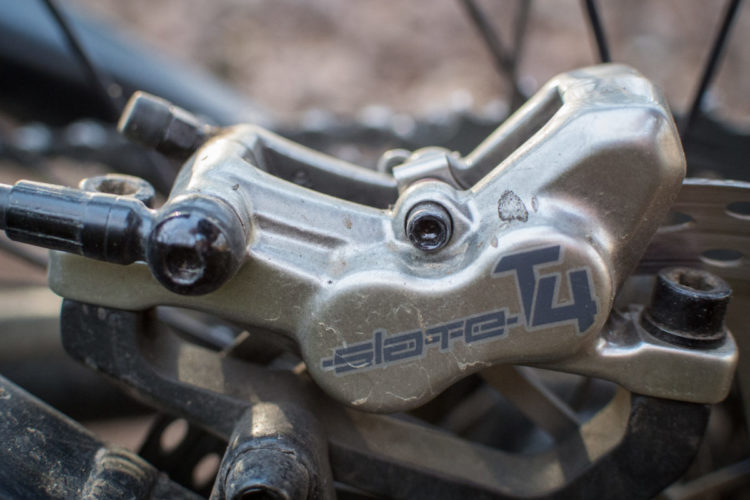
TRP Slate T4 Brakes - Can They Compete with Shimano and SRAM?
Mountain Bike Podcast
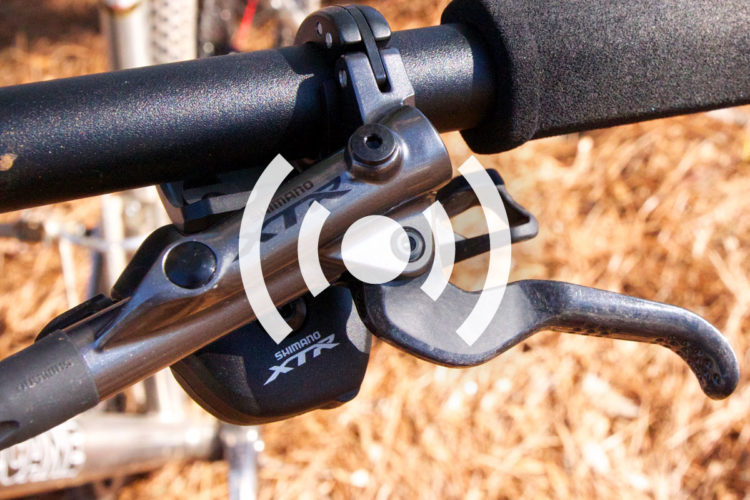
Almost Everything You Need to Know About Mountain Bike Brakes [Podcast #85]
1
Mountain Bikes and Gear
2012 DH Build: Trimming and Bleeding MTB Brake Cables
4
Brakes
Hayes Prime Hydraulic Disc Brake Review
4
Mountain Bikes and Gear
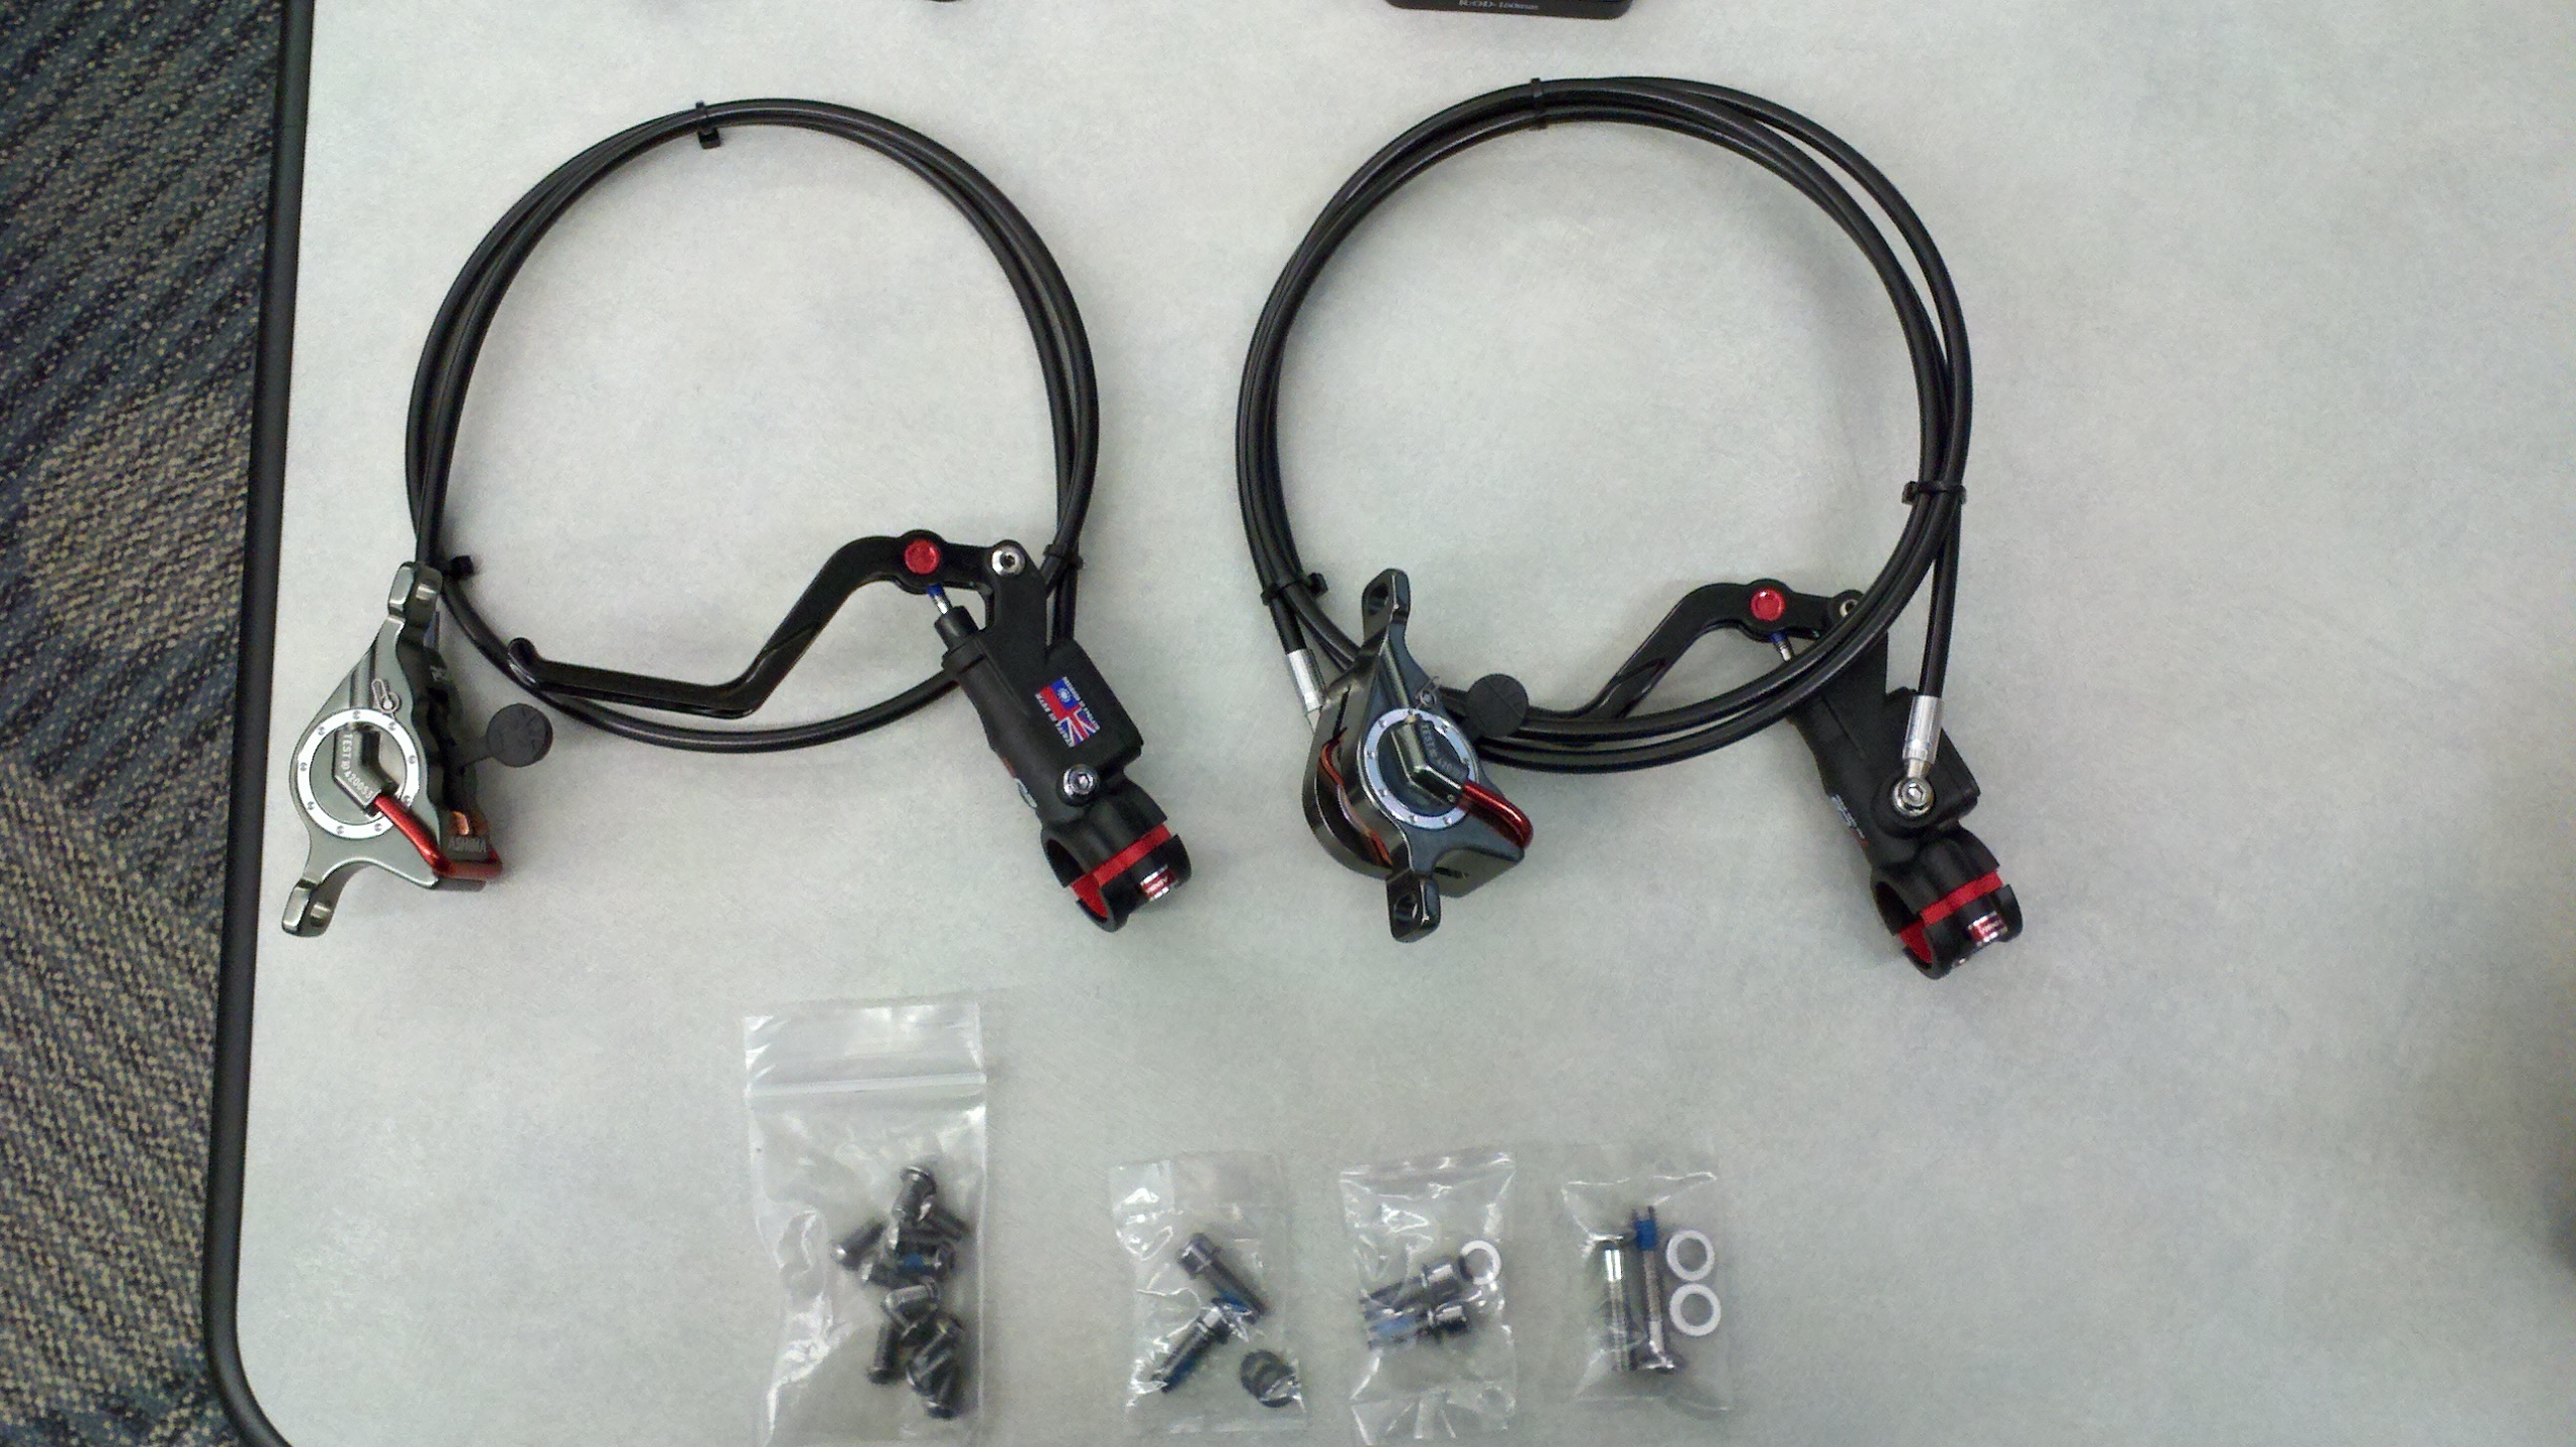
Teaser: New Hydros from Ashima
4
Mountain Bikes and Gear
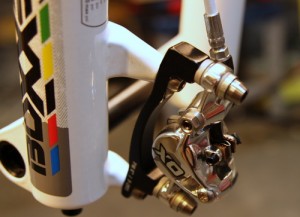
2011 Formula R1 Mountain Bike Brake Review
8
Community
Formula TheONE MY10 MTB Brakeset Preview
1
 10
10