

Hydraulic disc brakes have many of the same components as mechanical disc systems with some minor but important differences. For one thing hydraulic disc brakes rely on fluid to push the pistons while mechanical brakes use a cable under tension pulling a lever to activate a cam device with a piston attached. Second, hydraulic brake lines have fluid in them under pressure when activated and cannot be damaged in any way (kinks, bulges, or leaks can render them ineffective).
Most hydraulic systems that are on the market today are dual piston (more powerful systems can have up to eight pistons), though a few entry level brakes operate similar to mechanical brakes with one piston that moves and one that is stationary. For systems thatutilize two or more pistons, you will get more braking force, better modulation, and little or no drag and both pads will retract from your rotor after you apply the brakes. By using hydraulic fluid instead of a cable, there is less total drag on the brake system which gives a more crisp braking experience. With hydraulic disc brakes you are less likely to encounter problems in the long run compared to mechanical discs.
In this article we will follow the steps necessary to successfully service your hydraulic disc brakes.
Table of contents
Tools and Equipment
Before we get started servicing hydraulic brakes it is necessary to have all the tools and supplies needed. When inspecting your brakes, make sure you have all the right tools like these bellow.
* Bleed kit specific to your brake which usually contains clear hoses, fittings to your caliper and lever, and squeeze bottles or syringes.
* Fresh brake fluid. Note: I highly recommend a good quality DOT 5.1 for Avid, Formula, Hayes, and Hope brakes. DOnot useDOT 5. Use the mineral-based factory fluid for Shimano/Magura brakes. Do not use the mineral oil that’s sold from a drug store.
* Brake line wrenches, 8mm.
* Torque wrench.
* Allen sockets usually 4,5,6mm.
* Wrenches for bleed screws, usually a 6mm or 8mm.
* Torx wrenches (for bleed screws on brake lever usually T7,T8,T10).
* Torx wrench for rotor, T25.
* Alcohol used for cleaning up spills on the rotor surfaces.
* A lint-free cloth to wipe down your parts.
* Your brake manufacturers instructions (Avid, Magura, Hayes, they all have instructions which are available for free online).
* Bicycle repair stand that swivels.
* Spare parts as required for your service: Brake pads, stripped worn hardware, hoses, hose fittings…etc.

Brake Caliper Inspection
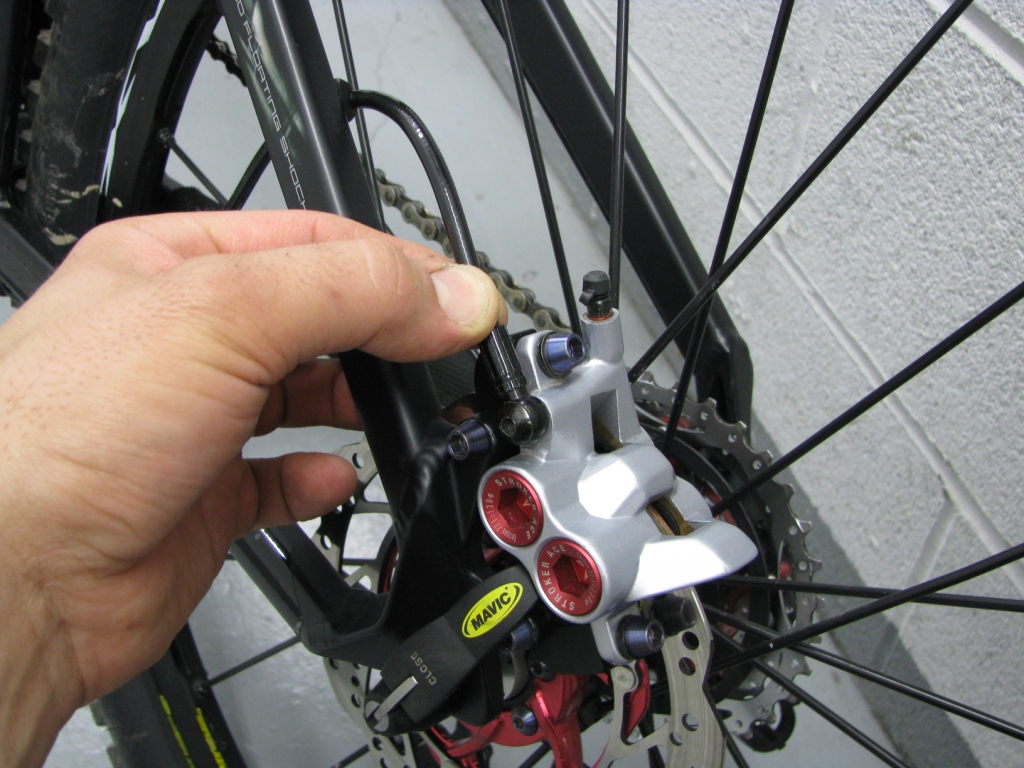
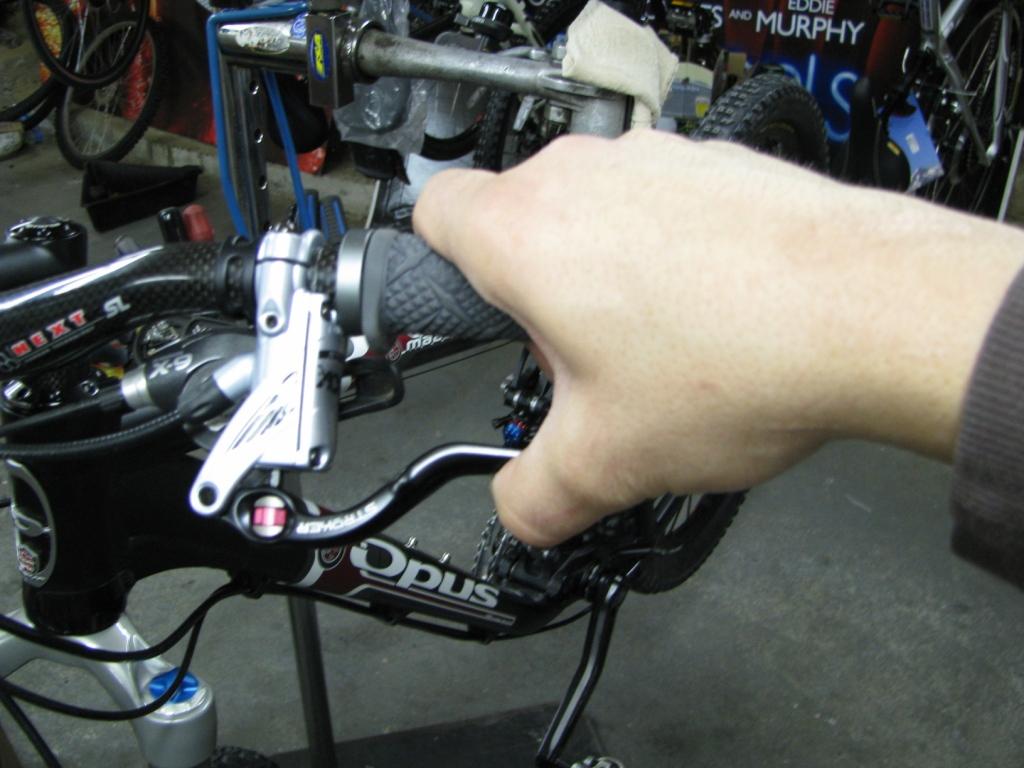
The first thing you need to do when servicing your hydraulic brakes it to remove the wheels and clean dirt and grime off the brake caliper. I use a worn out toothbrush, which does anexcellent job. After you have cleaned the caliper, remove the brake pads.


Remember that your brake pads may have a return spring (placed between the pads), a cotter pin or a bolt that holds the pads in place. Sometimes there is not enough room to remove the pads and it may be necessary to carefully press/ pry the pads into the brake caliper using the pad separator that came with your brake set ( if you dont have one just visit your LBS – they usually have dozens kicking around). A wide screwdriver may work here in a pinch.


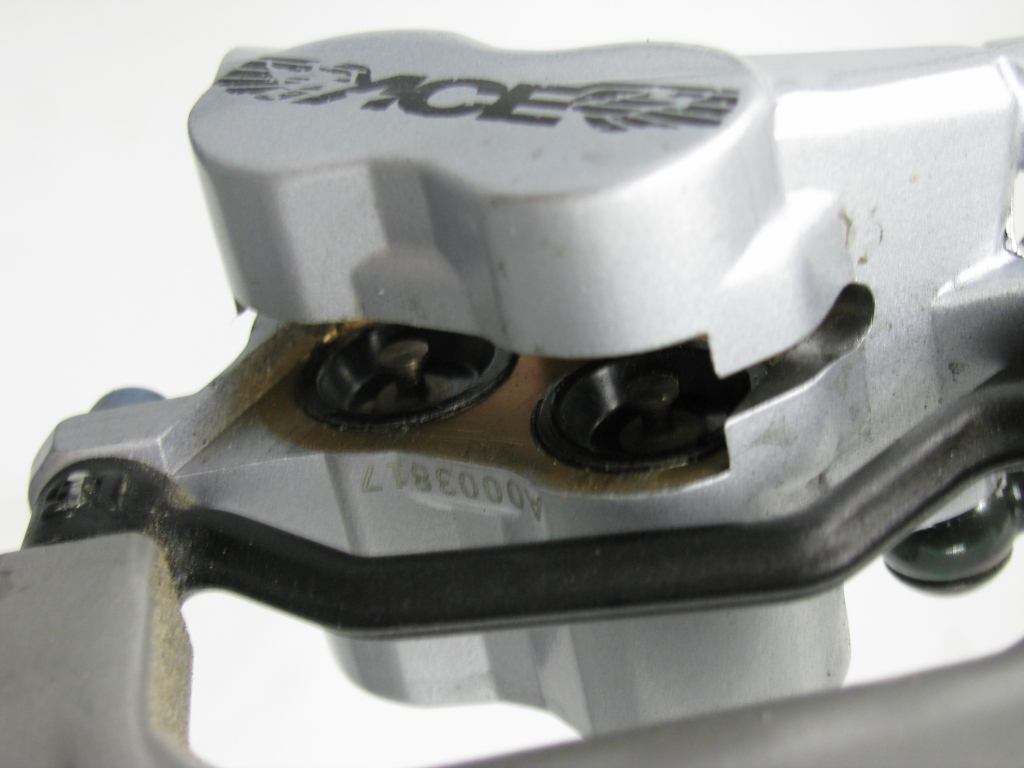
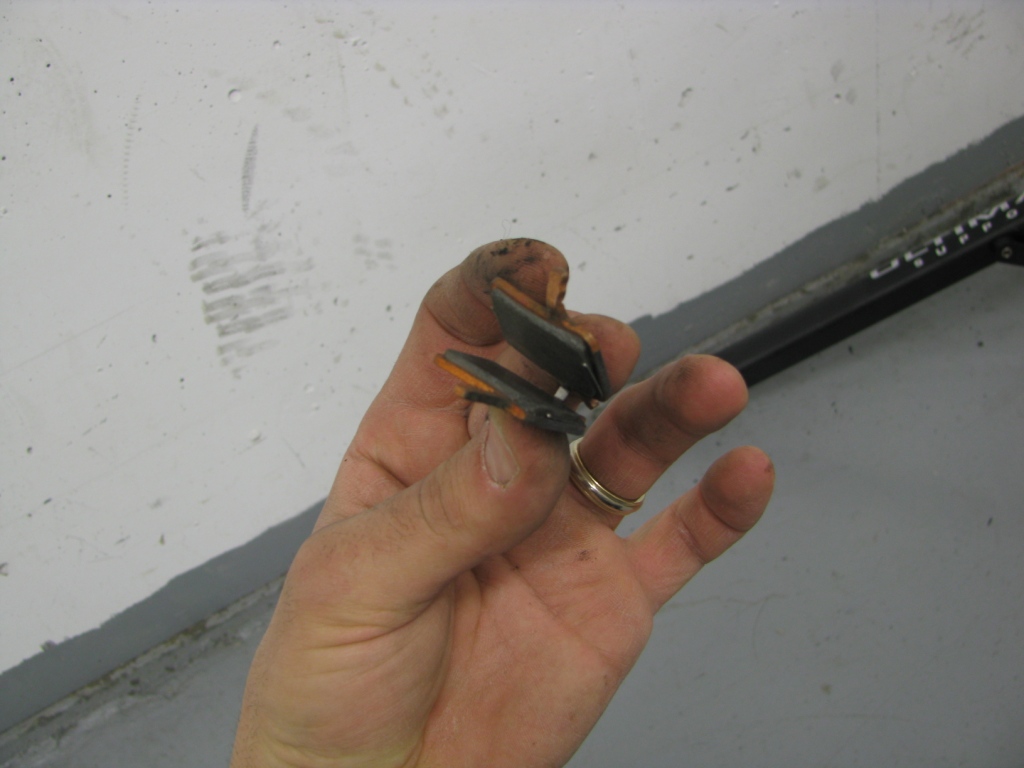
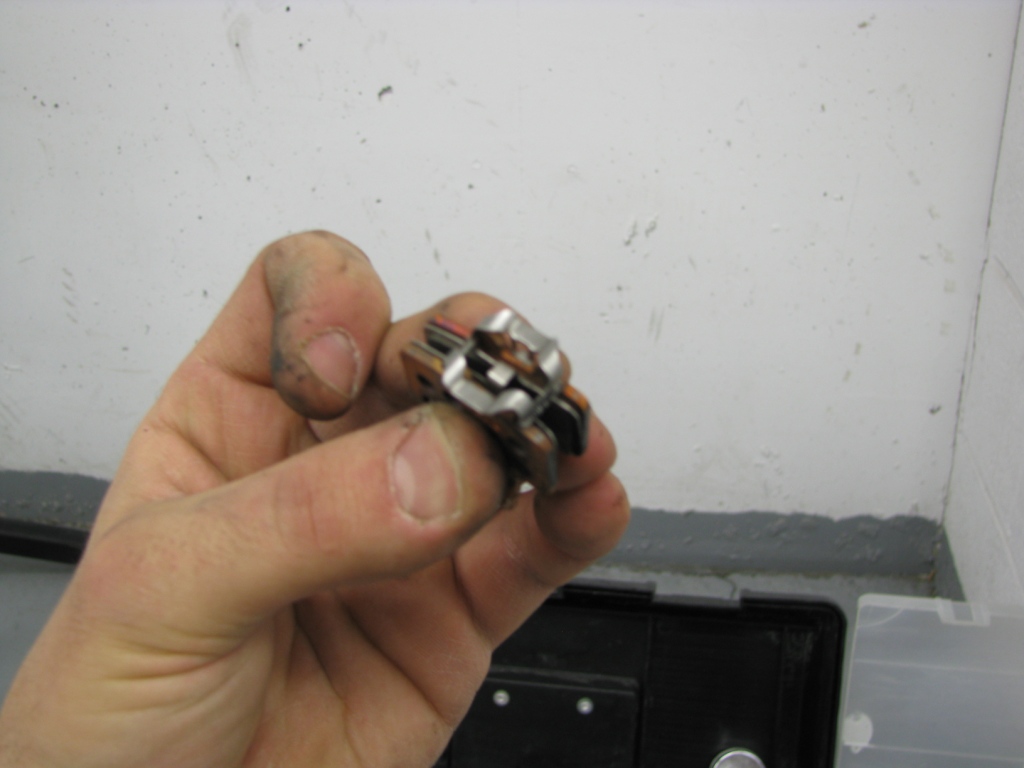
Once the pads are in all the way you can carefully remove the pads one at a time by pulling them out with a pair of pliers. Once the pads are removed inspect the caliper for leaks around the pistons which now can been seen clearly. If the caliper pistons are not all the way in use a 10mm or 11mm wrench and pry the pistons all the way in, carefully avoiding the center post that usually resides in the middle of the piston. Prevent any oil from getting on the surface of the rotor or brake pads – the oil can ruin your brake pads permanently.

With the pads removed squeeze the brake lever 2 3 times and make sure the piston extends and retracts; this also helps lubricate the seals. After making sure your pistons move and both move the same amount, make sure that you retract them all the way in again using the 10mm wrench as before. If the pistons don’t move it’s time to get a rebuild kit (Avid, Hayes, Shimano) or a new caliper (Magura). Rebuilding a caliper is a bit involved and beyond many home mechanics’ skill set so I am excluding this procedure from this article.
Brake Lever Inspection
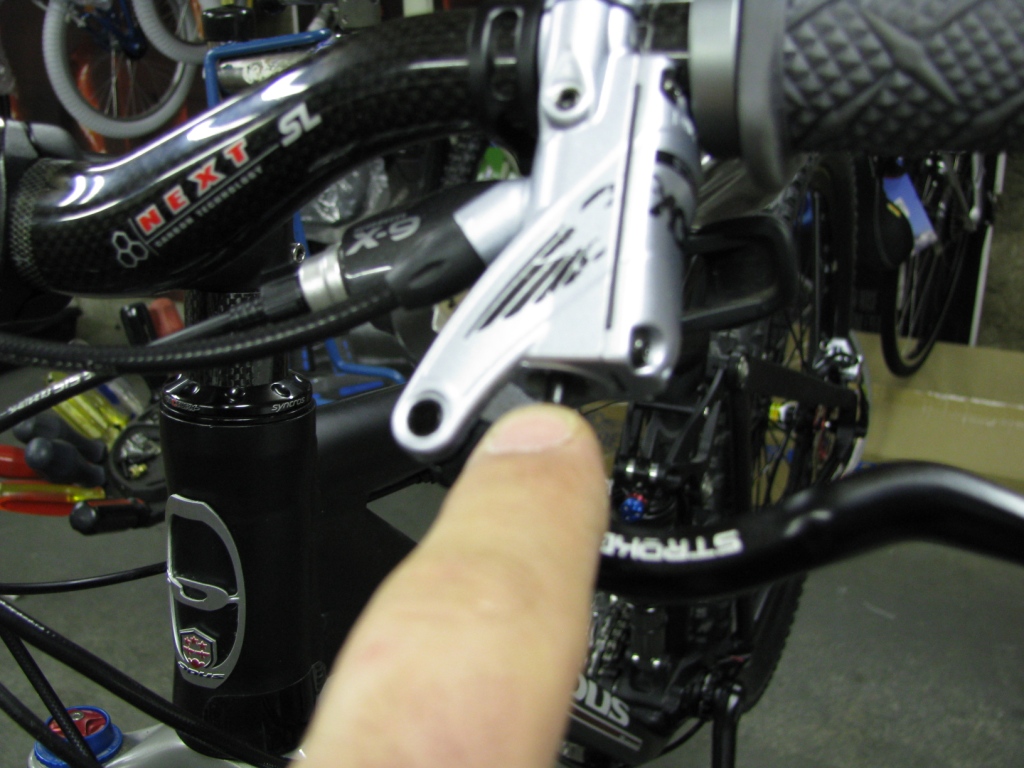
At this time you will now inspect your brake lever. First thing to do especially if you were involved in a accident is to check the lever and body for cracks or damage of any kind. If the lever feels loose it may be that the pivots are worn and need replacement; most manufacturers sell a pivot pin kit. Visually check and feel for leaks where the push rod meets the piston assembly. If it leaks it’s a good time to get the rebuild kit, or have your LBS take it from there. To finish the inspection get the torque wrench and check the torque of the bolts that hold the brake lever in place, and more importantly look to see that your bar has not cracked in that area (especially important for those riders who had a bad fall or own a carbon bar).

Brake Hose Inspection
Now is a great time to inspect your brake hose. Look along the entire lengthfor any bulges, wet spots, or abrasions. If anyof these signs show, it is time to replace your hose. Check the connection that goes between the hose and the caliper / lever; an 8mm wrench will usually help you tighten the hose in place.
Some manufacturers use a banjo fitting on the brake caliper. Take hold of the banjo fitting and see if it is tight by trying to move it by hand. If it moves it is loose and needs to be torqued once again. Finally, bikes with full suspension go through a lot of movement so visually inspect the hose to make sure the hose has not become worn in those areas.


How to bleed hydraulic disc brakes
At this point you may be wondering how air gets trapped in a hydraulic brake system anyway. If you open your system or shorten a hose, air can get introduced and must be removed. When this happens, the air is removed using a process called bleeding.
Hydraulic braking systems use a non-compressible fluid (such as DOT 3, 4, 5.1 or Mineral oil) to transmit force that squeezes the brake pads against the rotor. There must be no air trapped in that system for the fluid to work properly. If air is in the line, considerable energy will be lost to compressing the air instead of operating the brakes.
I will use a hybrid method that Avid and Hayes recommend which is a sure shot way to remove air and eliminate future leaks.
Fill a syringe halfway with brake fluid and add your hose and all fittings required to attach it to the caliper. Tap the syringe and slowly squeeze it to remove the excess air (you know, like the surgeons do on ER). Once that is done, attach the syringe to the bleeder screw (on Hayes you need to place your bleeder wrench 6mm first). On Hayes brakes you can leave the bleeder closed for the next step; for Avid brakes you’ll need to clamp the hose with the red clamp provided. Slightly pull back on the syringe plunger to create a small vacuum then tap the side of the syringe. This step will de-gas the brake fluid, removing the absorbed air in the brake fluid (a great trick).


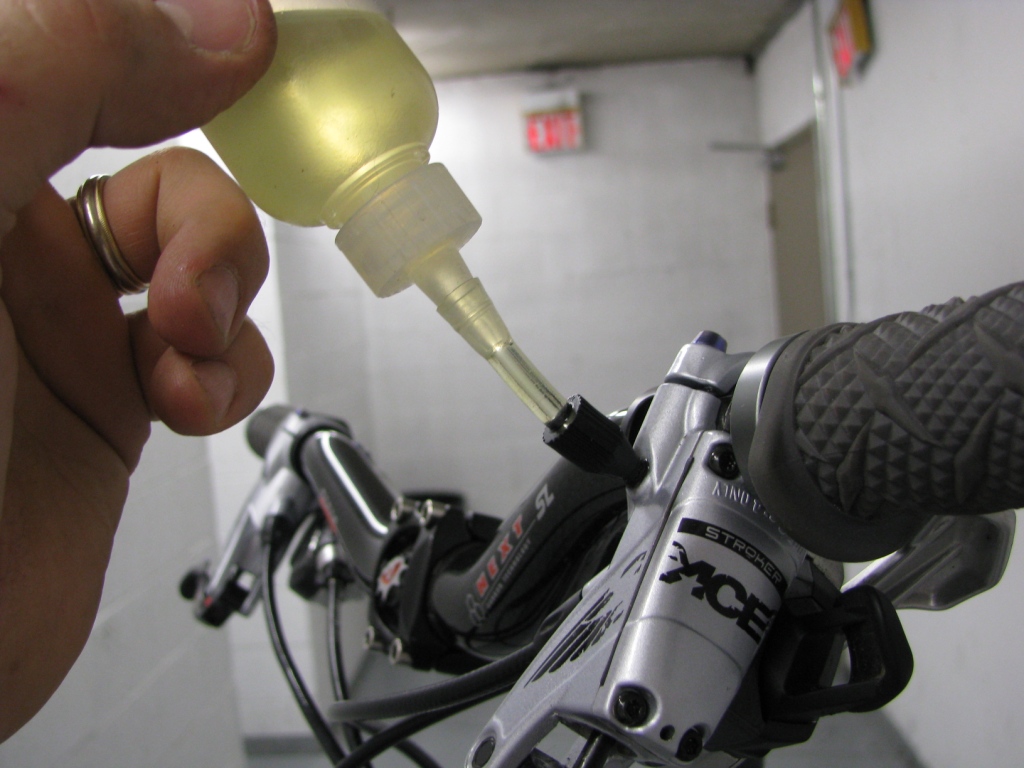
Now to the caliper lever. Attach the fitting provided from your manufacturer using a partially filled syringe (or bottle as shown) of brake fluid. Remove the bleeder port and then attach it to the bleeder port with the necessary fittings and hoses. If its a system like Magura/Shimano you will need to open the reservoir at this point. It may also be necessary to rotate the bike on your stand or rotate the brake lever to get the proper position to remove all the air. For Shimano and Magura you need to have the brake levers parallel to the ground.

To prevent the pistons from extending out of your caliper, use either a folded piece of cardboard or a specific tool from your manufacturer to prevent the pads from extending. Now squeeze the syringe (or bottle) at the caliper and crack open the bleeder screw using the correct wrench. Wait for fluid to flow into the brake lever. Look for bubbles at the syringe / bottle near the brake lever and tap the brake hose, caliper, and lever to shake free the air bubbles that may stick to the inside of your brake system (Magura is notorious for that). Once the fluid is entering the syringe is free of air bubbles (syringe at the brake lever), close the brake bleeder screw (brake caliper) and squeeze the brake lever a few times.


The lever should travel about halfway through its stroke. If it’s OK, close the bleeder screw port on the brake lever ( Magura / Shimano – cover the brake cap and reset the brake lever). Clean up any small spills and use some alcohol to clean off any spills on the brake lever and caliper.

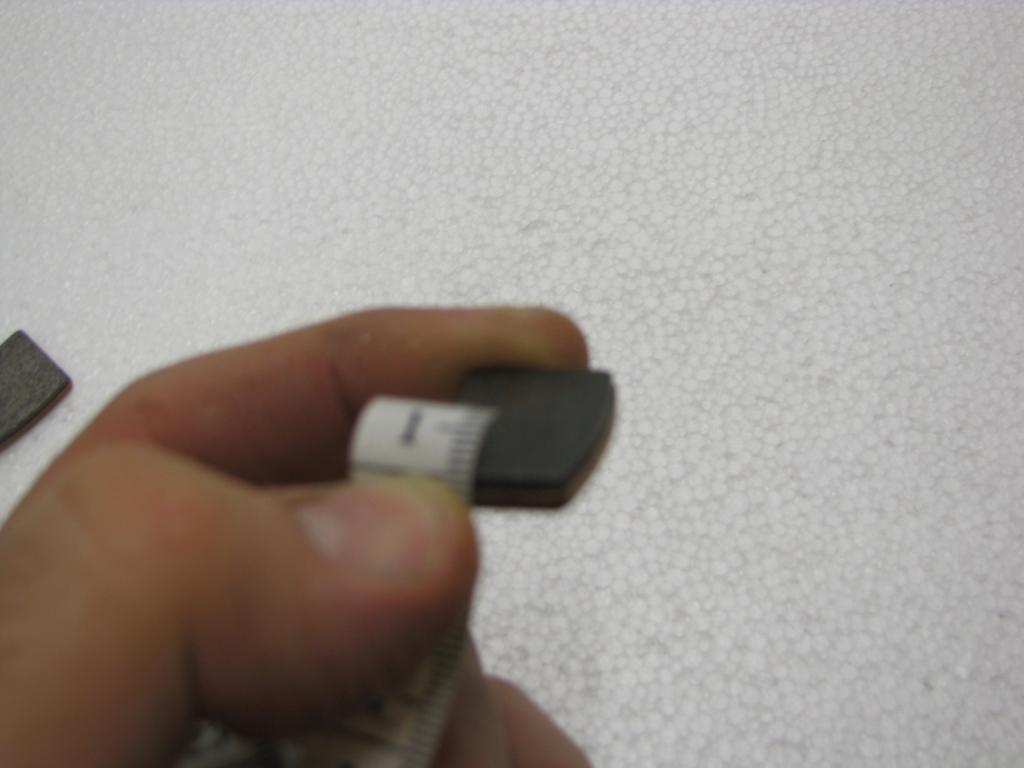
With the pads removed, inspect their thickness, looking for a minimum of 1mm of friction material or a total pad minimum thickness of 3mm ( Hayes/ Avid), or 2.5mm for Magura. While you are at it, inspect the spring and clips to ensure they have enough spring strength to retract the pads.
Brake pads that have friction material thicker than 1mm may not need replacing but should be cleaned and deglazed. Lay medium close coat sandpaper flat on a table and with a circular motion lightly rub the brake pad on the sand paper until the pad surface is flat and uniform. Before you reinstall the pads quickly check that the thickness is still greater than 3mm. If your brake pads are less than 3mm thick, install new pads.
Remember that your brake pad may have a return spring (placed between the pads), a cotter pin, or a bolt that holds the pads in place. Otherwise your system has a retaining spring on the back of your pad so make sure it clicks firmly into place and your pads are flush to the pistons.


Inspecting and Cleaning Rotors
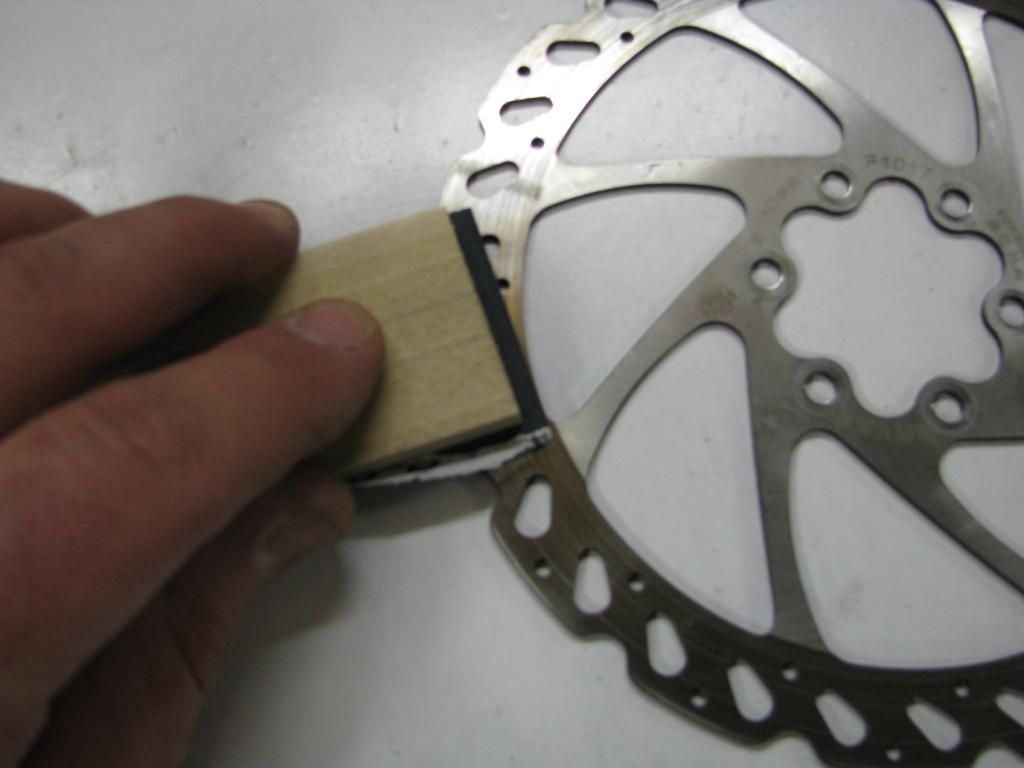
The next task is to recondition the rotors by removing any glaze that may have accumulated on them. Remove the rotor if it is attached with T25 torx bolts or a Shimano centre lock. You can service the rotor while still attached to the wheel if you dont have the tools to remove the rotor from the hub – just be careful to keep your fingers clear!
Fold medium sandpaper around a straight block to create a flat sanding surface. Rub the sand paper tangentially on both sides of the rotors braking surfaces. Now the rotor looks new and has cross hatching marks, or scratches at 33 degree angles from one another.


If necessary, reinstall the rotor and make sure you torque the bolts back at 55 60 inch pounds. When applying torque to the bolts, it should be done evenly and not in a circular pattern. Finally, clean the rotor off with a clean cloth and alcohol to remove any oil or fine metal particles. Replace your wheel and check the operation of the brakes.
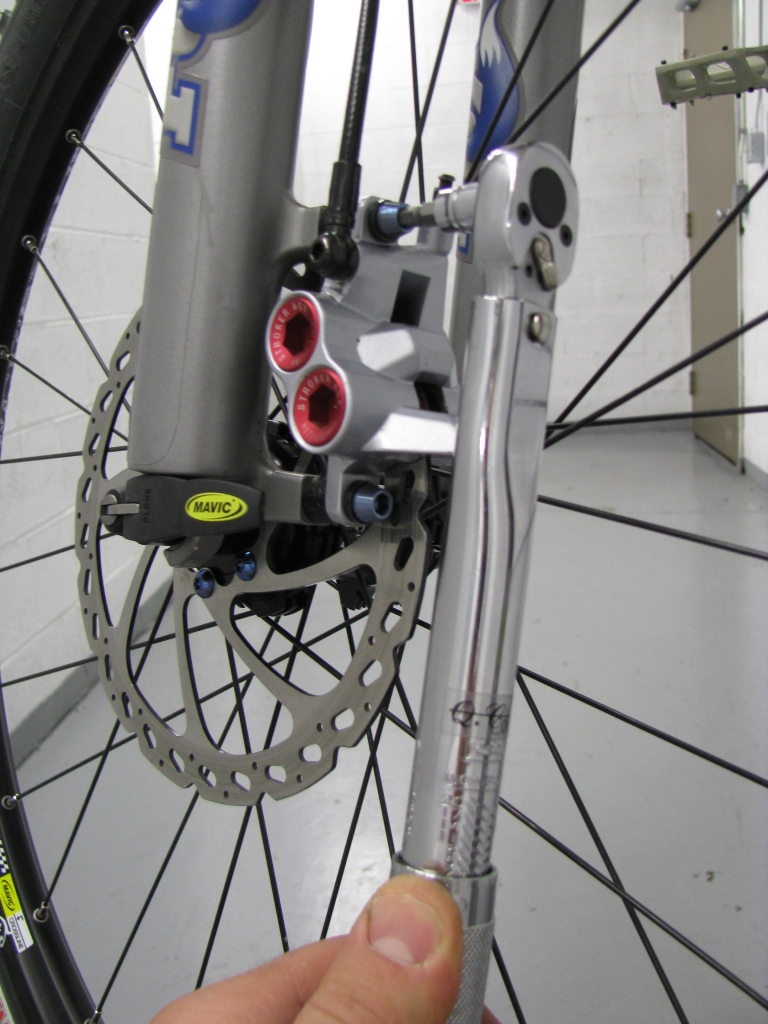
Torque Inspection
Once you have the pads adjusted, the rotors and pads cleaned, and your cables lubricated, apply the correct amount of torque on your entire braking system, caliper bolts, caliper adapters, and the brake levers using a torque wrench and adjust if needed. Always follow your specific brake manufacturers recommended torque settings.

I hope this guide helps you with checking your brakes. This information will be great as a guide for those who already have a decent working knowledge of their bicycle and for those who are getting into repairing their own bike. Please have your owner’s manual handy for specific information regarding your brakes.
I would like to thank Gino Sena the owner of Cyclepath North York for the use of his shop and a few of his bikes for some of the photos in my article and also the good folks at Opus bikes, Hayes and Avid for some of the products that were featured here.


5 Comments
Nov 10, 2016
Nov 10, 2016
Apr 17, 2009
BTW, those Ace's are totally awesome, no complaints here brother.
Jun 20, 2009
Nov 16, 2013