Trails
Reviews
Tips
Community
Deals
Latest
Support
Trails
Find trails
Best bike trails
Destinations
Add a new trail
Reviews
Mountain bike reviews
Components
Tires
Clothing & shoes
Helmets
Accessories
Product news
Community
MTB Clubs
Races & Events
Bike Shops
Tips
Skills
Fitness & Training
Health & Nutrition
Beginners
Repair
Latest Articles
Podcast
Deals
Support Singletracks
Sign in
Create an account
About us
Newsletter signup
Gear
Mountain bike gear and equipment.
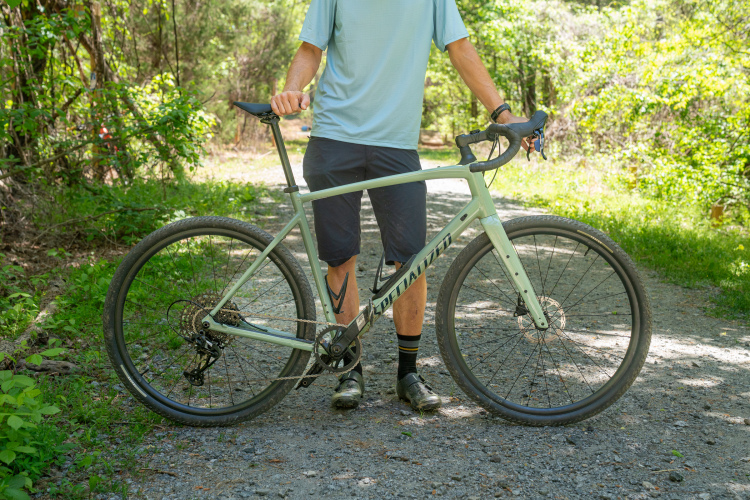
Gravel Bikes
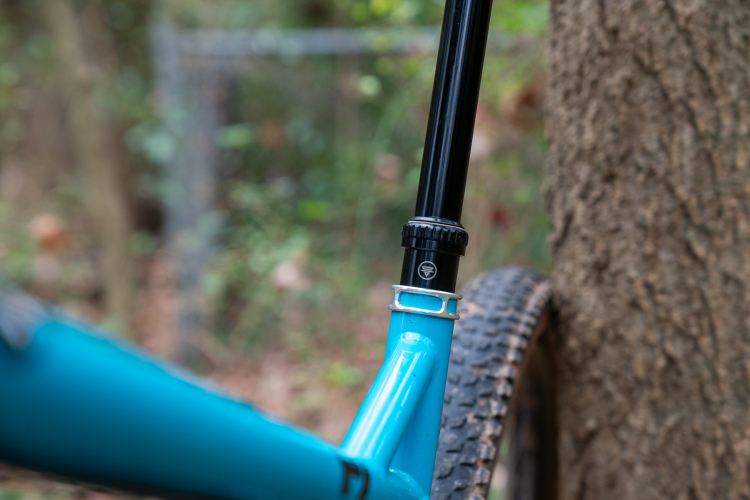
Specialized Diverge 4 Comp Alloy gravel bike is a drop-bar quiver killer [Review]
6
Components
Stablead teases a shockingingly extensive line of advanced components, but you still can't buy them
Mountain Bikes and Gear
Bosch update reduces drivetrain 'dead zone,' max power unchanged
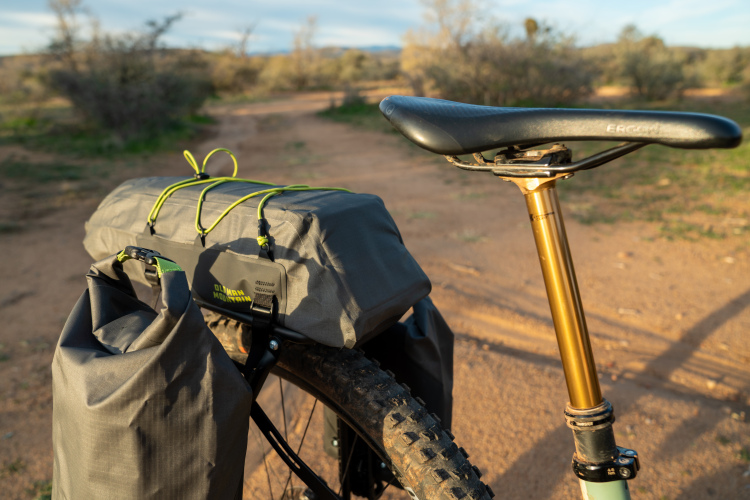
Bikepacking Gear
Old Man Mountain Atlas Rack Pack review: durable construction but unusable for technical descents
3
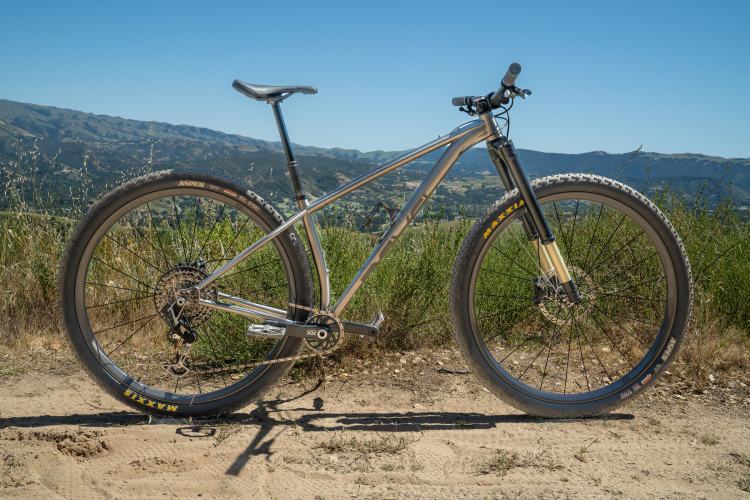
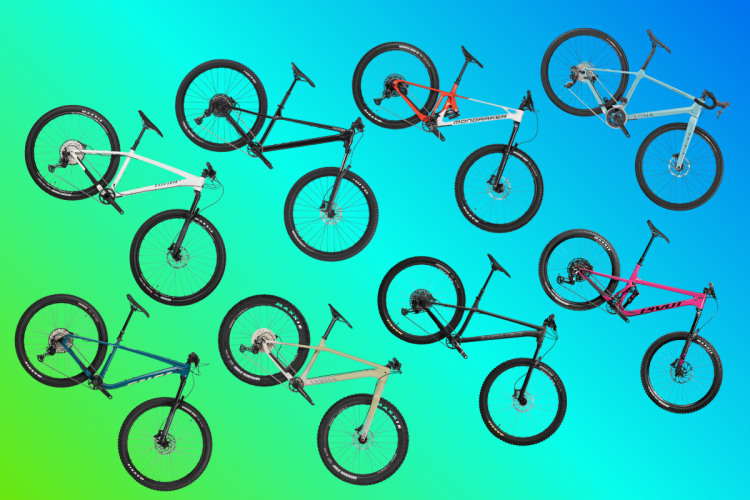
Hardtail bikes
My first 32er mountain bike test ride convinced me that the hype is outrunning the tech. But not for long.
8
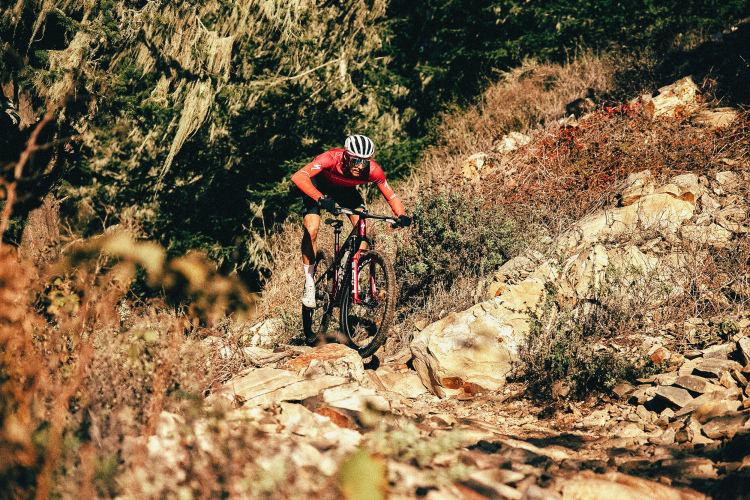
Cross Country Bikes
New Specialized Epic 9 reveals which 2027 XC bike design specs are most important
3
Mountain Bikes and Gear
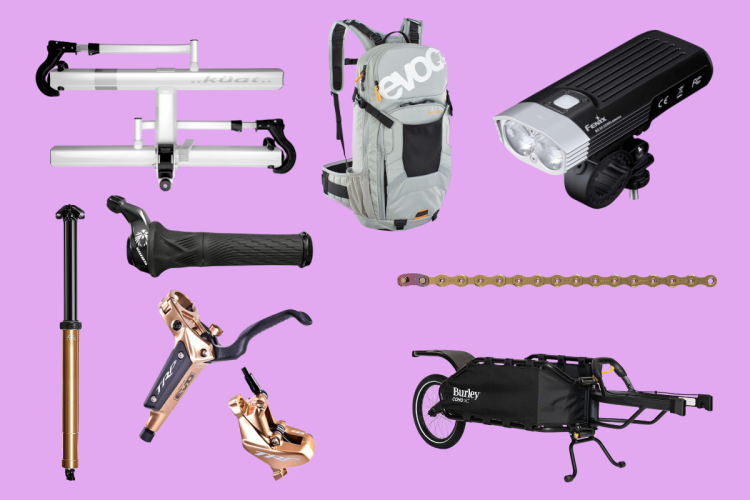
Grab these SRAM drivetrain bits while you can + 20% off primo gear, today only
Mountain Bikes and Gear
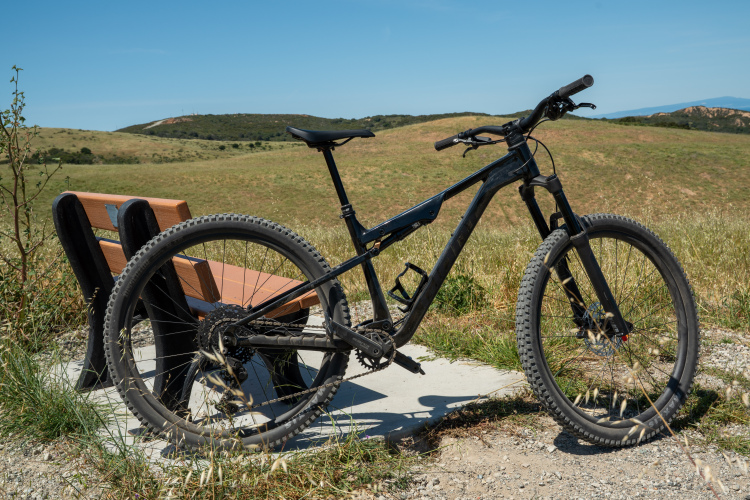
Giant Stance test ride review: This $2,200 trail bike is a great option for budget-conscious riders
4
Mountain Bikes and Gear
Do you think e-bikes are getting too powerful for trail riding?
64
Mountain Bikes and Gear
Mountain bike industry vibe check: Corporations may have an advantage, but indies are the real stars
9
Drivetrain
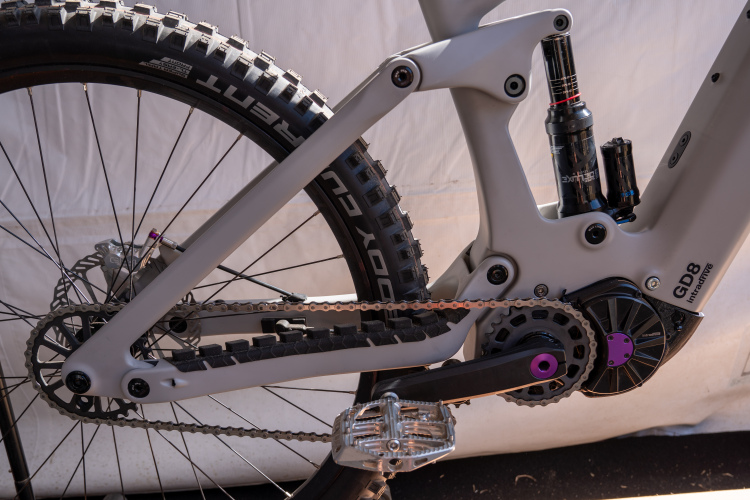
Scottish brand Intradrive just combined an e-bike motor and 8-speed gearbox into one unit
11
Trail Bikes
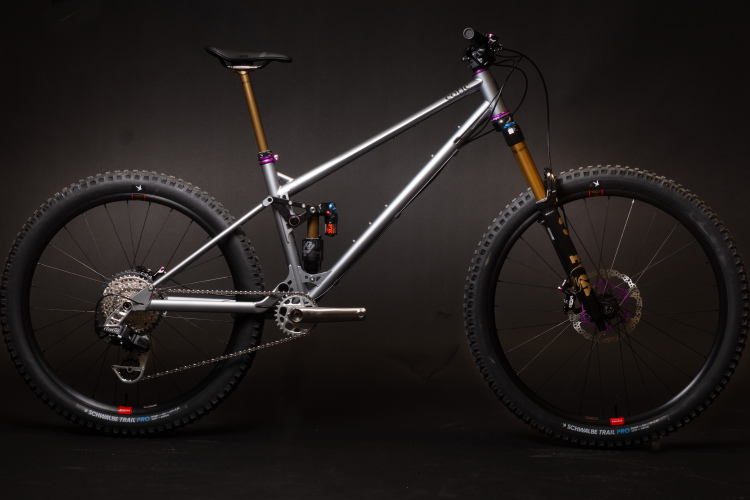
Steel Cotic Jeht 3 mountain bike combines trail and enduro in one mixed-wheel package
1
Mountain bikes
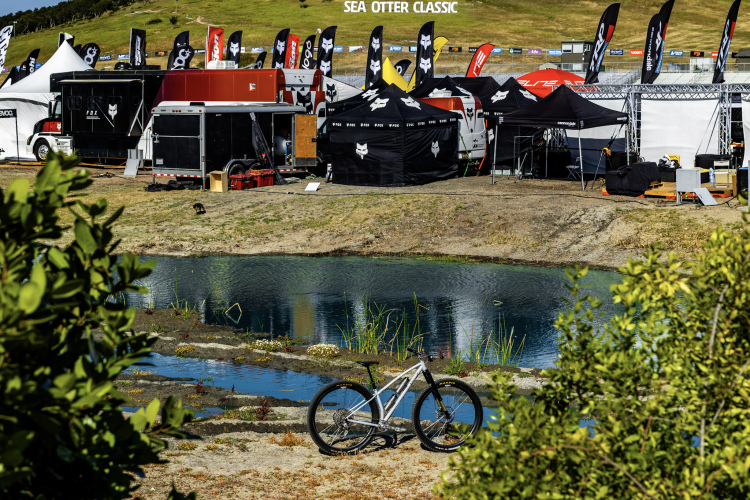
The 15 boundary-pushing bikes everyone was talking about at Sea Otter
1
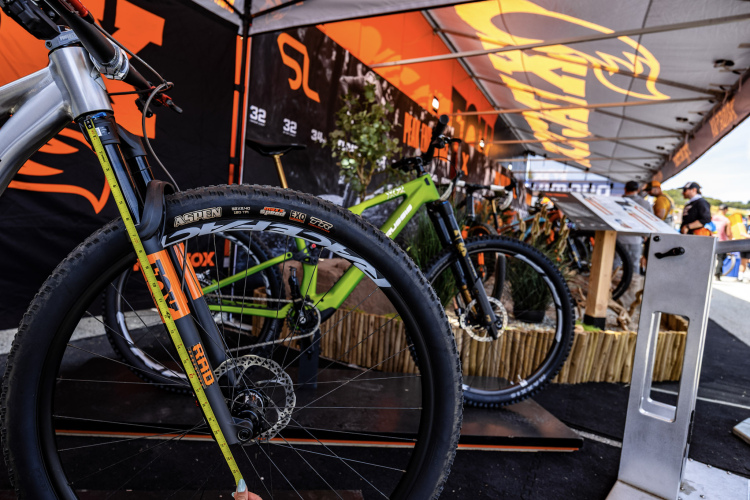
Forks
These are all the 32-inch forks, wheels, and tires that are (probably) coming to market
3
29er bikes
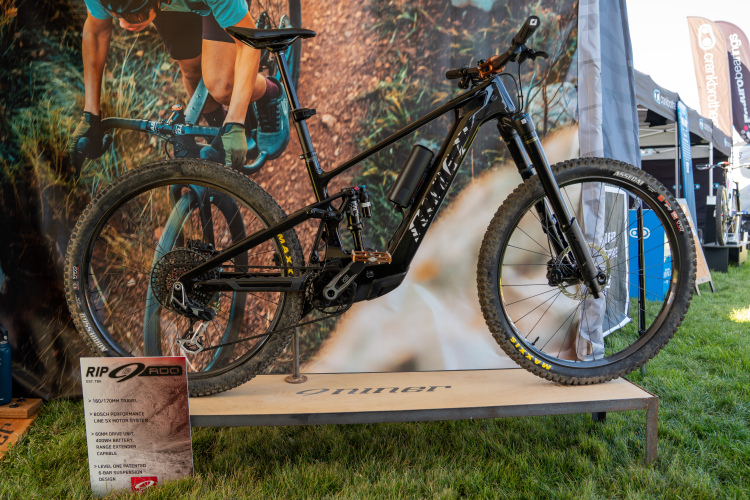
Niner Bikes is attempting a comeback with new e-bike offering
4
Drivetrain
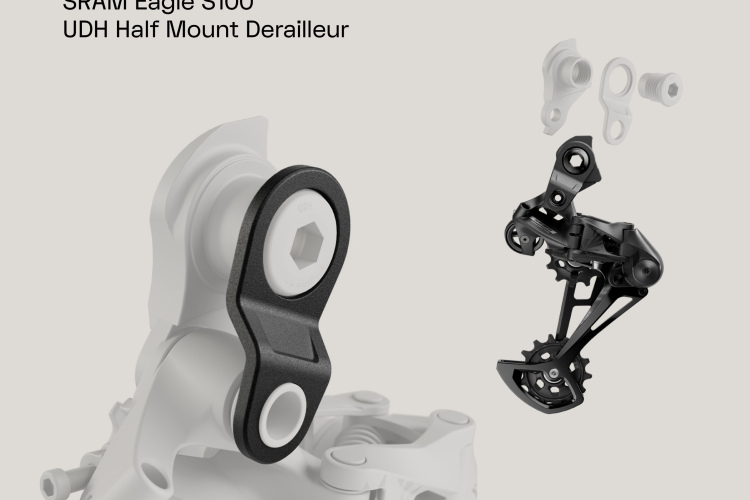
New SRAM S-Series debuts UDH Half Mount, drops lighest-weight mechanical derailleur
1
Gravel Bikes
New Chinese brand is selling high-end bikes for the half the price of American companies
12
Mountain Bikes and Gear
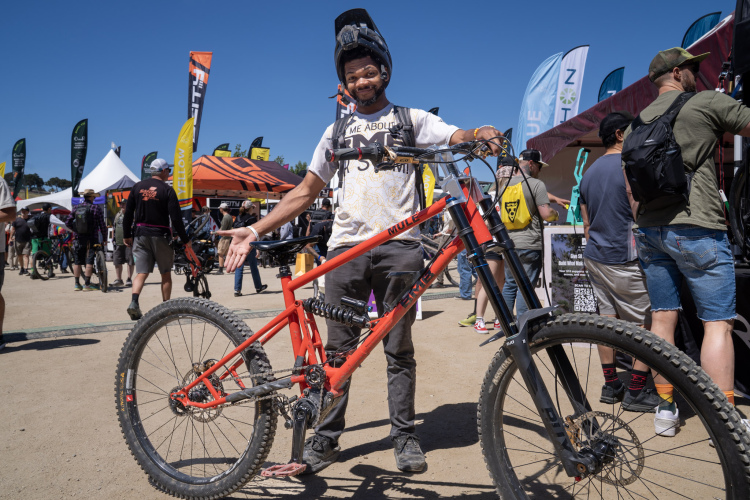
Amazing or weird: 14 notable Sea Otter finds
1
Tires
With so many new 32" bike tires, the question is: Who isn't making one yet?
3
Mountain Bikes and Gear
Worldwide Cyclery founder and CEO Jeff Cayley on the challenges and opportunities in bike retail
1
Cross Country Bikes
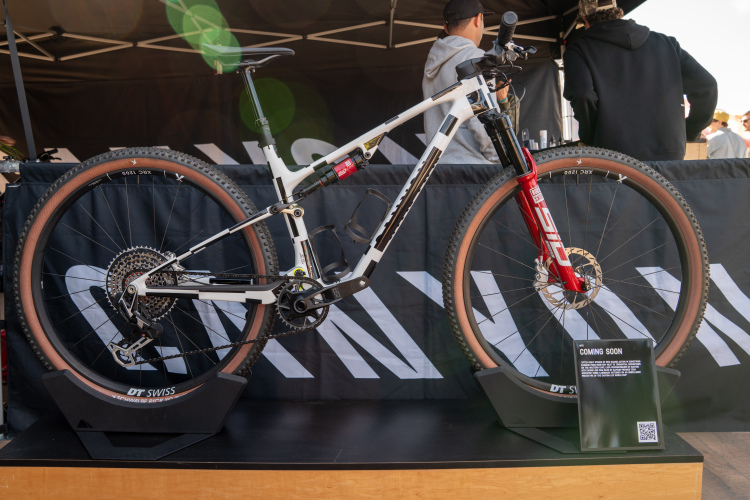
Canyon teases unreleased Lux World Cup XC race bike at Sea Otter 2026
Mountain Bikes and Gear
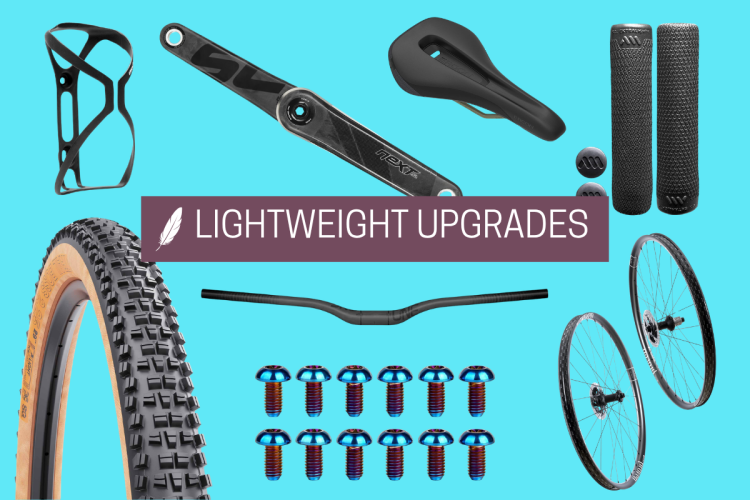
Lightweight MTB upgrades on a budget
3
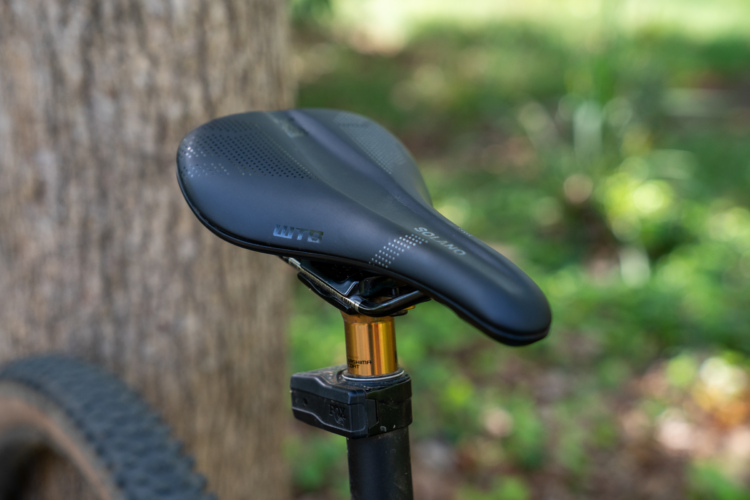
Saddles
How did you choose your mountain bike saddle?
7
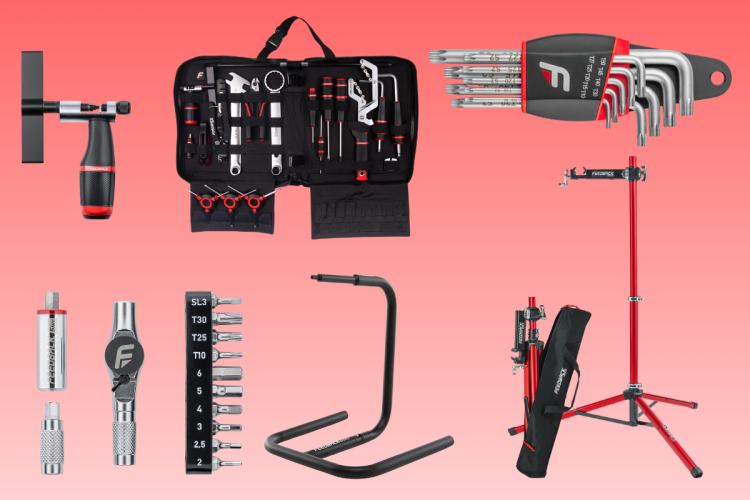
Tools
Get 25% off Feedback Sports bike repair stands, tools, and accessories
Mountain Bikes and Gear
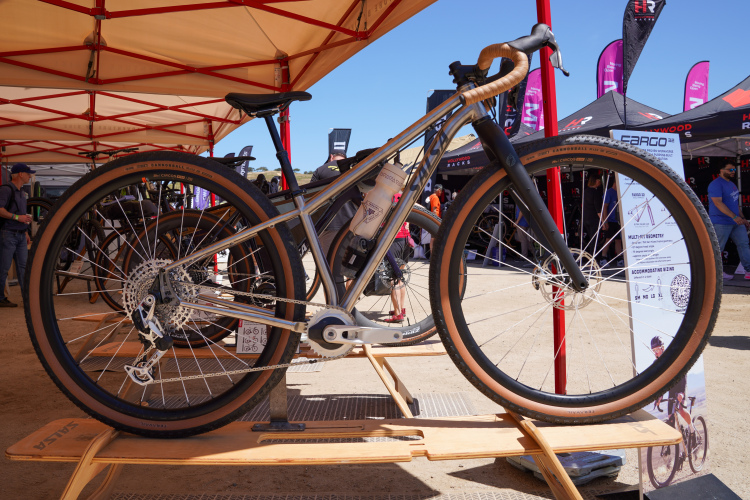
Salsa announces new 32" Fargo adventure bike at Sea Otter Classic 2026
Full suspension bikes
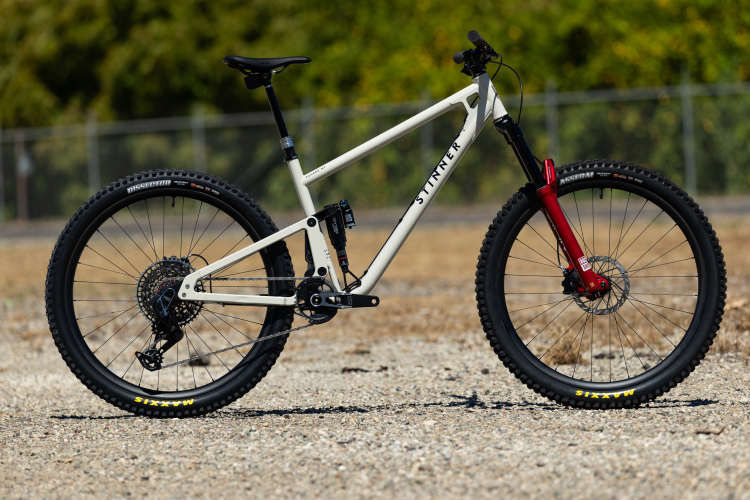
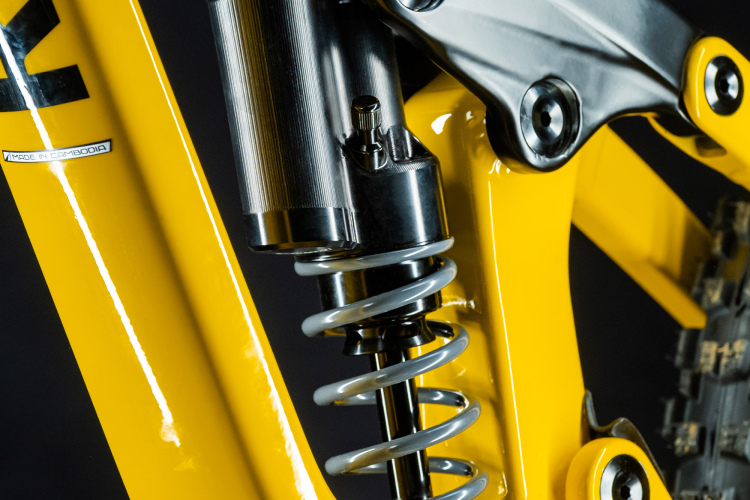
The new Stinner Romero is a US-made, full-suspenion steel and aluminum mountain bike
10
Tires
More aggressive 32" tires are coming, and 32er trail bikes are sure to follow
Half Shell Helmets
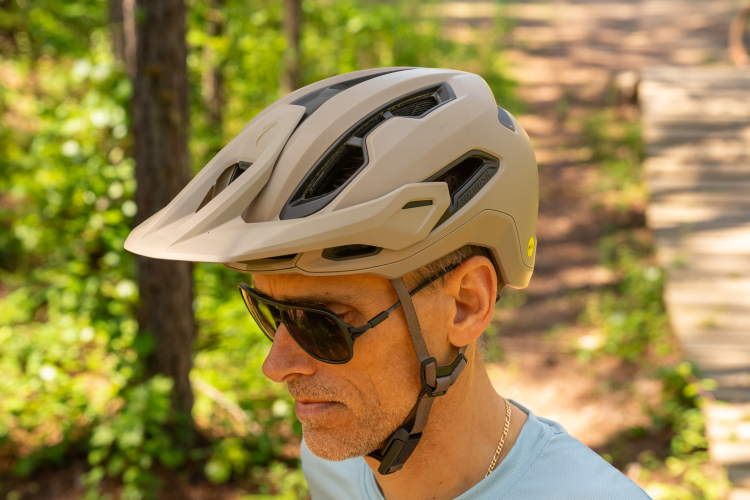
Specialized Ambush 3 helmet review: Better ventilation and significantly improved specs come at a cost
2
Tires
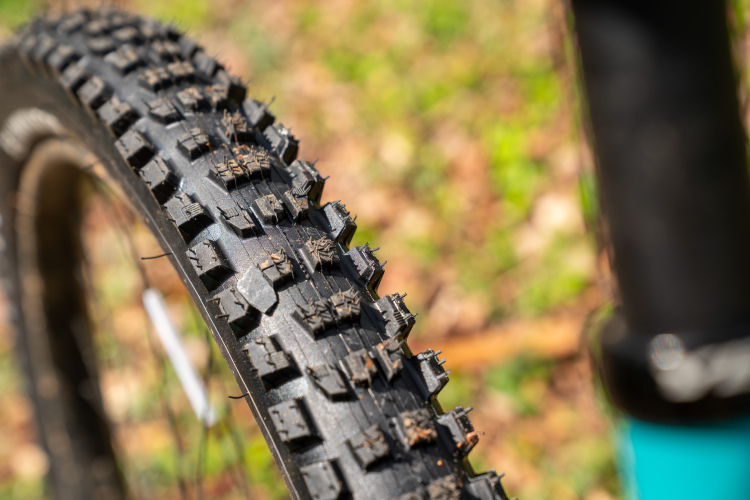
Specialized Butcher and Eliminator radial mountain bike tires review: 30% more grip with little downside
2
Dropper Posts
Teravail Telec dropper post review: Fast return speed and adjustable travel at $229
Mountain Bikes and Gear
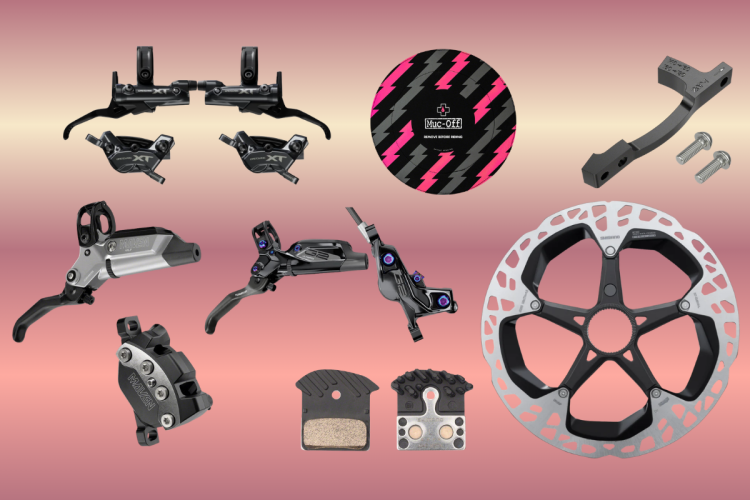
Stop faster, ride harder: MTB brake upgrades on sale now
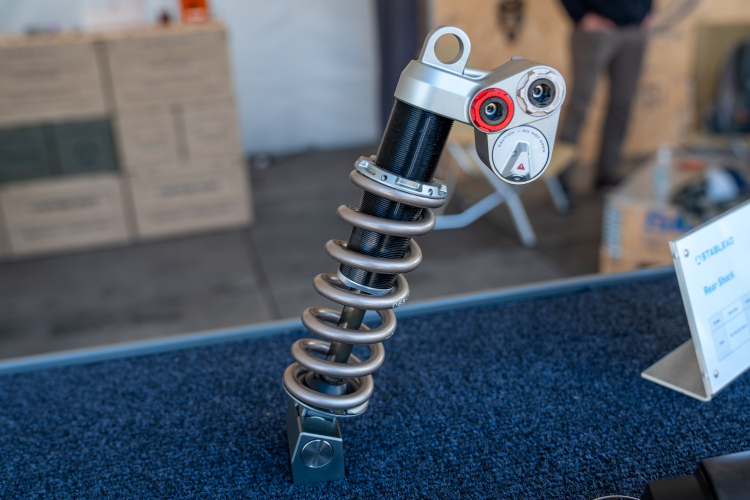
Rear Shocks
Intend Rover is a hybrid MTB shock that's more air than coil
Components
What are the MTB components that you don't mind running stock?
12
Mountain Bikes and Gear
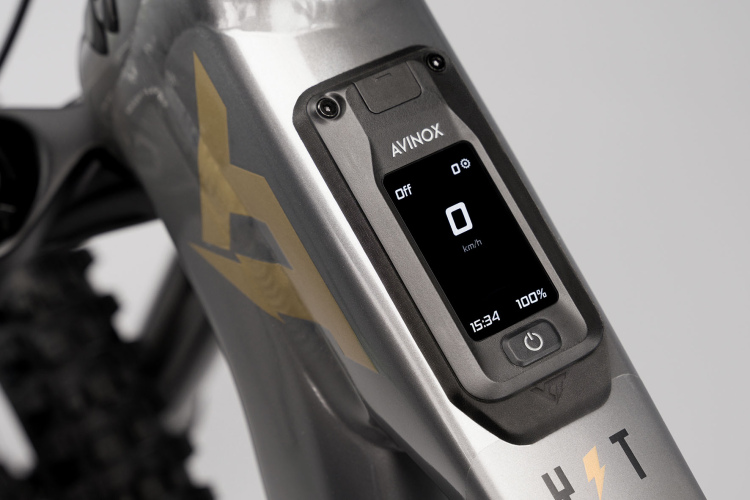
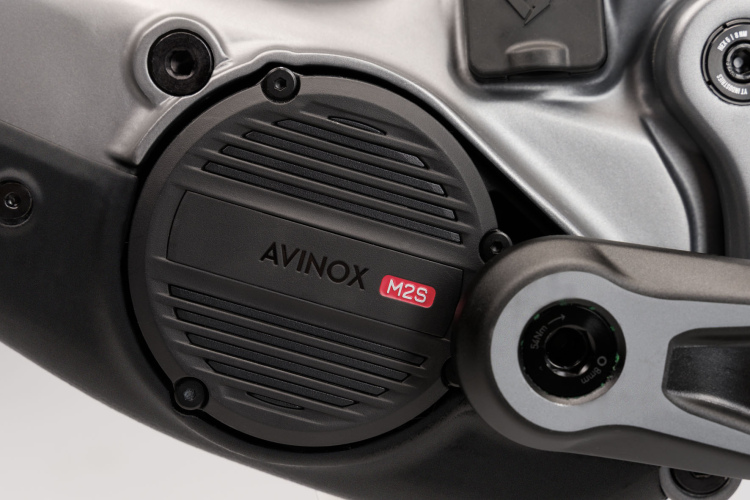
New Avinox e-bike motor delivers a shocking amount of power and torque
1
Grips
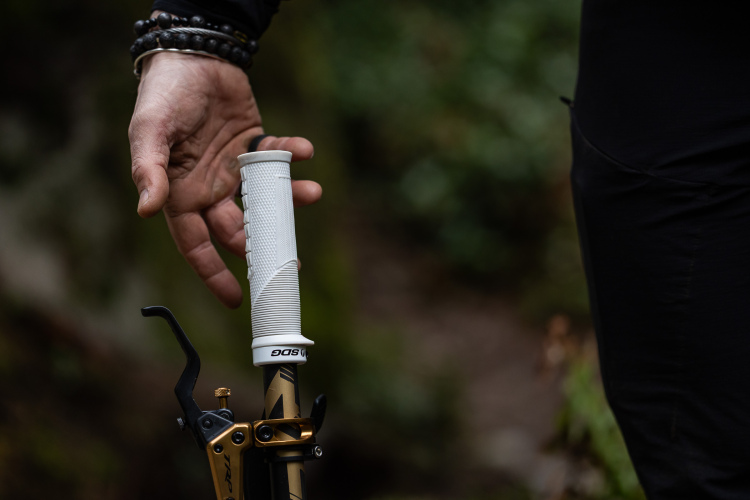
SDG announces new 'Open Core' Thrice Grip
Flat Pedals
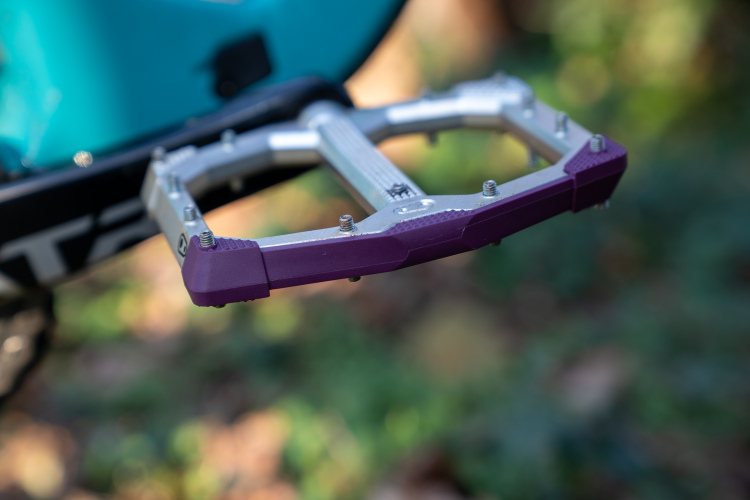
Crankbrothers Stamp Evo review: Large platform flat pedals with replaceable bashguards
2
Forks
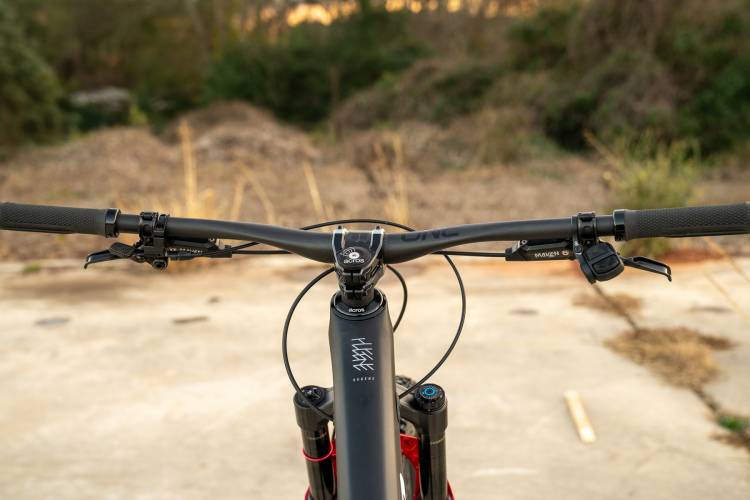
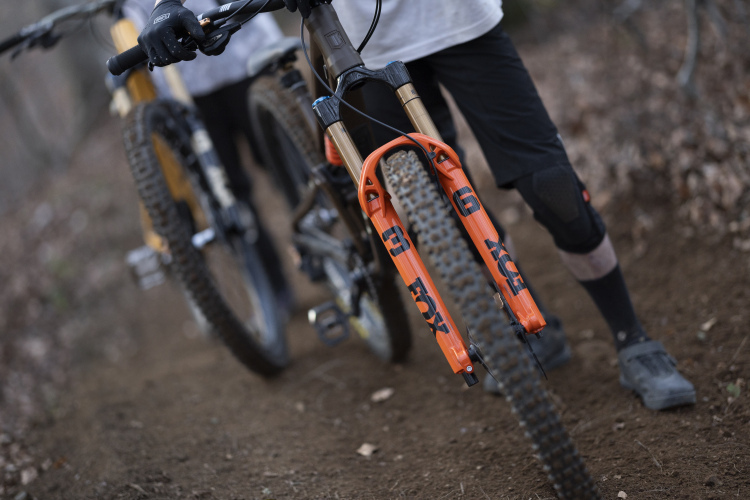
Fox just updated Grip X for trail bikes, and firm mode is gone
11
Trail Bikes
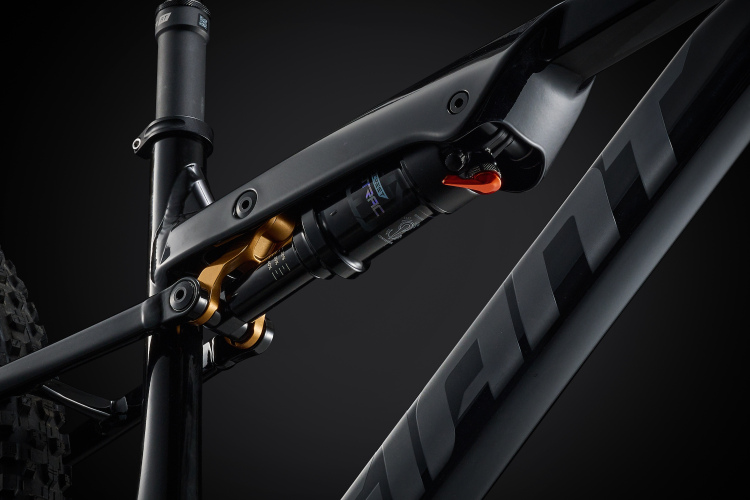
After 8 long years, US buyers get a significantly updated Giant Stance trail bike
2
Clipless Pedals
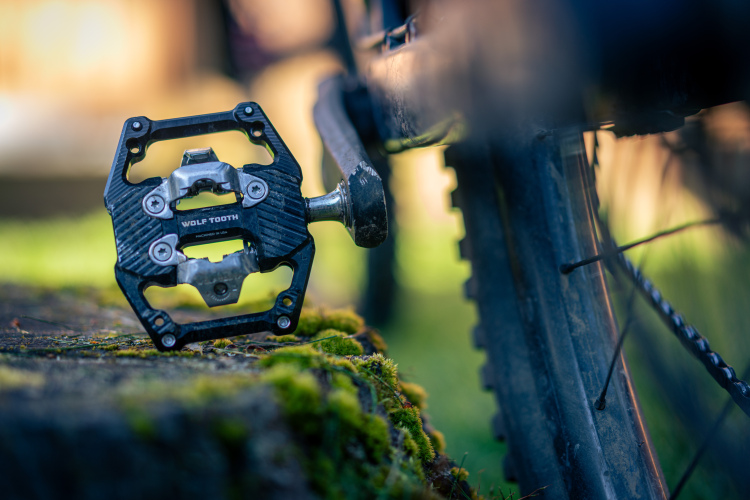
Wolf Tooth SHIFT downhill clipless pedal review: Adjustable Q-factor and 8 traction pins
Hardtail bikes
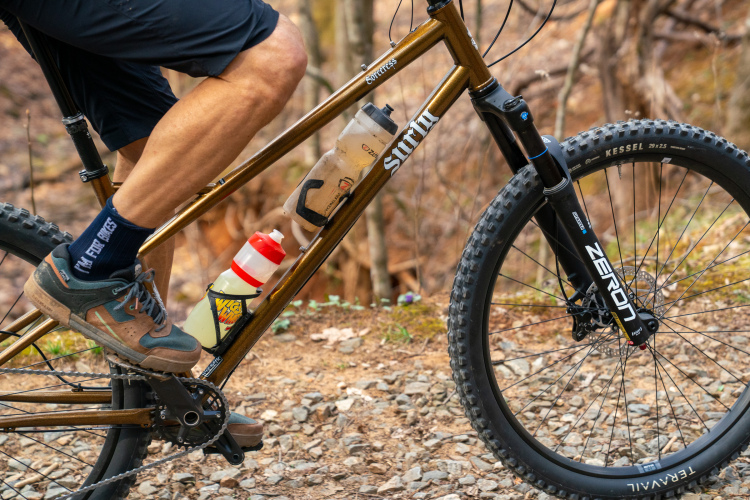
Surly Sorceress hardtail review: A long-overdue modern addition to the brand's mountain bike lineup
2
Handlebars
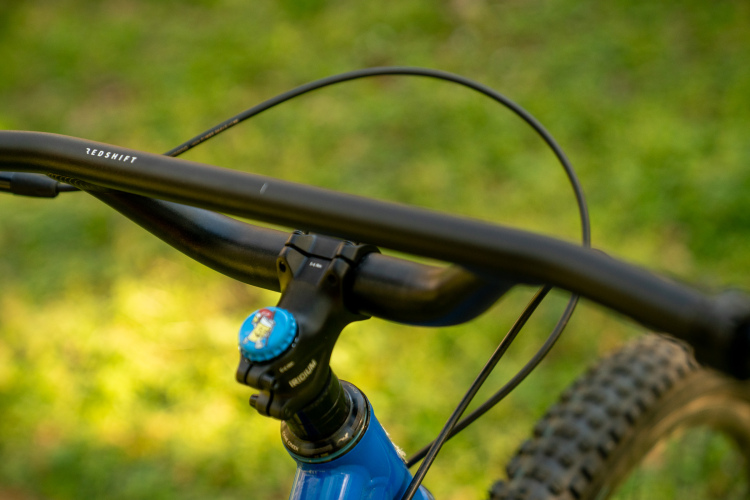
Redshift Top Shelf flat riser bar frees up cockpit space for bags and gadgets
Mountain Bikes and Gear
This under-the-radar bike retailer is having a Mega Sale
Mountain Bikes and Gear
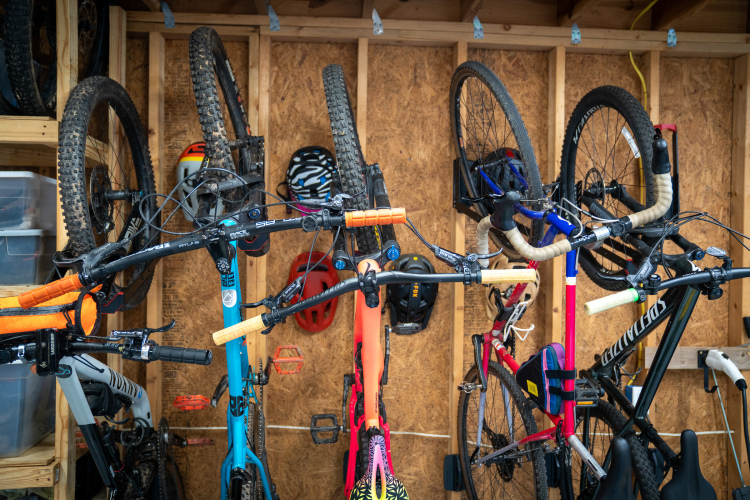
A quiver beats a quiver-killer when it comes to mountain bikes
9
Clothing
Ortovox and Arc'teryx are betting mountain bikers are willing to spend on technical clothing
4
Mountain Bikes and Gear
4 hardtails on sale PLUS a sub-$2,500 carbon enduro bike and more bike deals
Mountain Bikes and Gear
Did you test ride your mountain bike before you purchased it?
20
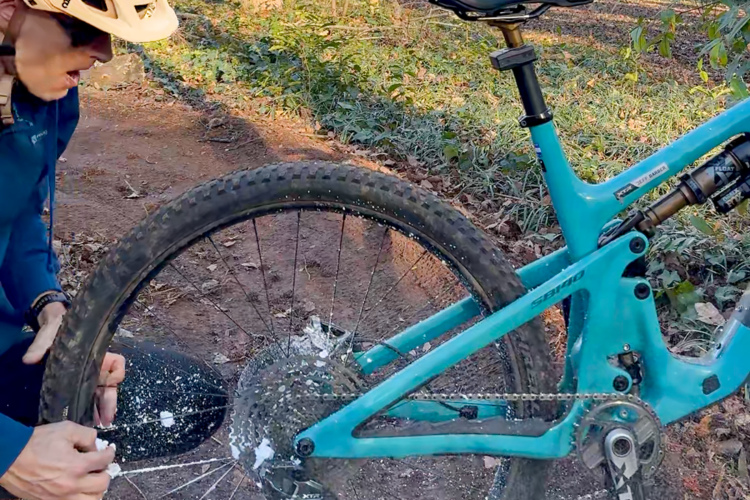
Tire Sealants
How to use a GÜP tire sealant inflator for mountain bike flats without the mess
1
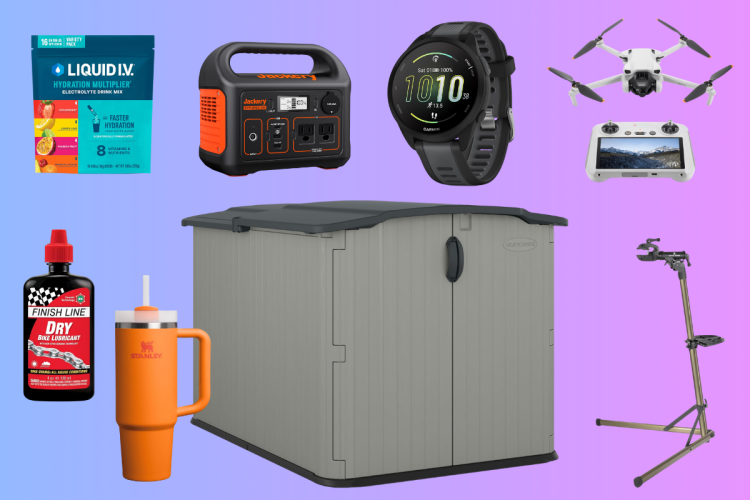
Mountain Bikes and Gear
These are the bargains bikers will love from the Amazon Big Spring Sale
«
1
2
3
4
…
108
»
 6
6