Trails
Reviews
Tips
Community
Deals
Latest
Support
Trails
Find trails
Best bike trails
Destinations
Add a new trail
Reviews
Mountain bike reviews
Components
Tires
Clothing & shoes
Helmets
Accessories
Product news
Community
MTB Clubs
Races & Events
Bike Shops
Tips
Skills
Fitness & Training
Health & Nutrition
Beginners
Repair
Latest Articles
Podcast
Deals
Support Singletracks
Sign in
Create an account
About us
Newsletter signup
Singlespeed
Downhill Bikes
Single Speed Steel DH: The Updated Starling Sturn V2
Hardtail bikes
The Even More Adaptable 2022 Santa Cruz Chameleon
2
Mountain bikes
Lone Bicycles now has a MixED-Wheel Version of their Versatile Parabellum All-Mountain Frame
Mountain bikes
The Spot Rocker Singlespeed and Geared Hardtails are Simple, Yet Fancy
1
Oregon
He Who Tattooed the Single Speed MTB World Champs: The Jake Tong Interview
Mountain Bikes and Gear
Lone Bicycles' Parabellum Enduro Bike Can Be Run Singlespeed, and with 27.5 or 29er Wheels
MTB Tips
Staying Fit, Fast and Fun With Carl Decker [Podcast #179]
Community
Why You Should Be Racing a Full Suspension Singlespeed
6
Culture
Over a Beer: Greg, the Self-Flagellating Luddite
26
MTB Tips
6 Reasons Why You Should Ride a Singlespeed
9
Mountain Bike Podcast
Singlespeed Mountain Biking: Is this Some Kind of a Cult? [Podcast #42]
3
Mountain Bikes and Gear
Test Ride Review: Durango Bike Company Pucker SS Titanium Hardtail
2
MTB Tips
The Single Speed Addiction
23
Mountain Bikes and Gear
Review: Gates Carbon CenterTrack Belt Drive
1
Mountain Bikes and Gear
Review: Vassago VerHauen 29er
6
Community
Race Report: Georgia Single Speed Championships
7
Mountain Bikes and Gear
Interbike 2012: Spot Honey Badger Test Ride
9
Mountain Bikes and Gear
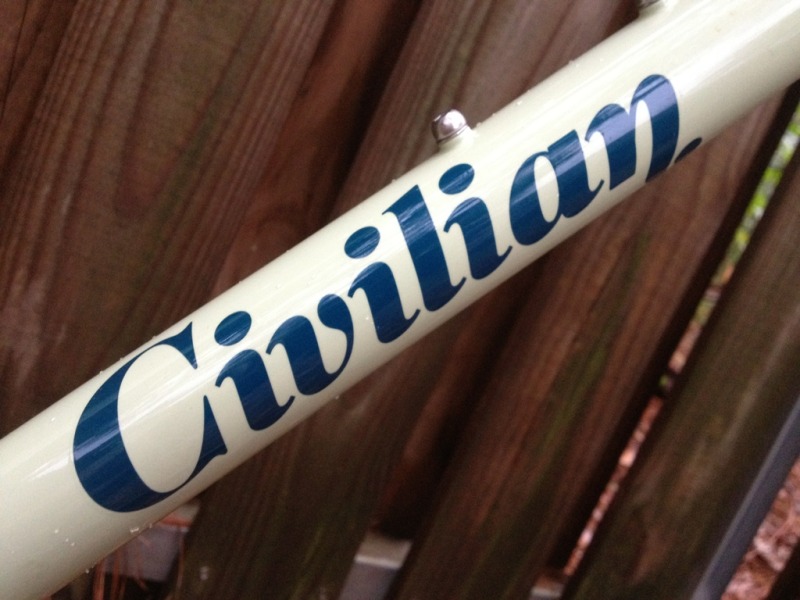
Civilian Luddite Mountain Bike Final Review
11
Mountain Bikes and Gear
On Test: Civilian Luddite Singlespeed 29er Mountain Bike
15
Mountain Bikes and Gear
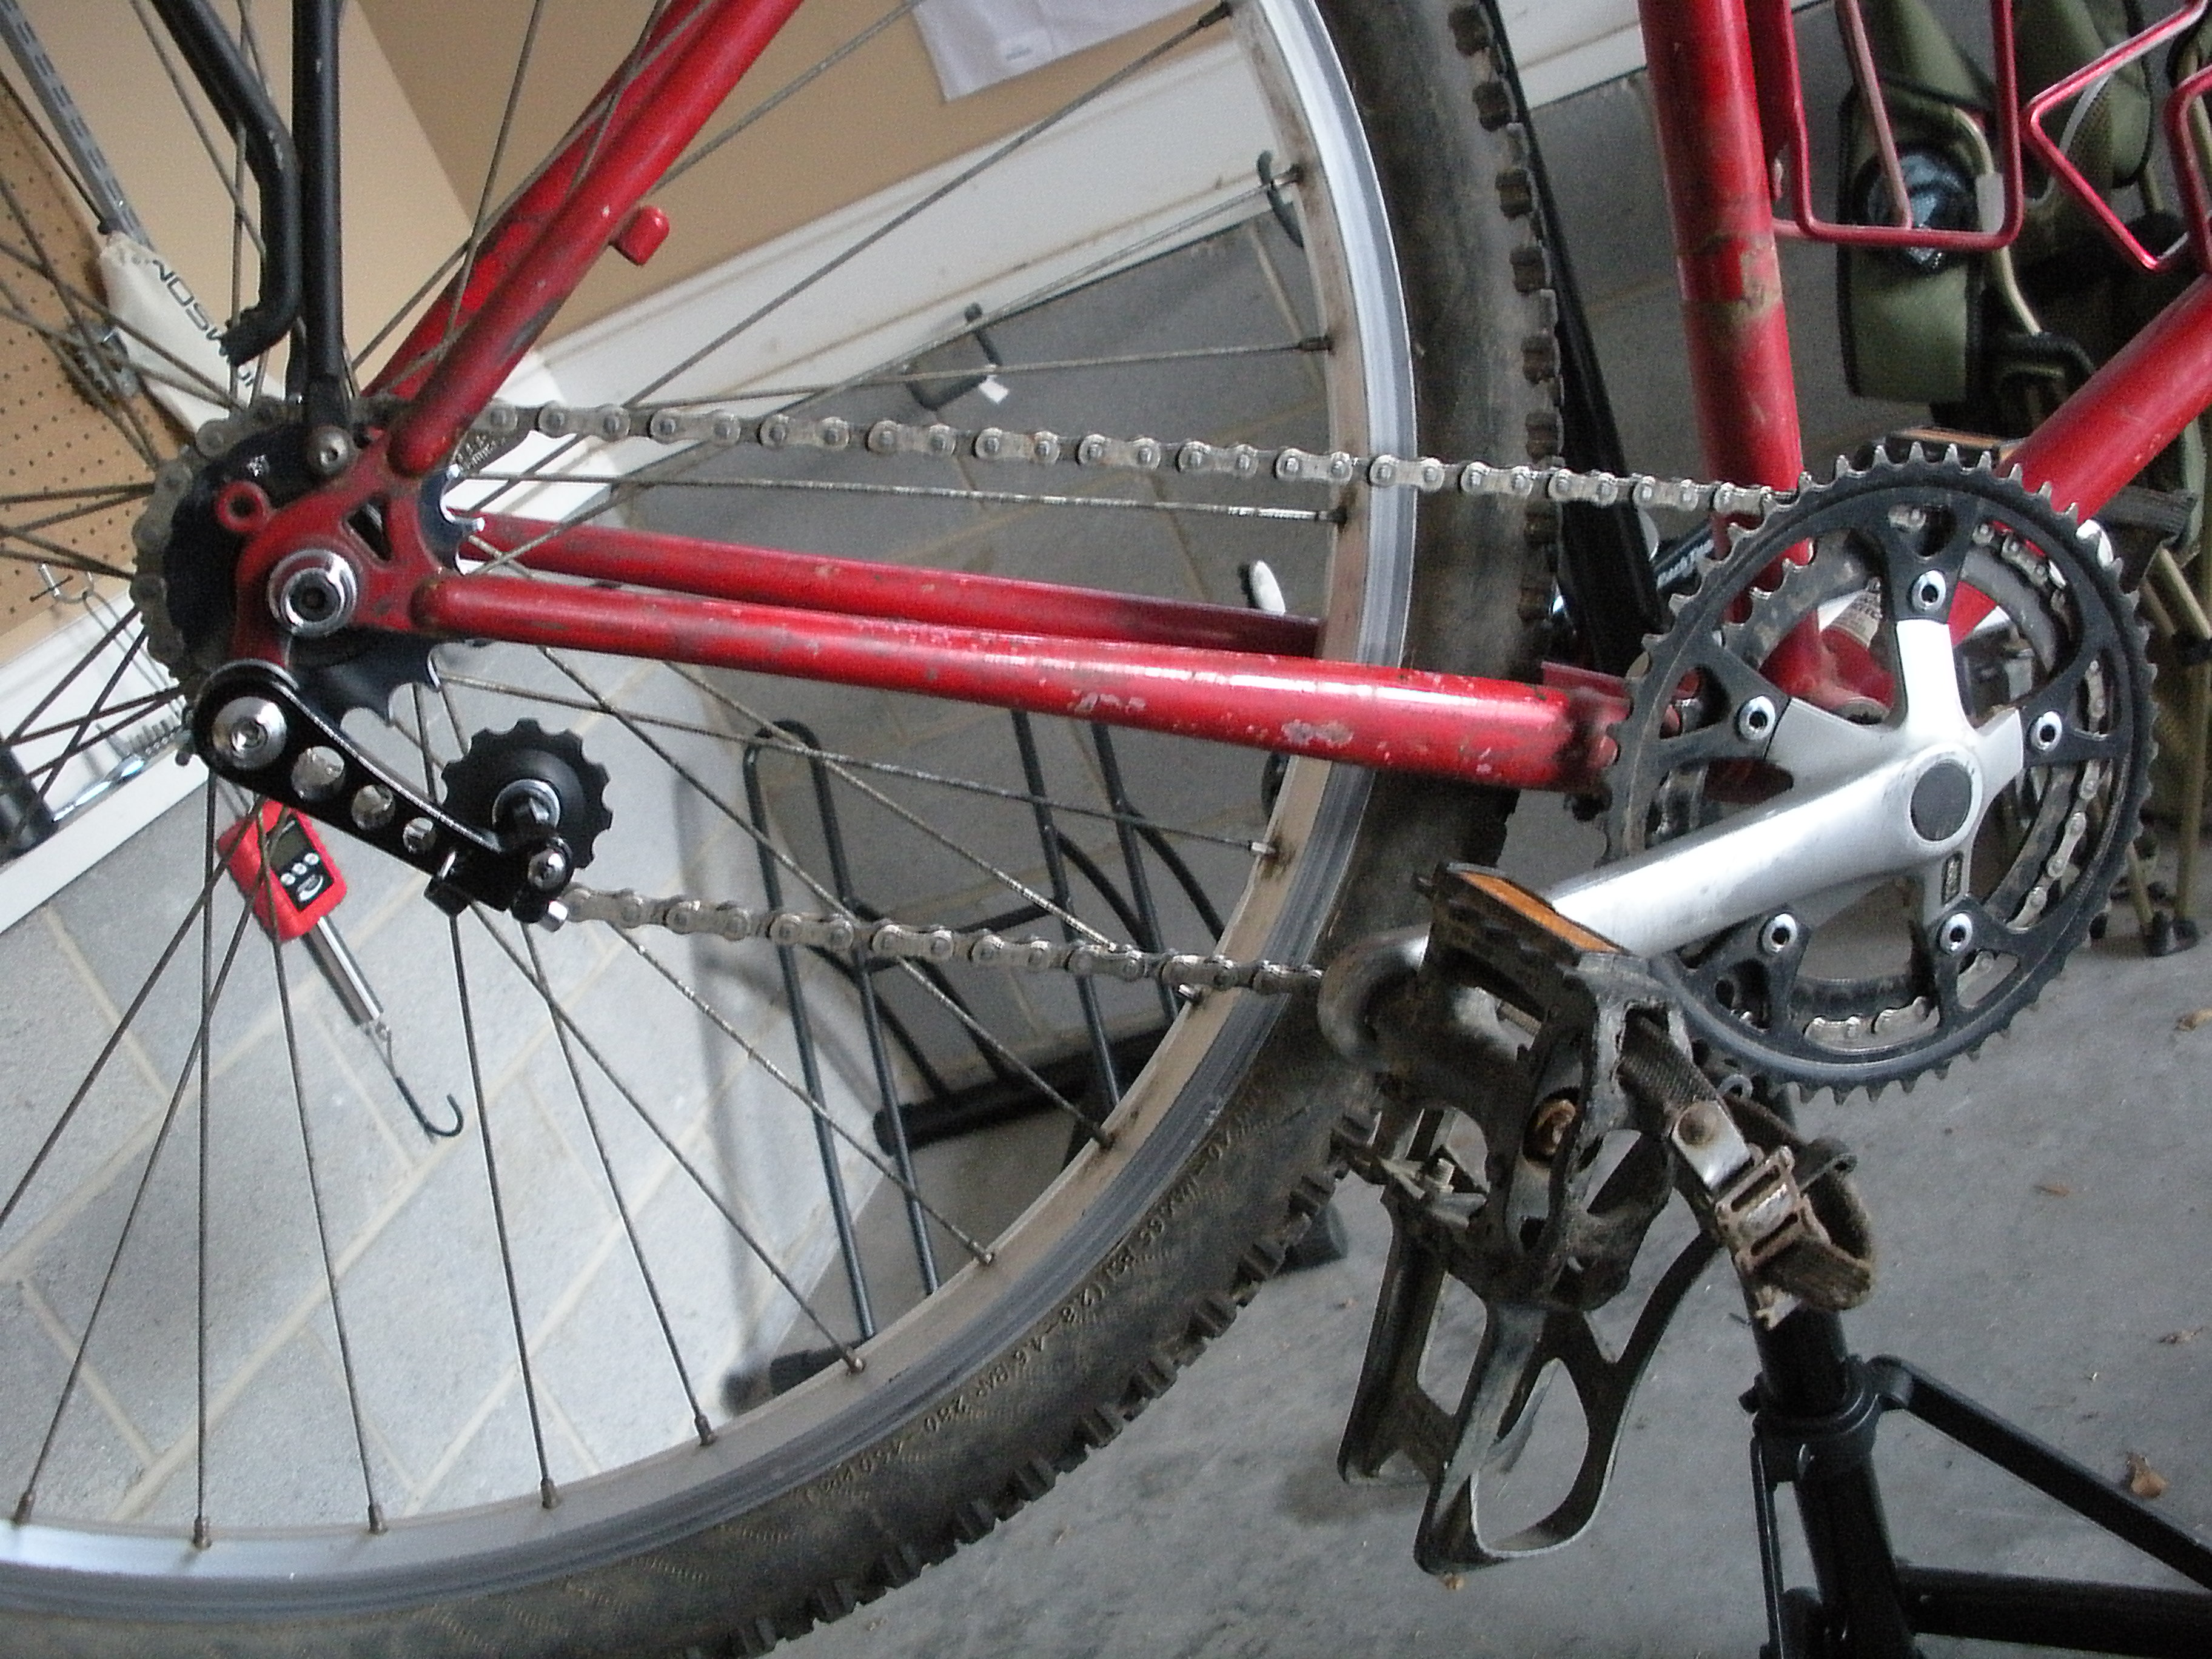
How to Convert Your Mountain Bike to a Singlespeed
16
Mountain Bikes and Gear
One is Enough: Why You Should Give Singlespeed Mountain Biking a Chance
31
Culture
Mountain Bike News: Easton Seatpost Recall, Croc Trophy Stage Race, and More
Community
Singlespeed MTB Championships in New Zealand This Weekend
3
Mountain Bikes and Gear
Fixed gear mountain bikes
2
Mountain Bikes and Gear
Beauty or the Beast: Trek 69er Single Speed


 2
2