Trails
Reviews
Tips
Community
Deals
Latest
Support
Trails
Find trails
Best bike trails
Destinations
Add a new trail
Reviews
Mountain bike reviews
Components
Tires
Clothing & shoes
Helmets
Accessories
Product news
Community
MTB Clubs
Races & Events
Bike Shops
Tips
Skills
Fitness & Training
Health & Nutrition
Beginners
Repair
Latest Articles
Podcast
Deals
Support Singletracks
Sign in
Create an account
About us
Newsletter signup
Hayes
Cockpit
Manitou Redesigns R7 XC Fork, and More From SUNringle, ProTaper
Mountain Bikes and Gear
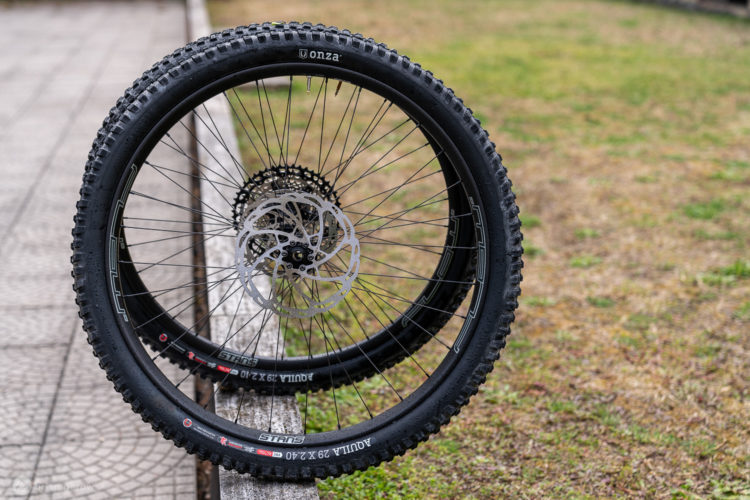
Stans CB7 Wheelset, Onza Aquila Tires, Nukeproof ARD Inserts, and Tyre Yogurt Sealant in for Test
Culture
Hayes' New Enduro Collection Includes the Mezzer Fork with 37mm Stanchions, Plus a New Shock, Brakes, and Cockpit
1
Brakes
Hayes Prime Hydraulic Disc Brake Review
4
Mountain Bikes and Gear
Hayes Group at Interbike: Manitou Forks & Shocks, Hayes Brakes, Answer Components, and Sun Ringle Wheels
1
Mountain Bikes and Gear
Hayes Stroker Gram MTB Brake Review
Mountain Bikes and Gear
Hayes Prime MTB Brake Secrets Revealed
Mountain Bikes and Gear
Hayes Brakes Are At Their Prime!
4
Mountain Bikes and Gear
New Toys From Hayes for Your Stroker Brakes
2
Mountain Bikes and Gear
Interbike Eye Candy That I Almost Forgot
1
Mountain Bikes and Gear
Hayes Stroker Gram Disc Brake Review
Community
Hayes Stroker Ace Disc Brakes Review
2
Mountain Bikes and Gear
MTB hydraulic disc brakes head-to-head: Avid vs. Hayes
9


 1
1


