Trails
Reviews
Tips
Community
Deals
Latest
Support
Trails
Find trails
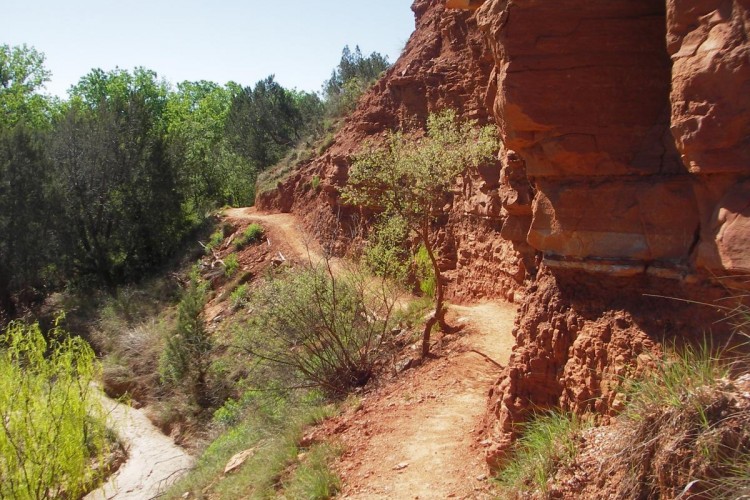
Best bike trails
Destinations
Add a new trail
Reviews
Mountain bike reviews
Components
Tires
Clothing & shoes
Helmets
Accessories
Product news
Community
MTB Clubs
Races & Events
Bike Shops
Tips
Skills
Fitness & Training
Health & Nutrition
Beginners
Repair
Latest Articles
Podcast
Deals
Support Singletracks
Sign in
Create an account
About us
Newsletter signup
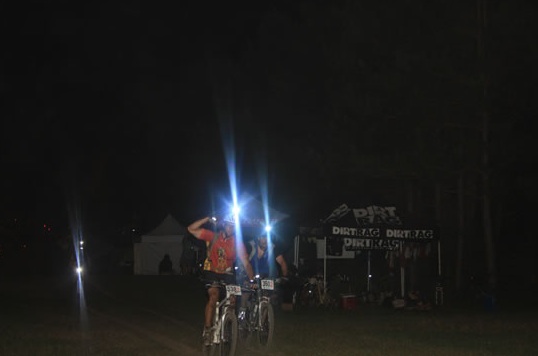
24 Hour
MTB Tips
How to Push Your Limits--Endurance Style
Community
A Full Day of Riding: 10 Great 24-Hour Races in 2015
1
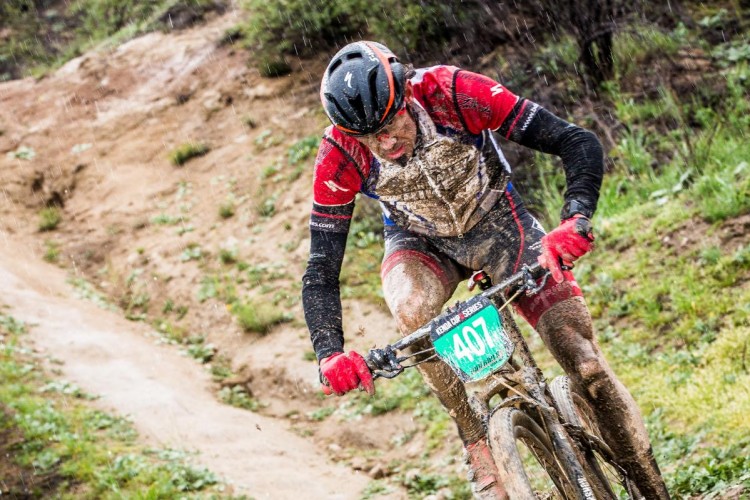
Culture
Opinion: 24-Hour Racing Alive and Well
3
Mountain Bikes and Gear
NiteRider Pro 1200 LED Bike Light Review
8
Community
Is the 24 Hour Mountain Bike Race Dying?
6
Mountain Bikes and Gear
Light & Motion Seca 900 Ultra Bike Light Review
8
Community
Preparing for a 24 Hour MTB Race (Part II)
Community
Preparing for a 24 Hour MTB Race (Part I)
6
Community
NASCAR Drivers Form 24 Hour MTB Team for Big Bear
5
 1
1