Trails
Reviews
Tips
Community
Deals
Latest
Support
Trails
Find trails
Best bike trails
Destinations
Add a new trail
Reviews
Mountain bike reviews
Components
Tires
Clothing & shoes
Helmets
Accessories
Product news
Community
MTB Clubs
Races & Events
Bike Shops
Tips
Skills
Fitness & Training
Health & Nutrition
Beginners
Repair
Latest Articles
Podcast
Deals
Support Singletracks
Sign in
Create an account
About us
Newsletter signup
Gear
Mountain bike gear and equipment.
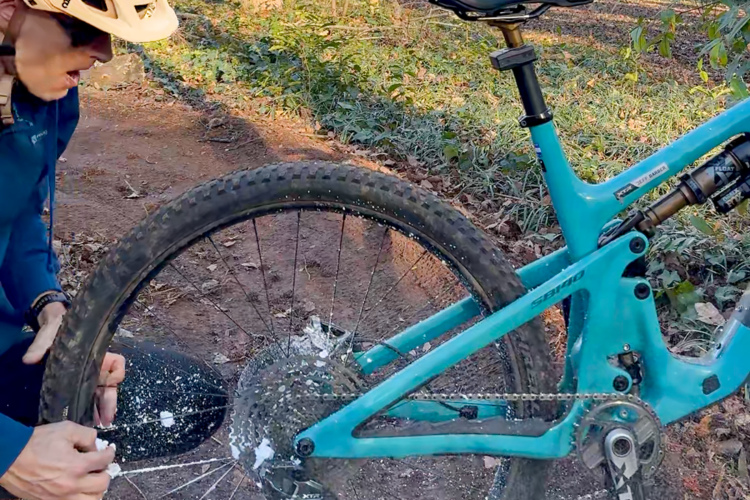
Tire Sealants
How to use a GÜP tire sealant inflator for mountain bike flats without the mess
1
Mountain Bikes and Gear
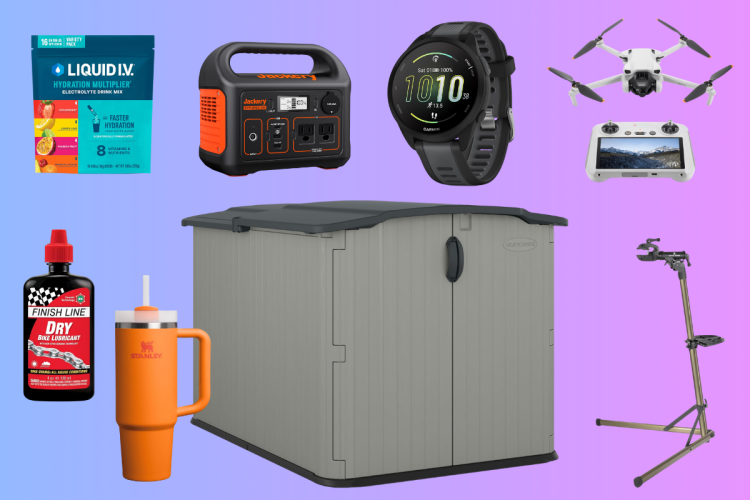
These are the bargains bikers will love from the Amazon Big Spring Sale
Mountain Bikes and Gear
The pros and cons of 32" wheels, and what we can learn from 29er adoption
17
Dropper Posts
Is your bike's dropper post electronic?
9
Mountain Bikes and Gear
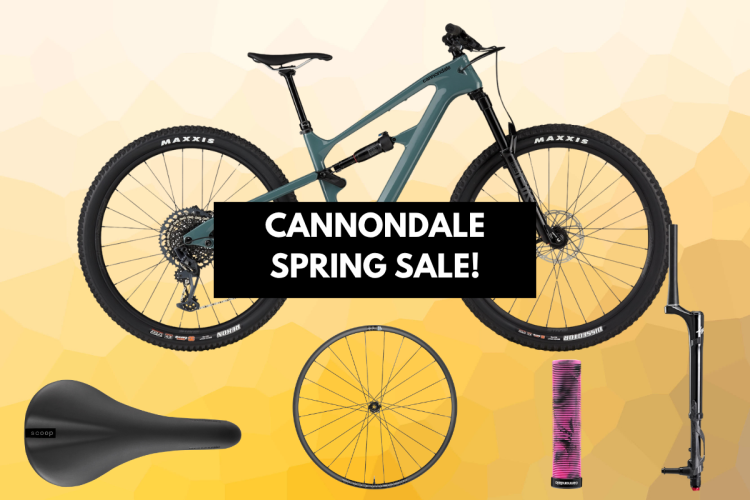
These Cannondale MTBs are 30%+ off, plus save 40% on select Lefty forks and lightweight carbon components
Mountain Bikes and Gear
Why you should hold onto and keep riding that 5-year-old mountain bike
31
Mountain Bikes and Gear
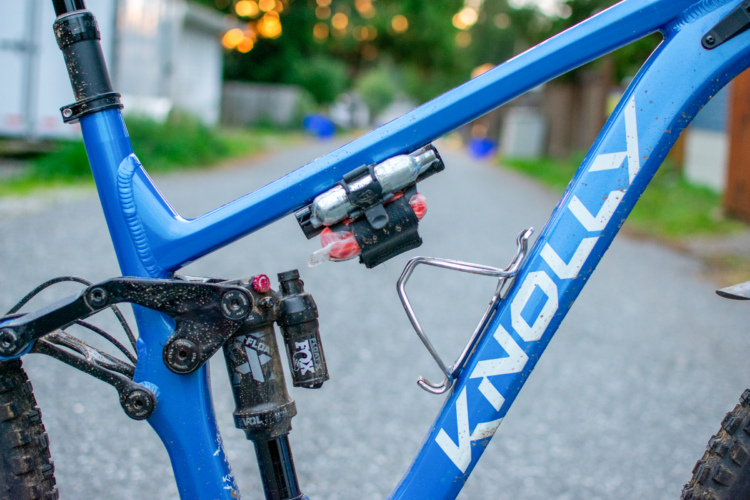
Knolly Bikes eyes restructure as bank cuts off financing and receiver appointed
5
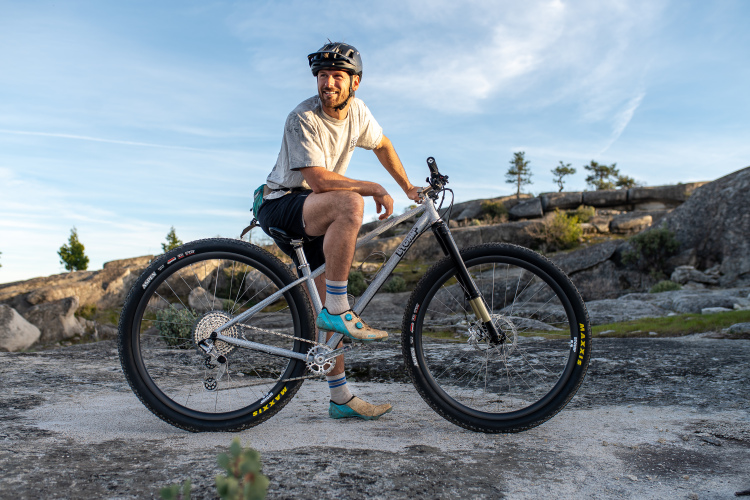
Hardtail bikes
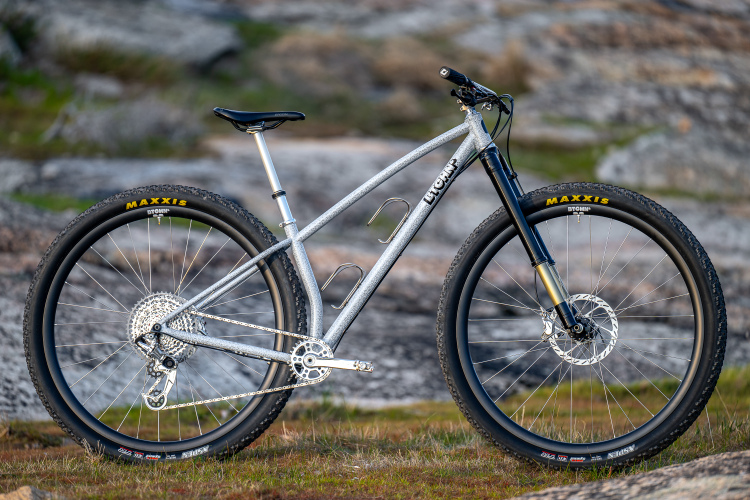
BTCHN' Alpina 32er hardtail mountain bike launches with steel frame and $6,800 price tag
1
Cranksets
Race Face Era SL crankset and handlebars claim to be lightest in class for downcountry mountain bikes
6
Grips
Fox Factory Fiber Core bike grip granted patent for finger-trap design
9
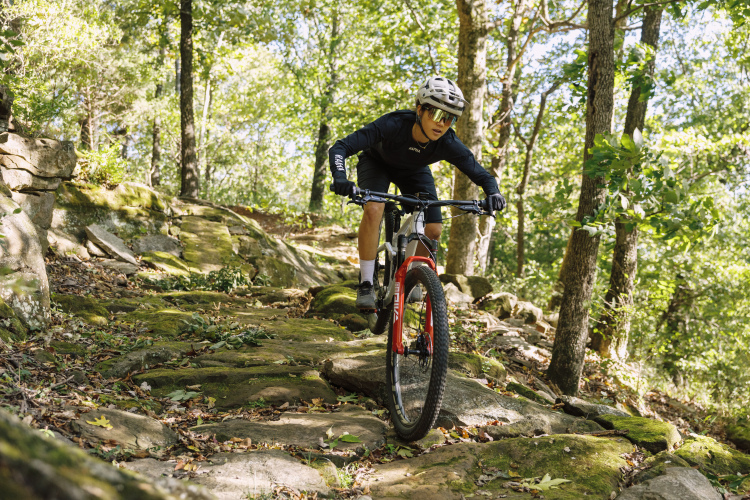
Trail Bikes
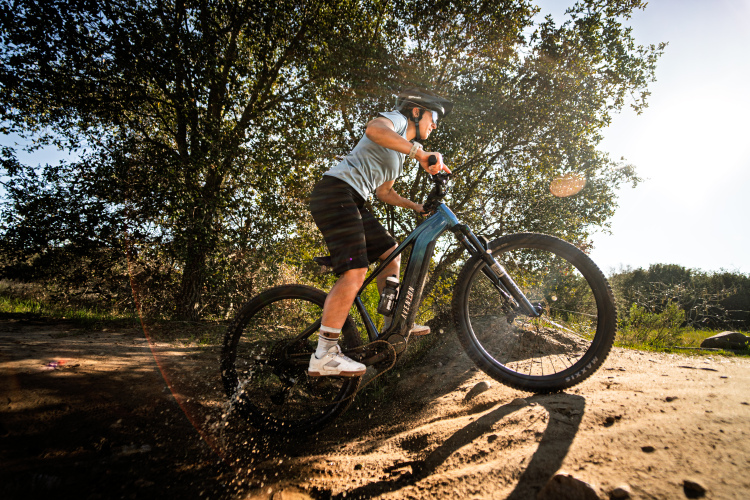
Aventon Current review: How this $6,000 full-suspension eMTB stacks up
3
Mountain Bikes and Gear
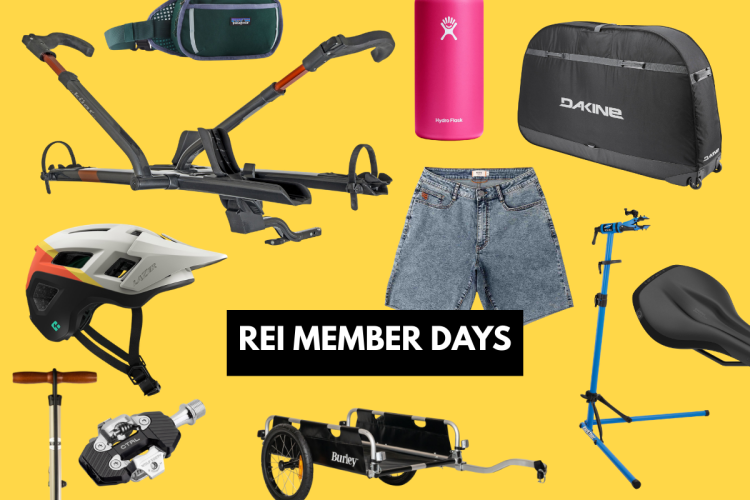
REI Member Days are here, and this is the gear actually worth buying
Mountain Bikes and Gear
Where did you purchase your last mountain bike?
20
Flat Pedal Shoes
Five Ten Sleuth DLX 2 review: A comfortable flat pedal shoe with Stealth rubber grip
Drivetrain
Shimano Deore Di2 brings wireless electronic shifting to older bikes on a budget [Review]
9
Suspension
Is your mountain bike suspension electronic?
5
Tools
New Crankbrothers Plug Mate tubeless tire plug anchors go in easy, resist pulling out
9
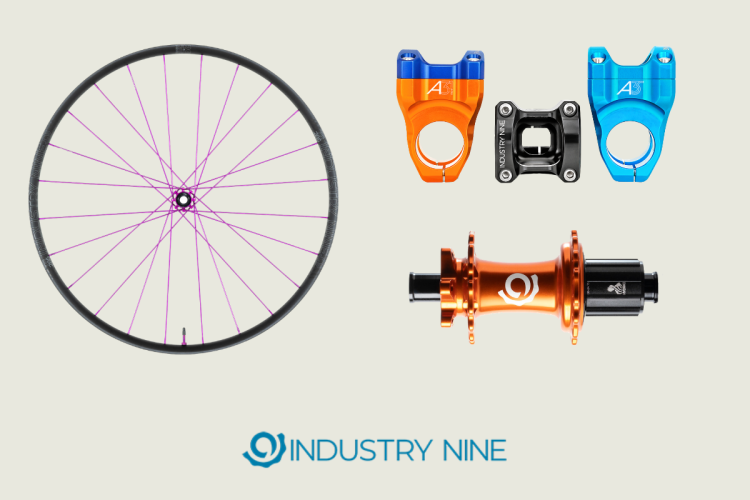
Wheels
35% off almost everything at Industry Nine, including wheels, hubs, and even MTB stems!
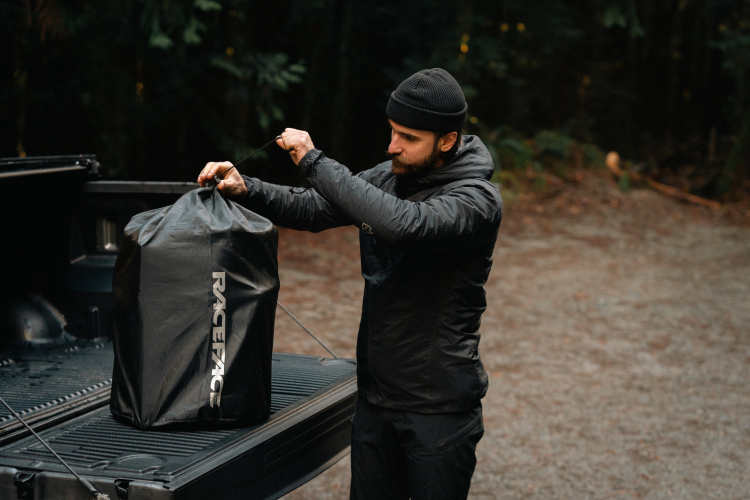
Bike Racks
New Race Face tailgate pad rolls up like a sleeping bag for easy storage
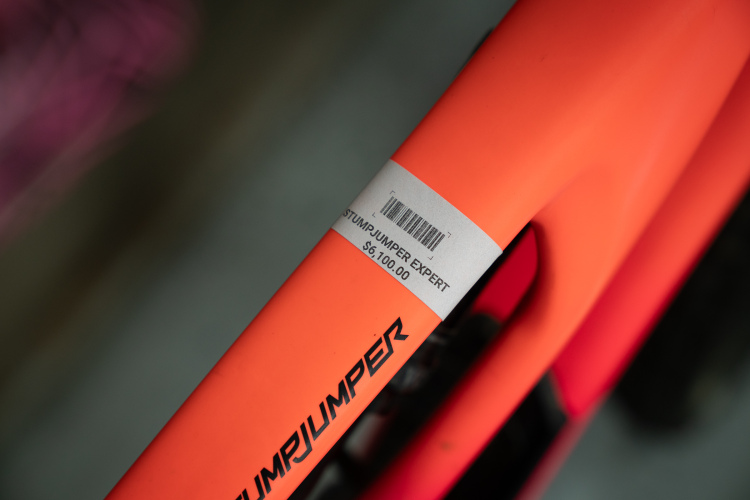
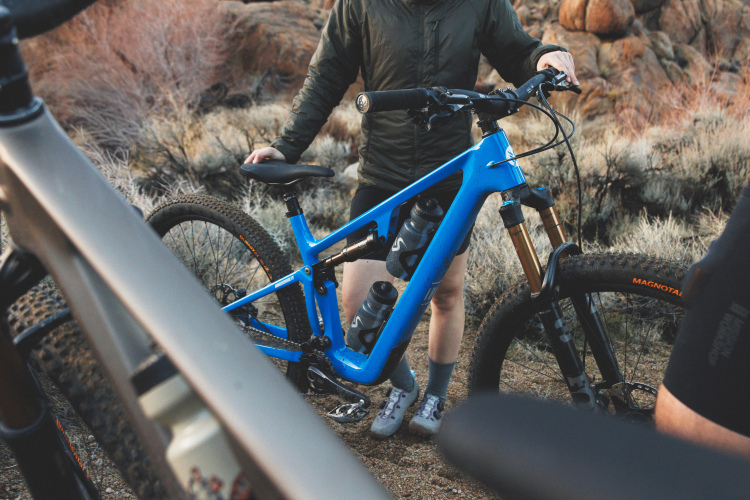
Trail Bikes
Mid-range trail bikes cost $6,200+ today, far more than riders expect for a "decent" bike
10
Hardtail bikes
The Reeb Hall Pass brings Colorado-designed hardtail performance to a more affordable price point
7
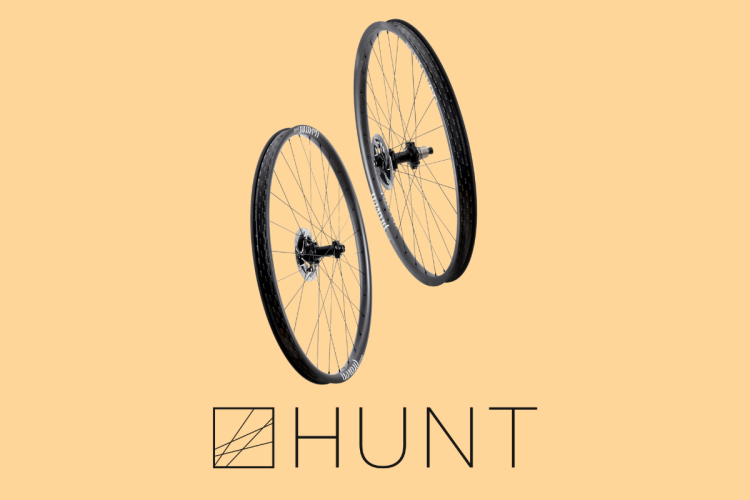
Wheels
Popular Hunt MTB and gravel wheelsets are now 30-40% off
Wheels
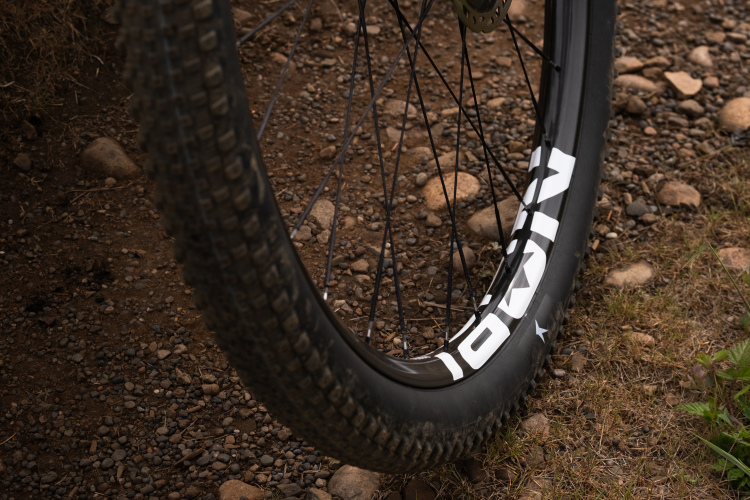
NOBL claims lightest 30mm internal width XC wheelset
4
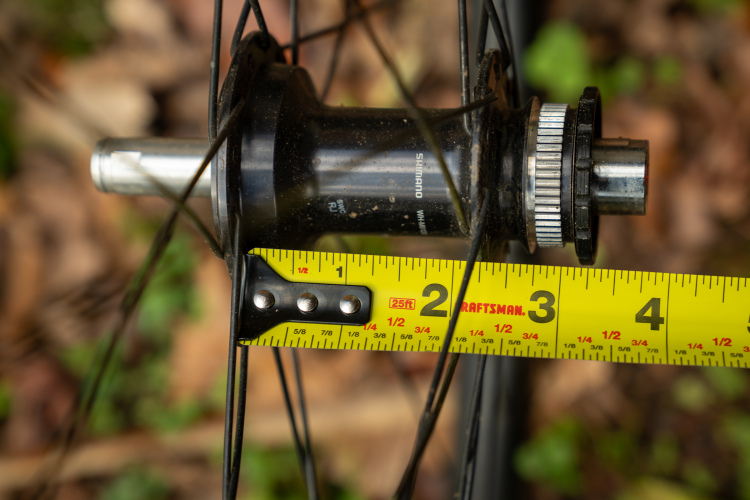
Hubs
It looked like Super Boost was on the way out. Then 32ers came along.
14
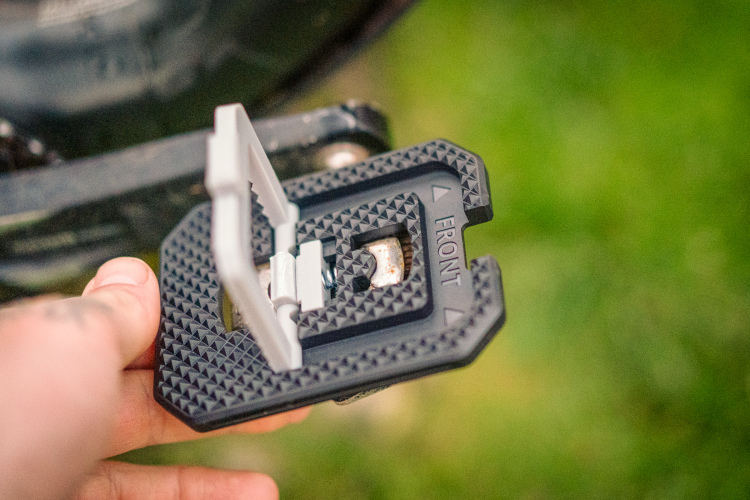
Pedals
Redshift Mousetrap Pedal Adapters turn clipless pedals into flats for riding around town [Review]
2
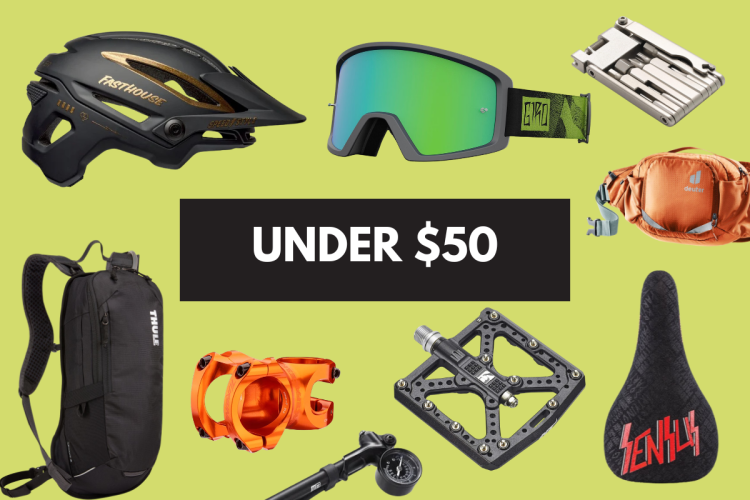
Mountain Bikes and Gear
Surprising finds under $50 for MTB
Cockpit
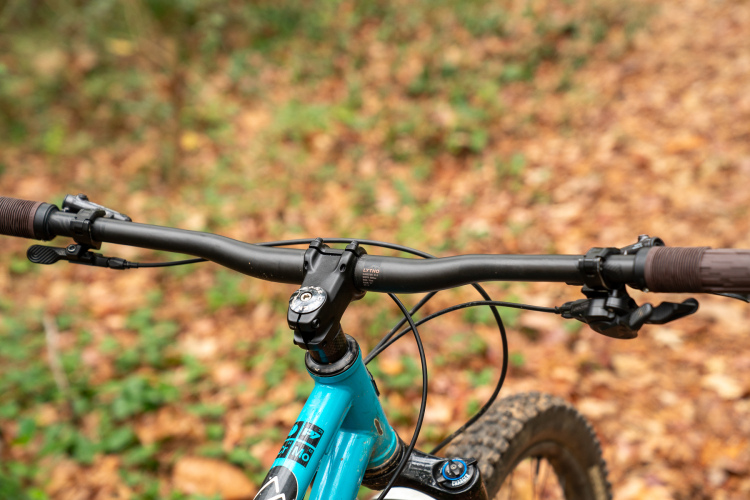
Teravail Lytho handlebar, stem, and grips provide a smart new option for bikepacking and MTB too
Hardtail bikes
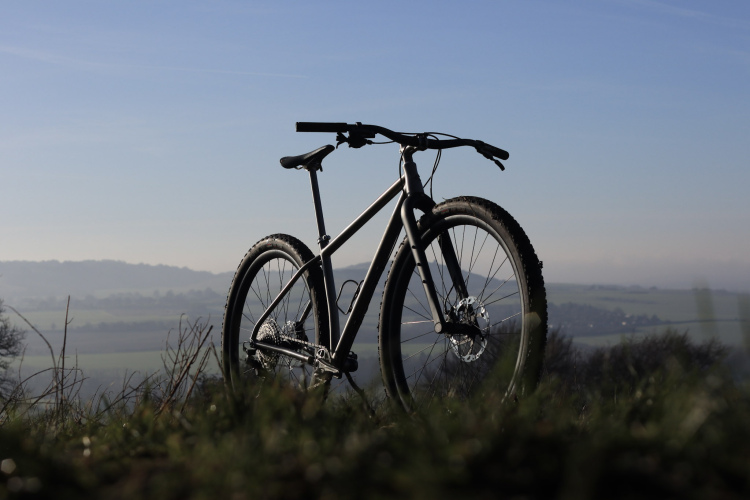
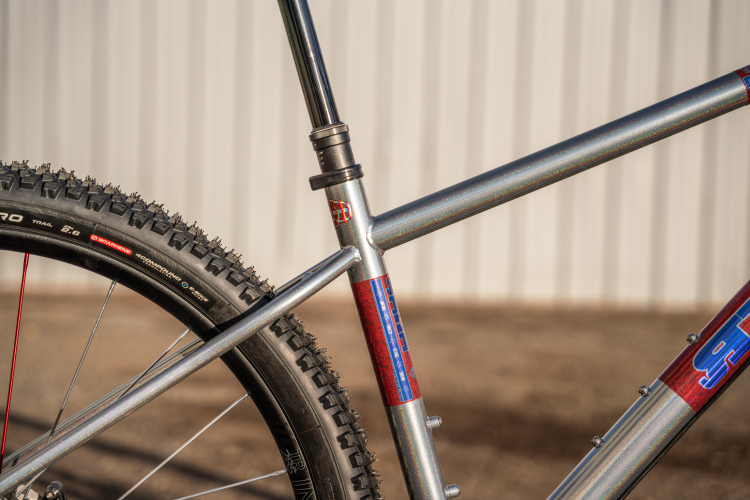
The Singular Albatross swoops in with a 32er mountain bike
4
Mountain bikes
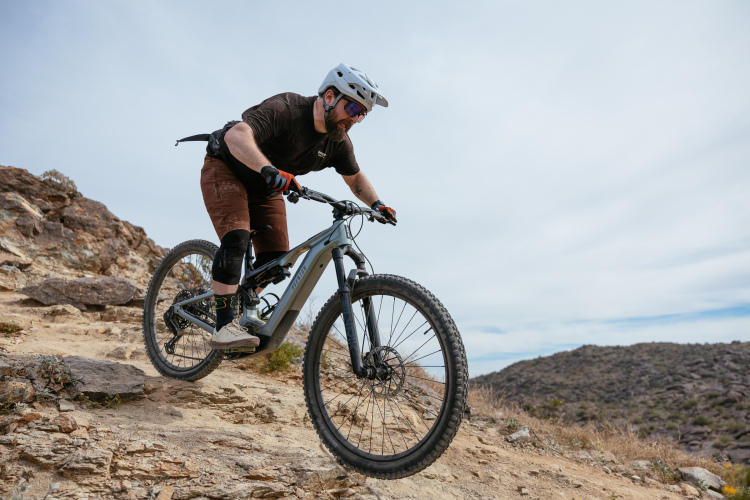
Specialized Turbo Levo R first ride review
2
Mountain Bikes and Gear
Pole Bicycles returns: Leo Kokkonen on CNC'd bike frames, bankruptcy lessons, and eMTB prototype
1
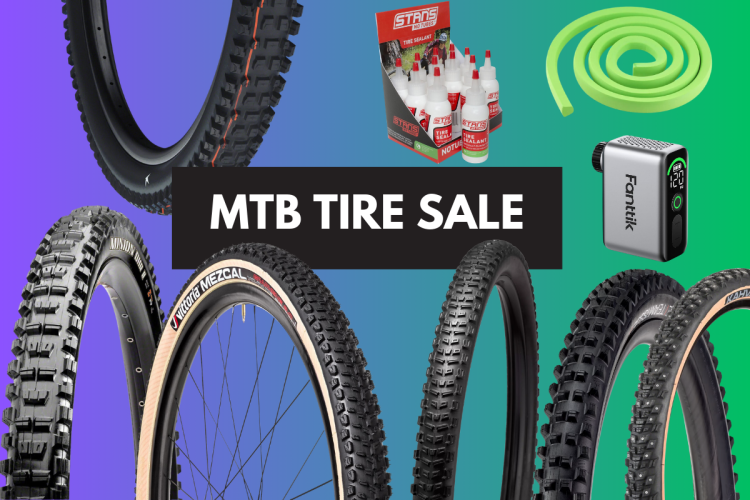
Tires All
MTB tires are the #1 upgrade, and we recommend these while they're on sale
Drivetrain
Are you running electronic shifting on any of your mountain bikes?
55
Hardtail bikes
Updated $2,899 Aventon Ramblas hardtail eMTB adds Class 3 option, tubeless tires
2
Trail Bikes
The Ibis Ripley SL downcountry bike is made in USA, blends Exie and Ripley designs
3
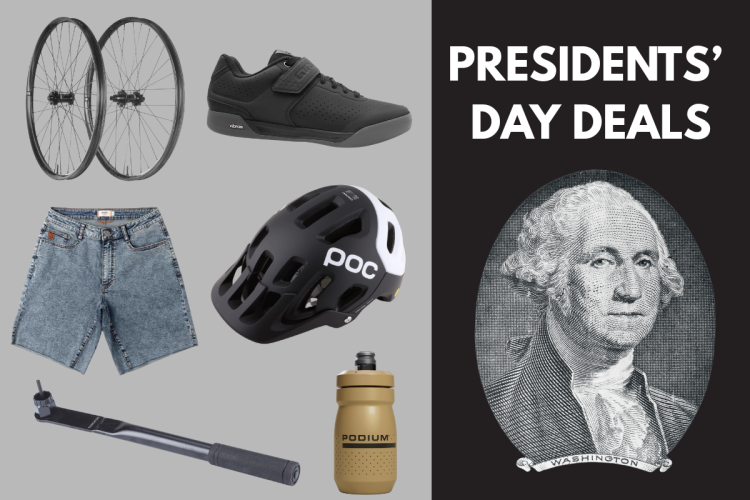
Mountain Bikes and Gear
Mountain bike gear up to 60% off this Presidents' Day weekend
1
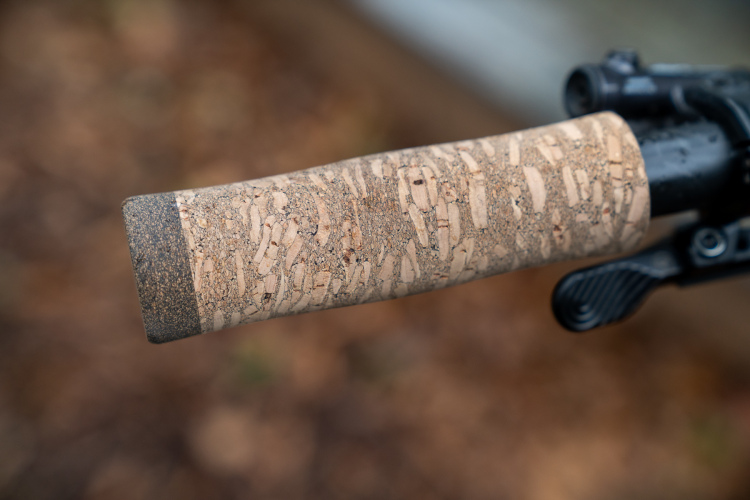
Grips
Are cork grips any good for mountain biking? I put the PDW Lisbon cork grips to the test.
3
Mountain Bikes and Gear
Trailblazing Scottish mountain bike brand is back following liquidation
Hardtail bikes
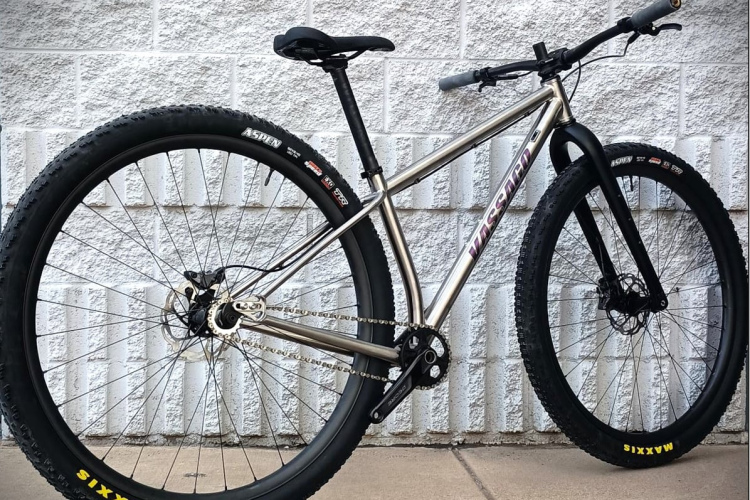
The Vassago Maximus Ti 32er is the next evolution of big wheels
12
Trail Bikes
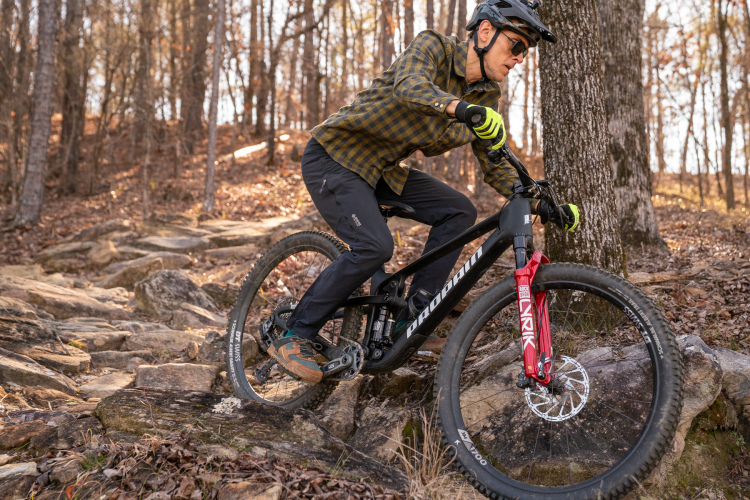
Propain Hugene review: A short-travel trail bike built for speed and value
4
Brakes
Shimano XTR Di2 long-term review: One year of wireless MTB drivetrain testing
9
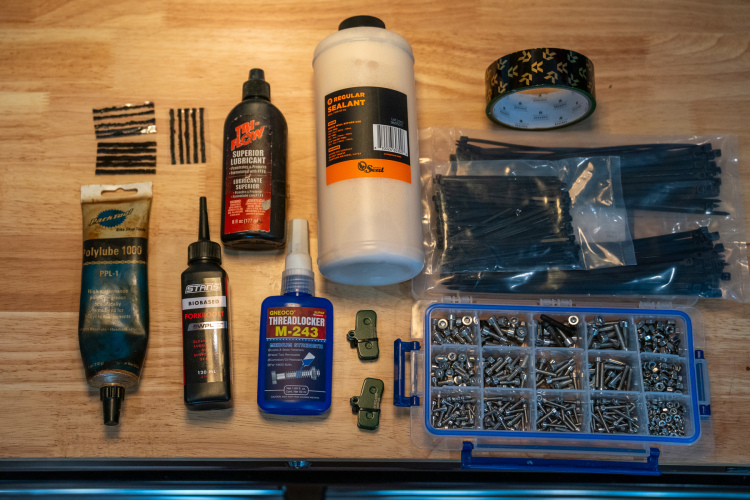
Repair
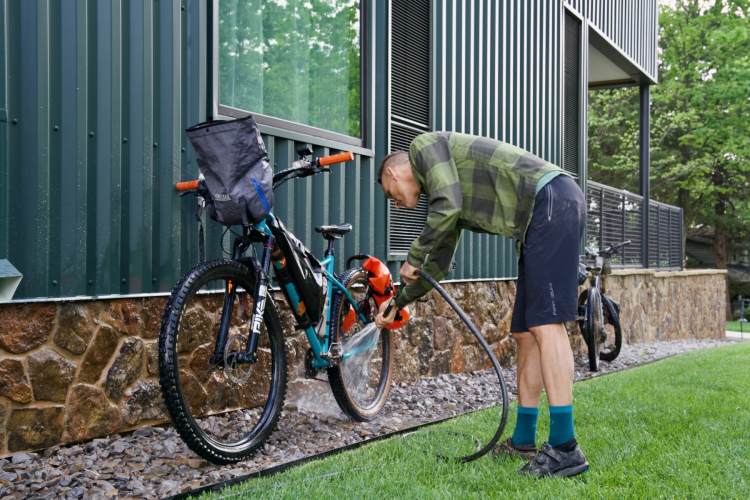
15 mountain bike maintenance and repair essentials under $30
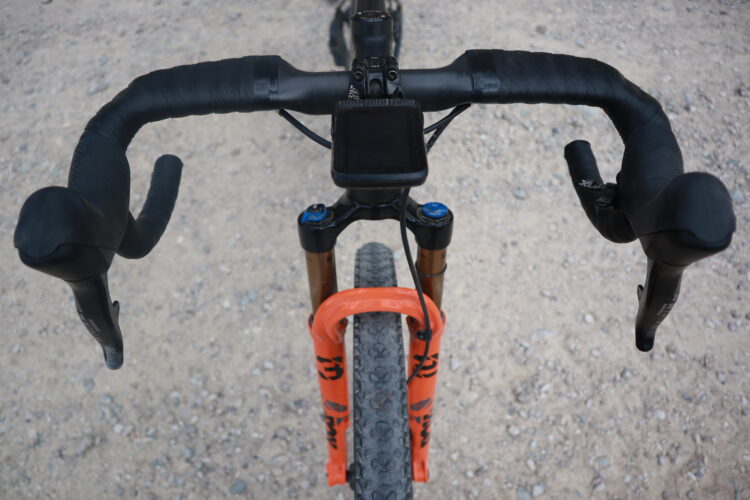
Mountain Bikes and Gear
Will you buy or build a drop-bar mountain bike?
24
Hardtail bikes
The Orange P7 brings PBR while the Reeb Re:Dikyelous delivers a crafty IPA to the hardtail party
6
Trail Bikes
The Allied Fitz is a sub-27lb trail bike with 140mm of travel
16
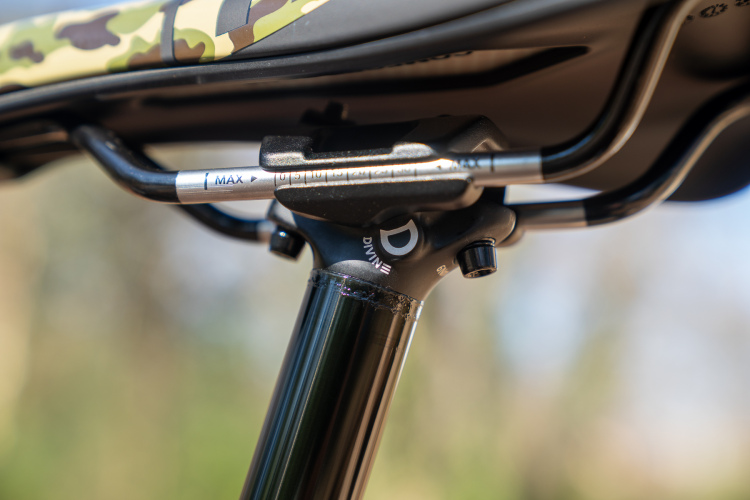
Dropper Posts
BikeYoke Divine 2.0 dropper post review: Affordable, adjustable, and rebuildable
3
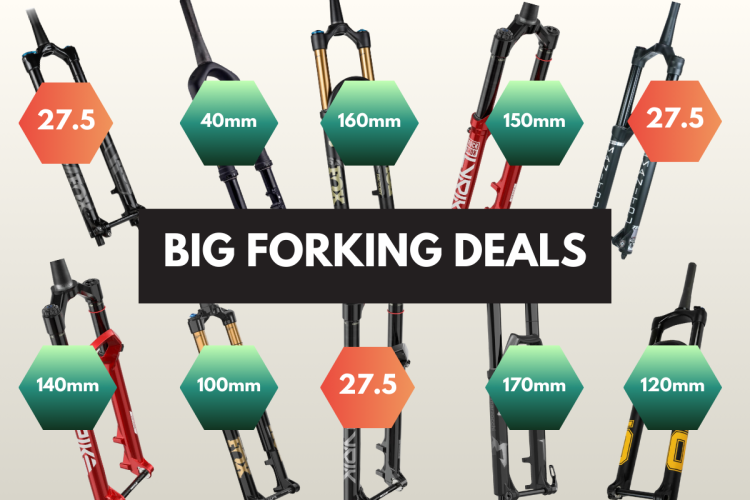
Forks
It's rare to see so many great MTB forks this cheap
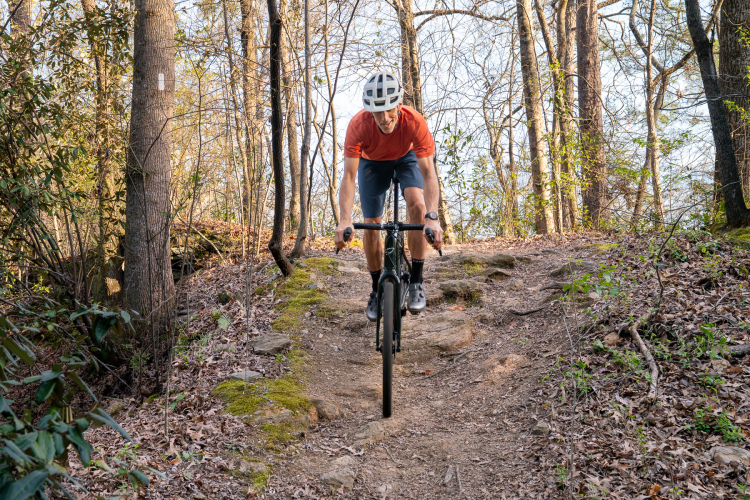
Gravel Bikes
Conspiracy theory: Gravel bikes were invented to convert roadies into mountain bikers
20
Tailgate Pads
The Ozark Trail Universal tailgate cover pad for pickup trucks holds 5 bikes [Review]
«
1
2
3
4
5
…
108
»
 1
1