Trails
Reviews
Tips
Community
Deals
Latest
Support
Trails
Find trails
Best bike trails
Destinations
Add a new trail
Reviews
Mountain bike reviews
Components
Tires
Clothing & shoes
Helmets
Accessories
Product news
Community
MTB Clubs
Races & Events
Bike Shops
Tips
Skills
Fitness & Training
Health & Nutrition
Beginners
Repair
Latest Articles
Podcast
Deals
Support Singletracks
Sign in
Create an account
About us
Newsletter signup
Gear
Mountain bike gear and equipment.
Tires All
Tubeless tire valves for mountain bikes, tested and compared
8
Mountain Bikes and Gear
Direct-to-consumer MTB brand YT faces insolvency
6
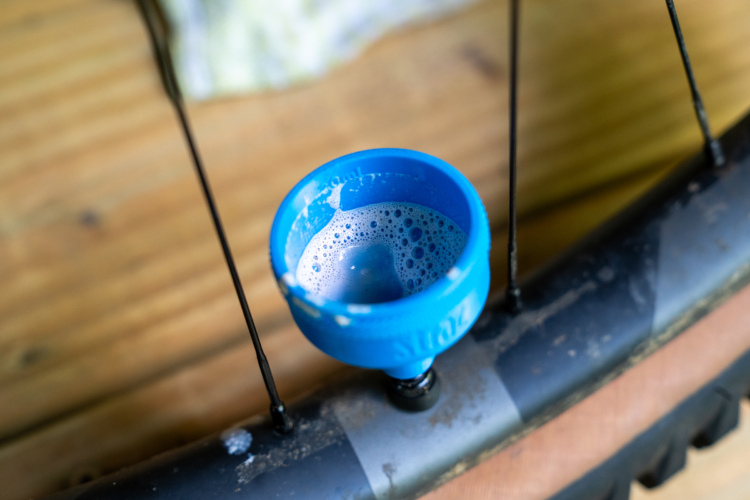
Tire Sealants
The Straz Sealant Funnel makes adding tubeless tire sealant simple
3
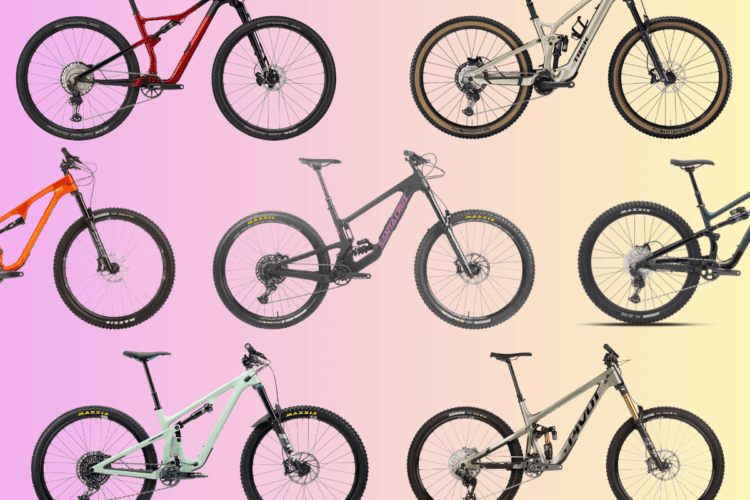
Mountain bikes
If you ride a medium or large bike, you're in luck with these 12 MTB deals
2
Mountain bikes
Are you interested in mountain bikes with 32" wheels?
12
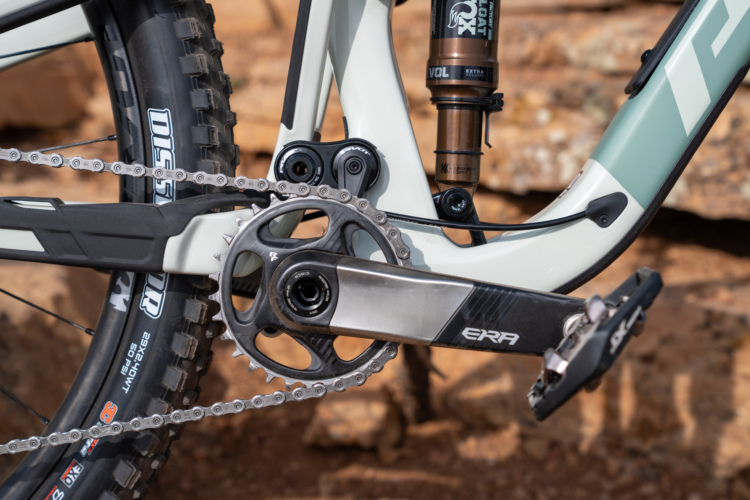
Cranksets
Race Face Era mountain bike crankset review
21
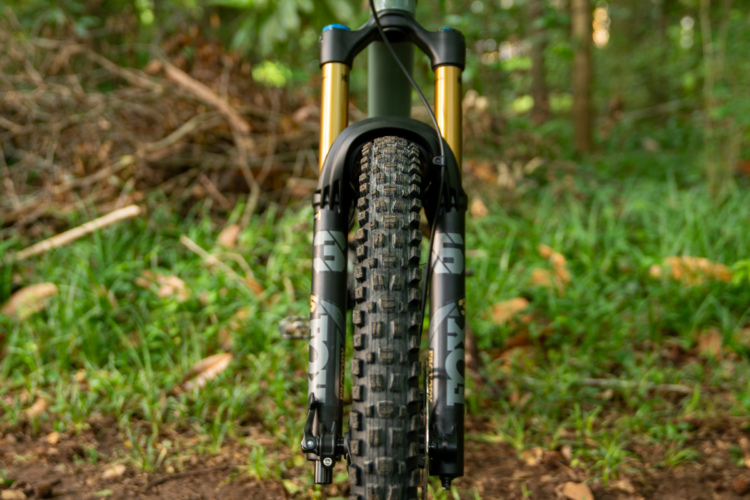
Forks
Many of the latest MTB forks are 29er only, leaving buyers with fewer 27.5 options
20
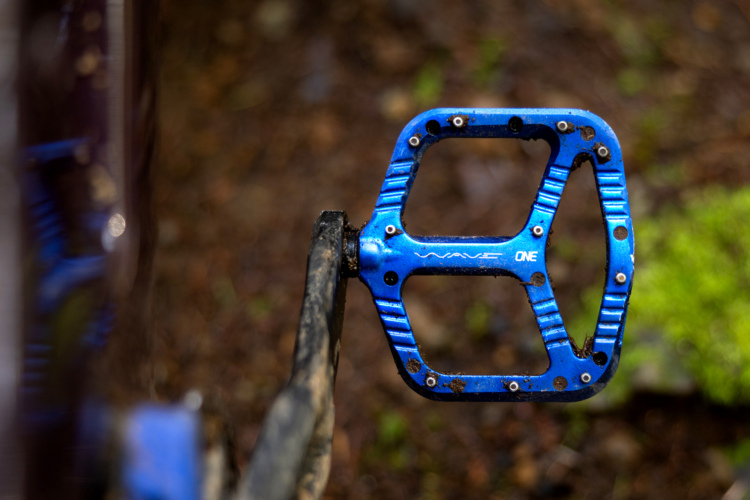
Flat Pedals
The OneUp Wave Pedals force proper foot placement [Review]
1
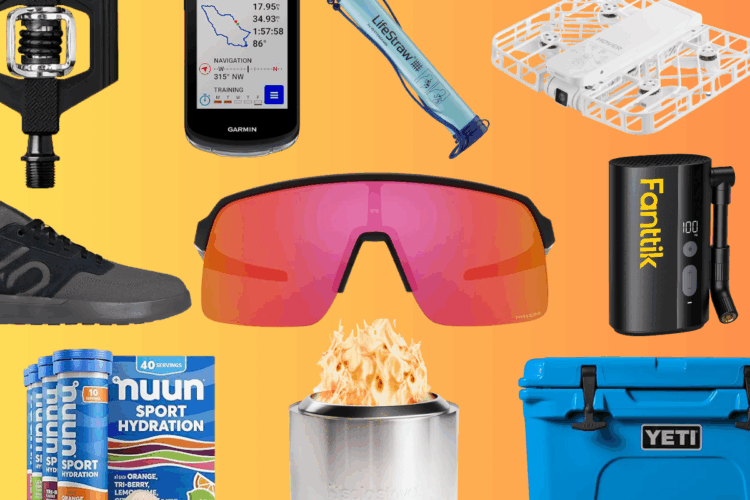
Mountain Bikes and Gear
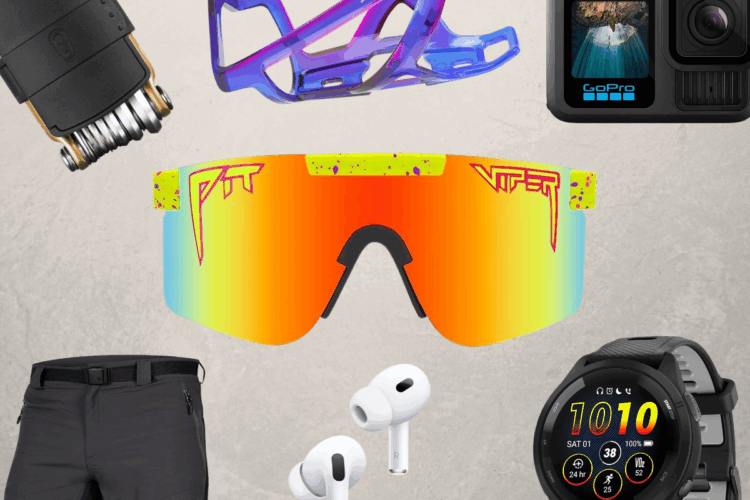
The best Amazon Prime Day bike and outdoor deals [2025]
3
Drivetrain
SRAM could bring a quieter, chainless drivetrain feel to more MTBs
1
Mountain Bikes and Gear
After 17 years, Colorado bike brand Alchemy Bikes is for sale
2
Mountain bikes
Understanding eMTB geometry: How electric mountain bikes compare to traditional MTBs
Electronics
Canyon ECLIPS pairs a power-generating hub with a battery to charge all your bike electronics on the go
5
Mountain Bikes and Gear
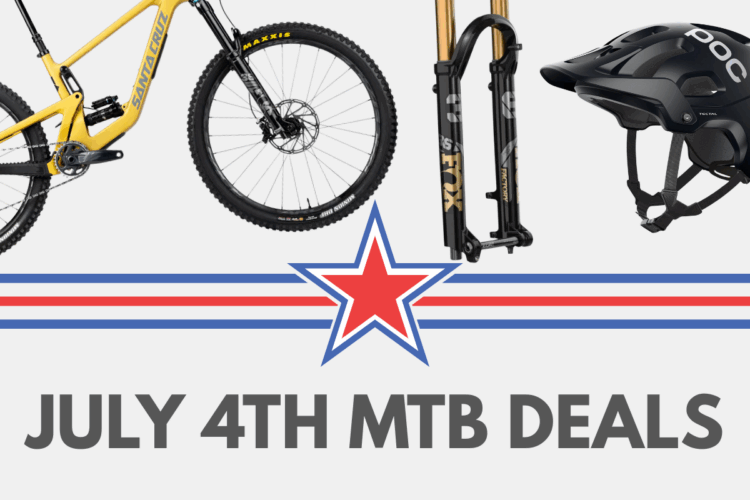
This $7,599 Santa Cruz is just $3,499 — plus 16 more July 4th deals
Brakes
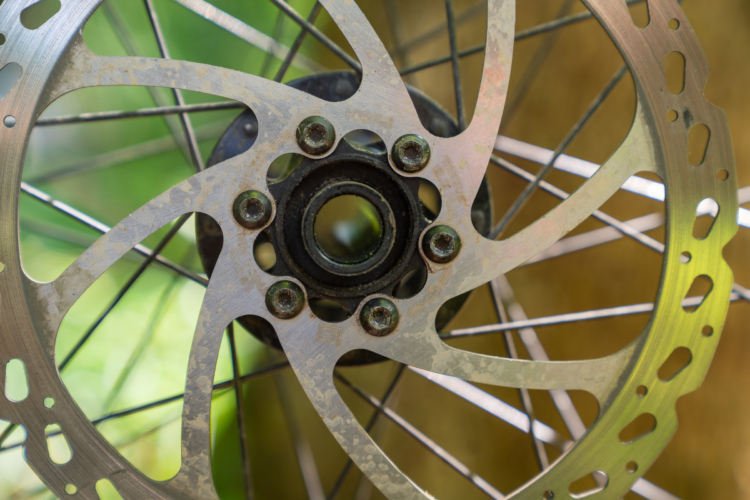
Are your MTB rotors 6-bolt or center lock?
12
Mountain Bikes and Gear
3 MTB tech trends that won’t go mainstream — and 1 that already has
7
Mountain Bikes and Gear
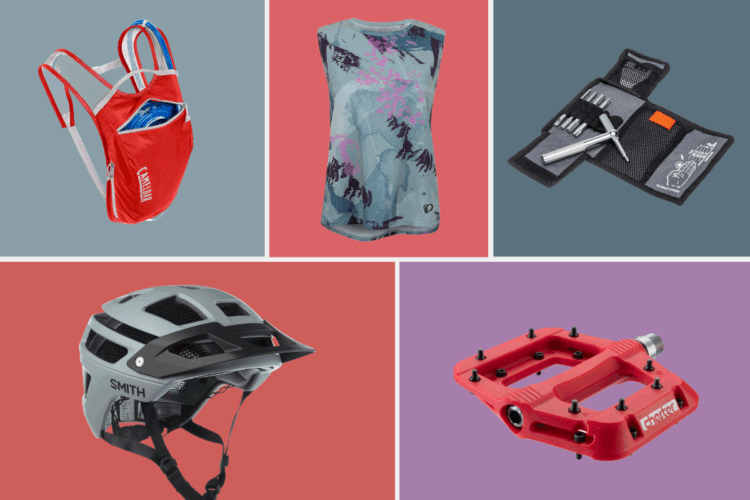
27 surprising bike and camp deals at the REI 4th of July Sale
Forks
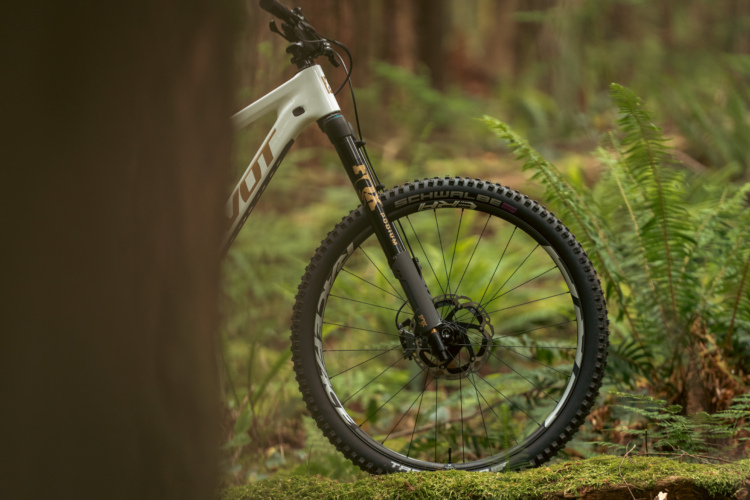
The Fox Podium is a premium, inverted trail/enduro fork designed to ride like a DH fork
2
Drivetrain
Shimano 1x12 GRX Di2 gravel drivetrain is completely wireless
Tires
WTB Peacekeeper trail bike tire [Review]
Tires
Bargain tire bin finds for your MTB and gravel bikes
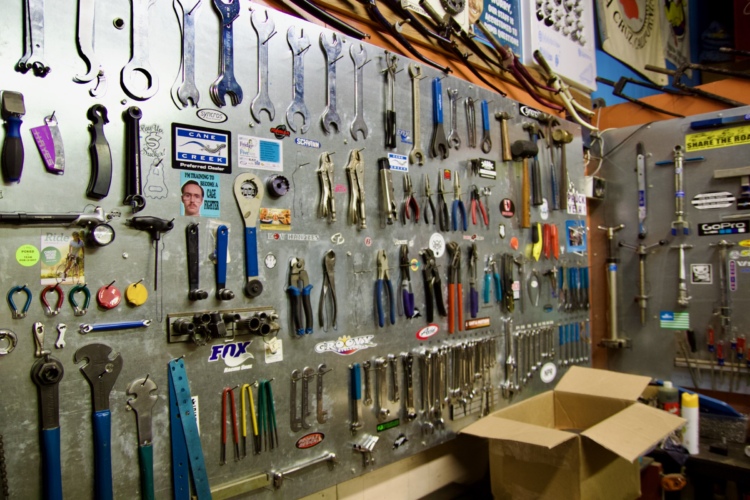
Tools
What's your favorite bike tool?
10
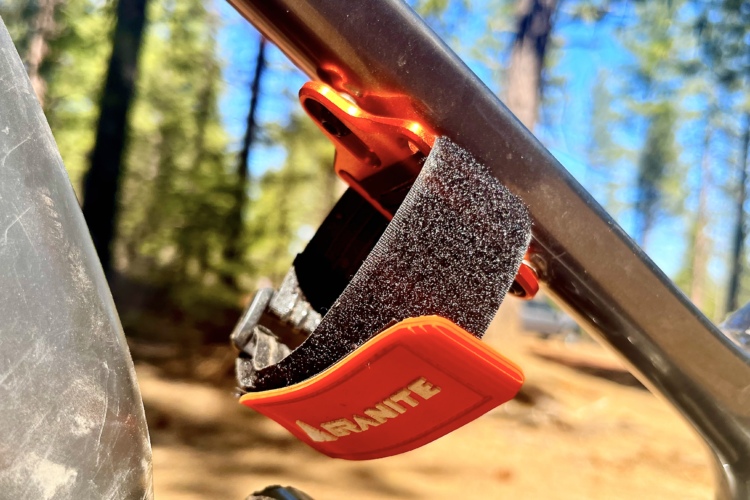
Accessories
4 bike tool mounts for your MTB frame
2
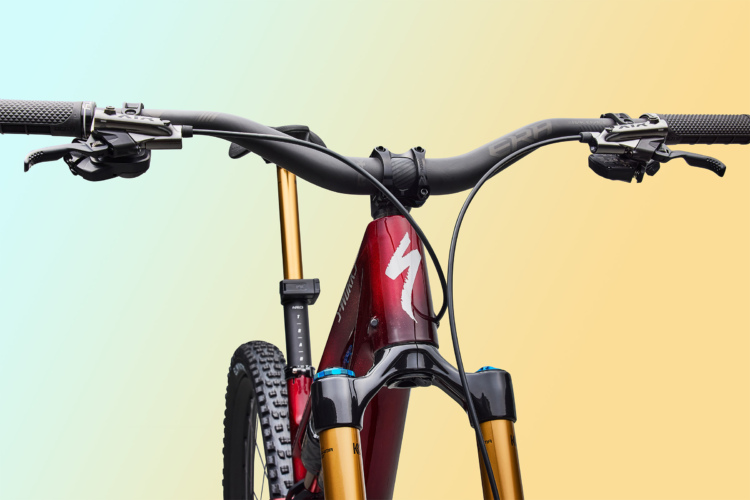
Trail Bikes
The new Specialized Stumpjumper 15 EVO trail bike gets a longer fork, piggyback shock
3
Drivetrain
Shimano announces wireless XT and Deore Di2 electronic drivetrains
GPS
Finally, a GPS designed for mountain biking: The Garmin Edge MTB
2
Mountain Bikes and Gear
It's not Amazon Prime Day yet, but we already found some surprisingly great MTB deals
1
Trail Maintenance
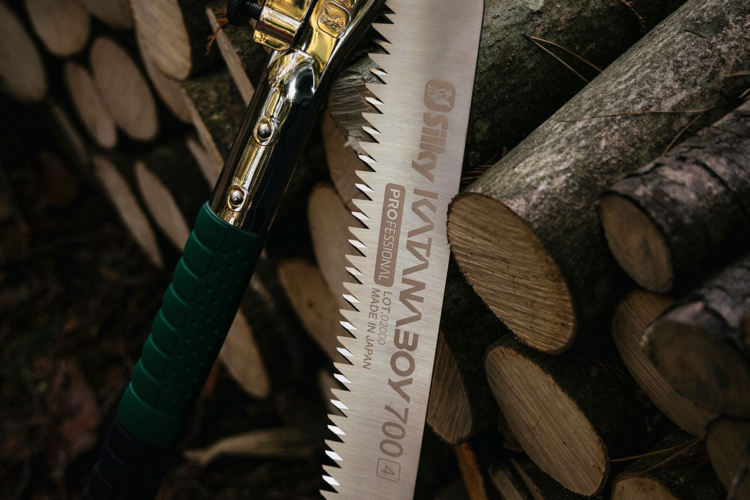
The updated Silky Katanaboy Professional saws are pricey, but can go places chainsaws can't
8
Wheels
Industry Nine and We Are One are teaming up to offer North American-made MTB wheels
2
Tools
Good bike tools are rarely on discount, so snag these now!
Mountain Bikes and Gear
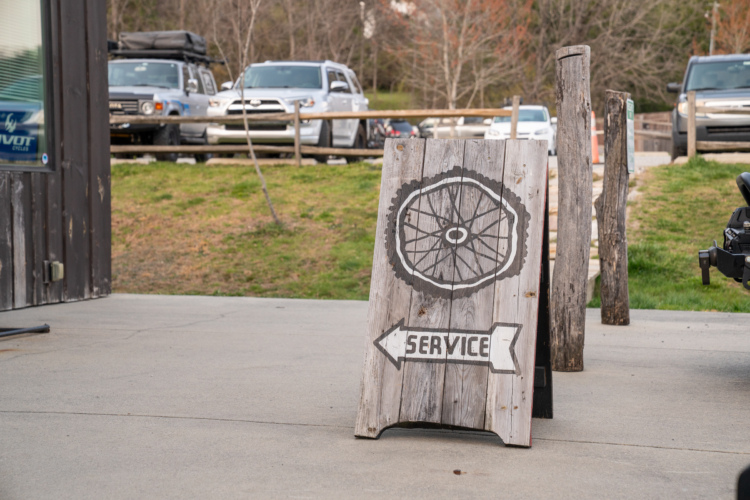
How much do you spend on bike service each year?
6
Electronics
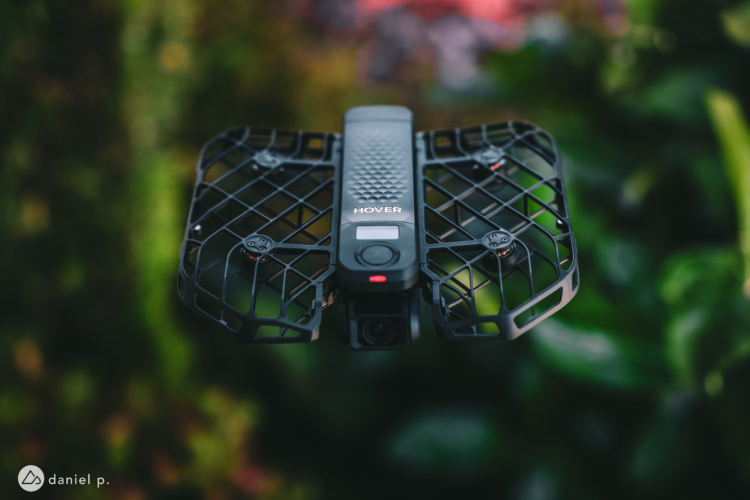
HOVERAir X1 PROMAX 8K drone review
Brakes
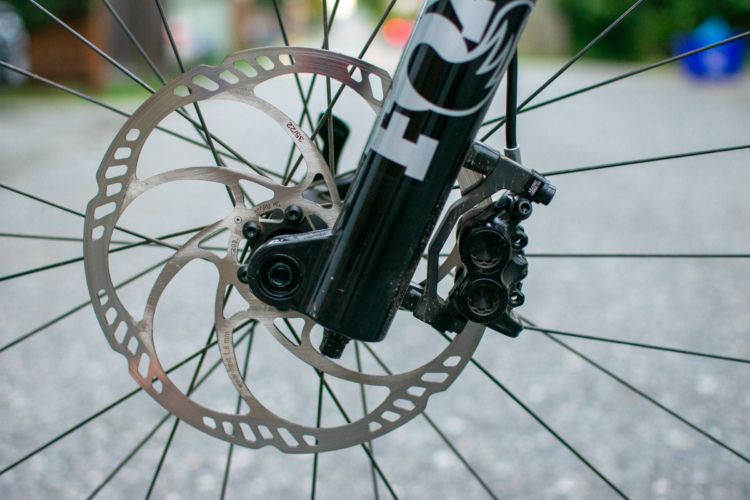
Six-bolt vs. center lock rotors: Advantages and disadvantages
12
Trail Bikes
Devinci Troy Carbon gen 5 trail bike gains more travel, in-frame storage
2
Drivetrain
Shimano XTR Di2 wireless drivetrain review
1
Brakes
Shimano XTR mountain bike brake review
1
Wheels
Shimano XTR M9220 trail/enduro mountain bike wheelset review
Rear Shocks
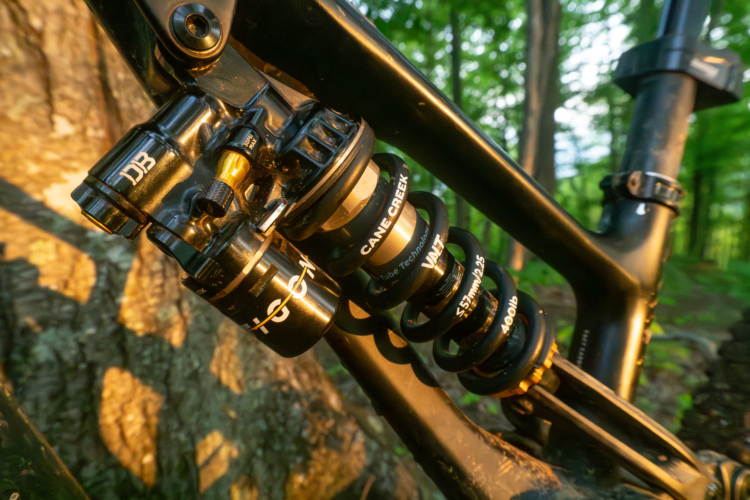
Cane Creek Tigon mountain bike shock review
8
Mountain bikes
These MTBs are actually worth their (current) prices.
Tire Sealants
Is Slime Tubeless Bicycle Tire Sealant any good? We put it to the test.
5
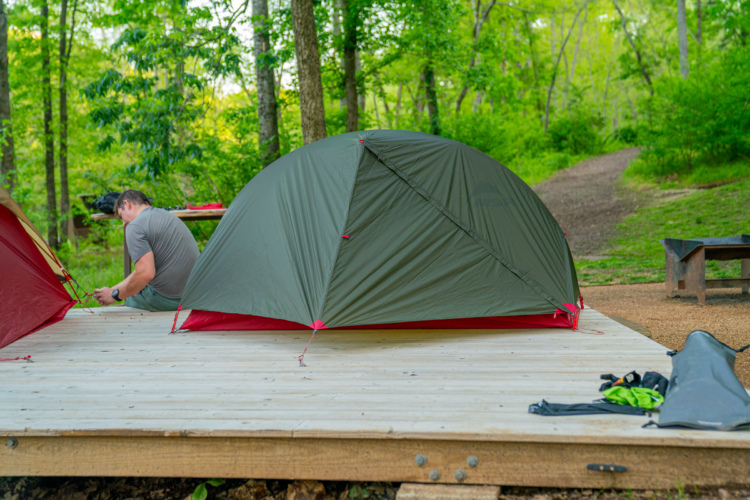
Bikepacking Gear
MSR Hubba Hubba Bikepack tent review
3
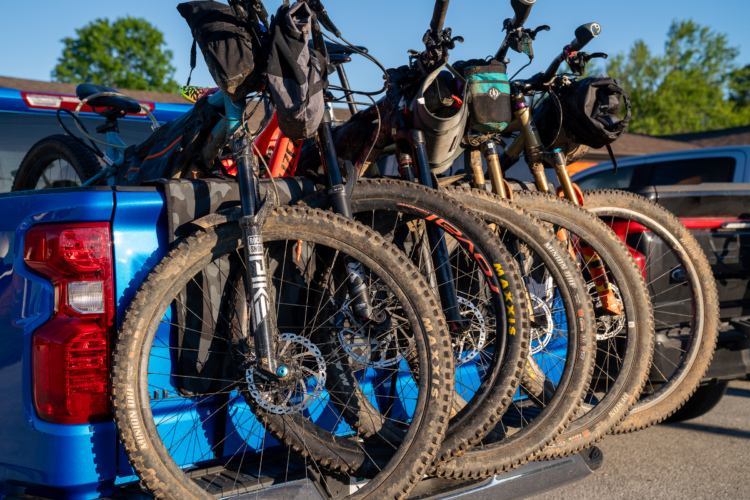
Bike Racks
Fox Tailgate Cover Review
11
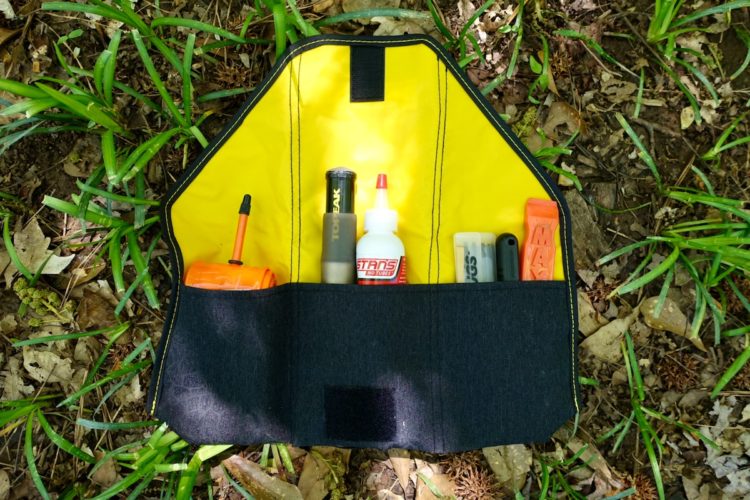
Repair
What’s in your trailside bike repair kit for everyday rides?
10
Mountain Bikes and Gear
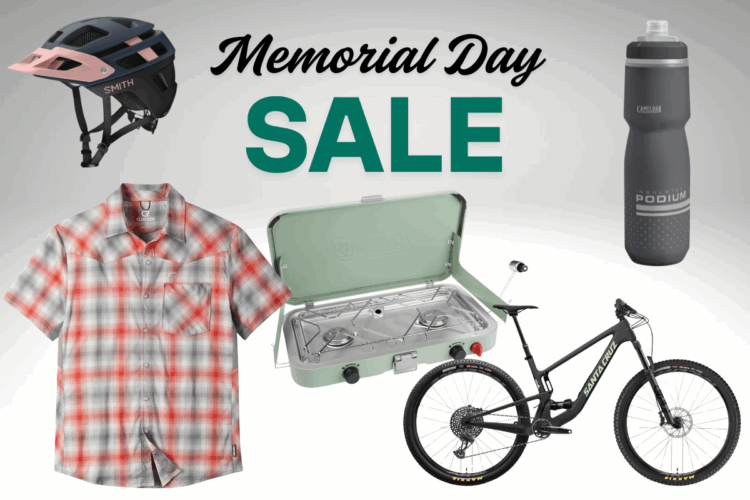
The best Memorial Day deals for mountain biking we've found (so far)
Half Shell Helmets
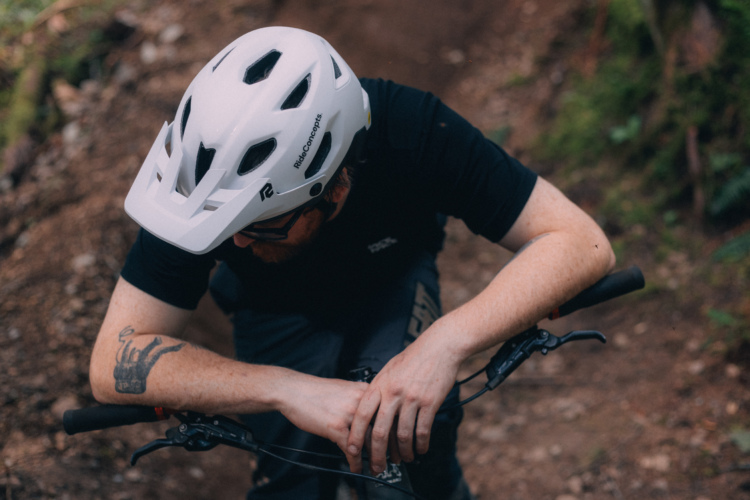
New Ride Concepts Deploy and Dissent MTB helmets are designed for XC to enduro
3
Mountain Bikes and Gear
Revel Bikes founder Adam Miller bought his company back from private equity investors
8
Bike Bags
5 MTB frame bags that will actually fit (most) full-suspension bikes
2
Mountain Bikes and Gear
Biggest REI sale of the year has discounted bike and camp gear. These are our picks.
1
2
3
…
102
»

 8
8