Trails
Reviews
Tips
Community
Deals
Latest
Support
Trails
Find trails
Best bike trails
Destinations
Add a new trail
Reviews
Mountain bike reviews
Components
Tires
Clothing & shoes
Helmets
Accessories
Product news
Community
MTB Clubs
Races & Events
Bike Shops
Tips
Skills
Fitness & Training
Health & Nutrition
Beginners
Repair
Latest Articles
Podcast
Deals
Support Singletracks
Sign in
Create an account
About us
Newsletter signup
Review
Tires All
6 TPU inner tubes, trail tested
14
Dropper Posts
RockShox Reverb AXS wireless electronic dropper post review
3
Lights
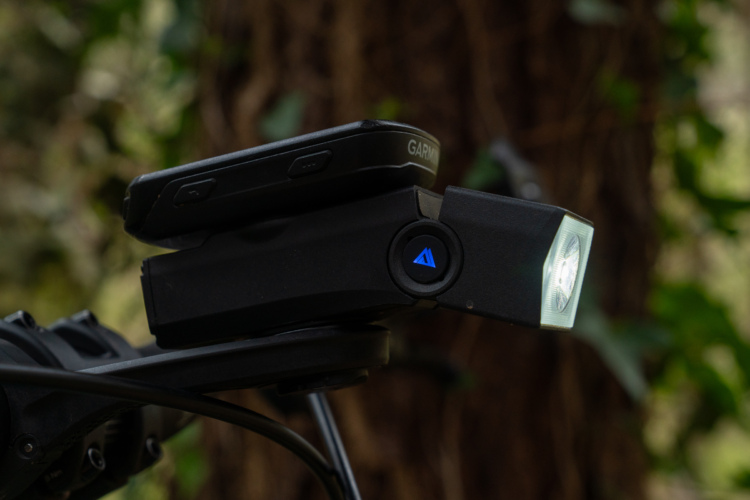
KOM Cycling Quick Release bike light review
2
Cockpit
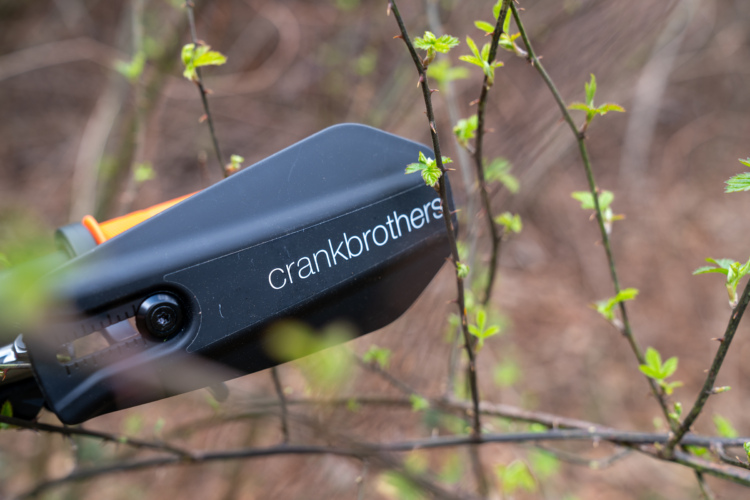
Crankbrothers Guardian mountain bike hand guard review
Half Shell Helmets
Smith Forefront 3 mountain bike helmet review
Watches
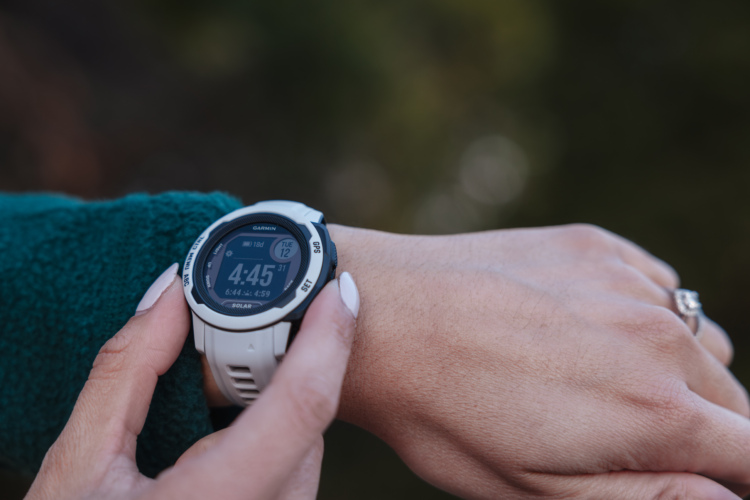
Garmin Instinct 2S Solar fitness watch review
2
Jackets
11 women's cycling jackets, tested and reviewed in all conditions
Pants
3 mountain bike pants for trail and enduro riding from spring to fall
1
Clipless Pedal Shoes
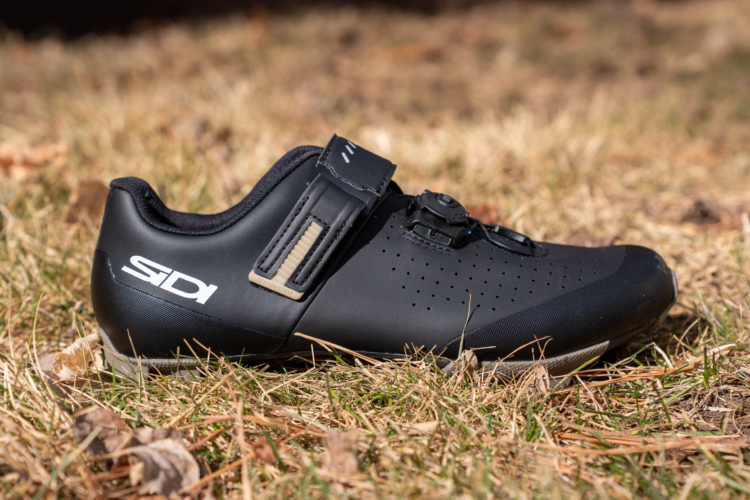
The Sidi Physis MTB shoe marks the brand's return to the USA [Review]
2
Trail Maintenance
The Backslope Clyde is a better, more effective McLeod tool for trail building [Review]
5
Knee Pads
ION Arcon LT mountain bike knee pads review
Jackets
Reserve these winter MTB jackets for the coldest days, or else you'll overheat
3
Pants
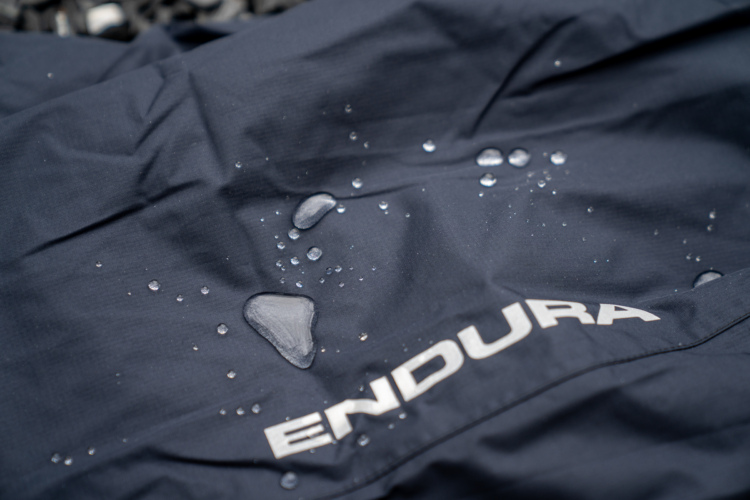
Please don't mountain bike in the rain... Without these waterproof pants
Half Shell Helmets
Fox Speedframe Pro mountain bike helmet review
5
Tires
Schwalbe Albert MTB tires boast "30% more contact area than conventional tires" [Review]
6
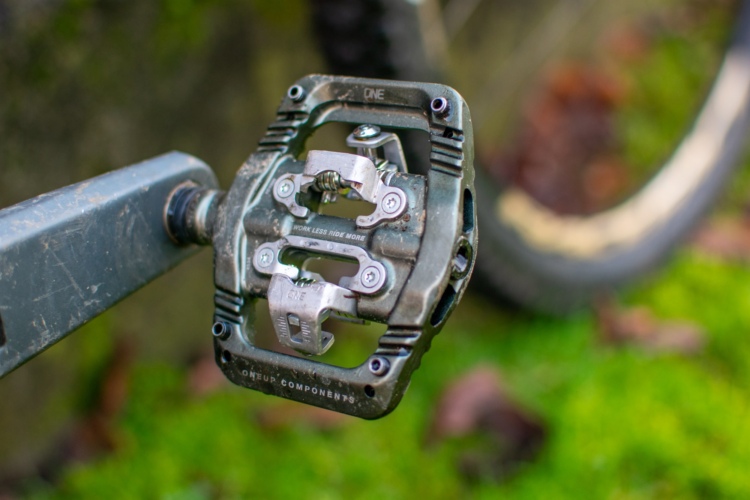
Clipless Pedals
OneUp Clip Pedals claim slimmest clipless MTB pedal on the market [Review]
3
Knee Pads
When 'flexible' knee sleeves won't flex: Giro Loam Knee Sleeve review
1
Tire Sealants
This tire sealant dipstick isn't quite as dumb as it sounds
4
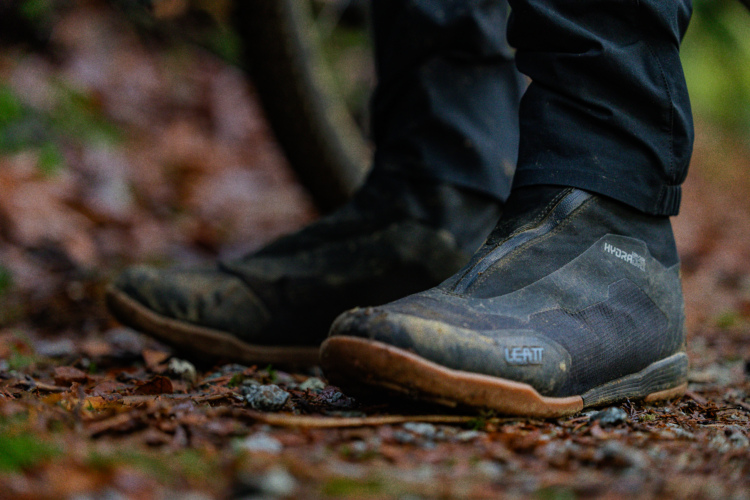
Clipless Pedal Shoes
Leatt Hydradri 7.0 Clip winter MTB shoes are warm and dry [Review]
1
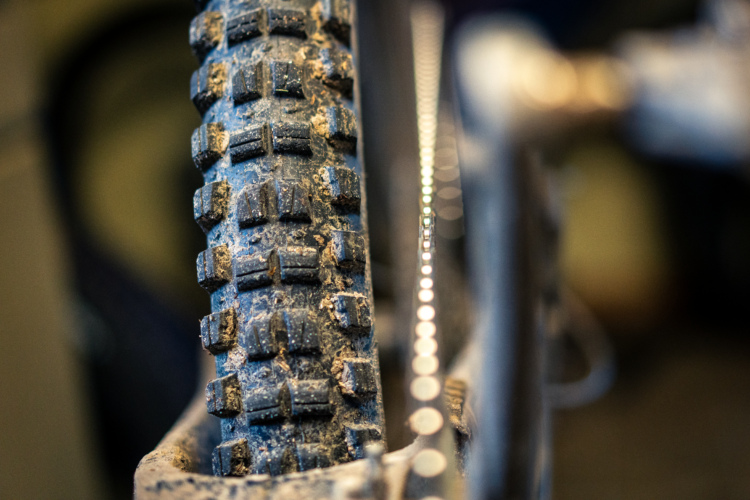
Tires
The WTB Judge SG1 is a fantastic rear tire for enduro [Review]
Trail Bikes
The Specialized Stumpjumper 15 is the best MTB I've ever tested.
17
Tires
Teravail Rutland gravel bike tire is basically a mini MTB tire
2
Saddles
Heat-moldable Reform Tantalus bike saddle promises a comfortable, custom fit
Workstands
Mount the portable Altangle Connect bike repair stand anywhere
1
Drivetrain
SRAM S1000 Eagle Transmission MTB drivetrain review
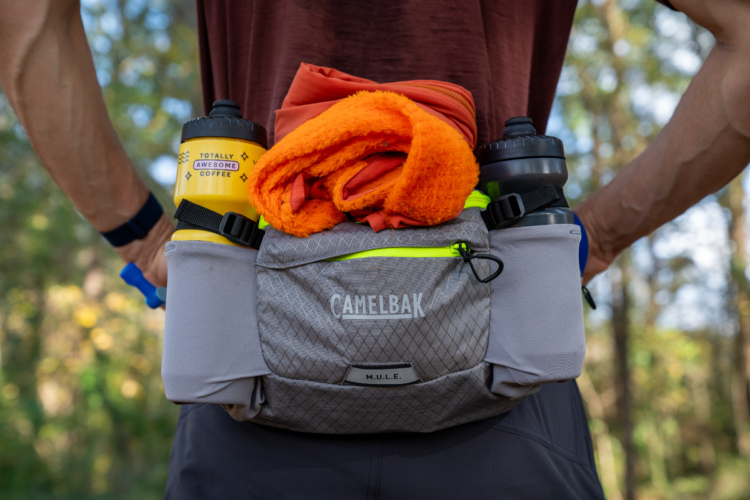
Hip Packs
The $90 Camelbak MULE hip pack kicks ass
Electronics
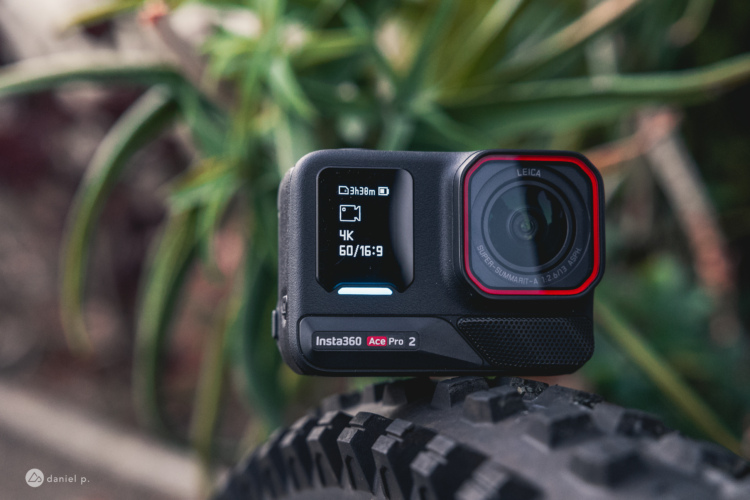
Insta360 Ace Pro 2: Great stabilization and low-light performance for MTB [Review]
1
Enduro Bikes
The Rocky Mountain Altitude is a true enduro race bike that climbs better than you'd think [Review]
1
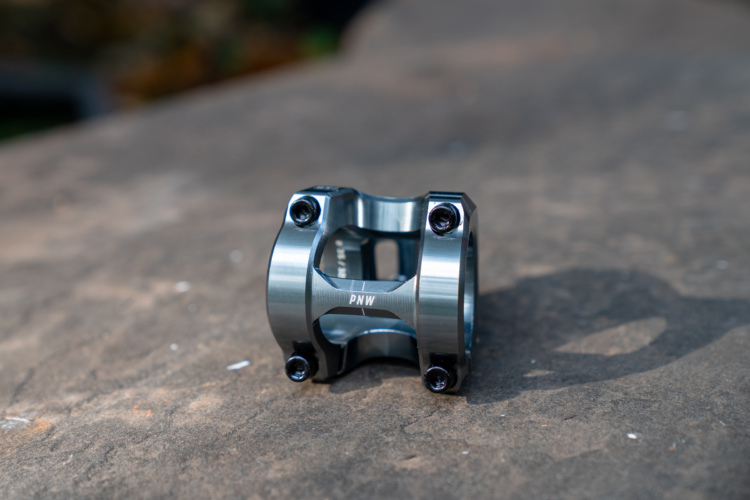
Stems
PNW Loam: Finally, a mountain bike stem worthy of the name
Tires
The WTB Verdict SG1 tire rolls tough in rain, and all other conditions too [Review]
1
Trail Bikes
The Knolly Fugitive 140 offers a plush ride downhill, and uphill too [Review]
10
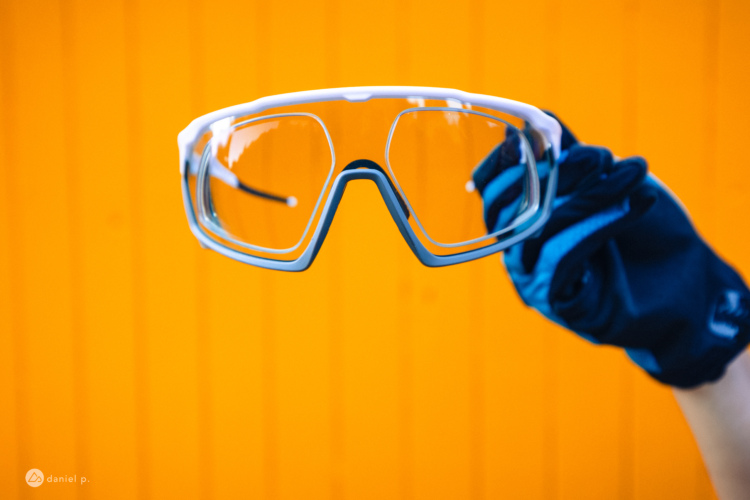
Eyewear
Do you wear Rx sunglasses for mountain biking? We tested 6 options to see which ones are best.
1
All-Mountain bikes
The 2025 Transition Sentinel v3 is like a BMX bike's bigger brother — powerful, fun, and ready for action [Review]
2
Tires
For a fast-rolling gravel tire, the Teravail Washburn is durable and confident [Review]
3
Tires
The new Maxxis High Roller gravity tire is so tough you don't need to carry an emergency tube
2
Electronics
DJI Osmo Action 5 Pro camera: 3 stand-out features for mountain bikers
1
Cross Country Bikes
The Trek Top Fuel relies heavily on its climb switch for a ride that's more XC than DC [Review]
4
Brakes
Hope XCR Pro E4 brakes combine the best XC and enduro features [Review]
Sunglasses
I can read my GPS on the trail again! EVinfinity lenses work like magic
4
Dropper Posts
The new Fox Transfer dropper: Now with more travel and user serviceability [Review]
4
Flat Pedal Shoes
Fox Union flat pedal MTB shoes [Review]
Brakes
The SRAM Maven Ultimate Brakes are the new standard by which all MTB brakes will be measured [Review]
4
Flat Pedals
Race Face Chester MTB pedal review
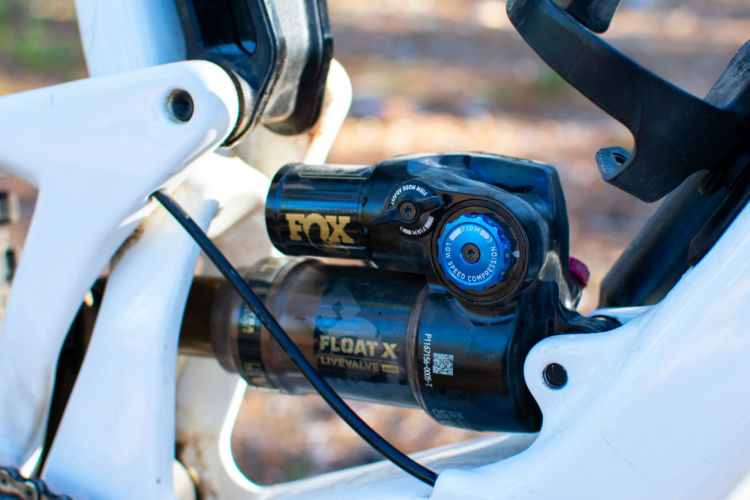
Rear Shocks
Fox Live Valve Neo delivers ultra-fast wireless suspension switching [First ride review]
2
Clipless Pedal Shoes
Pearl Izumi Expedition Pro Off-Road Shoe Review
3
Dropper Posts
Fox Transfer Neo wireless dropper seatpost review
3
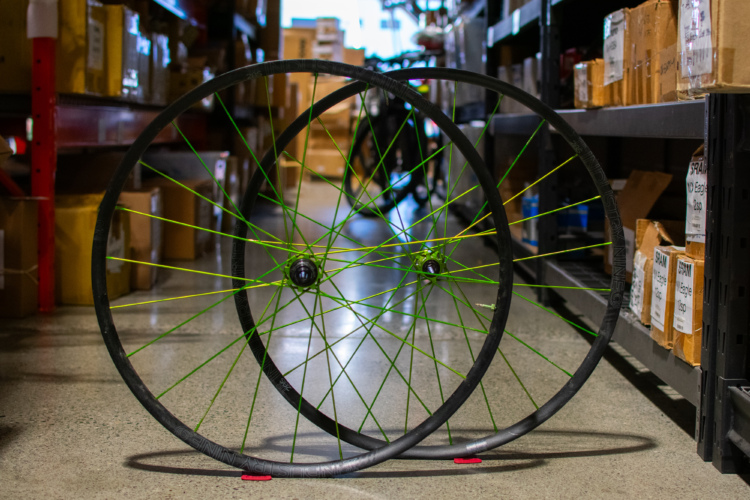
Wheels
Lightweight Industry Nine Solix M Trail 285 wheels boast 0.59° engagement angle [Review]
1
Knee Pads
The Dakine Slayer Bike Knee Pad is durable, but the sizing is suspect [Review]
2
«
1
2
3
4
5
…
41
»

 14
14