Trails
Reviews
Tips
Community
Deals
Latest
Support
Trails
Find trails
Best bike trails
Destinations
Add a new trail
Reviews
Mountain bike reviews
Components
Tires
Clothing & shoes
Helmets
Accessories
Product news
Community
MTB Clubs
Races & Events
Bike Shops
Tips
Skills
Fitness & Training
Health & Nutrition
Beginners
Repair
Latest Articles
Podcast
Deals
Support Singletracks
Sign in
Create an account
About us
Newsletter signup
Rear Shock
Rear Shocks
Gainful Grip with the Formula Mod MTB Coil Shock [Review]
4
Rear Shocks
The Öhlins TTXAir Shock: A Lighter, High Performance Option from the Swedish Brand [Review]
3
Culture
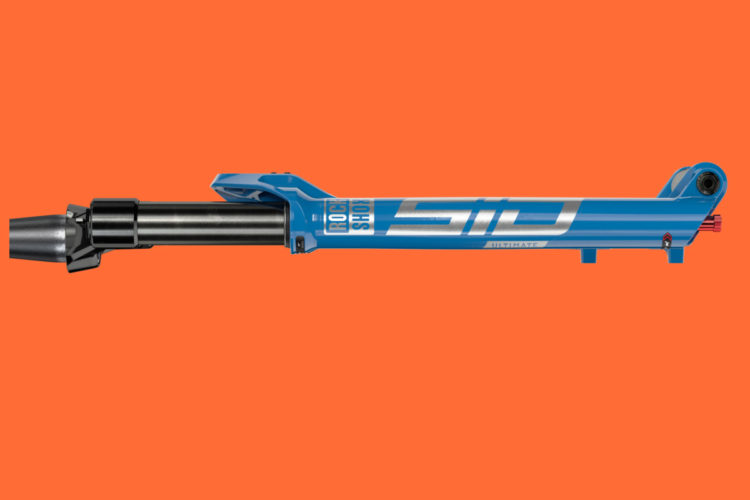
The Latest RockShox SID Fork Comes in Race or Trail Versions, adds a Lightweight Shock
Rear Shocks
Cane Creek DB Air CS is Still the Rear Shock to Beat [Review]
Mountain Bikes and Gear
The ShockPro App Tells You When It's Time For MTB Suspension Service
Mountain Bike Podcast
Understanding Mountain Bike Suspension [Podcast #138]
Culture
Niner Shows Special Edition RIP 9, Push Edition
Culture
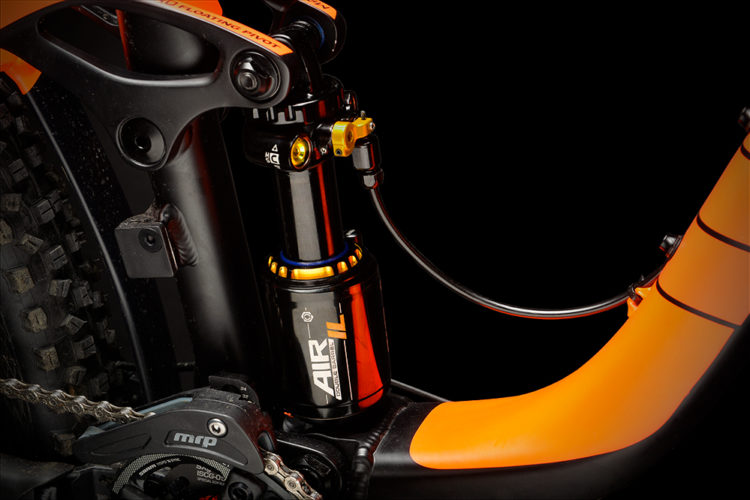
Cane Creek Releases New DB Air IL Shock and New Remotes
2
Mountain Bikes and Gear
Review: Cane Creek Double Barrel Air XV CS
Mountain Bikes and Gear
Review: Rockshox Vivid R2C Shock
Rear Shocks
Cane Creek Double Barrel Shock Review
6
Community
Elka Stage 5 MTB Shock Review
13
Mountain Bikes and Gear
Rockshox Monarch RT3 Shock Review
4
Community
RockShox Vivid Air R2C Preview
Community
RockShox Vivid 5.1 MTB Shock Review
Mountain Bikes and Gear
British Professor Invents a "Better" MTB Shock
8

 4
4