Trails
Reviews
Tips
Community
Deals
Latest
Support
Trails
Find trails
Best bike trails
Destinations
Add a new trail
Reviews
Mountain bike reviews
Components
Tires
Clothing & shoes
Helmets
Accessories
Product news
Community
MTB Clubs
Races & Events
Bike Shops
Tips
Skills
Fitness & Training
Health & Nutrition
Beginners
Repair
Latest Articles
Podcast
Deals
Support Singletracks
Sign in
Create an account
About us
Newsletter signup
Hydration Pack
Hydration Packs
5 Mountain Bike Hydration Packs for Women, Tested
Hydration Packs
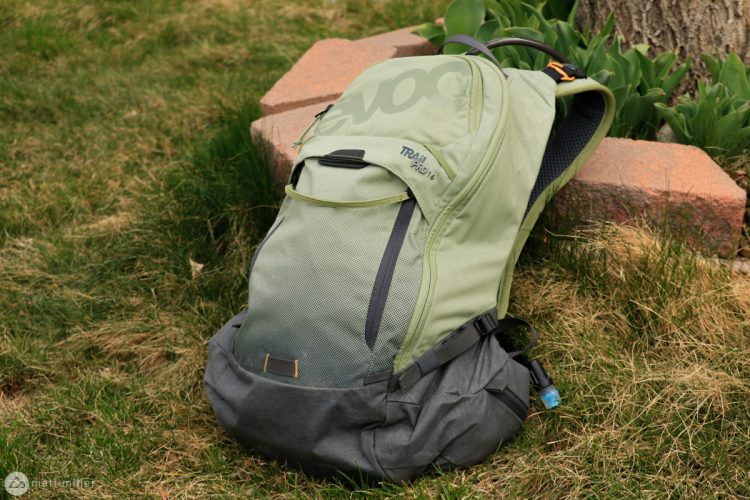
EVOC Trail Pro 16L: The Perfect Amount of Storage and Protection [Review]
Hydration Packs
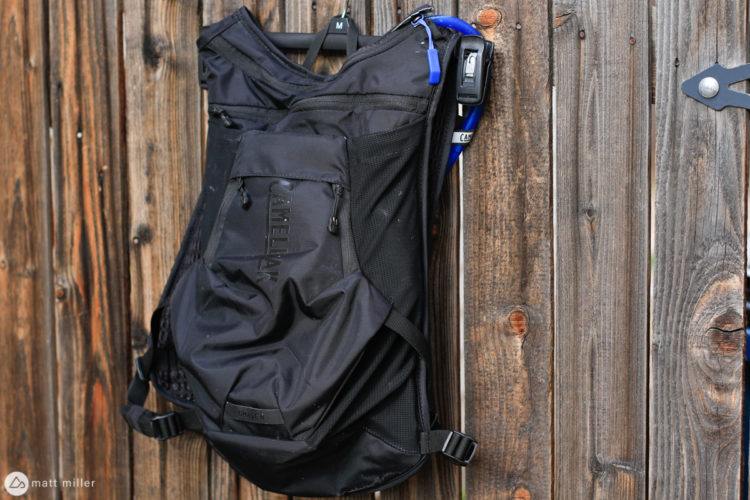
New Camelbak 'Light' Options are Lighter by Nearly 50%
1
Packs
The EVOC Stage Capture 16L is the Answer to a Trail-Ready Photo Pack [Review]
Packs
3 Hip-Pack Options From Thule, plus an all new E-bike Battery Backpack
Hydration Packs
The Camelbak Chase 8 Minimalistic Hydration Vest Maximizes Space for Short or Long Bike Rides [Review]
Hydration Packs
The Norrona Skibotn Hydration Pack is Simple and Refined, with Plenty of Space
Hydration Packs
Hydro Flask Down Shift Hydration Pack Keeps Price and Water Temps Low [Review]
Hydration Packs
The EVOC Neo 16L Hydration Pack is Best for Big Backcountry Days
Mountain Bikes and Gear
Orange Mud's Endurance Pack Gives Lumbar Packs a Run for their Money
Culture
Evil's New Gravel Bike, Muc-Off Now Making Technical Gear, Rusch Leaves Niner [MTB News Mix]
1
Full Face Helmets
Crash Stories: One Serious Injury Prevented by a Hydration Pack, Another by Full Face Helmet
4
Mountain Bikes and Gear
Mavic Crossride Belt: A Simple and Comfortable Hip Pack [Review]
2
Hydration Packs
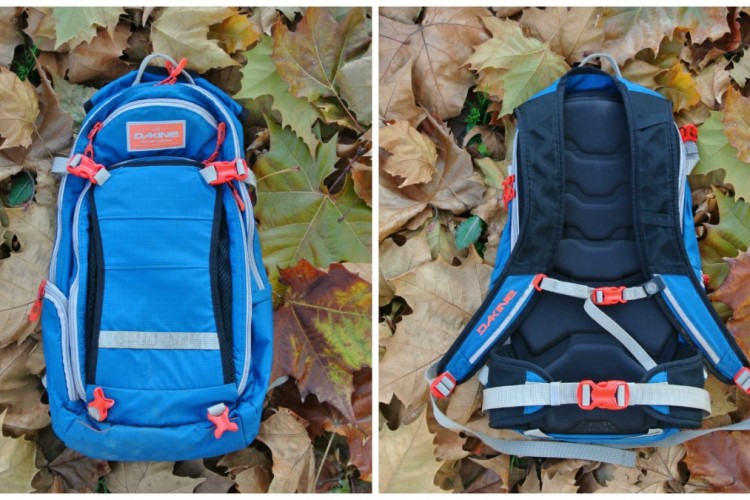
Dakine Syncline 12L is a No Nonsense Hydration Backpack [Review]
Bikepacking Gear
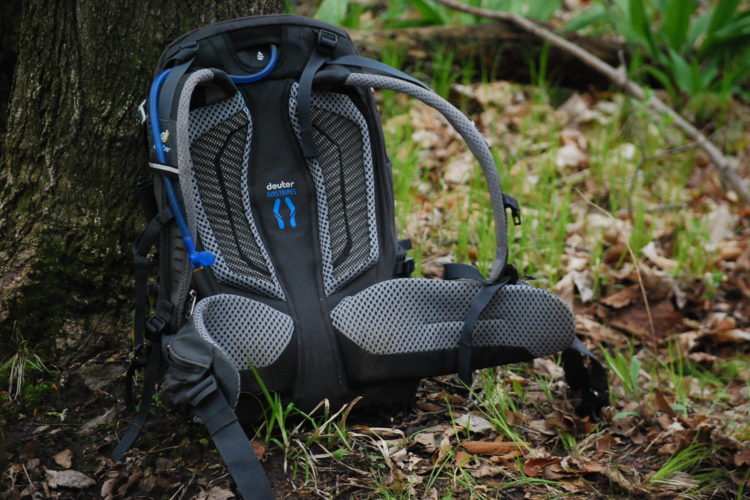
Review: The Deuter Trans Alpine Pro 28 Provides Comfort and Capacity for Epic Adventures
1
Hydration Packs
Review: Patagonia Nine Trails 14L Hydration Pack
Hydration Packs
Review: New Hydro Flask Journey Hydration Pack Keeps Water Cold for Hours
Hydration Packs
Review: Mountainsmith Clear Creek 10 Hydration Pack is Simple, Affordable
Hydration Packs
Review: Thule Rail 12 Pro Hydration Pack Has a Back Protector, Straps for Pads and a Full Face Helmet
1
Hip Packs
New Osprey Hip Packs Are Ready to Roll
2
Hydration Packs
The Henty Enduro 2.0 Pack Is A Low-Slung Backpack for Mountain Biking
4
Hip Packs
EVOC Hip Pack Pro 3L and Hydration Holster Review
3
Mountain Bikes and Gear
New Evoc Neo Hydration Pack Includes Back Protection, Free Crash Replacement
2
Hip Packs
Osprey Gets Hip to the Hip Pack for Mountain Biking with the Seral and Savu
11
Body Armor
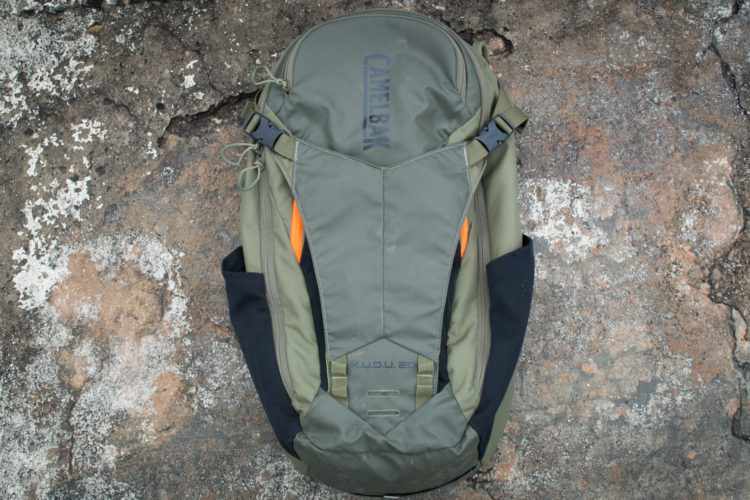
Camelbak K.U.D.U. Hydration Pack Review
Mountain Bikes and Gear
Watch: The Best Drone for Mountain Biking - DJI Mavic Pro Drone Review
1
Mountain Bikes and Gear
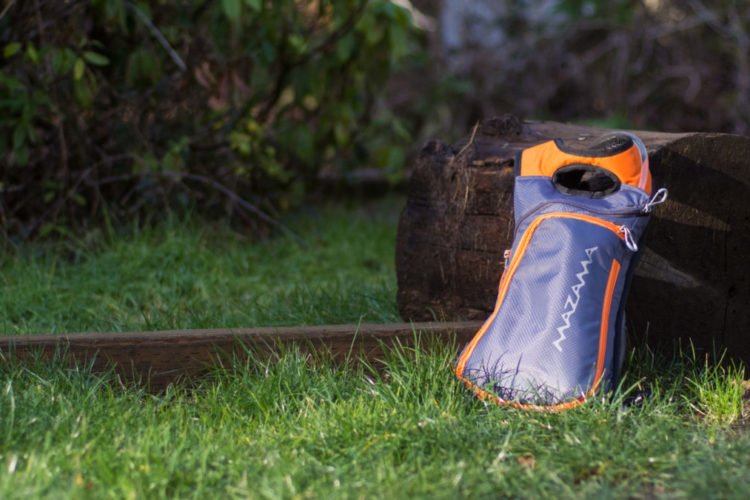
Mazama Koosah Hydration Pack Review
Mountain Bikes and Gear
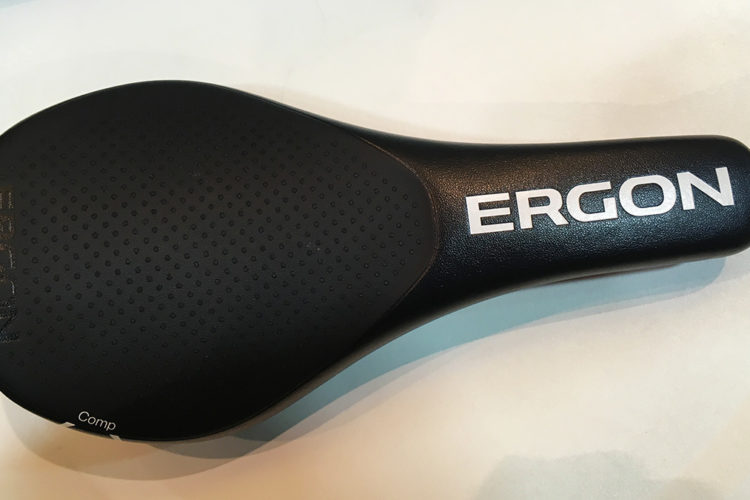
Ergon Isn't Just Grips: New Products for 2017
Hydration Packs
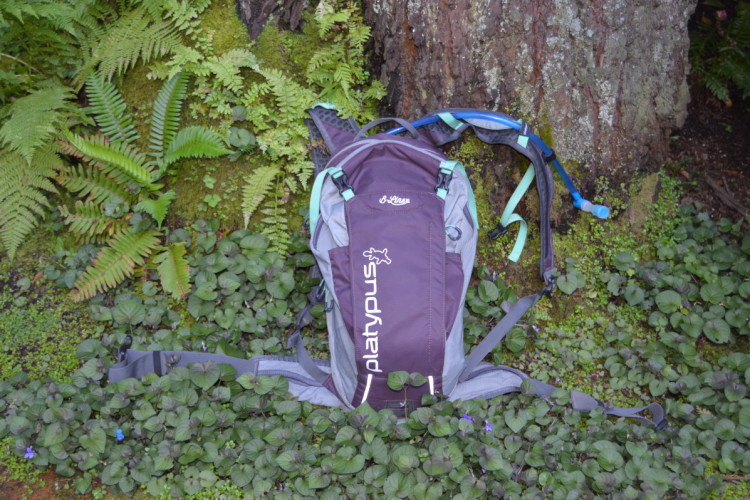
Platypus W's B-line 8.0 Women's Hydration Pack Review
Mountain Bikes and Gear
Dakine Nomad Review
Hydration Packs
Camelbak Solstice 10LR Review
Mountain Bikes and Gear
Leatt Shows Innovative Armor, Packs, and Helmets at Interbike 2015
Mountain Bikes and Gear
Limited Edition Mission Workshop Hauser Hydration Pack Costs $215 (Reservoir Not Included)
Mountain Bikes and Gear
Review: Mindshift rotation180 Trail Photo Backpack
Mountain Bikes and Gear
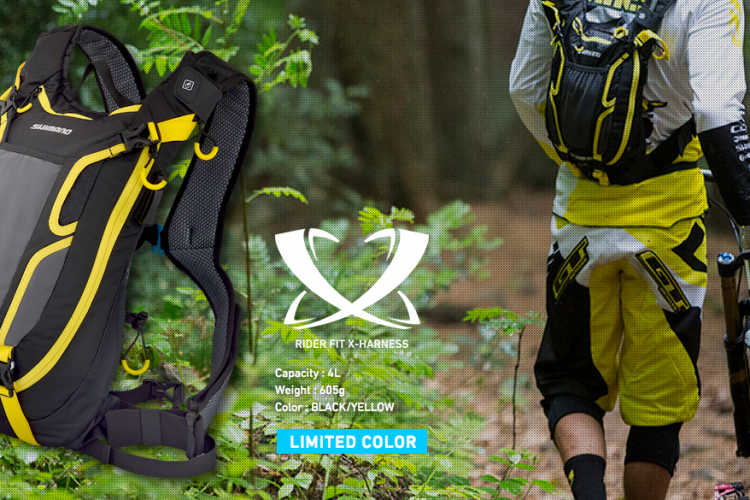
Review: The Shimano Enduro Racepack U4E
Mountain Bikes and Gear
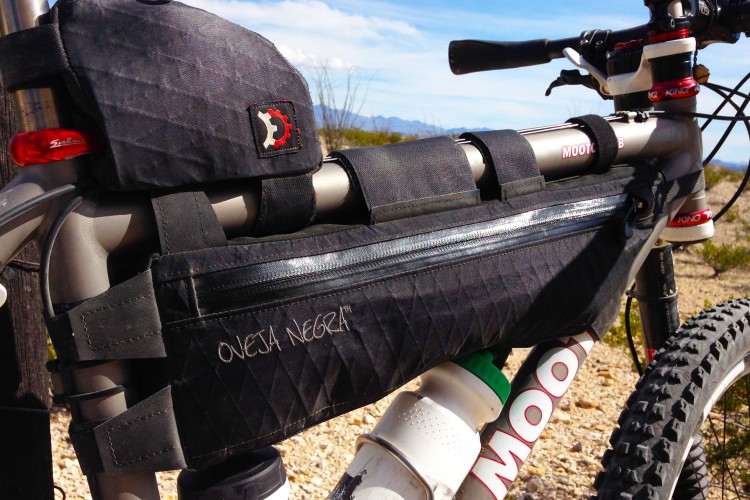
The Benefits of Mountain Biking with Frame Bags
2
Mountain Bikes and Gear
Review: Dakine Nomad 18 Hydration Pack
Mountain Bikes and Gear
Review: Lowepro Photo Sport 200 AW Backpack
Mountain Bikes and Gear
On Review: Shimano SH-M200 Enduro Mountain Bike Shoe and Unzen 4 Enduro Hydration Pack
Mountain Bikes and Gear
Review: Osprey Raptor 6 Hydration Pack
2
Mountain Bikes and Gear
Review: Osprey Rev 12 Hydration Pack
1
Mountain Bikes and Gear
Don't Call it a Fanny Pack: Camelbak FlashFlo LR Review
4
Mountain Bikes and Gear
Review: Hydrapak Bishop 12L
12
Mountain Bikes and Gear
Review: Camelbak Charge 10LR
1
Mountain Bikes and Gear
How To Mountain Bike Without a Hydration Pack
27
Mountain Bikes and Gear
Hydrapak at Interbike: New Bishop Pack and New Bite Valve
Hydration Packs
Review: Osprey Women's Verve 9 Hydration Pack
Mountain Bikes and Gear
Review: Shimano Unzen 10 Hydration Pack
9
1
2
»


 1
1