Trails
Reviews
Tips
Community
Deals
Latest
Support
Trails
Find trails
Best bike trails
Destinations
Add a new trail
Reviews
Mountain bike reviews
Components
Tires
Clothing & shoes
Helmets
Accessories
Product news
Community
MTB Clubs
Races & Events
Bike Shops
Tips
Skills
Fitness & Training
Health & Nutrition
Beginners
Repair
Latest Articles
Podcast
Deals
Support Singletracks
Sign in
Create an account
About us
Newsletter signup
Emergency
GPS
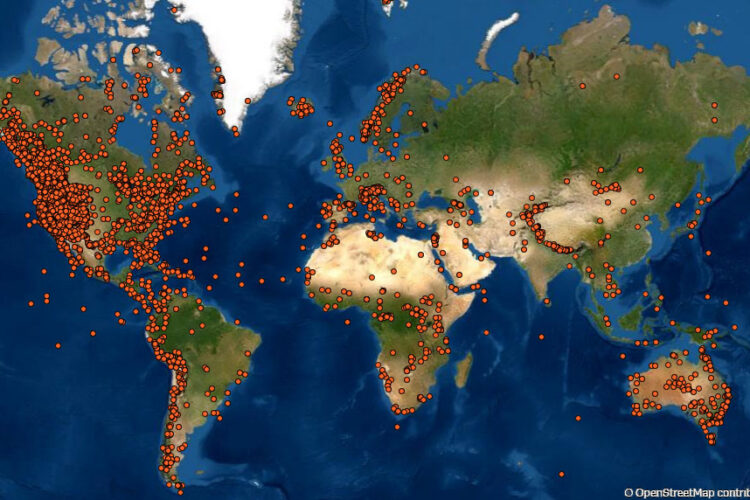
Cyclists Made Fewer SOS Calls Than Hikers, Climbers with Garmin InReach
Culture
Colorado Outside Buys Backcountry Lifeline, the Mountain Biker First Aid Training Program
Repair
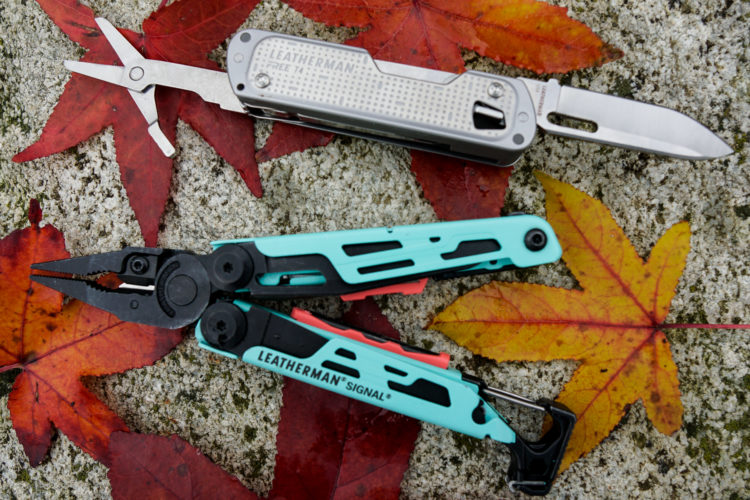
USA Made Leatherman Multi-Tools Fill the Gaps in Backcountry Emergency Packs
Culture
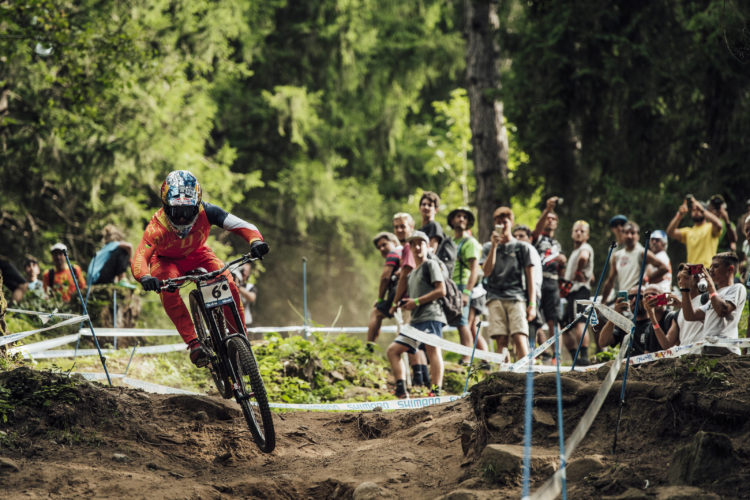
Trailside Triage: Enduro Racing Through the Eyes of an On-Trail Paramedic
1
Culture
The Balance: Saved by a Mountain Bike Tire Imprint in Hero Dirt
6
Community
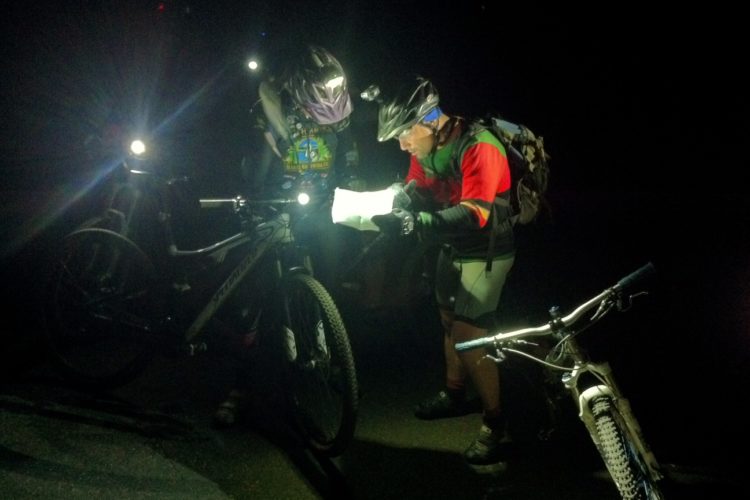
First Aid Tips For Mountain Bikers
Mountain Bikes and Gear
GUP Kwiki inflates and seals tubeless MTB tires in one shot
9
Community
Lost in the Forest: One Woman's Tale of Blind Panic
2
Community
Racing Enduro Is Inherently More Dangerous than Racing DH [Opinion]
1
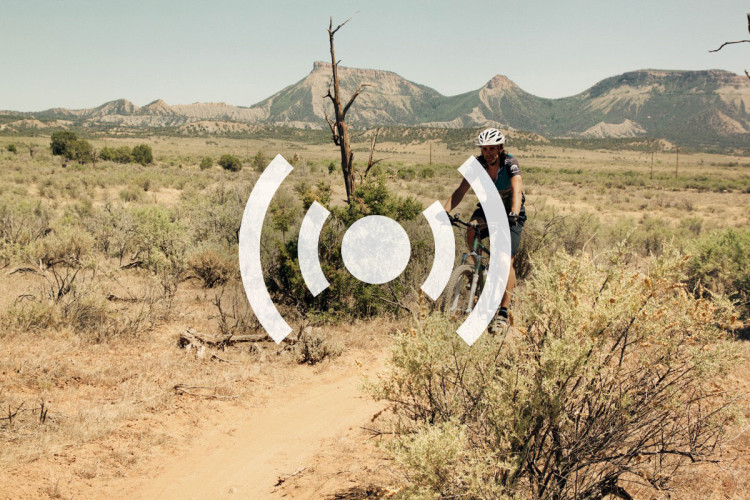
Mountain Bike Podcast
The Potentially Serious Consequences of Mountain Biking in the Heat [Podcast #63]
2
Mountain Bike Podcast
Singletracks MTB News Podcast: Episode 4
Culture
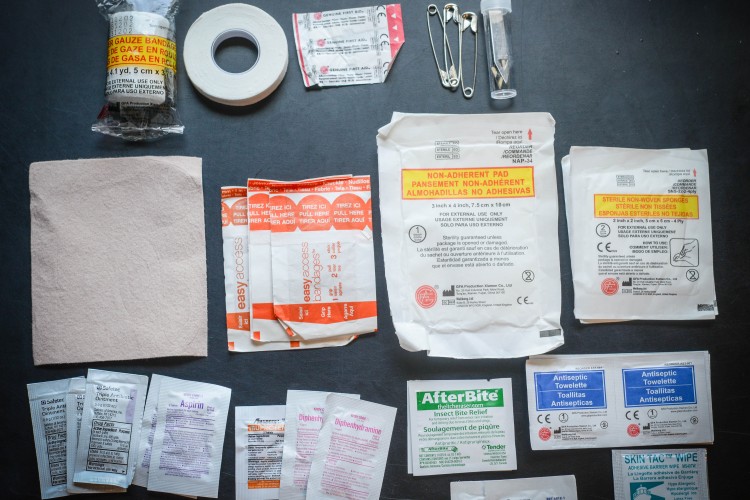
50 Essential Items to Keep in your MTB Emergency Kits
1
Culture
Avoiding Disaster on the Trail: My Story
6
Mountain Bikes and Gear
What to pack for an epic MTB ride
2
Mountain Bike Trails
Epic ride: What happened to Gabi?
1


 1
1