Trails
Reviews
Tips
Community
Deals
Latest
Support
Trails
Find trails
Best bike trails
Destinations
Add a new trail
Reviews
Mountain bike reviews
Components
Tires
Clothing & shoes
Helmets
Accessories
Product news
Community
MTB Clubs
Races & Events
Bike Shops
Tips
Skills
Fitness & Training
Health & Nutrition
Beginners
Repair
Latest Articles
Podcast
Deals
Support Singletracks
Sign in
Create an account
About us
Newsletter signup
Gear
Mountain bike gear and equipment.
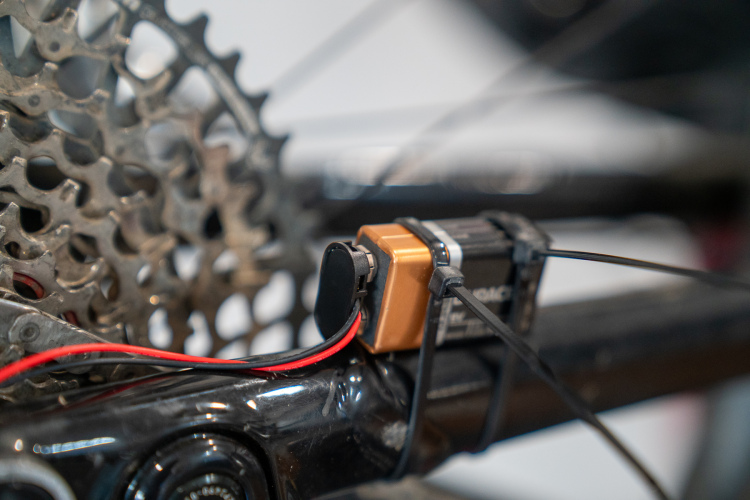
Drivetrain
Dead SRAM AXS battery on the trail? This MacGyver 9V battery trick could save your ride.
9
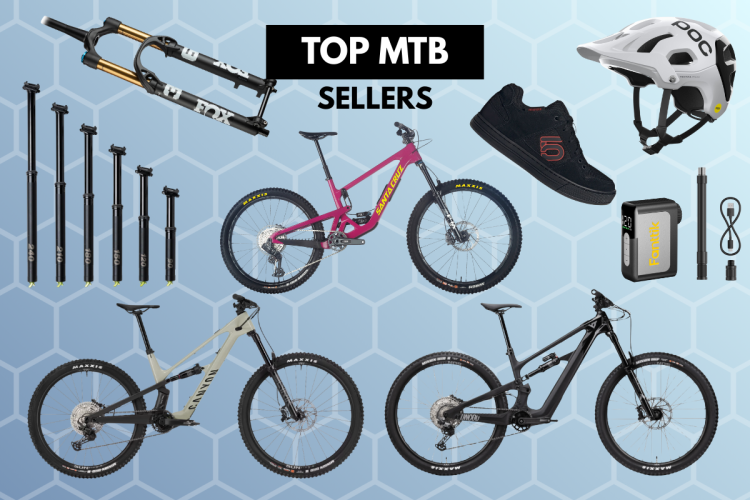
Mountain bikes
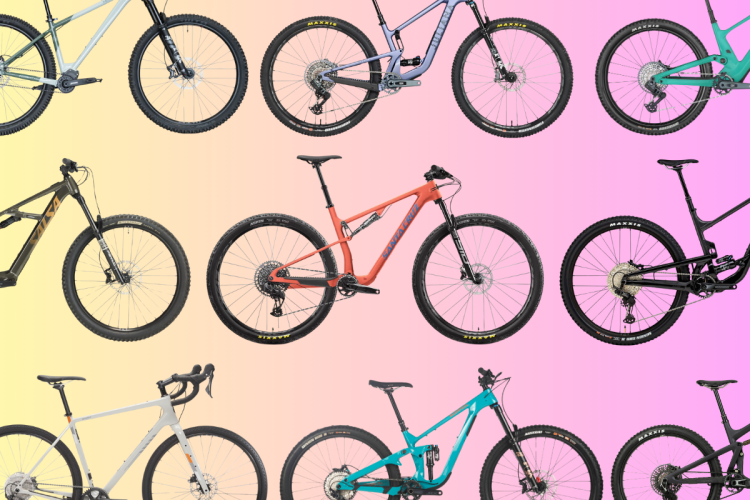
Bike discounts are starting to dry up, but these MTBs are on sale
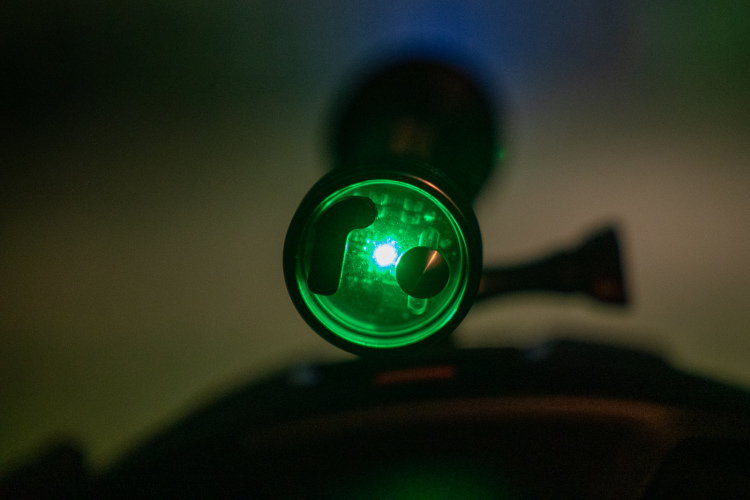
Lights
Gloworm CX Core all-in-one bike light review
2
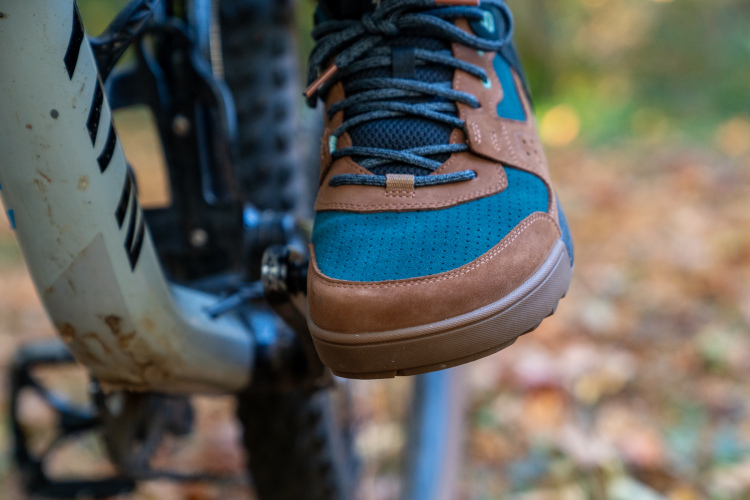
Flat Pedal Shoes
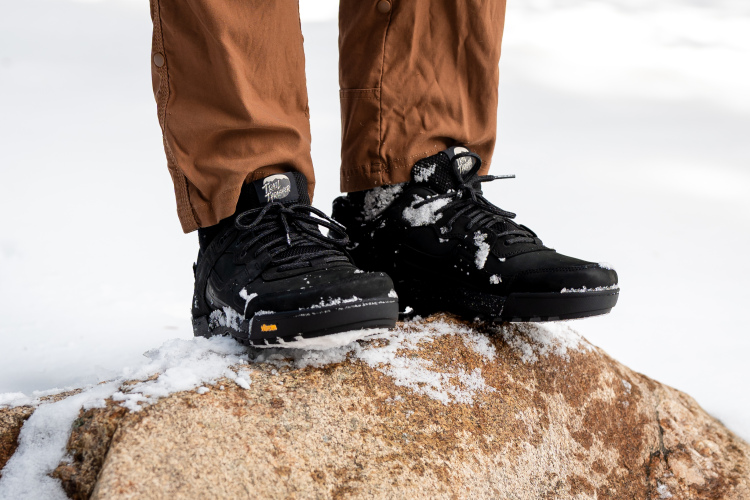
The LEMS Trail Thrasher Pro is waterproof and brings a Vibram sole to the surprise hit MTB shoe
Clothing
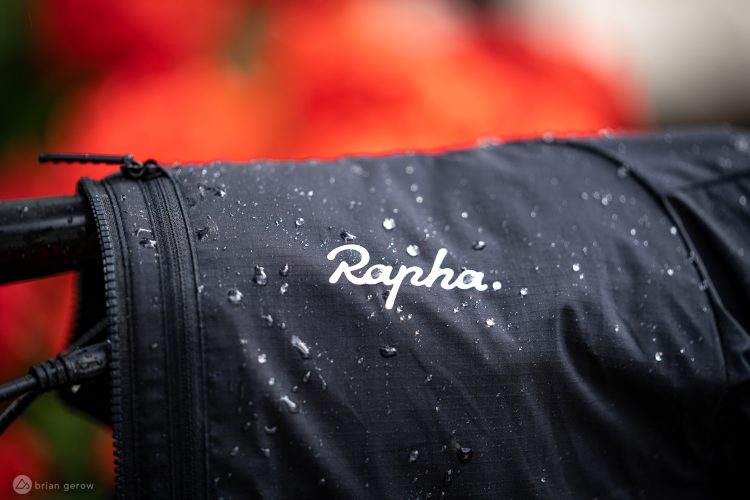
Two of the biggest names in MTB clothing are on major sale this week
1
Mountain Bikes and Gear
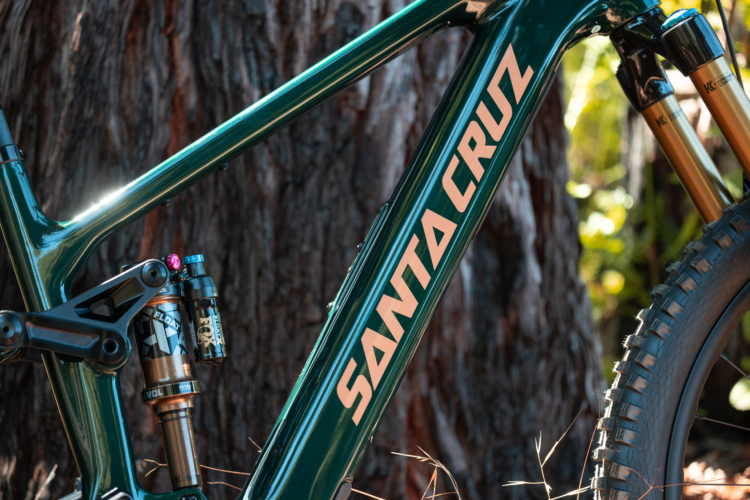
All mountain bike frames should have a glossy finish. And I am willing to die on this very tiny hill.
14
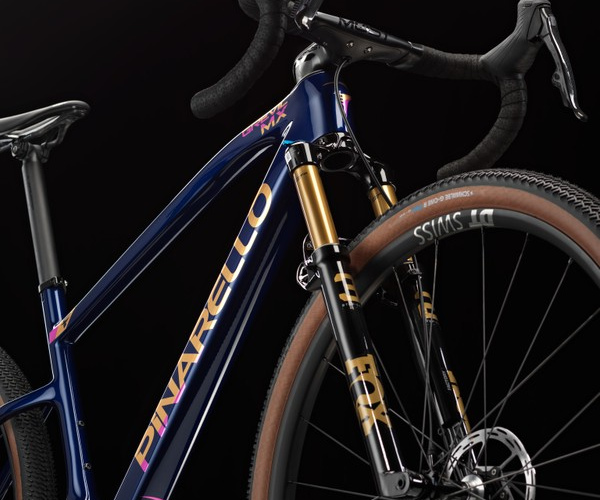
Gravel Bikes
Pinarello's new gravel bike is actually a mountain bike in disguise
5
Mountain bikes
Today's mountain bikes are the cheapest they've been in a decade. We have the receipts.
8
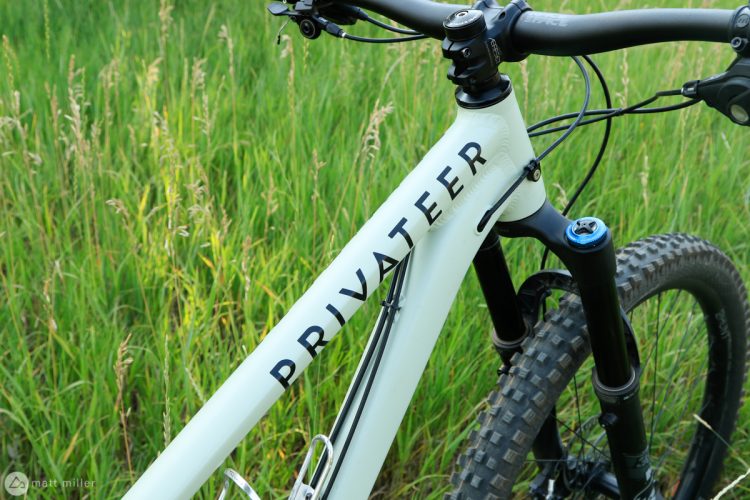
Mountain Bikes and Gear
Privateer bike brand's future is questioned as inventory dwindles and losses mount
1
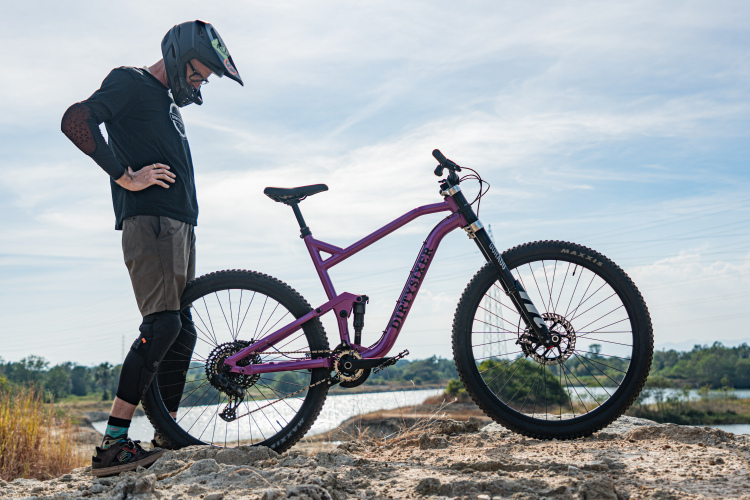
Enduro Bikes
New DirtySixer MonsterEnduro 32er is said to fit short riders
8
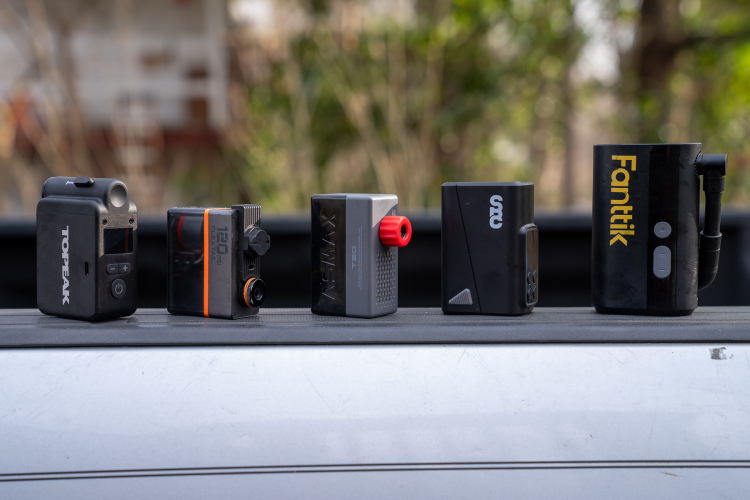
Electronics
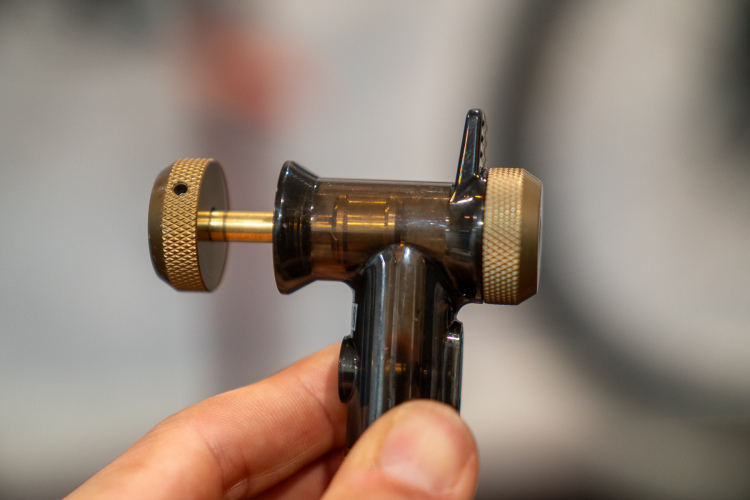
Electric bike pumps reviewed: Fastest, lightest, and loudest revealed
18
Mountain Bikes and Gear
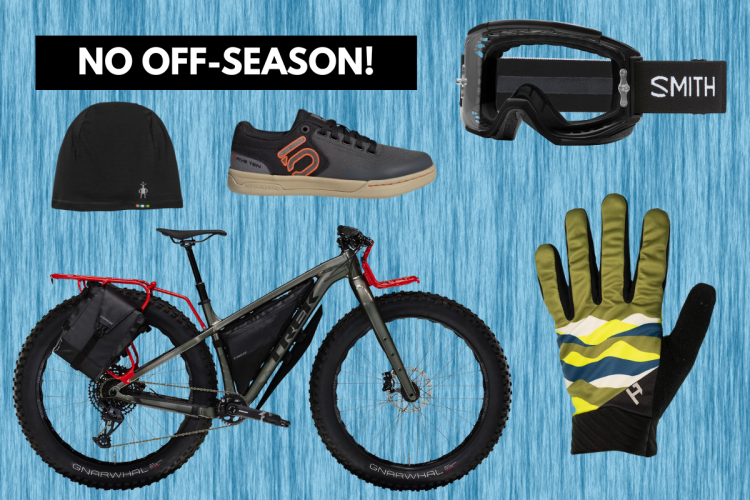
No off-season! Editor-approved MTB gear for winter riding
Mountain Bikes and Gear
How soon until you buy your next mountain bike?
32
GPS
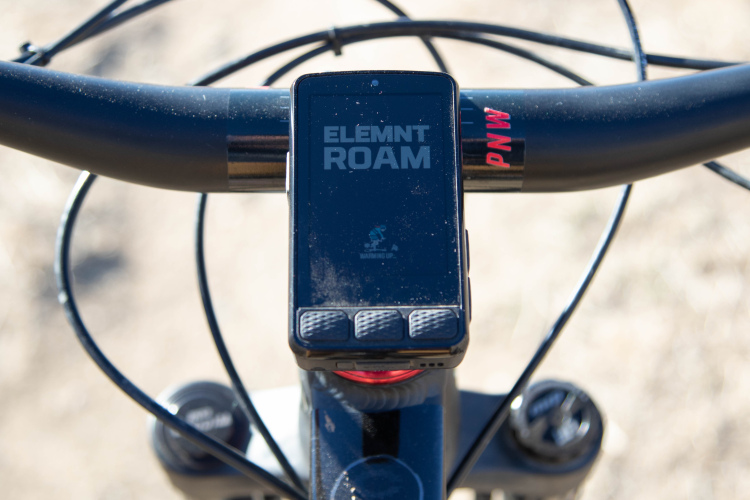
One Wahoo Roam V3 bike GPS feature caught me completely off guard on the trail [Review]
4
Pumps
Topeak TubiHead review: Smart pump head upgrade makes seating tubeless MTB tires easier
4
Trail Bikes
2026 trail bike geo: The end of longer, lower, slacker? Not so fast.
4
Mountain Bikes and Gear
Suspect received e-bikes worth $50,000 by pretending to be Seth of Berm Peak
2
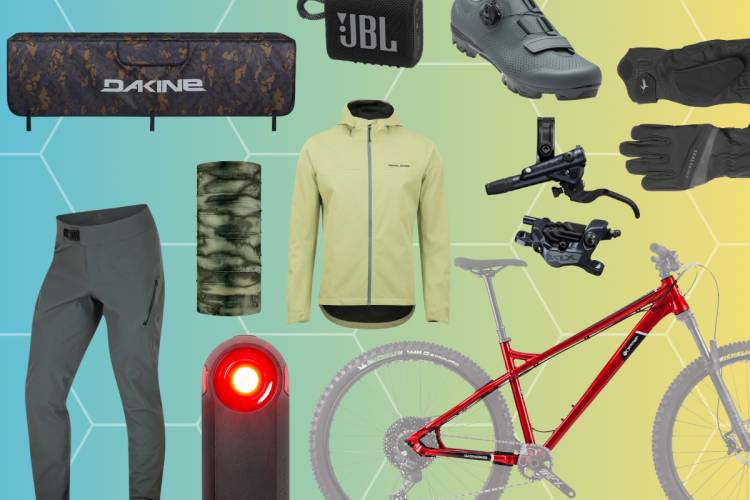
Fitness
12 products to help you crush MTB season 2026
Tires All
Riders will soon be able to pick up 32-inch TPU tubes for mountain bikes
10
Mountain Bikes and Gear
One bike to rule them all: The modern long-travel trail bike really is a 'quiver killer'
25
Mountain Bikes and Gear
Which old-school MTB feature do you miss the most?
79
Mountain Bikes and Gear
The MTB upgrades you ACTUALLY wanted are now on sale
1
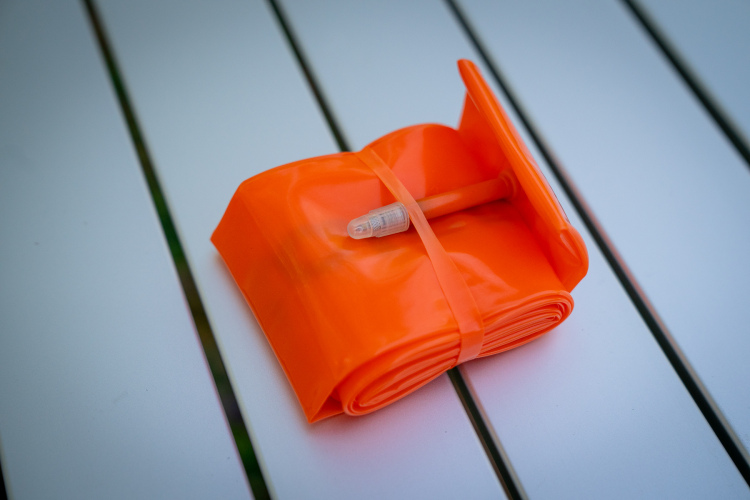
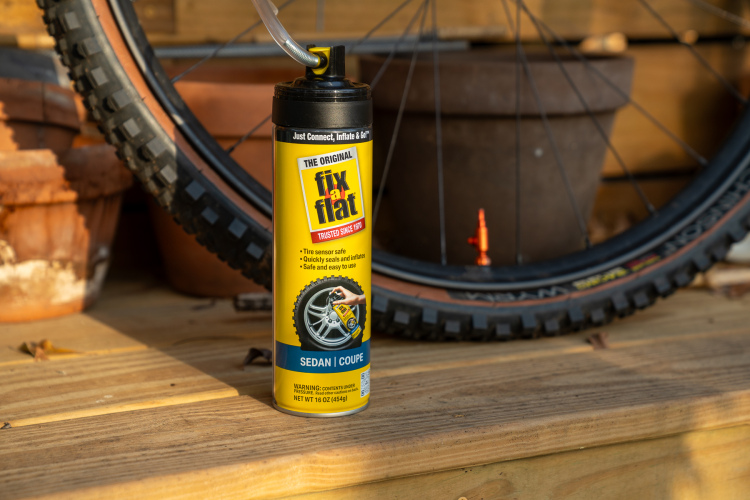
Tires All
To my surprise, Fix-a-Flat works for bike tires too
7
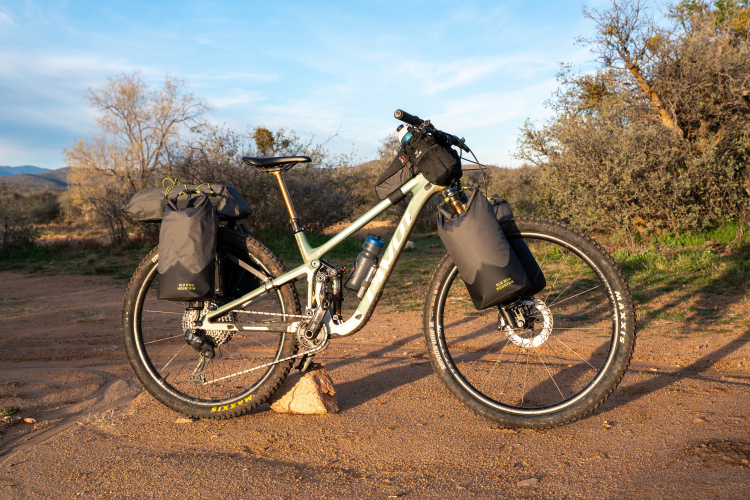
Bikepacking Gear
Old Man Mountain bikepacking rack system review
3
Mountain Bikes and Gear
Mini electric pumps were bestsellers in 2025. Here’s what else mountain bikers bought in droves this year.
1
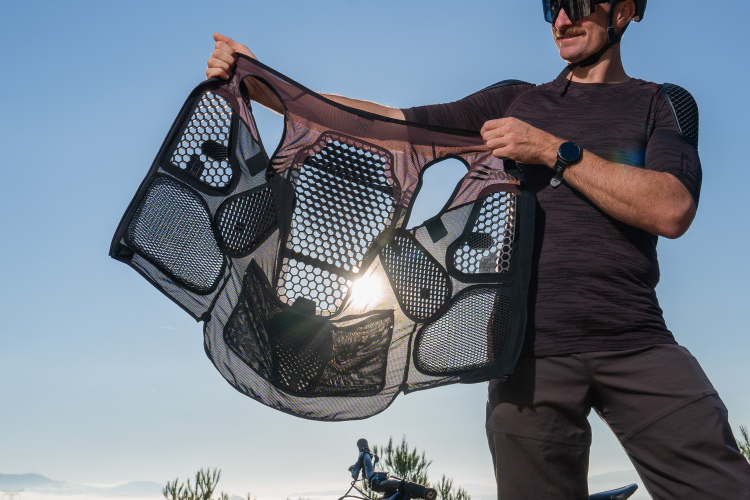
Accessories
5 smart ways to carry MTB tools and supplies on your bike
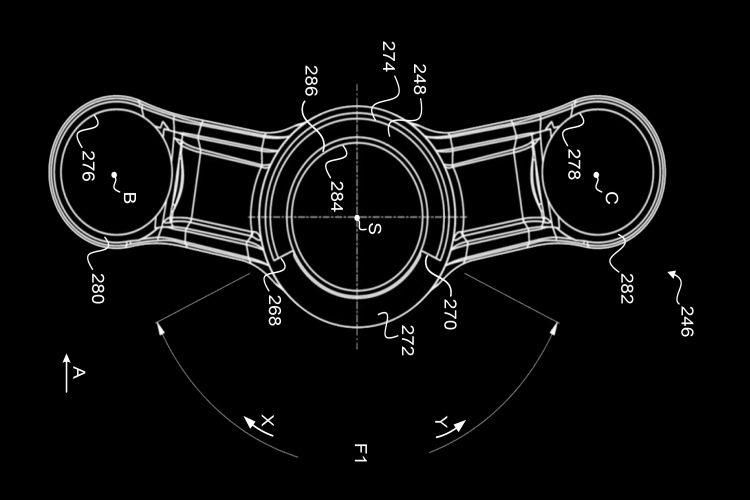
Forks
SRAM patent could bring steering limiters to their forks
4
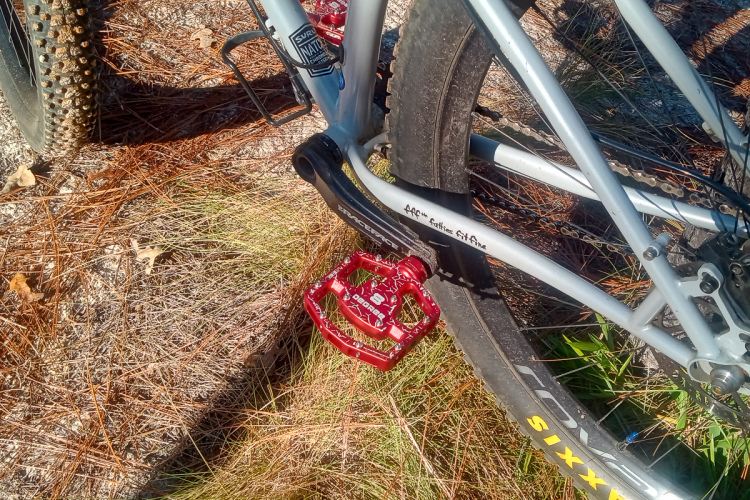
Flat Pedals
8 Degree pedals are flats with float, and Singletracks put them to the test [Review]
4
Mountain Bikes and Gear
Last minute bike and outdoor gifts they'll LOVE
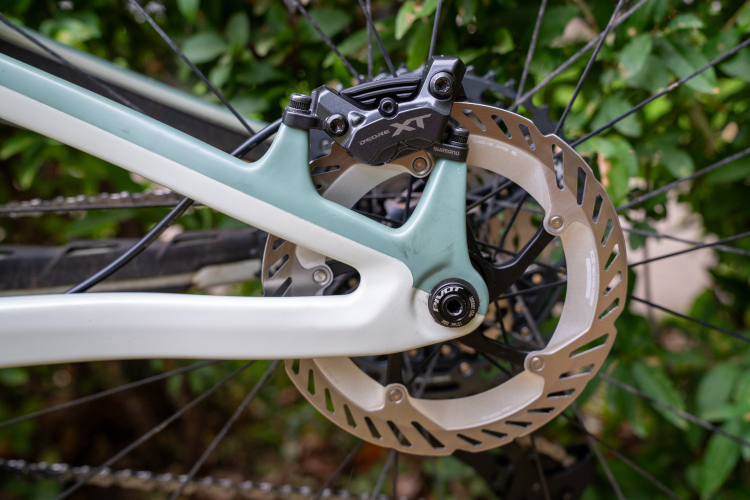
Brakes
Shimano DEORE XT M8200 mountain bike brake review
7
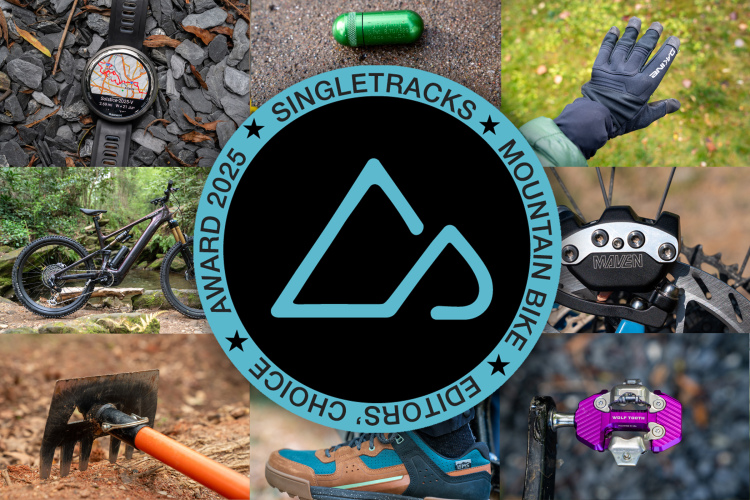
Mountain Bikes and Gear
The best mountain bike gear we used this year: Singletracks Editors' Choice 2025
1
Electronics
High-tech gifts for the mountain biker who has everything
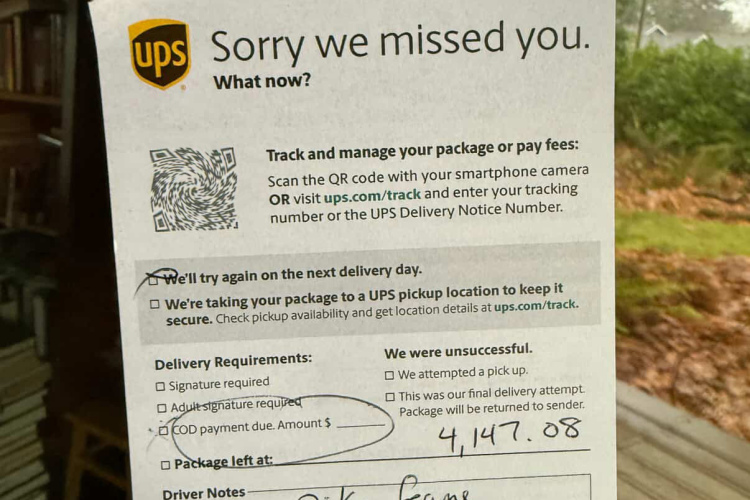
Mountain Bikes and Gear
US bike buyers hit with surprising, and sometimes incorrect, tariff bills
8
Body Protection
Rockintor Protection Vest delivers lightweight armor for mountain biking [Review]
4
Flat Pedal Shoes
Shimano GF600 mountain bike shoe review after one year of testing
Mountain Bikes and Gear
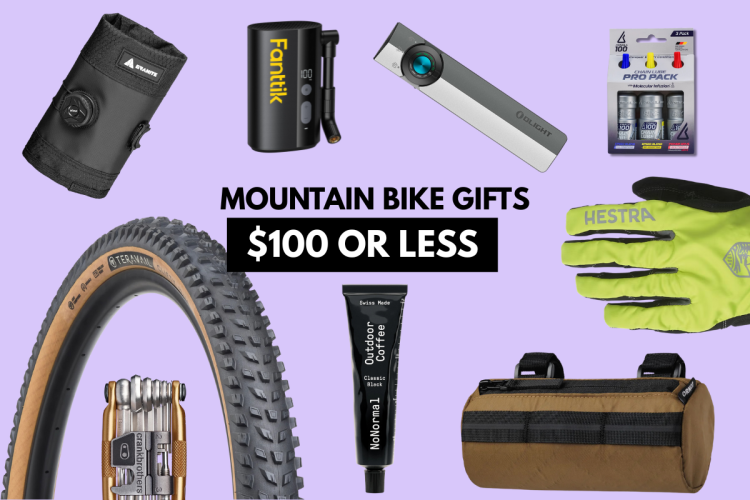
$100 or less: Quality mountain bike upgrades, clothing, and gifts
Trail Bikes
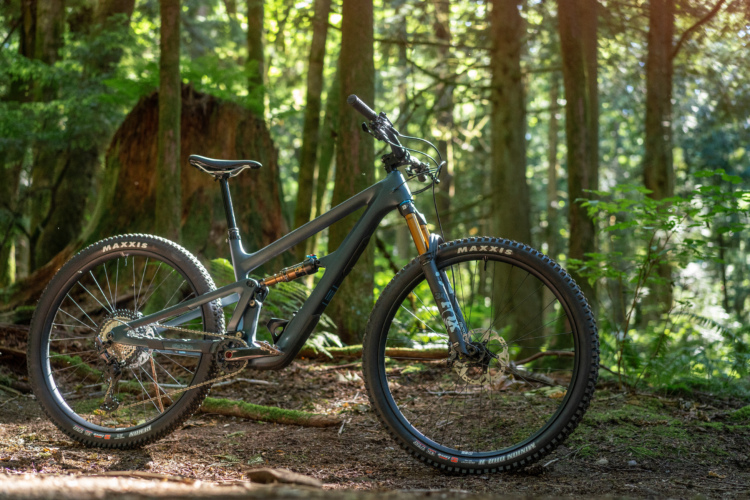
The Ibis Ripley v5 is Singletracks readers' 2025 Trail Bike of the Year
17
Hardtail bikes
Why I'm switching to a hardtail for mountain biking this winter
21
Mountain Bikes and Gear
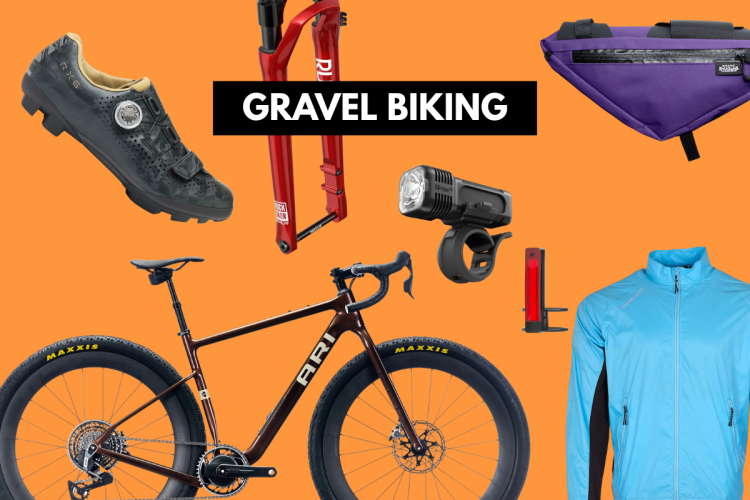
15 gifts that gravel bikers actually want
Lights
Exposure Diablo 15 helmet light review: Lightweight 116g design with a unique tap control
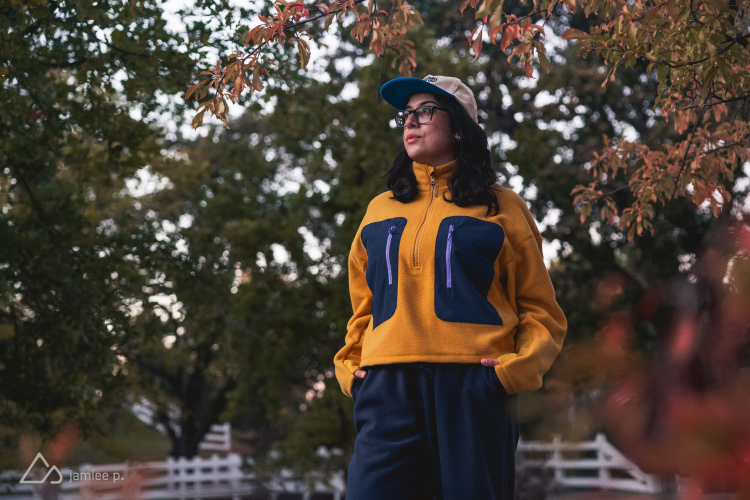
Mountain Bikes and Gear
Gifts for badass women who mountain bike
1
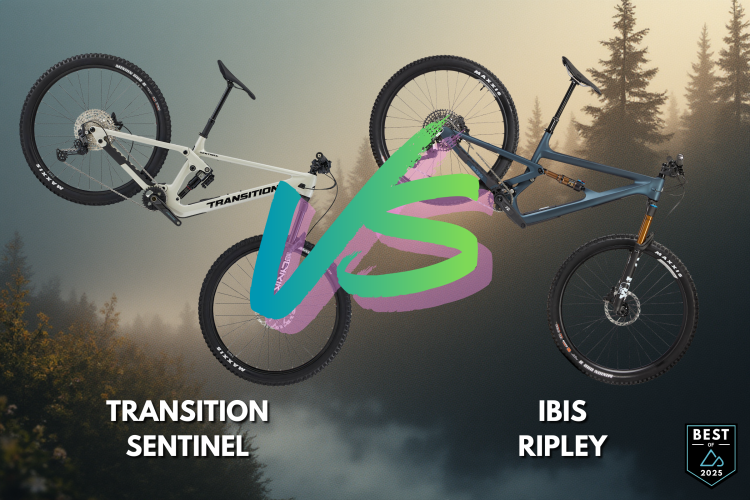
Trail Bikes
Ibis Ripley vs. Transition Sentinel for 2025 Trail Bike of the Year
19
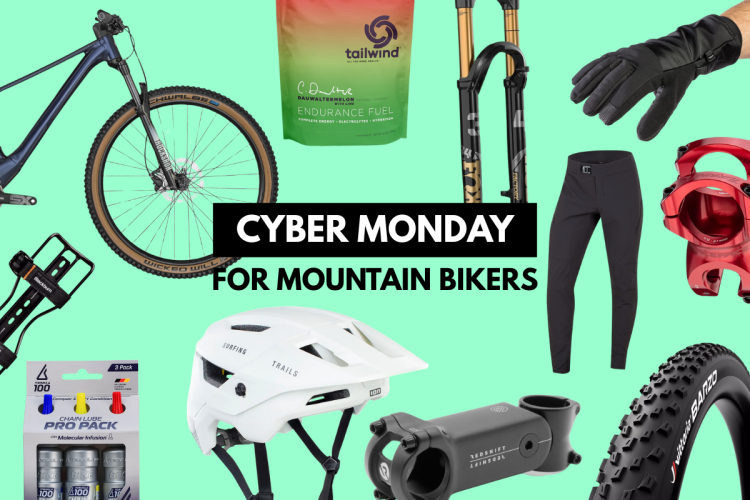
Mountain Bikes and Gear
Cyber Monday MTB deals: Fox forks, Scott bikes and some of the best deals yet
3
Mountain Bike Shoes
How many pairs of MTB shoes do you own?
22
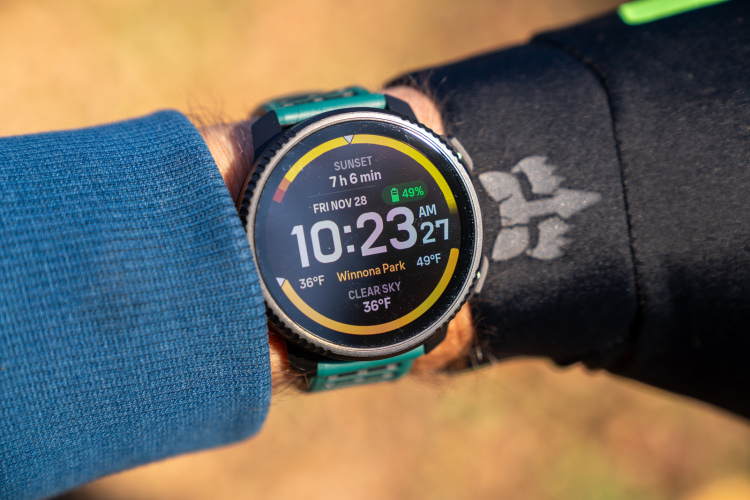
Watches
Suunto Vertical 2 GPS watch review: Multi-Sport smartwatch with offline maps for mountain biking
1
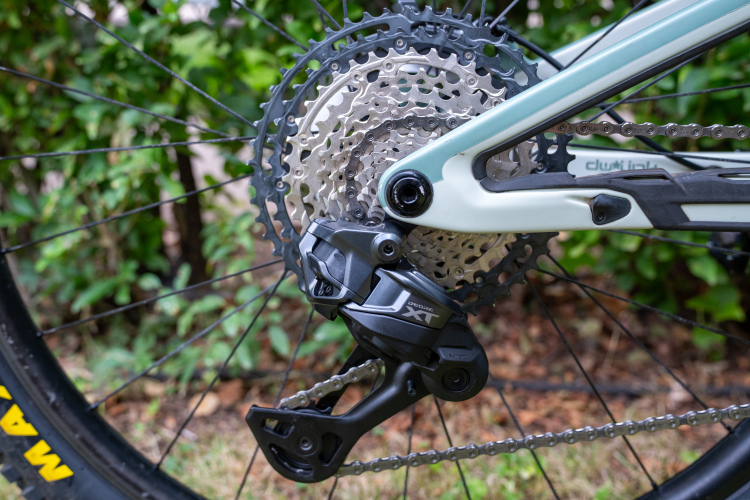
Drivetrain
Shimano DEORE XT M8200 Di2 wireless drivetrain review
13
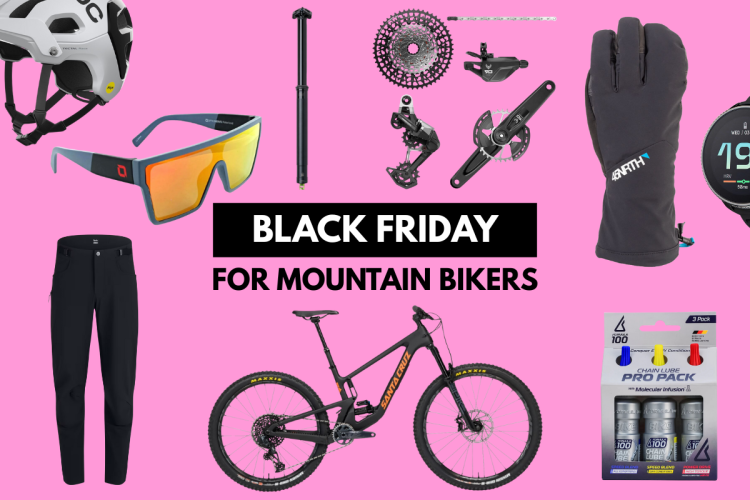
Mountain Bikes and Gear
71 of the best Black Friday deals for mountain bikers (More deals added)
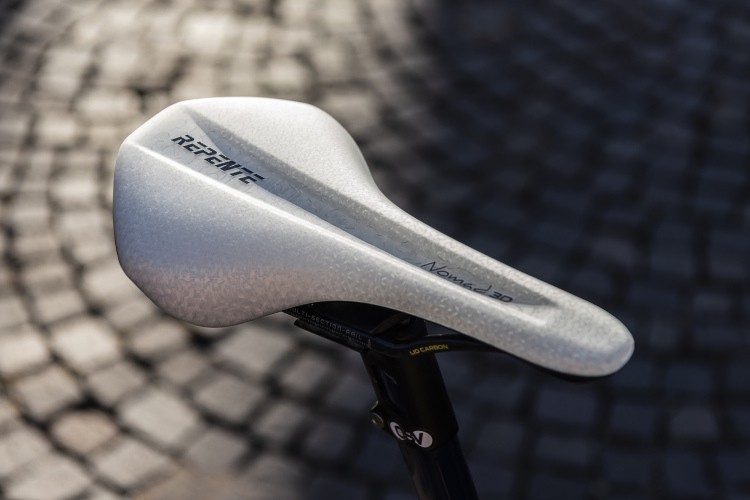
Saddles
Bucking trends, the Repente Nomad 3D saddle has a cover
«
1
2
3
4
5
6
…
108
»
 9
9