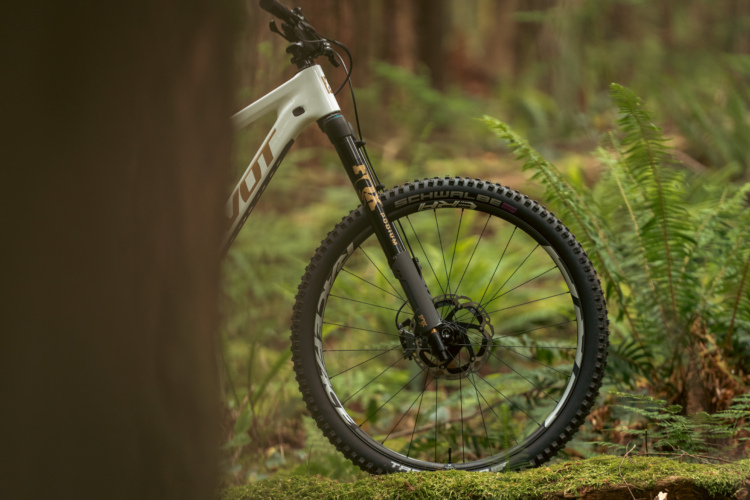
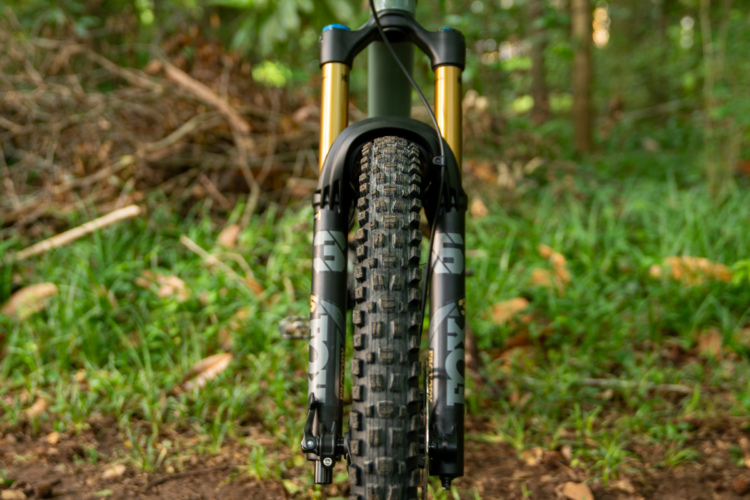
Mountain bikers are finding fewer options when it comes to 27.5 forks due to decreased demand.
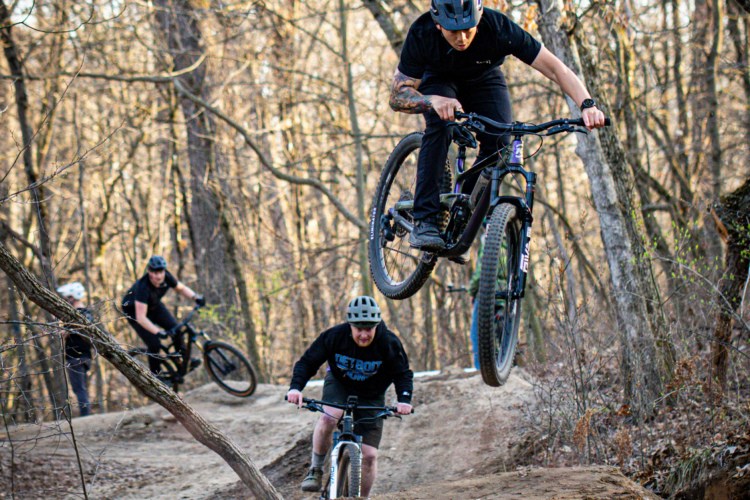
Downhill mountain biking comes to the outskirts of Los Angeles at Mountain High Resort.
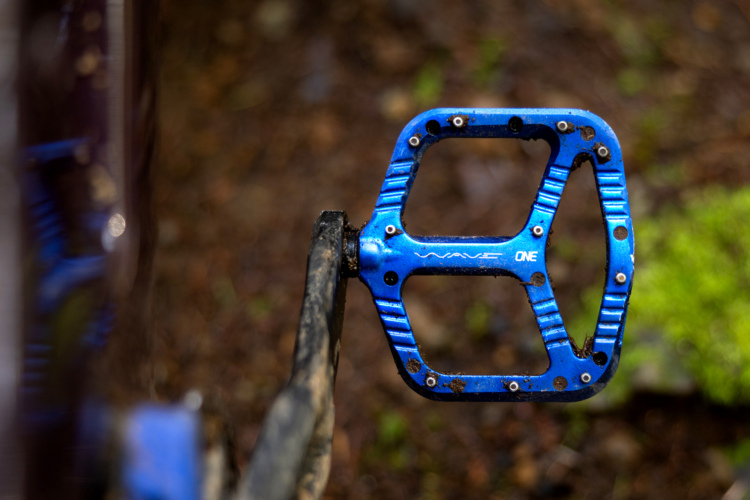
The OneUp Wave pedals challenge the conventional flat pedal design, merging a concave and convex shape in one design.
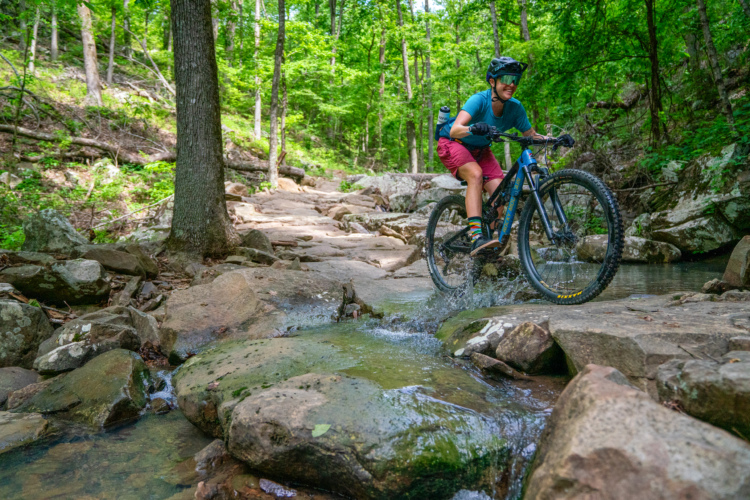
New bike trails at Bull Shoals bring MTB to a popular fishing area in north central Arkansas.
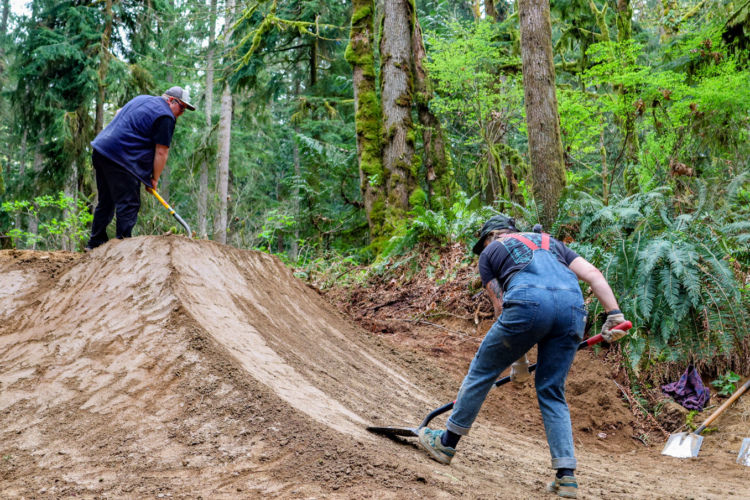
At Timberland Hills, teens aren’t just riding trails — they’re building them, too.
These are the Amazon Prime Day bike and outdoor deals that are actually a good buy.
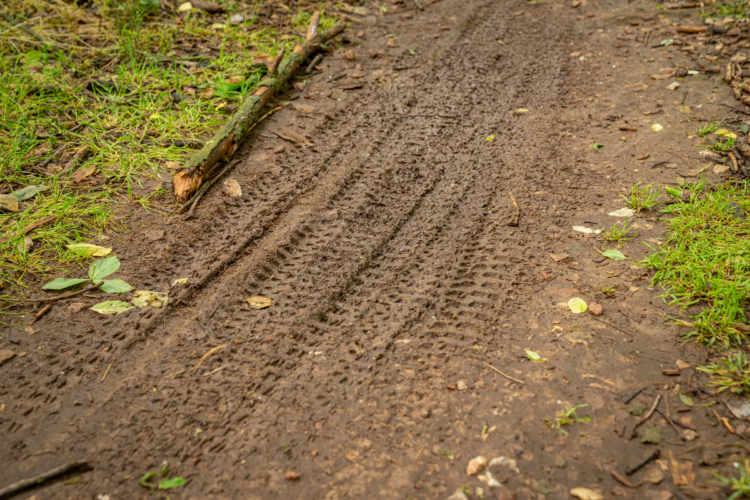
Mic McLane, a trail builder from the Evergreen Mountain Bike Alliance, reveals why some MTB trails stand up to rain better than others.
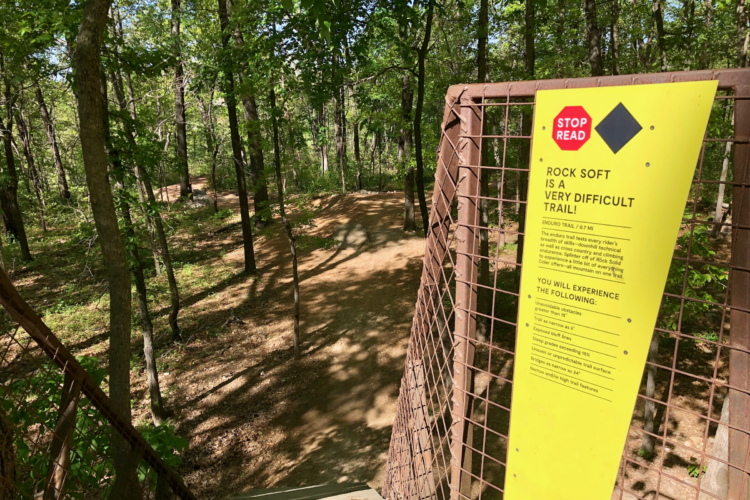
Trail difficulty ratings are easy to understand, but can be hard to get right.
SRAM announced the acquisition of Ochain, a revolutionary Italian brand with a product that enhances traction and stability on full-suspension bikes. We could see the tech on more bikes in the future.
Ryan Cannizzaro founded Alchemy in 2008 and now he's looking for a new owner to take the renowned bike brand into the future.
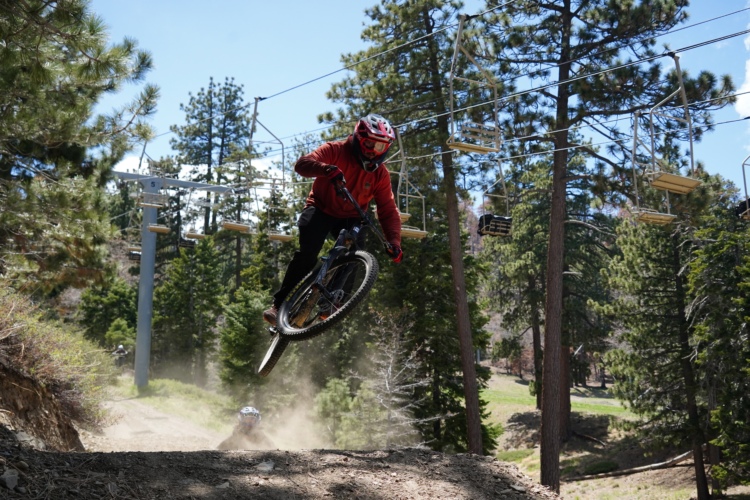
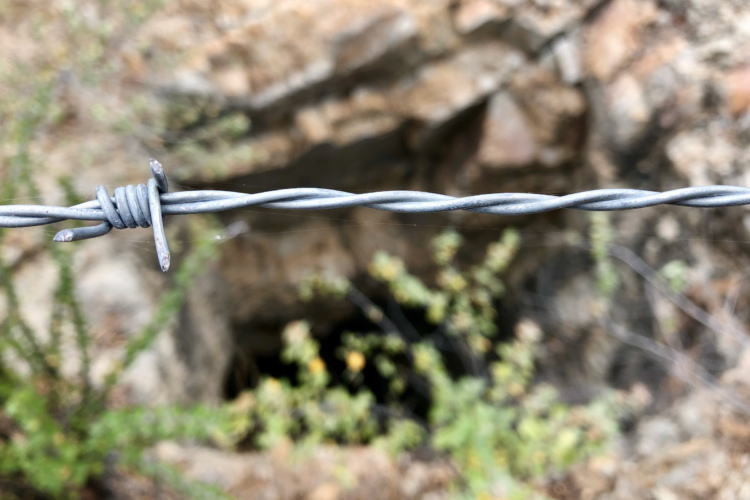
An Australian mountain biker "sustained a serious laceration and bruising to his right bicep as a result of coming into contact with the wire."
Could you soon have an epic long-distance bikepacking route in your backyard? Only if you submit an application before August 1.
In our deep dive into eMTB geometry, we uncover how electric mountain bikes differ from traditional models when it comes to key measurements.
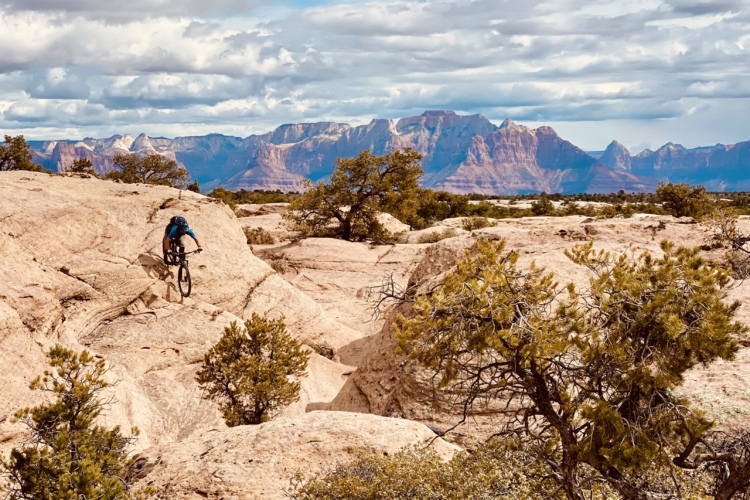
If a "best of" list could ever claim to offer under-the-radar epic mountain bike rides, it's this roundup from Idaho.
ECLIPS generates power from your front wheel and stores it in a battery to power lights and charge your devices while you ride.
Calirado Kid shares humorous and relatable MTB videos online, and is using his influence to get riders psyched about helping the environment.
"Foothills Watershed is the space we always wished existed for our own family — a spot to relax, eat well, and let the kids run wild."
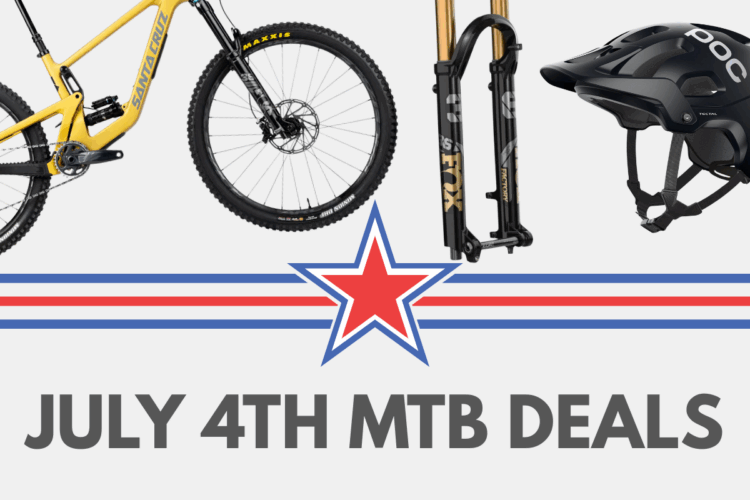
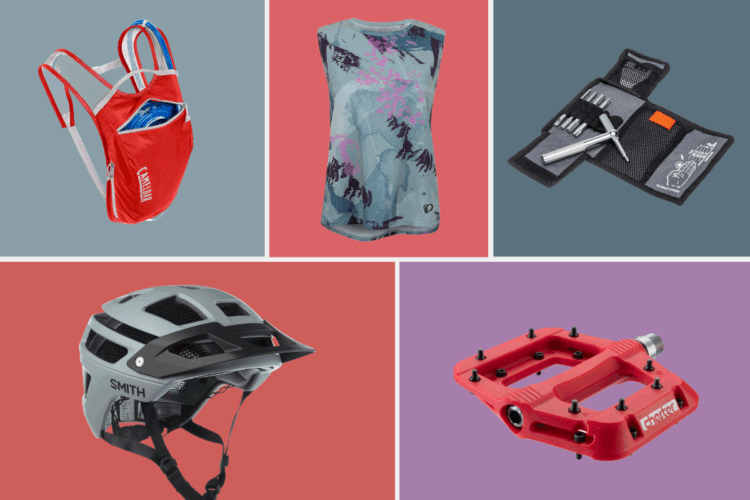
Save up to 67% off top brands including Fox, Santa Cruz, POC, Scott, Specialized and Chrome.
With over 200 miles of singletrack and 300 days of sunshine a year, Redding, California offers a surprisingly low-key yet adventure-packed mountain biking destination.
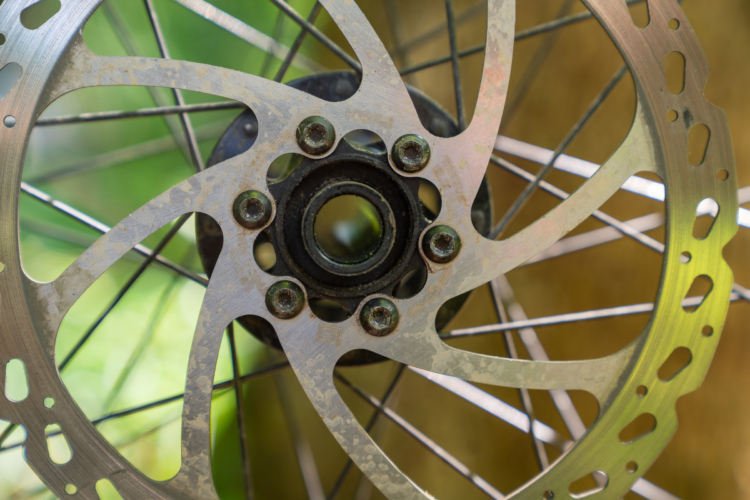
There are pros and cons to either choice when it comes to attaching disc brake rotors to your mountain bike hub.
There's a lot of exciting new mountain bike tech to see in 2025, but it's not for everyone.
These are the best deals we've found on bike and outdoor gear during the big REI 4th of July Sale.
We spoke with an experienced trail builder to find out how eMTBs are influencing trail design and construction.
The Lower Basin trail system in Sandpoint, Idaho, currently offers over 30 miles of shuttle-served trails, with more on the way in 2025.
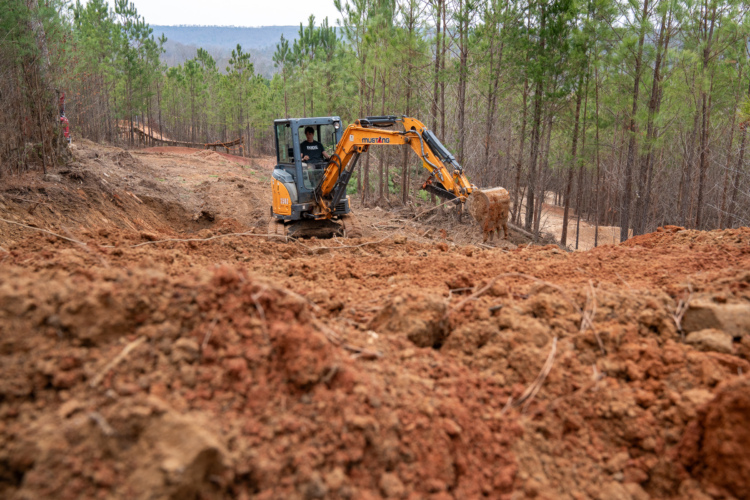
Once complete, the Lakewoods Trail System in Monticello, AR, will boast 25 miles of purpose-built singletrack.
Armoring a trail consists of "using any material other than dirt to reinforce or support the tread of a trail.” Here's how to do it properly.
The Fox Podium is an alternative to the Fox 38 that boasts lower unsprung weight thanks to an inverted design.
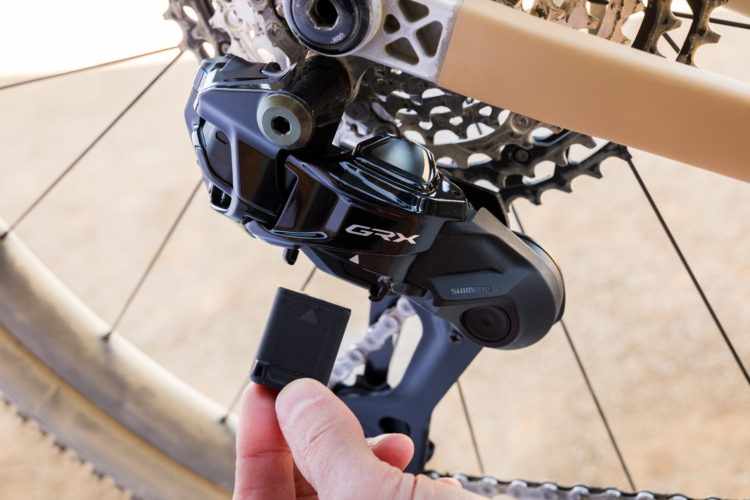
The 1x12 Shimano GRX Di2 drivetrain brings truly wireless, electronic shifting to gravel bikes and drop bar mountain bikes.
The WTB Peacekeeper is a trail tire that sits between XC and enduro, and seeks to blend the best of both worlds.
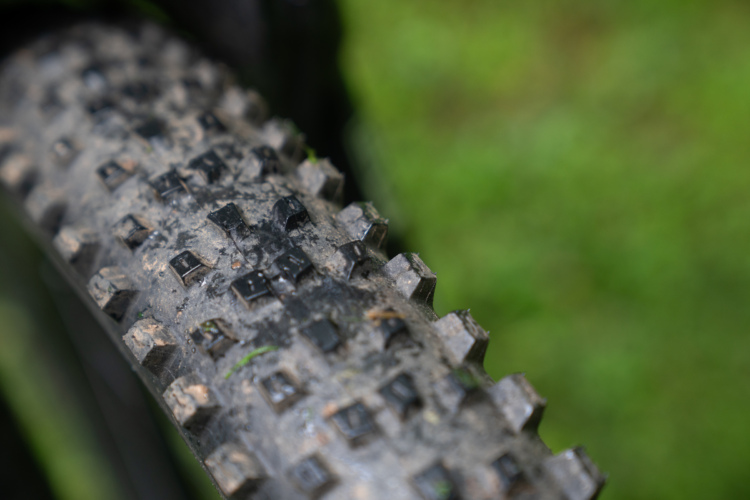
Upgrade your mountain bike tire, or try something new, with these bargains that span from gravel to enduro.
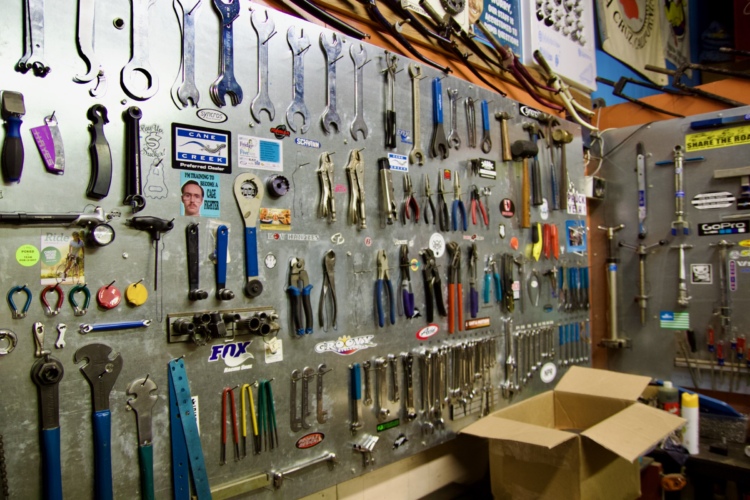
Working on bikes requires specialty tools. And some tools are more special than others.
The WMMBA is building its 17th mountain bike trail system — this time in suburban Grand Rapids, MI.
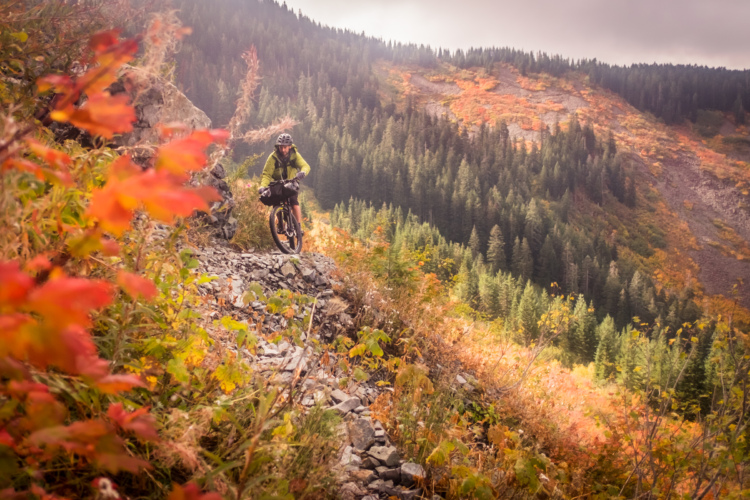
The veteran bikepacker hopes to become the first to ride from Canada to the southern tip of Baja along the newly designated Orogenesis bike route.
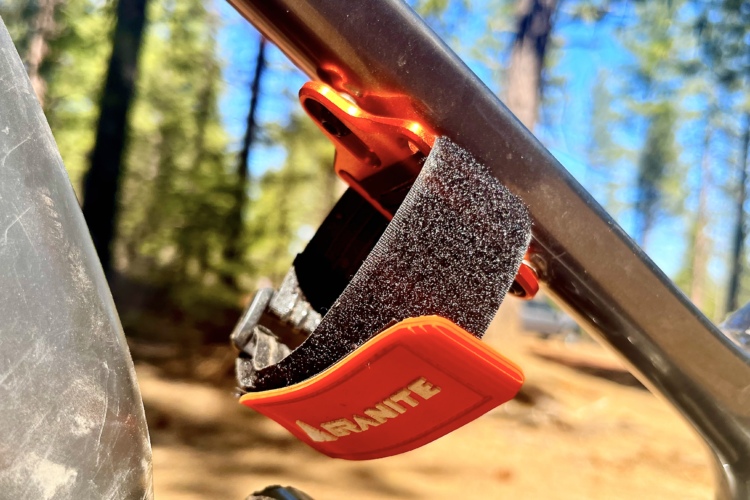
Put your frame mounts to use with one of these tool holders.
For their latest land acquisition, the city of Prescott, AZ, paid $6.5 million for a 2,300-acre parcel of land so the locals could dig gnarly hand-built trails.
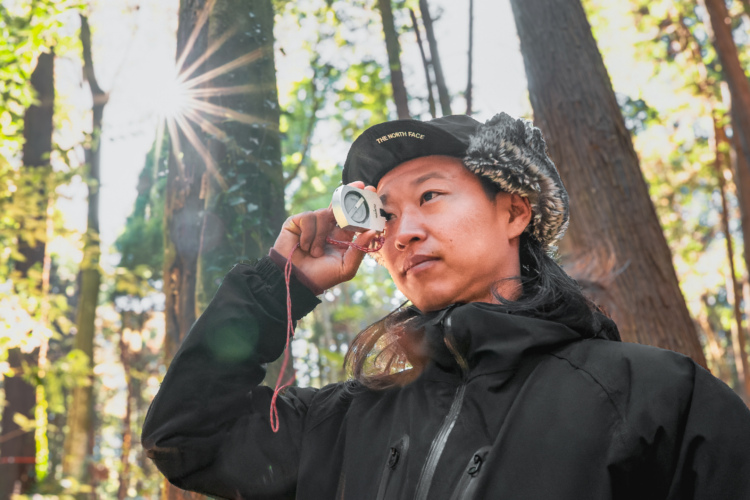
Trail builders use clinometers to measure the grade of trails and mountain slopes so they can craft sustainable singletrack with perfect flow.
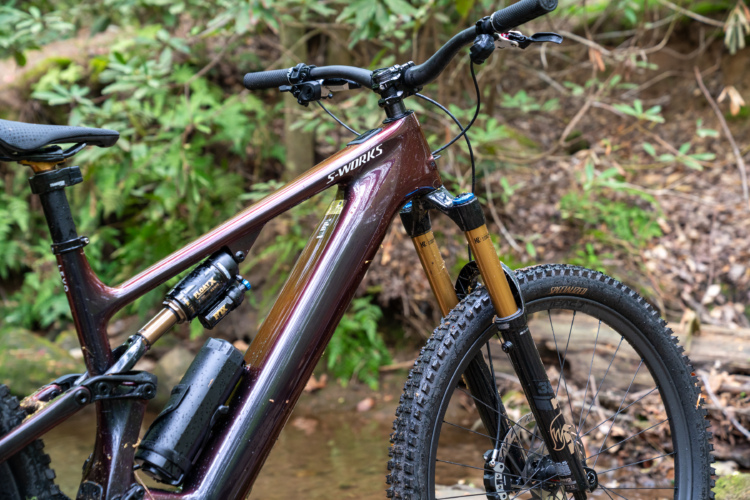
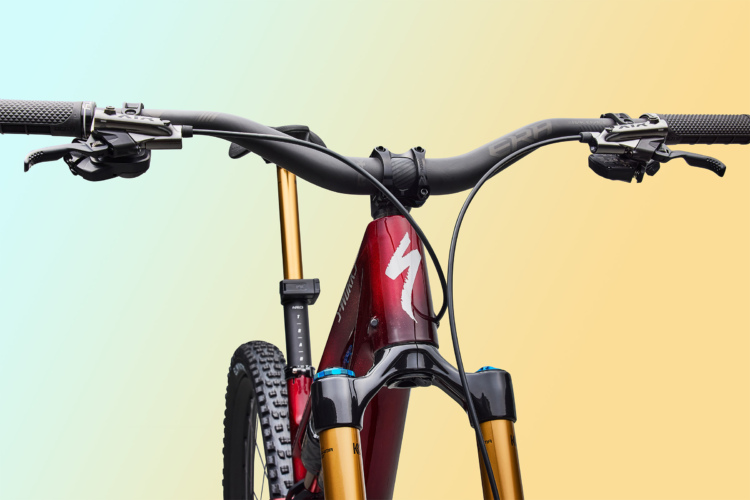
The Specialized Stumpjumper 15 EVO comes just one year after the release of the Stumpy 15, with a longer fork and an improved GENIE shock.
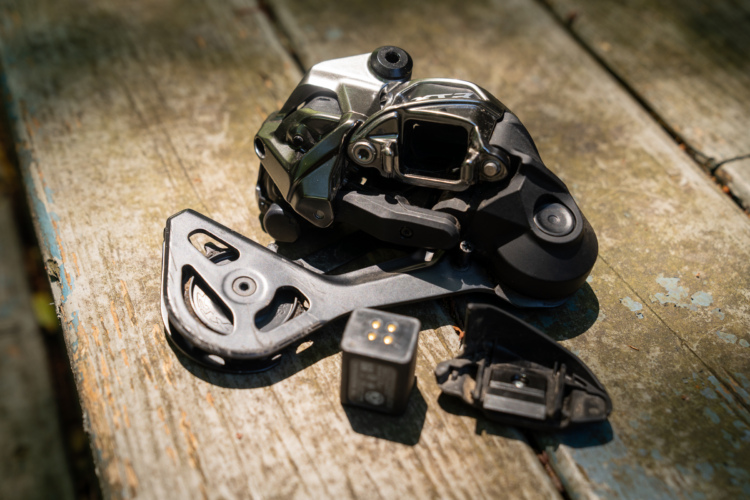
Only weeks after announcing their top-of-the-line wireless MTB drivetrain, Shimano XT and Deore versions are here, with lower prices to fit more bikes.
Joey Klein has worked for IMBA longer than anyone else, and has a wealth of trail building knowledge to share.
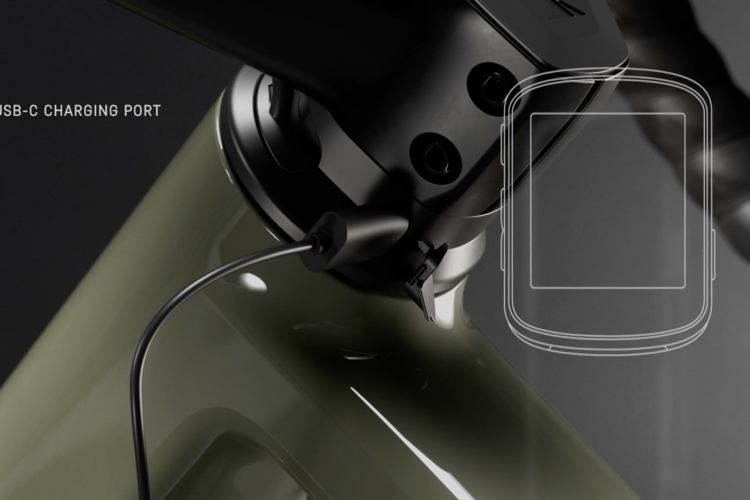
The Garmin Edge MTB is the brand's first device designed specifically for mountain biking with rugged hardware and exclusive features trail, enduro, and DH riders will appeciate.
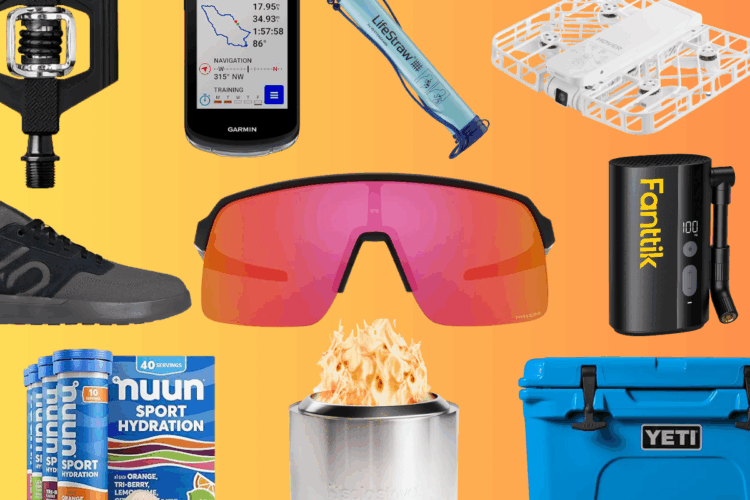
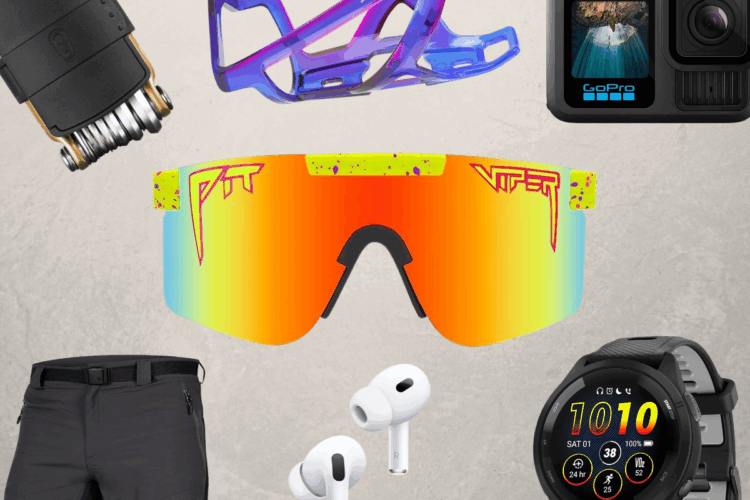
Save 20-30% off top gear from GoPro, Garmin, Endura, Crankbrothers, Gu, and Pit Viper.
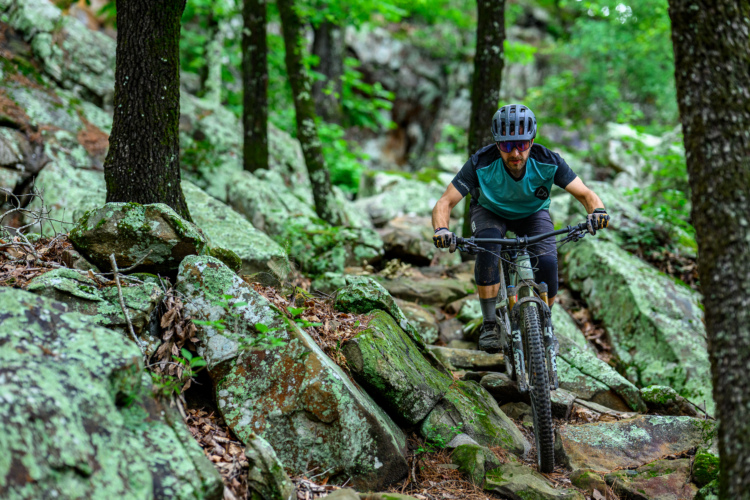
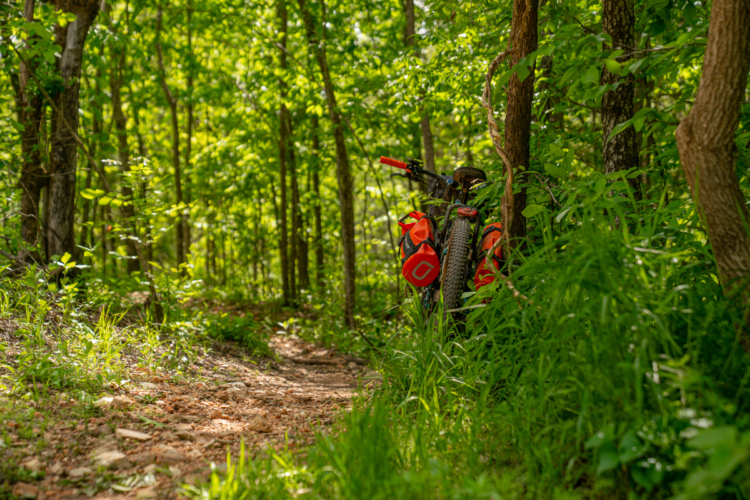
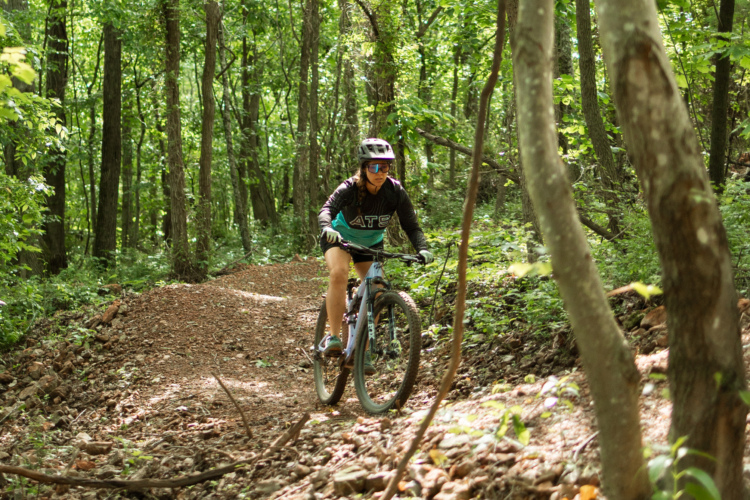
Think you've ridden everything that Arkansas has to offer? Think again.
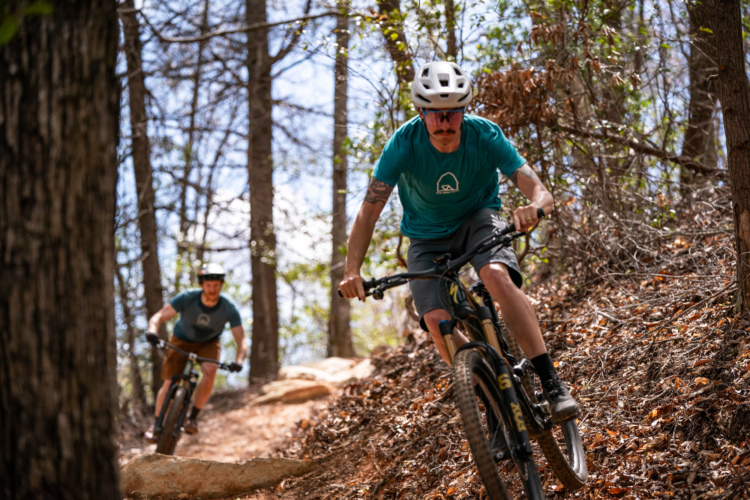
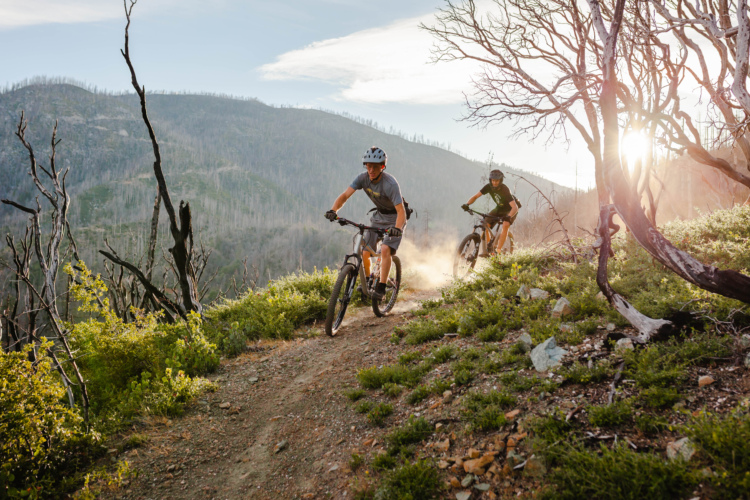
Depending on where you live, June might be the ideal month for riding mountain bikes.
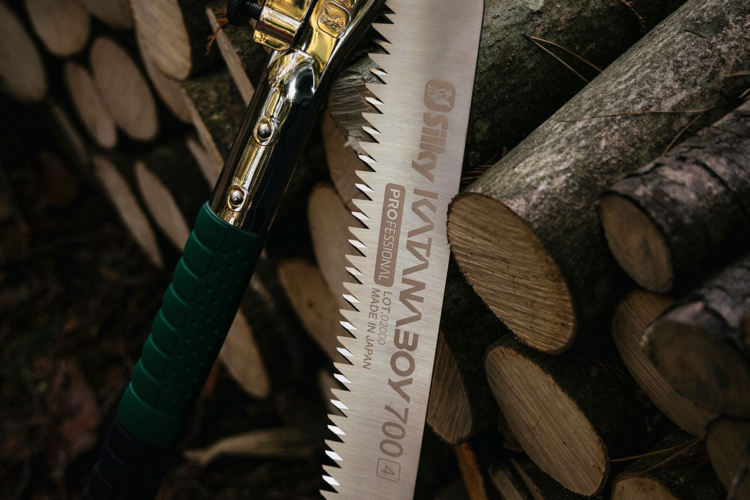
The Silky Katanaboy is a premium-quality hand saw designed to make fast and accurate cuts, with a price tag to match.
New trails being constructed at the Buffalo River Airport will allow the 1% to fly in for a mountain bike ride. Fortunately, the rest of us can drive there too.
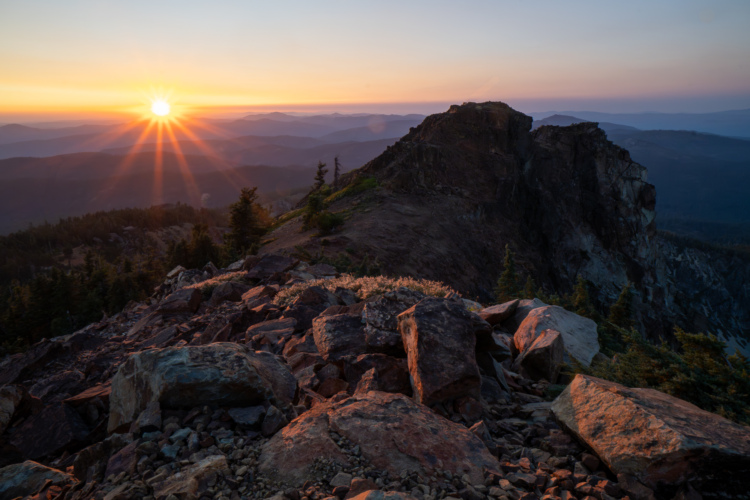
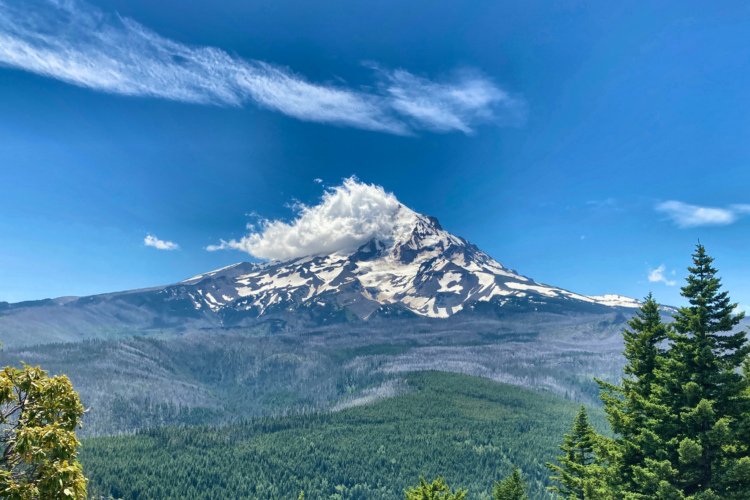
Oregon's diverse landscape is home to some of the best trails in the USA. Here are our top 5 picks.
Senate Republicans have reintroduced public land sales into Trump's tax bill, and 3.3 million acres of public land are now at risk.
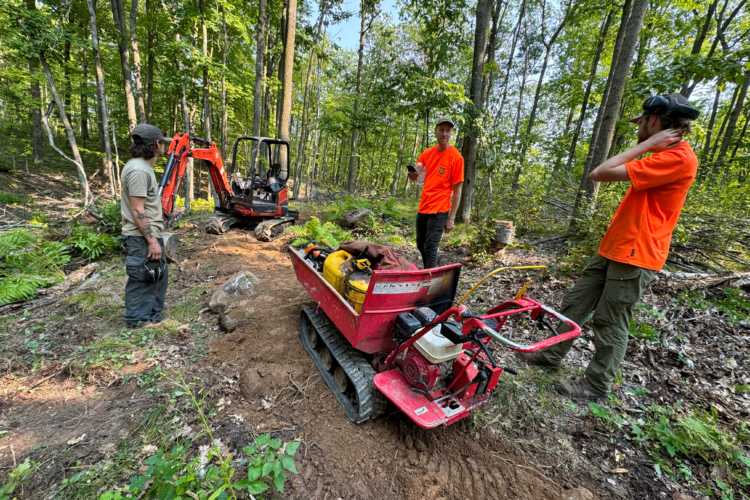
We all have to start somewhere, but we don't all have to make the same mistakes! We talked to the pros to learn what big mistakes rookie trail builders need to avoid.
 7
7