Last week I wrote about locating and planning for a new MTB trail and this is a continuation of that article. Click here to go back and get caught up.
Walk the Area
Walking the site is integral to choosing a line for your new mountain bike trail. Walking will help you decide which areas are most suitable and will help you see topography and land makeup at a closer scale. Look for natural features such as rock gardens, ridges, and humps. These features are useful for building technical sections, jumps, rollers, and berms and the best trails link these types natural features together. Take your dream trail list (see previous article) out with you to help you remember all the features you are looking for. Mark areas of interest on a map, GPS, or even mentally. If you have more than one possible build site, walking the area will help you decide which site to use.
Look for Natural Features
Natural features play a key role in how I personally build trails. Making use of natural features saves you lots of time and effort when building your trail and it usually makes it more fun too. Different features are desirable for different trail types and uses. If you are building an XC trail, look for natural benches and humps to help you make a fast, flowy benchcut trail with many grade reversals. If you are building a FR/DH trail, look for ridges and humps with proper spacing to build jumps and berms, rock slabs, rock gardens and natural benches that make full use of elevation changes. Spotting natural features takes practice and a trained eye so next time youre out for a hike or slow paced ride, look around and try to identify a few natural features and envision what you might build with them if you were building a trail there. Here are some natural features which are useful for trail building:
1. Ridgelines: Staying atop ridgelines allows for trails with reasonable grades and good drainage.

photo by AK_Dan
2. Benches: These are natural steps. Building trail along these is easy and creates well drained trails with suitable grades.
3. Humps and bumps: These deposits of soil from 1-20 feet tall can be turned into rollers, gap jumps, tabletops and berms with just a little shaping. A short, steep incline or decline is often useful as the lip or landing of a jump.
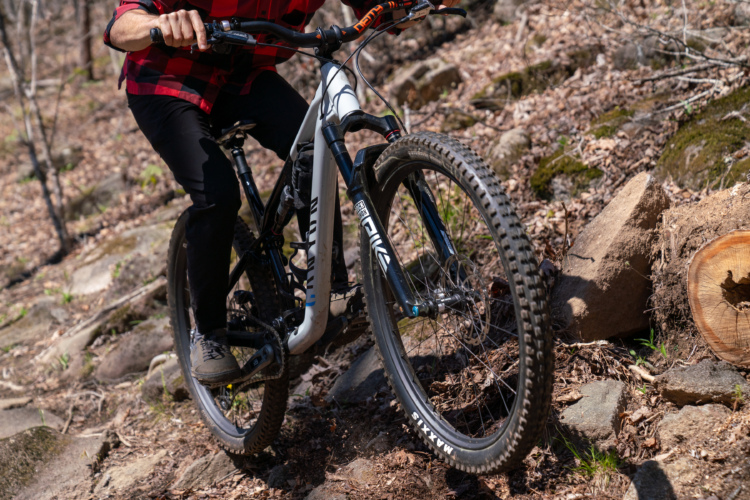
4. Rocks: Deposits of rocks can be used for rock gardens or rock armouring.

photo by trek7k

photo by RowdyREBEL
5. Rock Faces: Slabs of various clines are useful for a high grip, zero maintenance, permanent, and fun trail features.
6. Exposure: Building a trail relatively close to a steep hillside or cliff gives the user the sensation of speed. Just be careful not to build your trail too close to the edge!
7. Scenery: Building your trail next to lookouts, streams, big trees or other aesthetically pleasing features enhances user experience.
8. Building materials: Building a trail close to useful materials such as rocks and rot resistant wood such as cedar decreases the amount of materials you need to haul in and makes the trail building process faster and easier.

This picture shows a big rock garden some friends of mine built. The rocks were found close by then rolled and dug into place.

Its tough to see from this angle, but this is a BIG tabletop. The lip is on the bottom right and the landing is on the bottom left of the frame. I saw a big ridge and thought it would make a good tabletop. I carved out a lip on one side and smoothed out a transition on the other. I envisioned this line and it turned out better than I expected.

Its also a bit tough to see on this one, but the launch ends on the upper log on the right side of the frame and the landing is on the bottom left. This is the set up jump for the tabletop in the previous picture. Again, I envisioned this line and the final product vastly exceeded my expectations. The downed log provided a natural backing for the jump. The length to the naturally steep transition also works perfectly. All I had to do to build this line was benchcut and add some dirt to the lip. For those who aren’t familiar, a benchcut is a trail cut into the side of a hill and I’ll expand on the benchcut method of trailbuilding in a future article.
Next Up: Choosing Your Line Part 2
About the Author
Kevin Johnstone is an avid mountain biker from Ontario, Canada. He has been building trails for 4 years across Canada. He has worked with the worlds #1 bike park builder, Jay Hoots, for a number a build sessions spanning 2 years. He spent 2 seasons improving the trails at Kelso conservation area in Milton. He is currently building downhill specific trails. Kevin can be reached by private message.