Trails
Reviews
Tips
Community
Deals
Latest
Support
Trails
Find trails
Best bike trails
Destinations
Add a new trail
Reviews
Mountain bike reviews
Components
Tires
Clothing & shoes
Helmets
Accessories
Product news
Community
MTB Clubs
Races & Events
Bike Shops
Tips
Skills
Fitness & Training
Health & Nutrition
Beginners
Repair
Latest Articles
Podcast
Deals
Support Singletracks
Sign in
Create an account
About us
Newsletter signup
Saris
Bike Racks
Saris MTR Stands Tall Amongst Tray Style Bike Hitch Racks [Review]
7
Culture
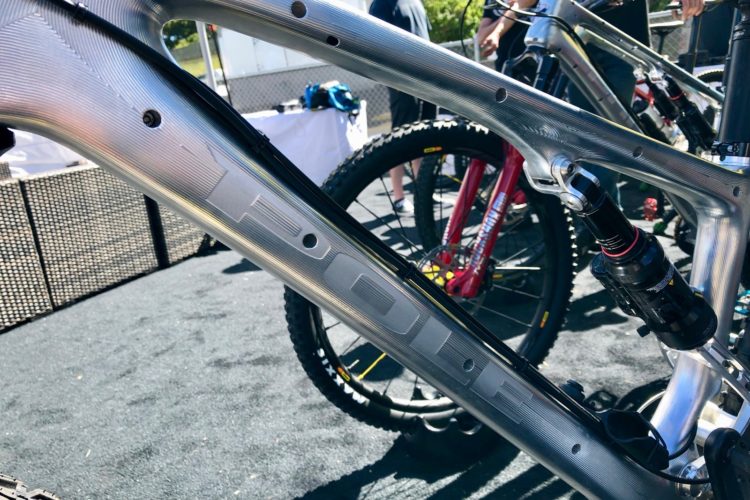
Freaky and Fabulous MTB Finds at Sea Otter 2019
4
Mountain Bikes and Gear
Saris Enters the Premium Bike Rack Market with the MTR
4
Mountain Bikes and Gear
News: Saris Super Bones Bike Rack Announced
2
MTB Tips
CycleOps Joule 2.0 Review
4
Mountain Bikes and Gear
New Cycle-Ops Training Gear and Saris Bike Racks
MTB Tips
CycleOps PowerTap SL+ (Mountain Bike)
9
MTB Tips
New Years Resolution Keeper: CycleOps Super Magneto Pro Review
Mountain Bikes and Gear
Saris CycleOn Pro Bike Carrier Review
1
Mountain Bikes and Gear
Saris Bike Racks @ Interbike

 7
7