Trails
Reviews
Tips
Community
Deals
Latest
Support
Trails
Find trails
Best bike trails
Destinations
Add a new trail
Reviews
Mountain bike reviews
Components
Tires
Clothing & shoes
Helmets
Accessories
Product news
Community
MTB Clubs
Races & Events
Bike Shops
Tips
Skills
Fitness & Training
Health & Nutrition
Beginners
Repair
Latest Articles
Podcast
Deals
Support Singletracks
Sign in
Create an account
About us
Newsletter signup
Reviews
Eyewear
The Ombraz Leggero Sunglasses Have No Arms [Review]
Clipless Pedal Shoes
Specialized Recon 3.0 MTB Shoes: Most of the Features of S-Works for Nearly Half the Price [Review]
Hydration Packs
The Norrona Skibotn Hydration Pack is Simple and Refined, with Plenty of Space
Wheels
e*thirteen LG1 Race Carbon MTB Wheels are Mid-Weight and Mid-Price, but offer Max Stiffness [Review]
Handlebars
E-thirteen Race Carbon Handlebar and Alloy Base Mountain Bike Stem [Review]
3
Mountain bikes
The Orbea Occam Will Make any Bike Quiver Quiver [Review]
2
Mountain Bikes and Gear
6 Warm Mountain Biking Flannels, Reviewed
1
Mountain Bikes and Gear
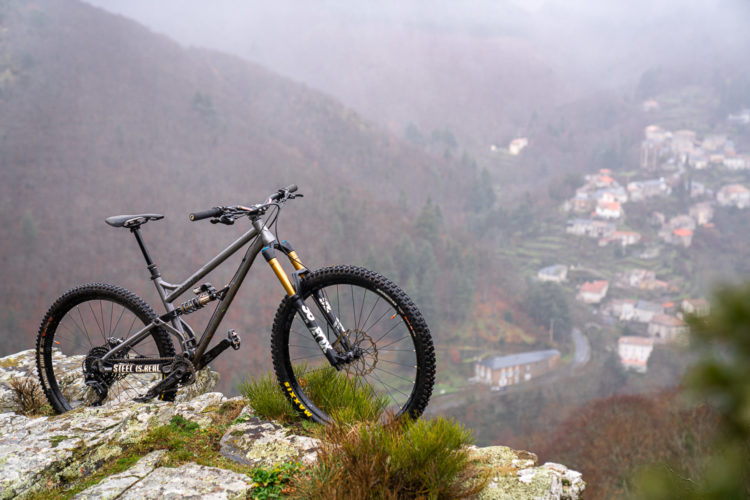
The Production Privee Shan N°5 is a Unique Steel Full Suspension Mountain Bike [Test Ride Review]
3
Lights
Illuminate Dark Mountain Bike Trails with Magicshine's Allty 2000 [Review]
4
Mountain Bikes and Gear
Pactimo Ridgeline Softshell Hoodie Works Off the Bike, and On it Too [Review]
Enduro Bikes
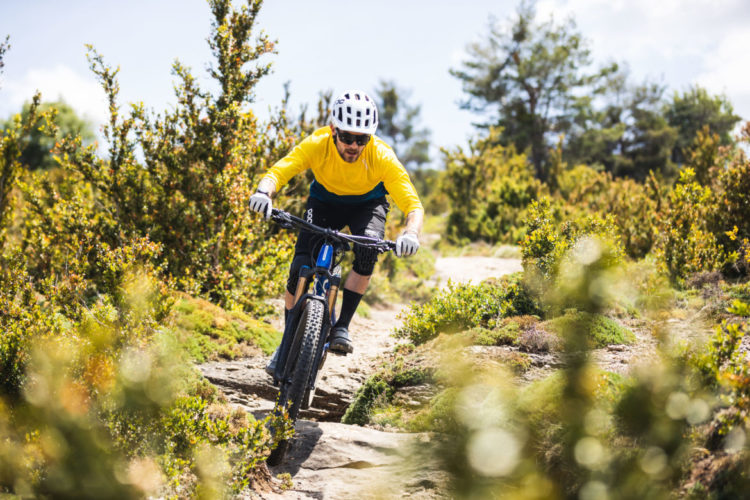
Riding the Line Between All-Mountain and Enduro Aboard the 27.5" Merida One-Sixty 700 [Review]
1
Dropper Posts
Pro Koryak Dropper Post is Fun to Install, Easy to Operate [Review]
Gear Bags
Roll Like A Pro Photog With the EVOC CP 18L Camera Backpack [Review]
2
Enduro Bikes
A Full Season Aboard a Handmade Ancillotti Scarab Evo 29 Enduro Bike [Review]
Jackets
Ion's Revised 3-Layer Scrub Amp Jacket Is Warm, Cozy, and Autumn Tinted [Review]
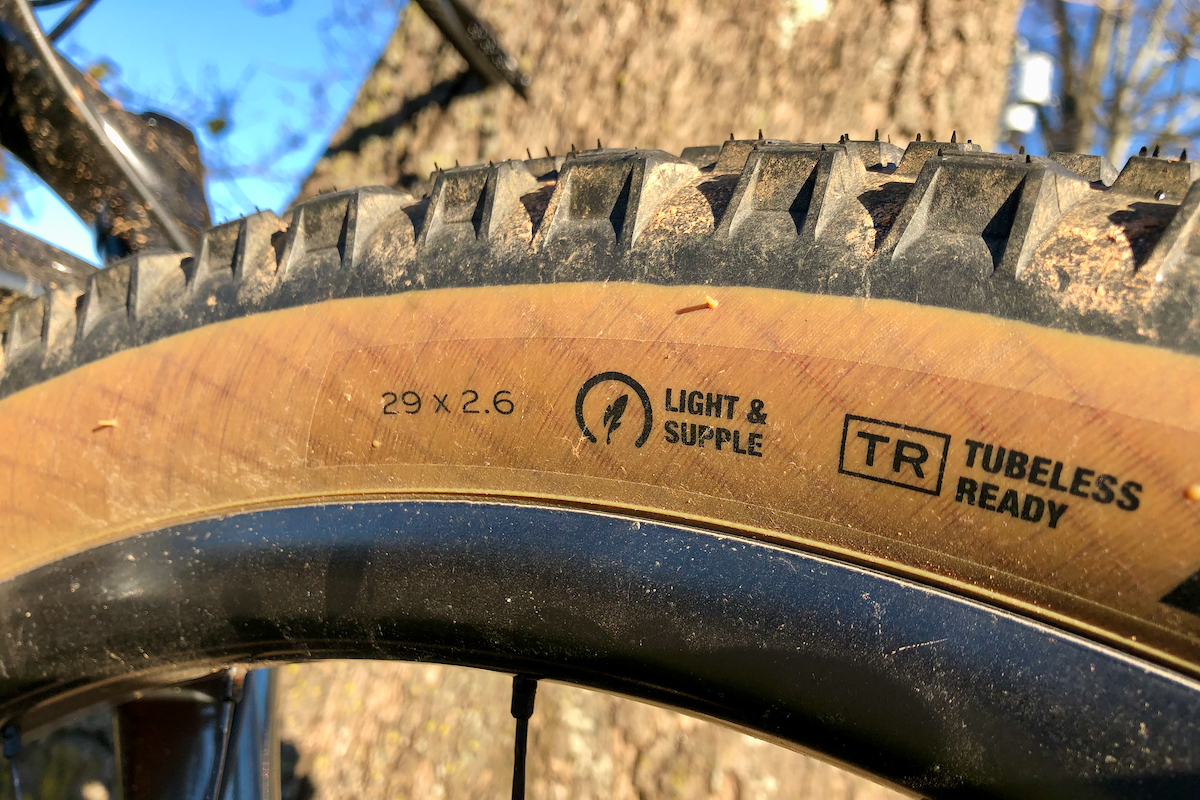
Tires
Teravail Honcho is a True All-Around Mountain Bike Trail Tire [Review]
11
Jackets
Showers Pass Transit Jacket CC Keeps Rain and Wind at Bay, Melts Excuses Away [Review]
Mountain Bikes and Gear
Brutal and Balanced: The 2020 Rocky Mountain Slayer [Review]
1
Rear Shocks
Cane Creek DB Air CS is Still the Rear Shock to Beat [Review]
Hip Packs
Sierra Designs Flex Lumbar is One Massive Hip Pack [Review]
5
Full Face Helmets
New Convertible MET Parachute MCR Mountain Bike Helmet Shape Shifts at Your Whim [Review]
2
Jackets
Warm up Cold Mountain Bike Rides with the Latest from Gore, Zoic, Velocio, Pearl Izumi, and more [Review]
Wheels
NEXT Cycling Huck Enduro Wheels are Boutique and Bomb-proof
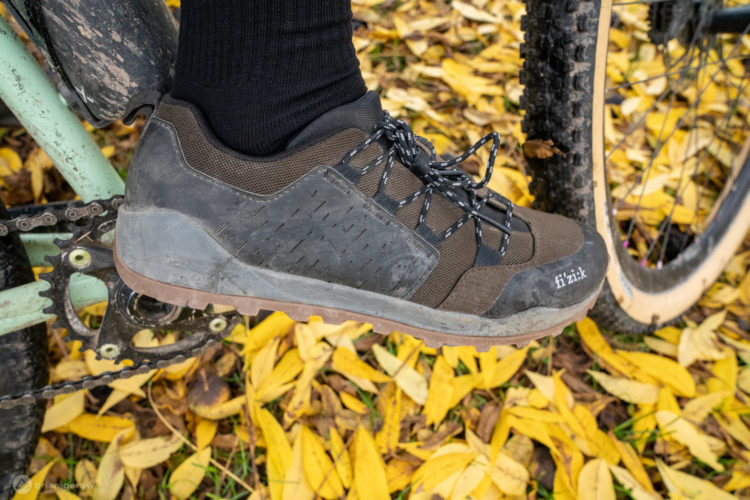
Clipless Pedal Shoes
Fizik's Terra Ergolace X2 Clipless MTB Shoes Are in for the Long Hike [Review]
Lights
Light and Motion's Vis 360 Pro Helmet Light and Vya Pro Head and Taillights [Review]
3
Hip Packs
The Camelbak Podium Flow Belt is a Lightweight Hip Pack for Quick Rides [Review]
Mountain Bikes and Gear
The Long-Legged Cannondale Jekyll 29 [Short Term Review]
Forks
The Ever Tunable Öhlins RXF 36 Evo Air Mountain Bike Fork [Review]
2
Mountain Bikes and Gear
Kenda Regolith Pro Trail Tire is Versatile, but not Quite a Quiver-Killing Mountain Bike Tire
2
Trail Bikes
The Diamondback Sync'r Carbon 27.5+ is a Rugged, Hardcore Hardtail [Review]
4
Enduro Bikes
In Short, Yeti's SB150 is an Aggressive Mountain Bike for Aggressive Riders [review]
4
Repair
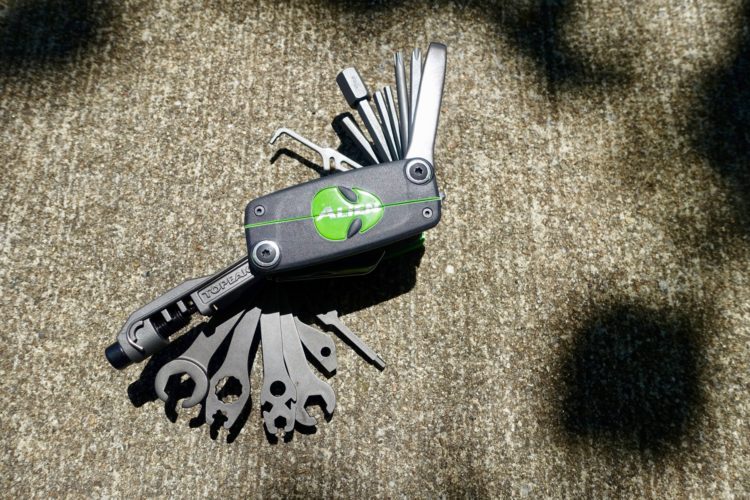
The Topeak Alien III is Among the Most Comprehensive (and Heaviest) Mountain Bike Multi-tools Ever Invented
Mountain Bikes and Gear
Jamis Portal A2 Trail Bike: A Dialed, $3,000 Full Suspension Mountain Bike [Review]
4
Clipless Pedal Shoes
Clip in Comfortably With Mavic's XA Pro Shoes [Review]
Full Face Helmets
Leatt DBX 4.0 Full Face Mountain Bike Helmet Makes DH Riding Safer and Less Sweaty [Review]
Mountain Bikes and Gear
Patrol's New Long-Travel 29er, the 691, Shreds at a Competitive Price [First Ride Review]
7
Mountain Bikes and Gear
Patrol Adds Big Wheels to Their 130mm 29erTrail Bike for 2020
Dropper Posts
FSA Flowtron Dropper Post is Smooth and Predictable [Review]
Mountain Bikes and Gear
Updated 2020 Orbea Occam 29er Trail Bike Test Ride Review
10
Hydration Packs
Review: Patagonia Nine Trails 14L Hydration Pack
Rear Shocks
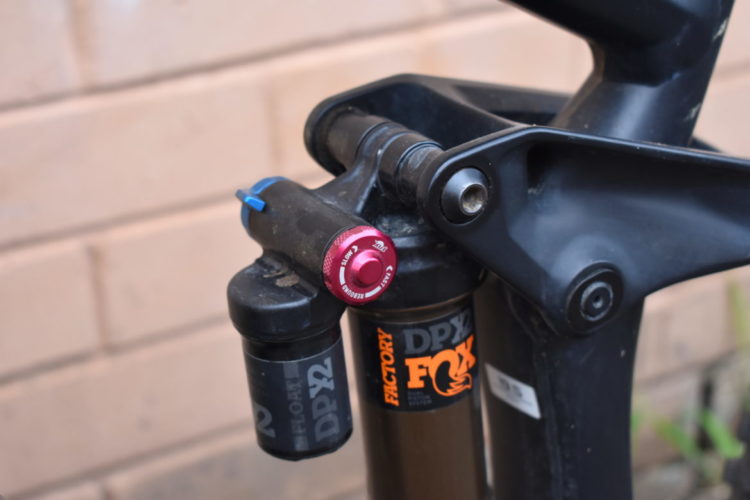
Review: Fox DPX2 Shock, the New Trail Shock From Fox
5
Mountain Bikes and Gear
Continental's New ProTection Tech Reviewed: Mountain King and Der Baron Projekt MTB Tires
Full Face Helmets
Review: O'Neal's Fury RL and Warp Full Face Helmets, Both Under $160
Cranksets
Review: Rotor INpower REX 1.1 Crankset Includes Power Meter, Plays Nicely With Oval Chainrings
Jackets
Sweet Protection Delirious Rain Jacket Review
1
Mountain Bikes and Gear
When Fat Is Fast: Fatback Corvus Review
1
Mountain Bikes and Gear
Terrene Tires McFly 27.5+ Review
Mountain Bikes and Gear
Watch: Carbon Enduro Mountain Bike Throw Down
1
1
2
3
…
15
»


 3
3