Trails
Reviews
Tips
Community
Deals
Latest
Support
Trails
Find trails
Best bike trails
Destinations
Add a new trail
Reviews
Mountain bike reviews
Components
Tires
Clothing & shoes
Helmets
Accessories
Product news
Community
MTB Clubs
Races & Events
Bike Shops
Tips
Skills
Fitness & Training
Health & Nutrition
Beginners
Repair
Latest Articles
Podcast
Deals
Support Singletracks
Sign in
Create an account
About us
Newsletter signup
Chain
Derailleur
What Can I Do When my Chain is Stuck, Wedged, or Jammed Between the Cassette and the Spokes? [Quick Question]
6
Drivetrain
The 12-speed Shimano Deore Drivetrain Delivers Incredible Value [Review]
2
Mountain Bikes and Gear
Are you Running a Chain Guide on Your Mountain Bike?
2
Sponsored
What is the Most Important Feature in a Mountain Bike Chain Lube?
7
Brakes
A Summer Spent Pedaling Aboard Shimano XTR 12-Speed Group Set [Review]
7
Drivetrain
Upgrade Your SRAM 11-Speed Drivetrain To 12 Gears With A Kit From E*Thirteen
3
Mountain Bikes and Gear
Keep Your MTB Running Smoothly: 5 Things a Pro Mechanic Thinks You Should Know
7
Mountain Bikes and Gear
Review: MRP G3 Chain Guide and Bling Ring Chain Ring
Mountain Bikes and Gear
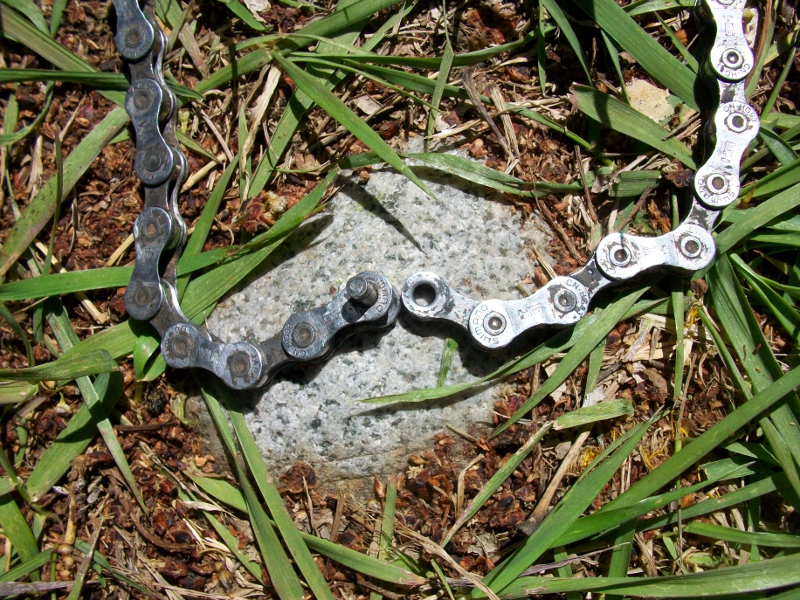
Trailside Repairs: How to Fix A Broken Chain
16
Mountain Bikes and Gear
cSixx 150gm Carbon Chain Tensioner
5
Mountain Bikes and Gear
WickWerks Chainring Review
1
Mountain Bikes and Gear
Bike Part Jewelry from Designs by Jodey
6
Mountain Bikes and Gear
How to fix or replace your MTB chain
1

 6
6