Trails
Reviews
Tips
Community
Deals
Latest
Support
Trails
Find trails
Best bike trails
Destinations
Add a new trail
Reviews
Mountain bike reviews
Components
Tires
Clothing & shoes
Helmets
Accessories
Product news
Community
MTB Clubs
Races & Events
Bike Shops
Tips
Skills
Fitness & Training
Health & Nutrition
Beginners
Repair
Latest Articles
Podcast
Deals
Support Singletracks
Sign in
Create an account
About us
Newsletter signup
Building
Culture
Have You Ever Helped Build or Maintain a Mountain Bike Trail?
5
Culture
Can Mountain Bikers Successfully Sue Land Owners, Land Managers or Trail Builders Due to Injury? It's Almost impossible, at Least in British Columbia
11
Mountain Bike Trails
Drop 3,000 Vertical Feet in 9 Miles on the Newly-Completed Mills Peak Trail
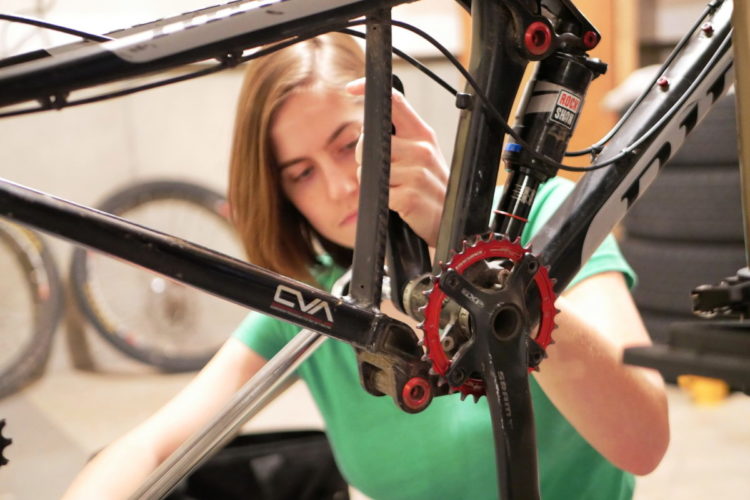
Mountain Bikes and Gear
Building Your Mountain Bike Will Be as Much of an Adventure as Riding It
4
Mountain Bike Trails
Marin's Trail King: Profile of a Trail Builder
1
Mountain Bikes and Gear
On Review: NOX Composites XCR-29 Carbon Rims
Mountain Bikes and Gear
How-to: Mountain Bike Wheel Building 101
5
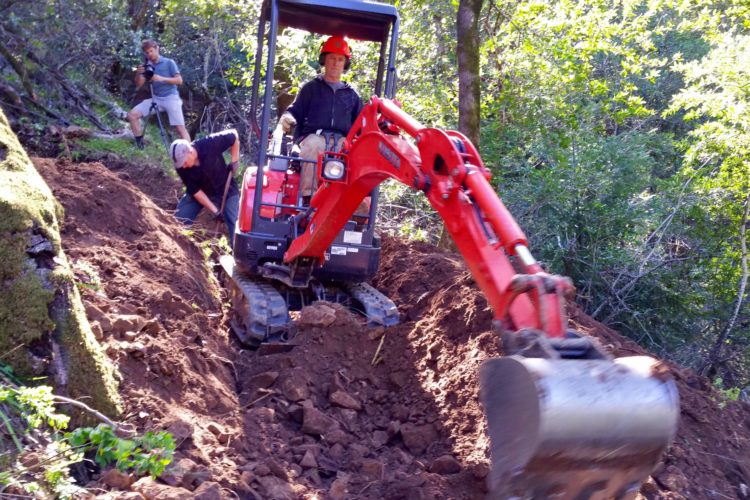
Mountain Bike Trails
MTB Trailbuilding How-To: Work Smart, Not Hard
5
Mountain Bike Trails
MTB Trail Building How-To: Choosing Your Line Part 2
3

 5
5