Trails
Reviews
Tips
Community
Deals
Latest
Support
Trails
Find trails
Best bike trails
Destinations
Add a new trail
Reviews
Mountain bike reviews
Components
Tires
Clothing & shoes
Helmets
Accessories
Product news
Community
MTB Clubs
Races & Events
Bike Shops
Tips
Skills
Fitness & Training
Health & Nutrition
Beginners
Repair
Latest Articles
Podcast
Deals
Support Singletracks
Sign in
Create an account
About us
Newsletter signup
Trails
Mountain bike trails.
Michigan
5 of the best mountain bike trails in Michigan
7
Maine
After teasing downhill MTB for years, this famous Maine ski resort is finally spinning its lifts for bikers
1
Missouri
The first mountain bike trail in St. Louis is here — and it’s just the beginning
Idaho
10 of the best downhill mountain bike trails in Idaho
Nova Scotia
Nova Scotia tells everyone to ‘Stay out of the woods’ for the next 12 weeks — or pay a $25,000 fine
9
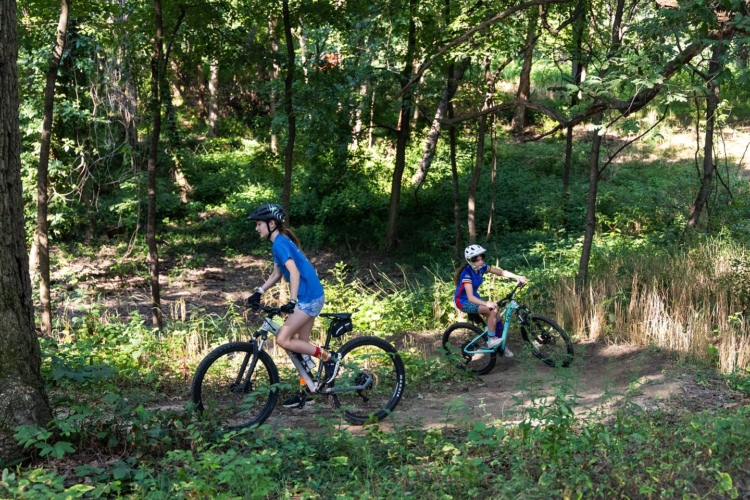
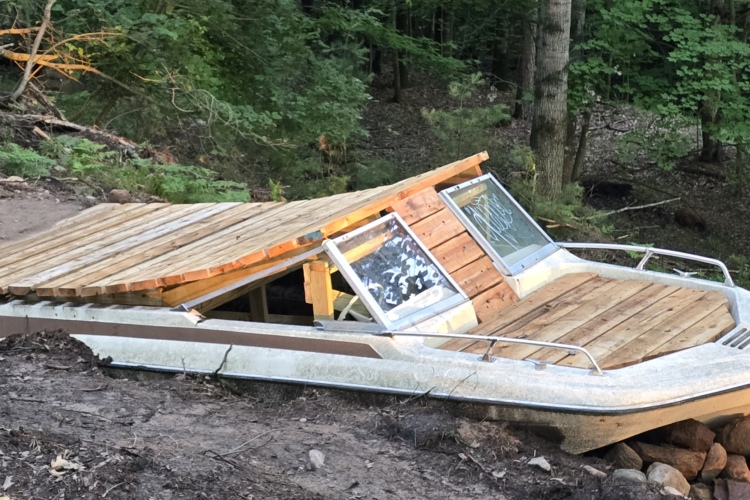
Michigan
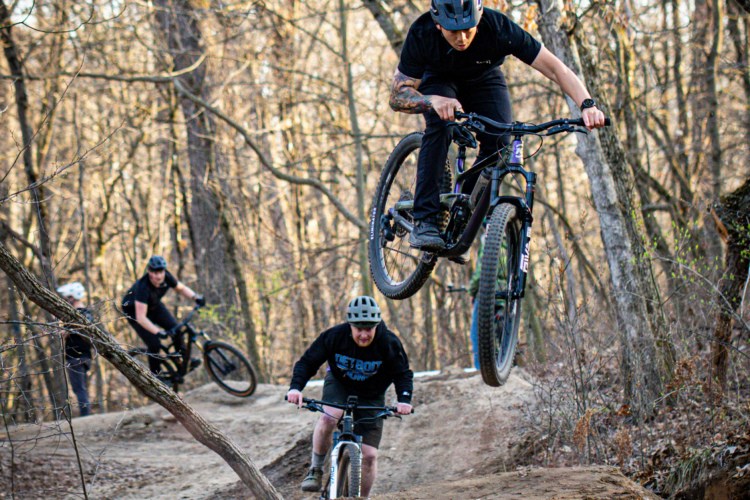
A new MTB trail system in Iron Mountain, MI, features a speed boat in a flow trail
6
British Columbia
You'll soon be able to stop for a mid-ride wood-fired pizza on these new trails in Houston, BC
1
New York
5 of the best mountain bike trails in New York
9
Mountain Bike Trails
Vail Resorts settled one strike in Park City. Will they face another one this summer?
1
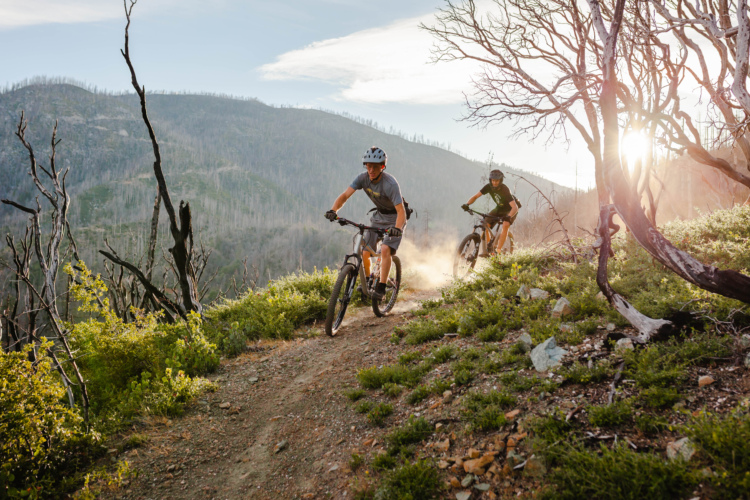
California
A massive 51-mile MTB trail network is under construction in Northern California. But there's a problem
California
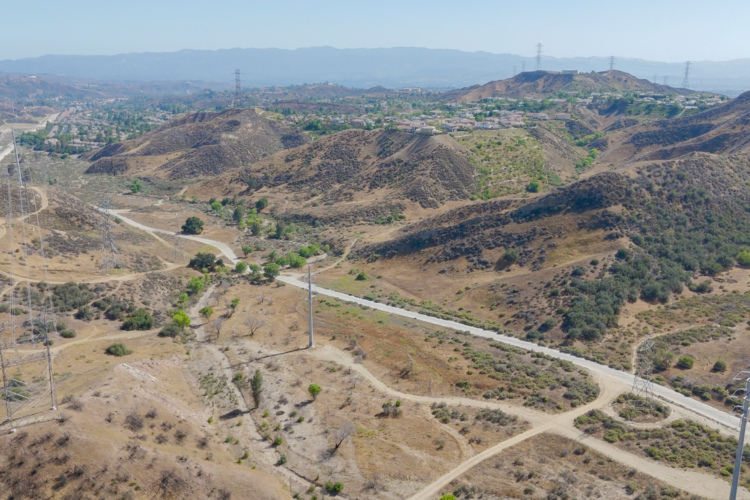
SoCal isn't very welcoming to mountain bikers. Santa Clarita is investing $7.4 million to change that
6
New Mexico
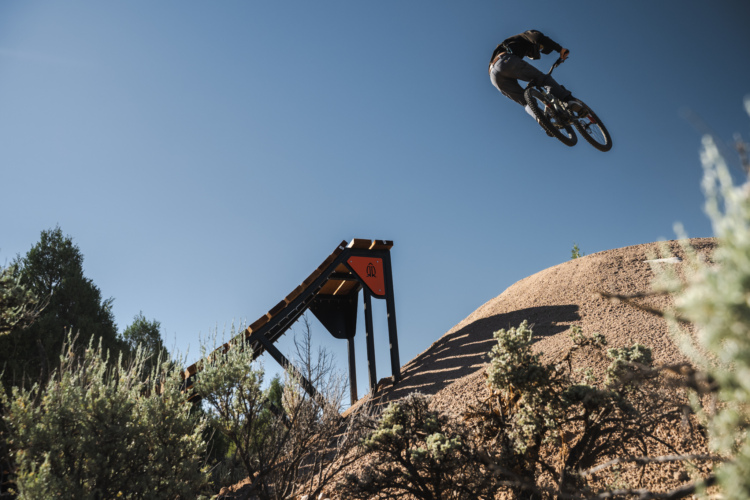
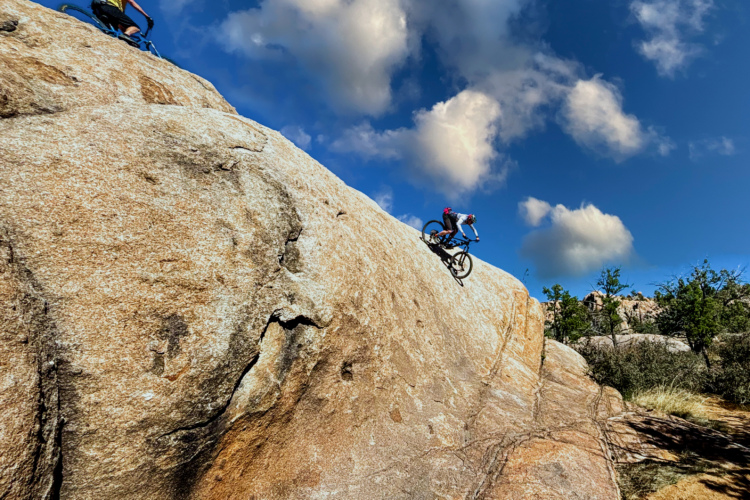
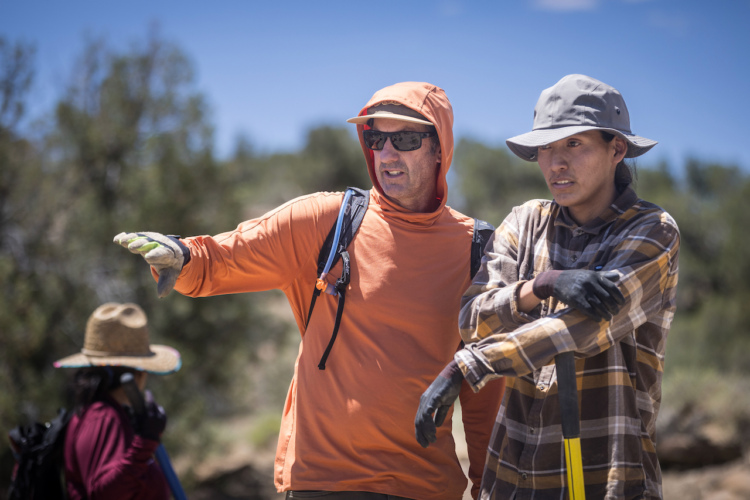
The Picuris Pueblo in New Mexico just built "the gnarliest bike park in the Southwest"
Maryland
The Margraff Plantation adds beginner and adaptive-friendly trails to Maryland's portfolio
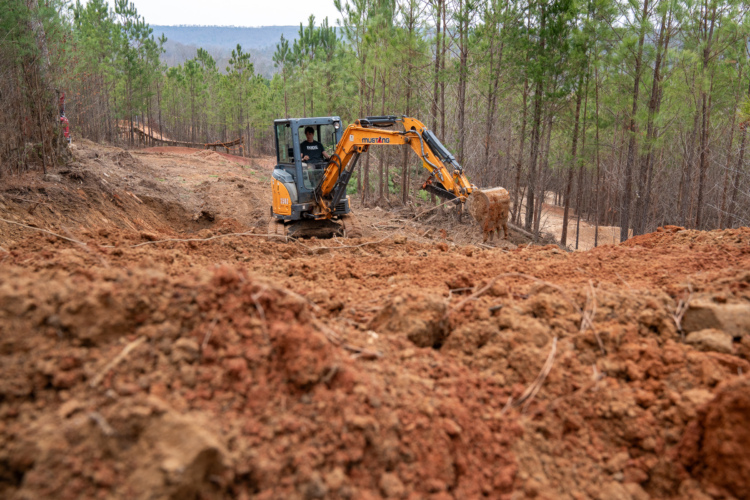
Tennessee
Thanks to a $6.3 million grant, this small Tennessee trail system will more than double in size
2
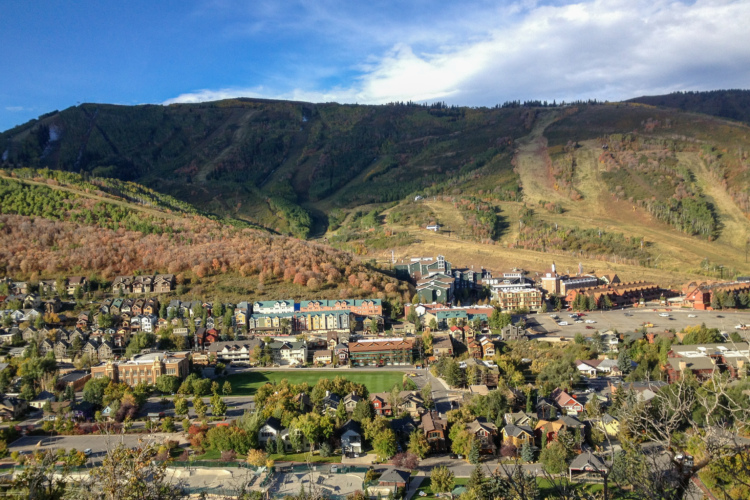
Utah
The Heber Valley is finally getting the gnarly black diamond descent locals have been begging for
2
Oregon
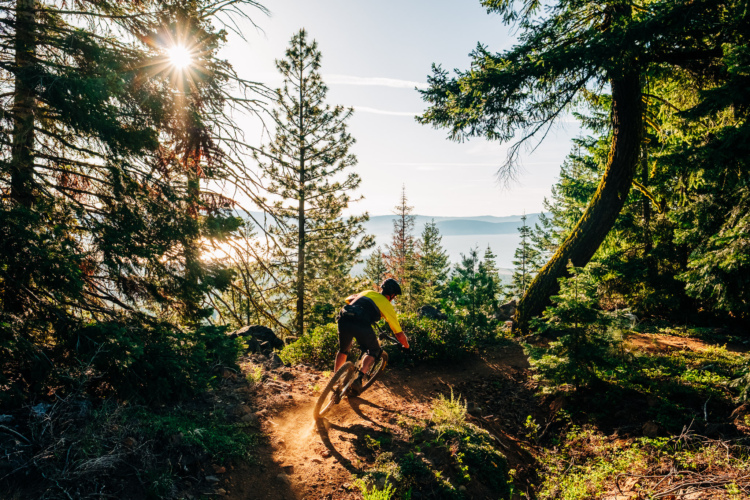
Klamath Falls goes full old-school with gnarly rock-filled trails on Spence Mountain
2
California
5 of the best mountain bike trails in California
11
Minnesota
Minnesota quarry will transform into an MTB adventure park with 16 miles of trails
1
Idaho
Victor, ID, is quietly building the next must-ride zone in the Tetons
1
England
New purpose-built jump trails are coming to the Whippendell Wood just outside of London
Arkansas
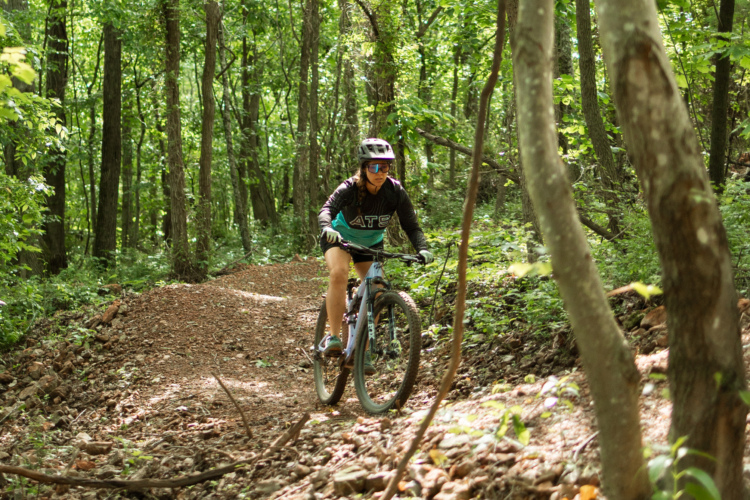
The city of Little Rock is reinventing itself as a mountain bike town
Utah
New MTB trails now connect Park City's trail system to neighboring Heber Valley
1
Colorado
Durango Mesa Park takes a major step forward with new trails in 2025
2
California
The newest lift-served bike park in Southern California has just opened to the public
1
Arkansas
New trails at Bull Shoals in Arkansas bring Oakridge singletrack mileage to 10
1
Wisconsin
Timberland Hills could soon boast 30 miles of singletrack in Northern Wisconsin
3
Mountain Bike Trails
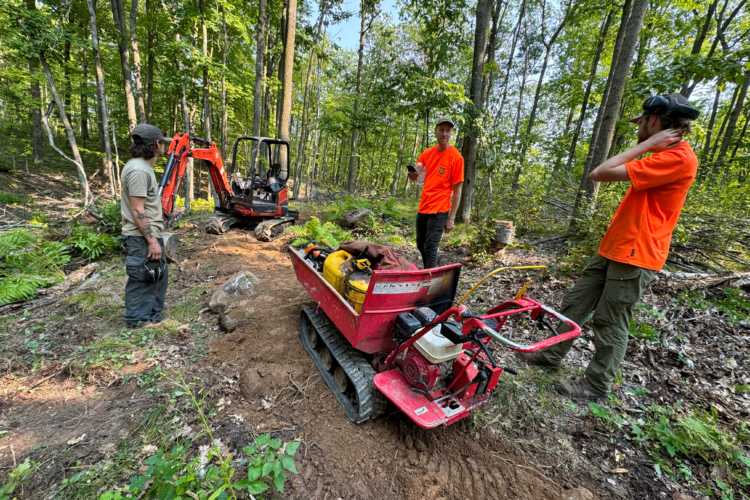
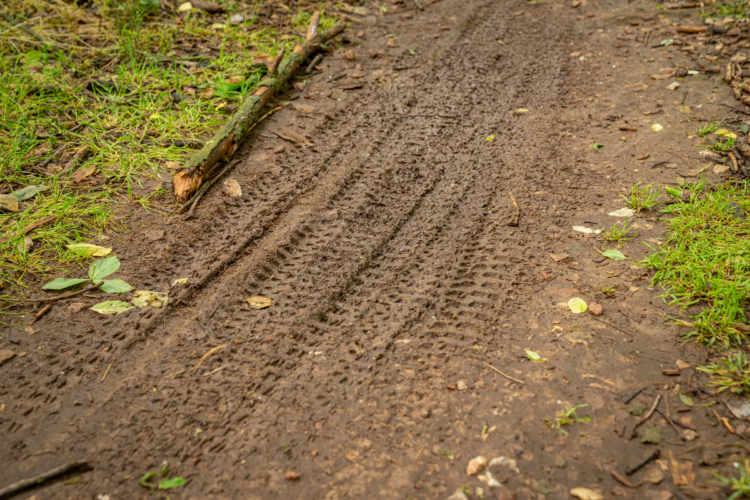
Effective trail building in wet and rainy climates
1
Mountain Bike Trails
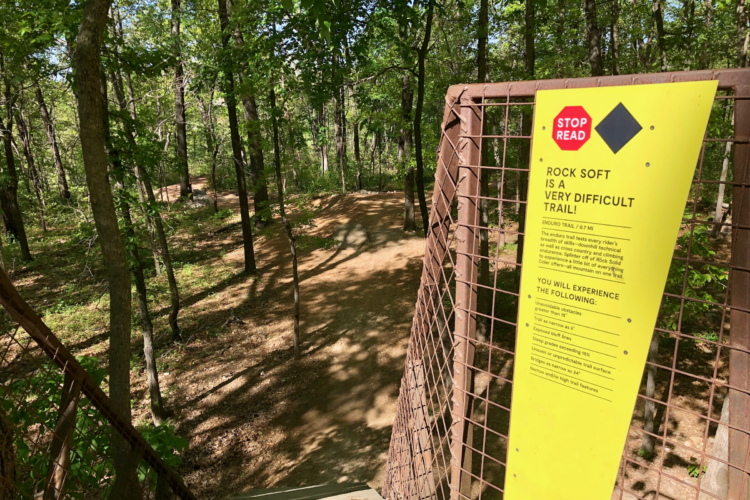
In general, are mountain bike trail difficulty ratings accurate?
15
Mountain Bike Trails
IMBA and the BOLT Coalition are accepting nominations for epic long-distance MTB trails
4
Idaho
5 of the best mountain bike trails in Idaho
1
North Carolina
New North Carolina bike park is a riverside hangout, skills park, and foodie destination all in one
1
California
Redding is California's sunniest city and it boasts over 200 miles of singletrack
1
Mountain Bike Trails
How eMTBs are changing new trail design (and how they're not)
7
Idaho
The Lower Basin MTB trails in Sandpoint, ID, offer rugged, shuttle-served laps
3
Arkansas
A 25-mile MTB trail system is under construction in Monticello, AR
Mountain Bike Trails
Trail armoring can stop erosion in its tracks and make trails more fun to ride, too
Michigan
Grand Rapids, MI, is getting feature-packed MTB trails. Here’s what to expect.
1
California
Kurt Refsnider is setting out in August to ride the 5,000-mile Orogenesis trail
1
Arizona
Prescott, AZ, has spent over $22 million on open space lands
5
Mountain Bike Trails
Longtime MTB trail builder Joey Klein explains how designs have changed over three decades
2
Sponsored
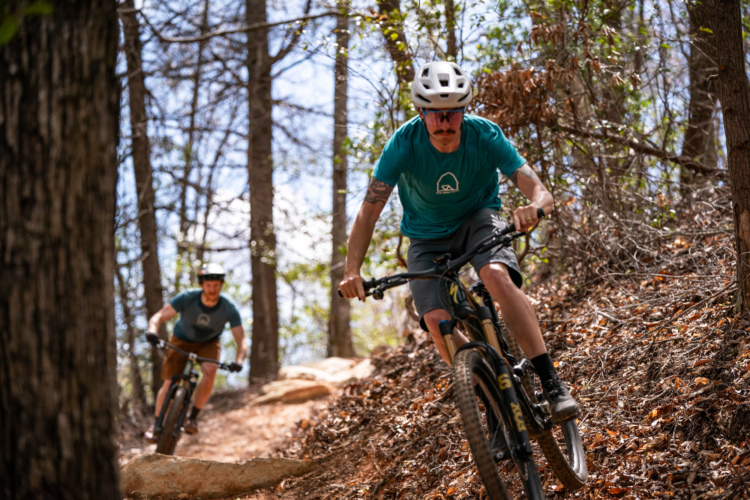
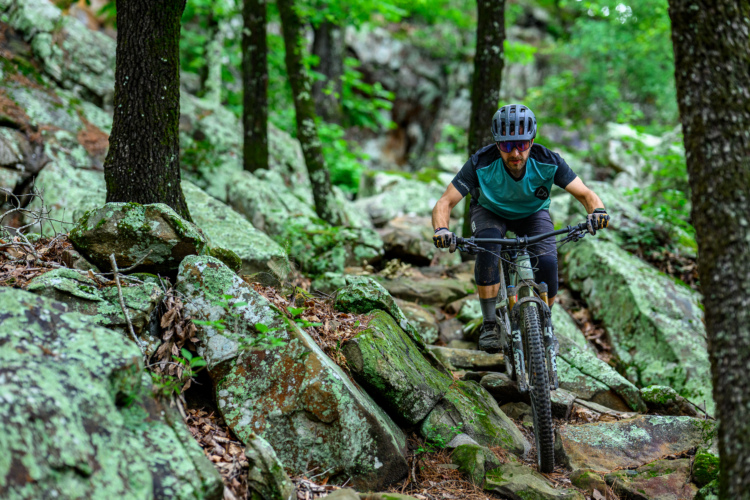
5 of the best MTB trail systems built in Arkansas since your last visit
2
Mountain Bike Trails
Which month is your #1 for mountain biking?
6
Arkansas
Fly-in, fly-out mountain biking comes to Arkansas with the new Bobcat Trail
Oregon
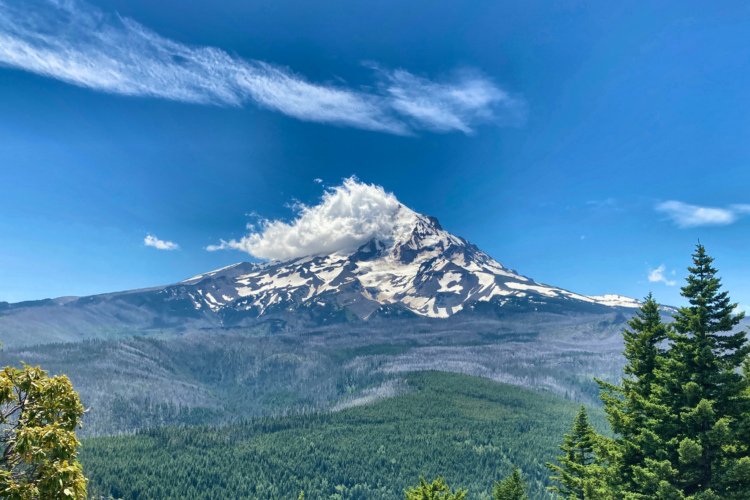
5 of the best mountain bike trails in Oregon
9
Mountain Bike Trails
Public land sales reintroduced into Trump's tax bill —and it's worse than we've ever seen
2
Arkansas
New 'Beyond the Ashes' documentary shows the importance of inclusive MTB trail design
1
Vermont
The Kingdom Trails have finally opened to e-bikes
3
Sponsored
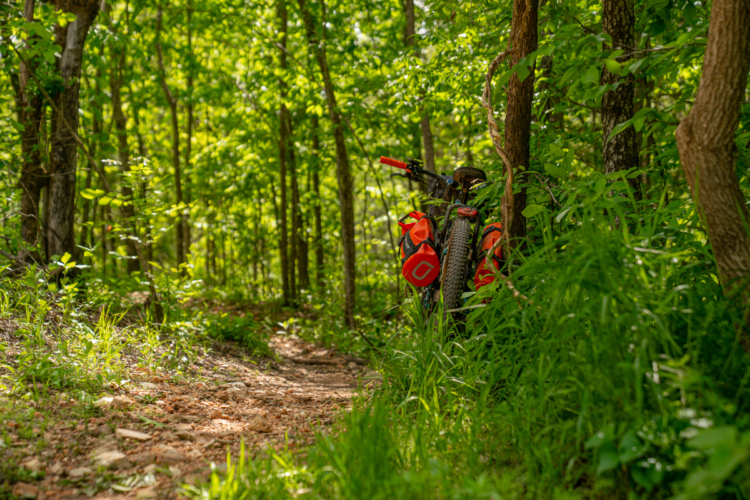
This 3-day route hits every must-ride bike trail in Northwest Arkansas
1
«
1
…
3
4
5
6
7
…
48
»
 7
7