Trails
Reviews
Tips
Community
Deals
Latest
Support
Trails
Find trails
Best bike trails
Destinations
Add a new trail
Reviews
Mountain bike reviews
Components
Tires
Clothing & shoes
Helmets
Accessories
Product news
Community
MTB Clubs
Races & Events
Bike Shops
Tips
Skills
Fitness & Training
Health & Nutrition
Beginners
Repair
Latest Articles
Podcast
Deals
Support Singletracks
Sign in
Create an account
About us
Newsletter signup
Gear
Mountain bike gear and equipment.
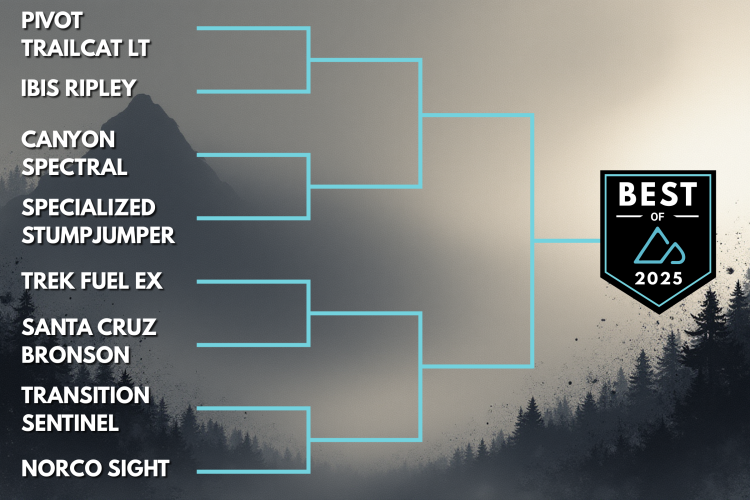
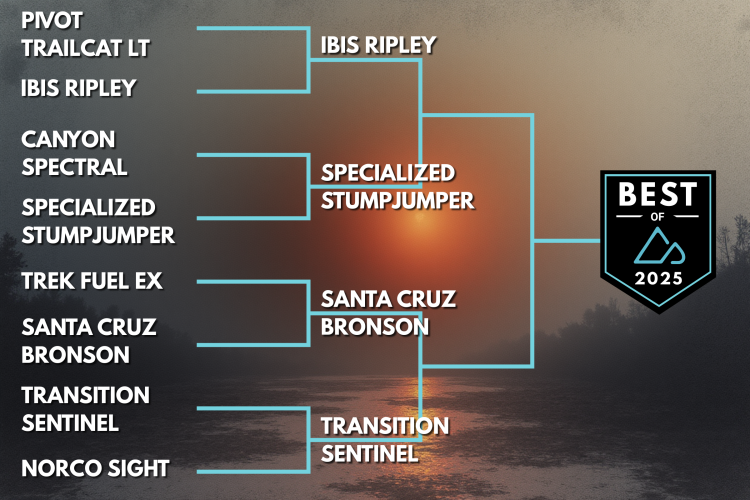
Trail Bikes
Trail bike semifinals: Santa Cruz Bronson vs. Transition Sentinel
Components
What's the oldest component on your MTB?
17
Trail Bikes
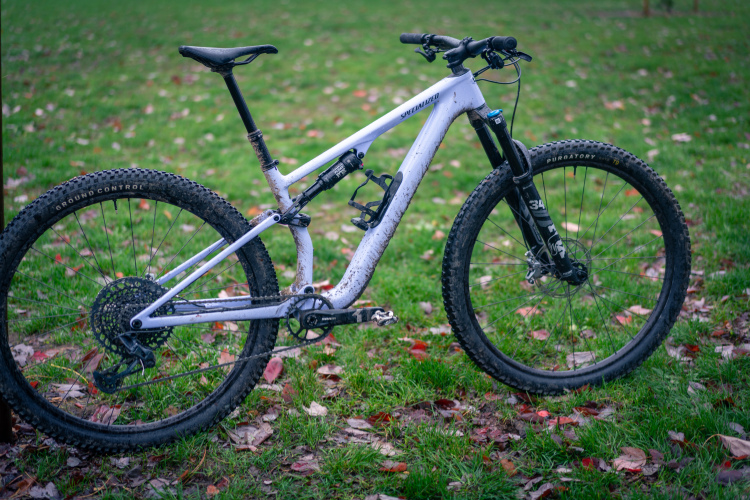
Specialized Epic 8 EVO Review: Why this $4,999 XC bike punches above its weight
9
Mountain Bikes and Gear
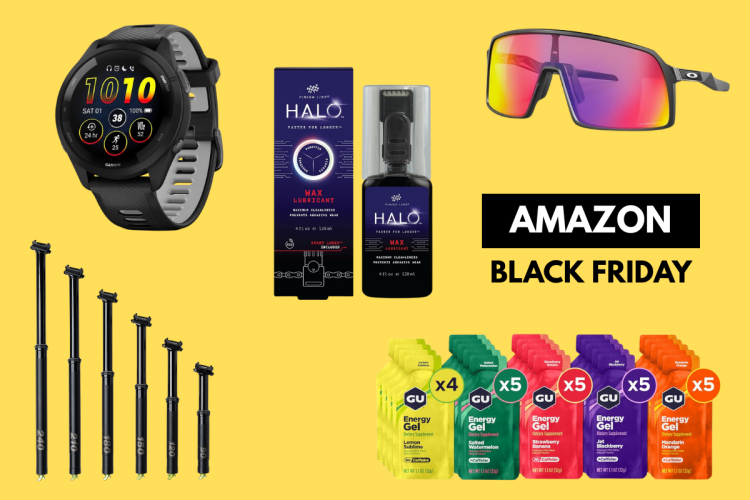
25+ unexpected Amazon Black Friday deals for mountain bikers
Trail Bikes
Trail bike semifinal: Ibis Ripley vs. Specialized Stumpjumper
3
Trail Bikes
Norco Sight vs. Transition Sentinel (Round 1)
2
Half Shell Helmets
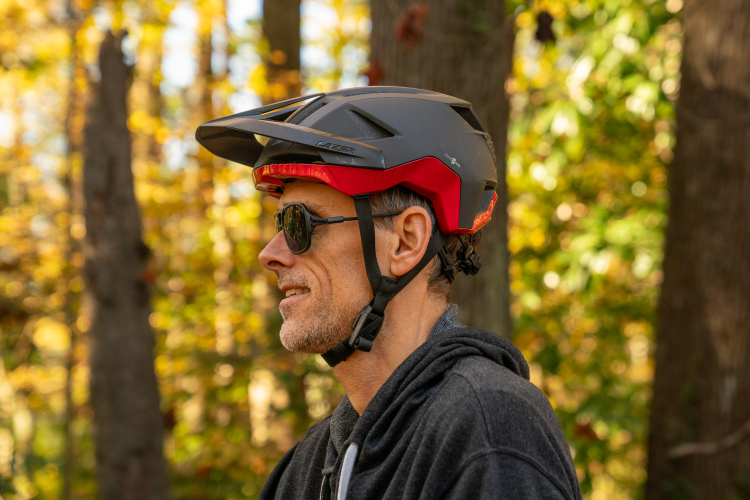
Lazer Impala KinetiCore mountain bike helmet review
Mountain Bikes and Gear
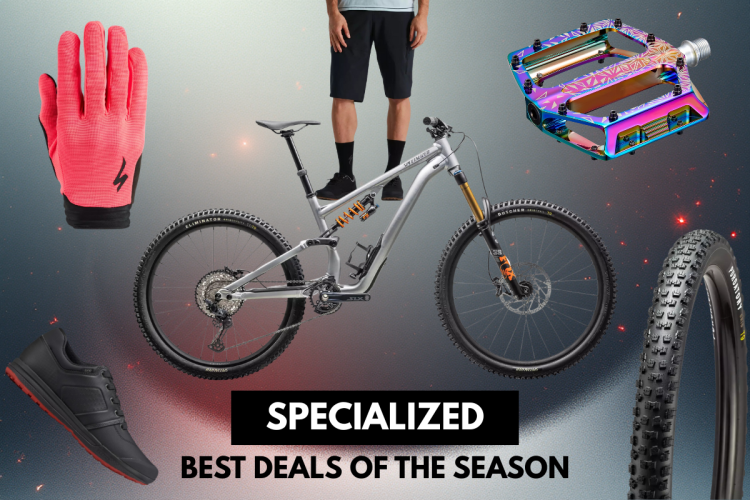
Specialized "best deals of the season" are now live
Mountain Bikes and Gear
YT is back with new ownership structure, US bikes available "at a later date"
5
Mountain Bikes and Gear
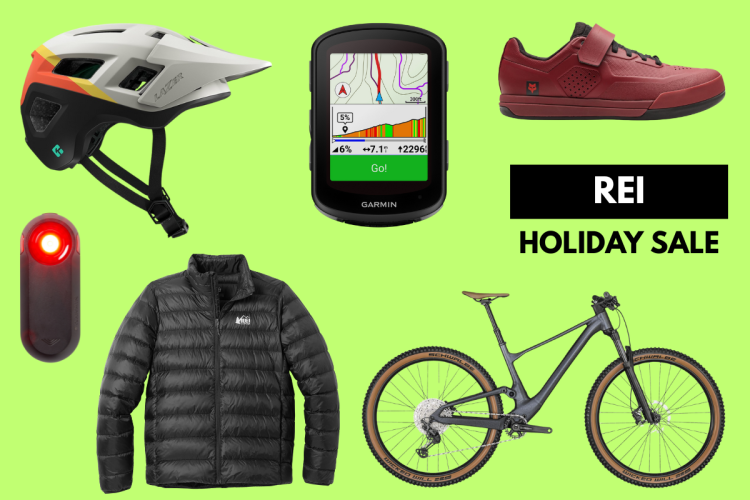
The REI Holiday Sale started today, and the discounts are real
Flat Pedal Shoes
The Lems Trail Thrasher is the Colorado brand's first mountain bike shoe [Review]
4
Trail Bikes
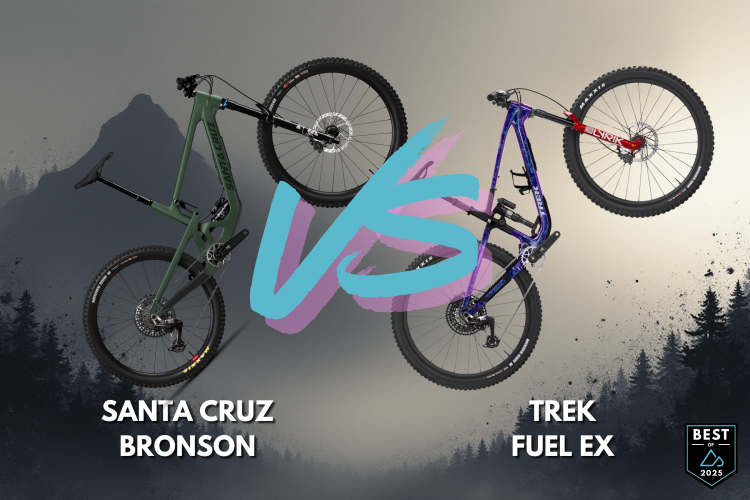
Santa Cruz Bronson vs. Trek Fuel EX Gen 7 (Round 1)
3
Mountain Bikes and Gear
YT bikes appear on Jenson USA with big discounts, but no warranty
2
Trail Bikes
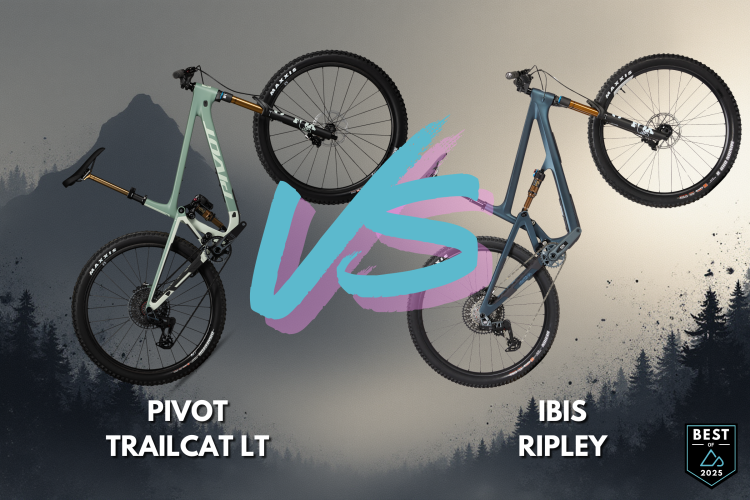
Pivot Trailcat LT vs. Ibis Ripley (Round 1)
1
Sponsored
Updated! More of the best Early Black Friday MTB deals
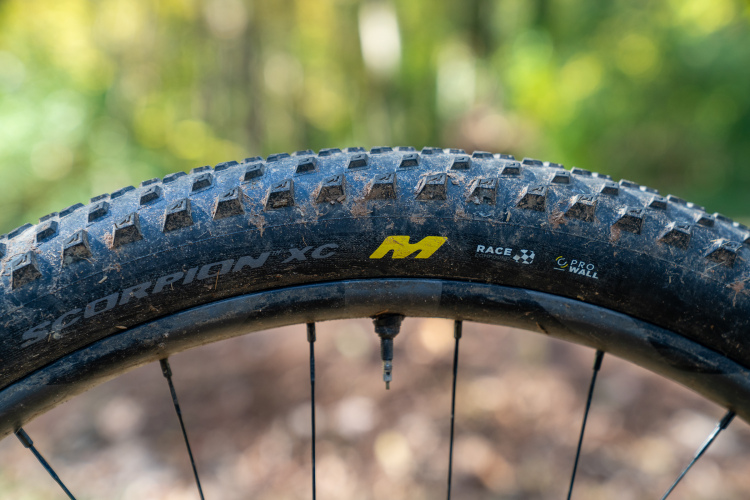
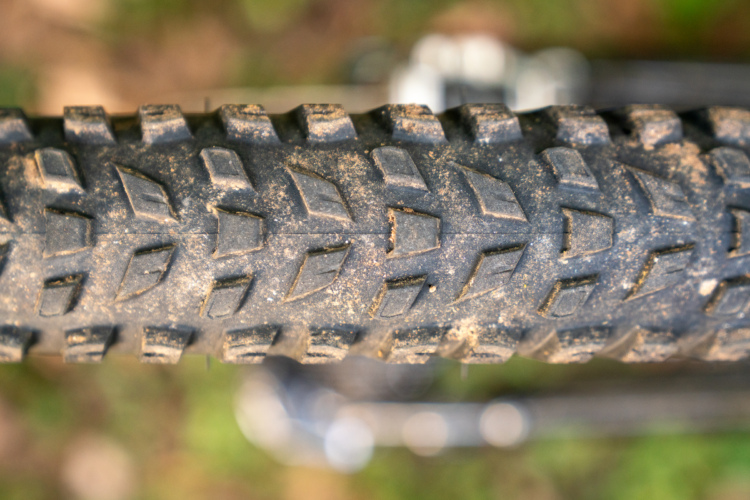
Tires
Pirelli Scorpion XC M mountain bike tire review: Surprisingly rugged performance for XC riding
1
Trail Bikes
The 2025 Trail Bike of the Year Tournament begins today
4
Trail Bikes
Specialized Stumpjumper 15 EVO vs. Canyon Spectral (Round 1)
2
Mountain Bikes and Gear
Trek sale has some of their best discounts of the year
Trail Bikes
The Evil Offering v4 trail bike gets more travel and in-frame storage, plus Boost spacing
Drivetrain
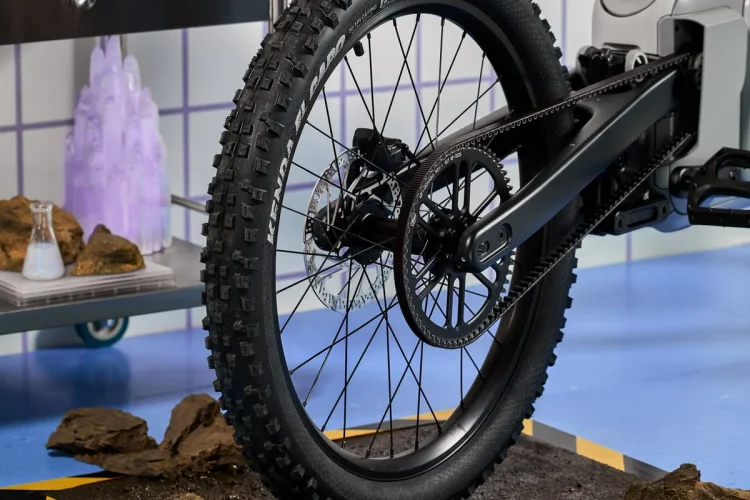
This smart adapter replaces your eMTB motor for a natural ride
3
Accessories
12 Amazon MTB items I don't regret buying
11
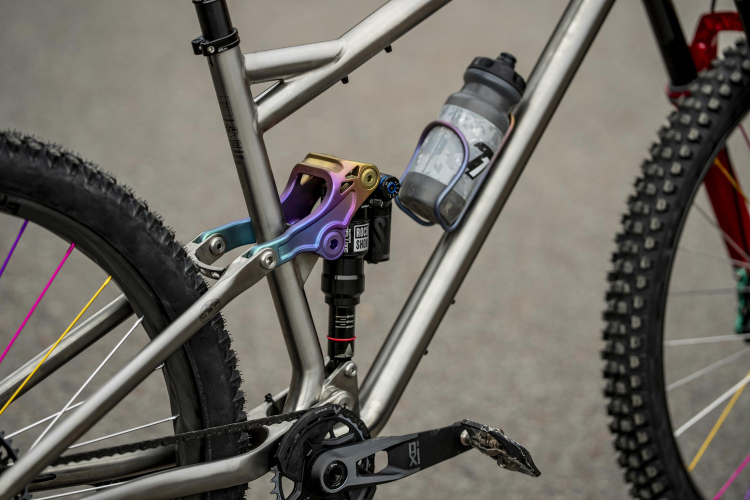
Suspension
Do you run your suspension at the manufacturer's recommended settings?
7
Mountain Bikes and Gear
YT Industries USA is closing and customer support # is no longer in service
5
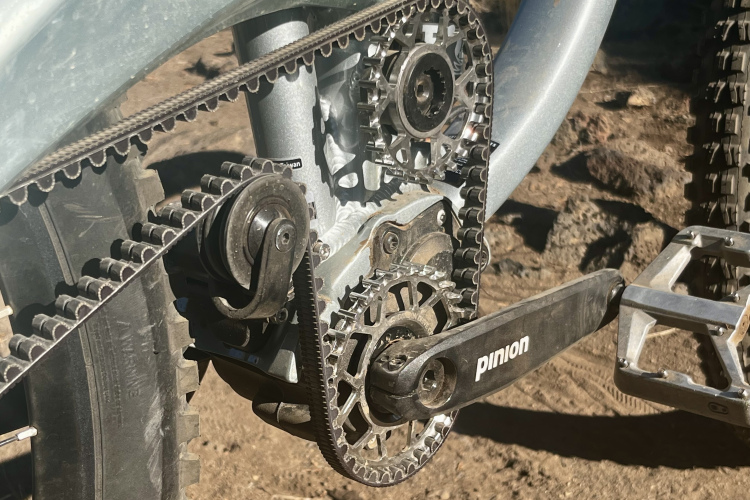
Enduro Bikes
The Priority Vanth is a unique belt-driven, gearbox enduro bike [Review]
3
Mountain Bikes and Gear
The Brompton Electric G-Line folding e-bike is adventure ready [Review]
4
Mountain Bikes and Gear
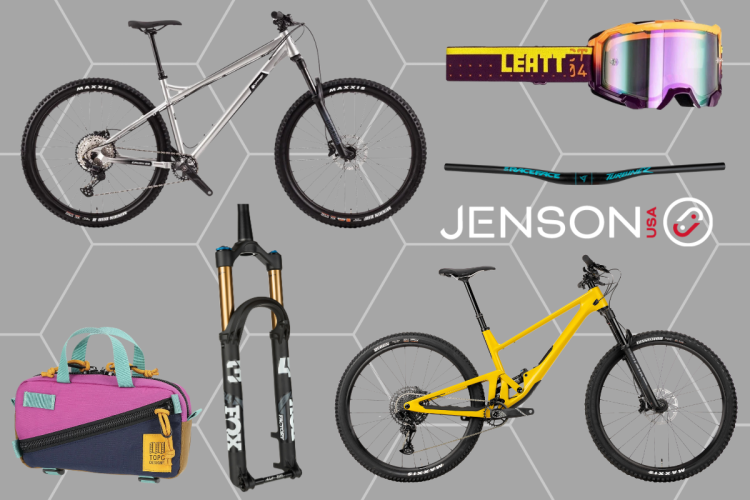
The best MTB deals from the Jenson USA Anniversary Sale
Lights
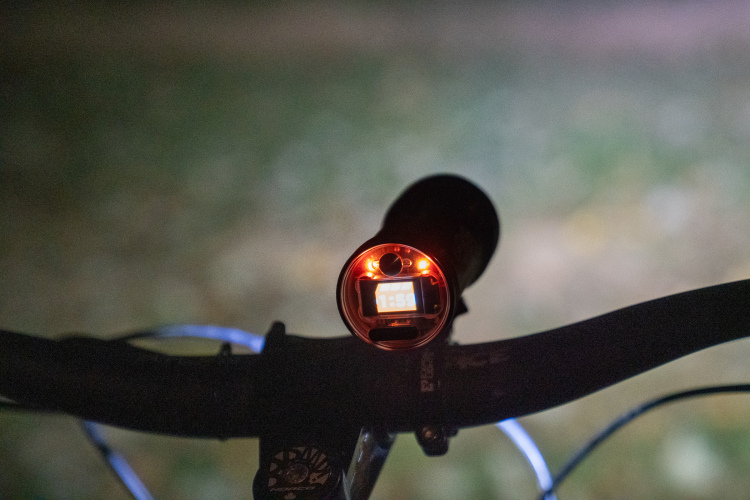
The Exposure Toro 16 bike light gets brighter the faster you ride [Review]
Mountain Bikes and Gear
2 innovative designs for swapping MTB wheel sizes
2
Mountain Bikes and Gear
The Also TM-B is a full-suspension e-bike unlike any other you've seen
11
Mountain Bikes and Gear
The Revel Project RaTical features titanium construction and a new CBF concept
3
Clipless Pedals
Are one-sided clipless pedals any good? A Funn Ripper2 pedal review
1
Body Protection
Upgrade your protective MTB gear for less with these deals
1
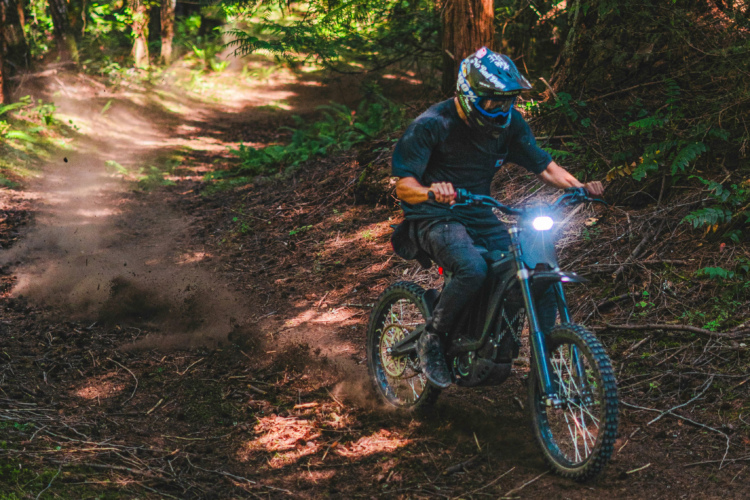
Mountain Bikes and Gear
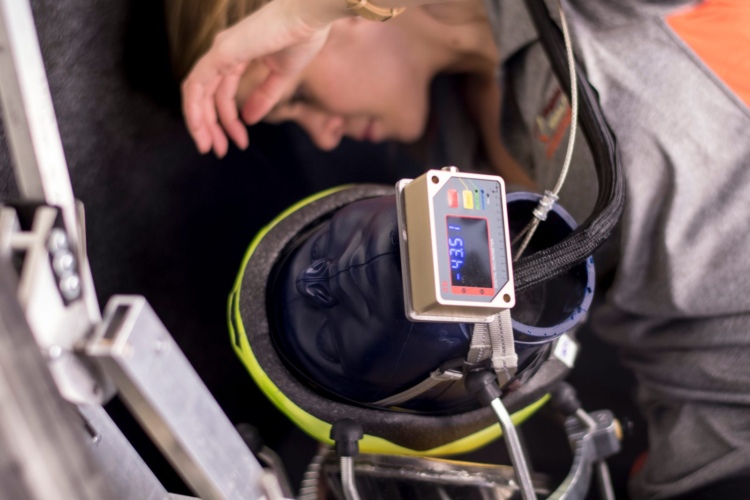
Electric motors hurt mountain biking, but we’re not talking e-bikes: e-motos are the problem
42
Mountain bikes
These Canyon MTBs were already a good value. On sale, they're even better.
Mountain Bikes and Gear
Bikes, tools, and fixtures from the YT Mill in Surrey hit the auction block
3
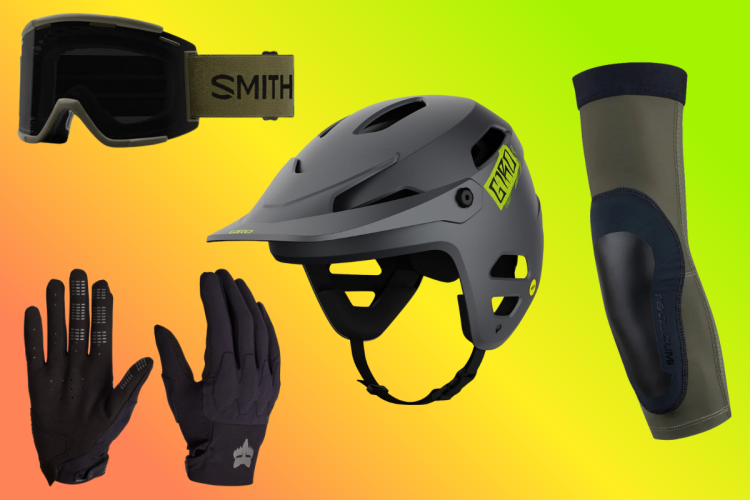
Helmets
Think all MTB helmets offer the same level of protection? Think Again.
1
Mountain Bikes and Gear
Strava signals they will comply with Garmin logo requirement by Nov 1 deadline
2
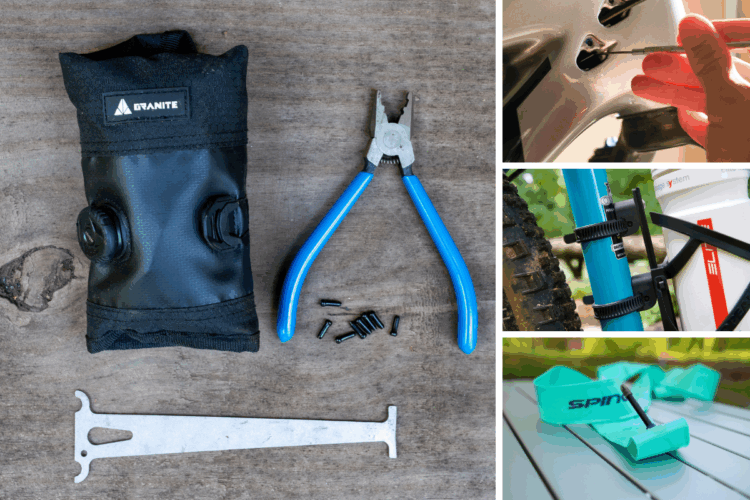
Accessories
21 inexpensive items every mountain biker needs
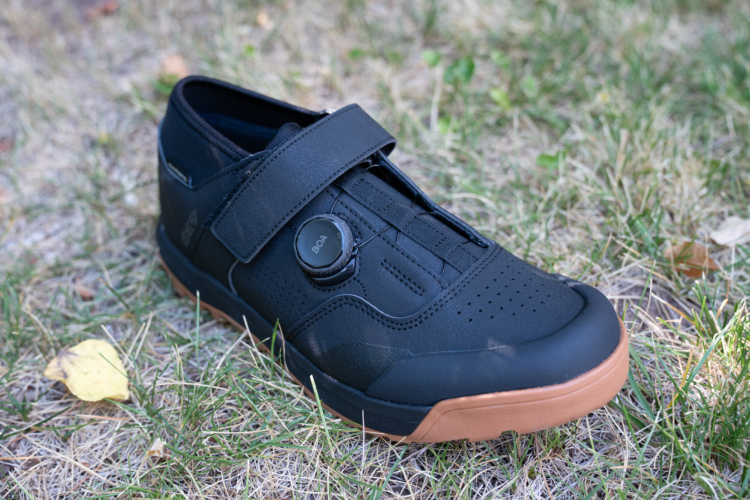
Clipless Pedal Shoes
Shimano SH-GE900HS mountain bike shoe review
7
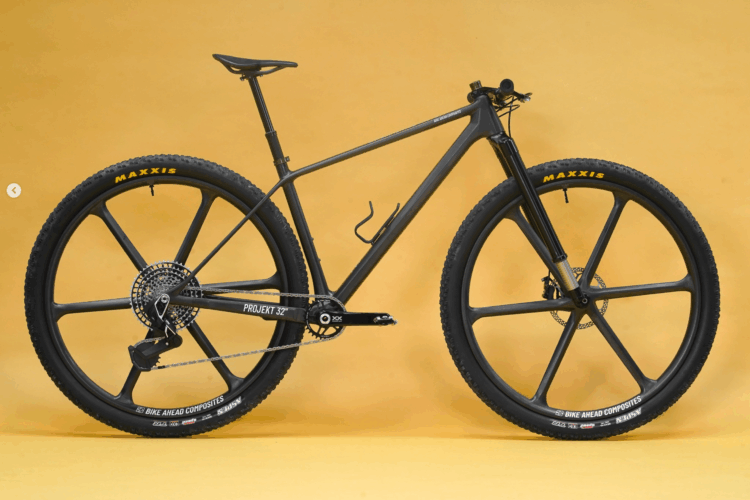
Cross Country Bikes
Bike Ahead Composites shows off a 32er prototype at Bespoked
3
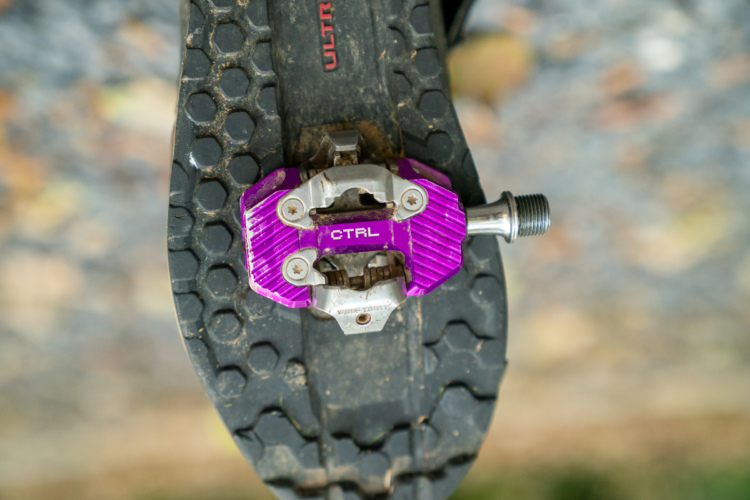
Clipless Pedals
Wolf Tooth CTRL clipless pedals deliver less weight, more contact [Review]
2
Mountain Bikes and Gear
Hurry: Big MTB gear savings you won't find on Amazon this week
Mountain bikes
Intense now boasts 1,632,960 possible bike builds
Mountain Bikes and Gear
The best Amazon Prime Big Deals on bike and outdoor gear
Tires
Teravail Clifty mountain bike tire review
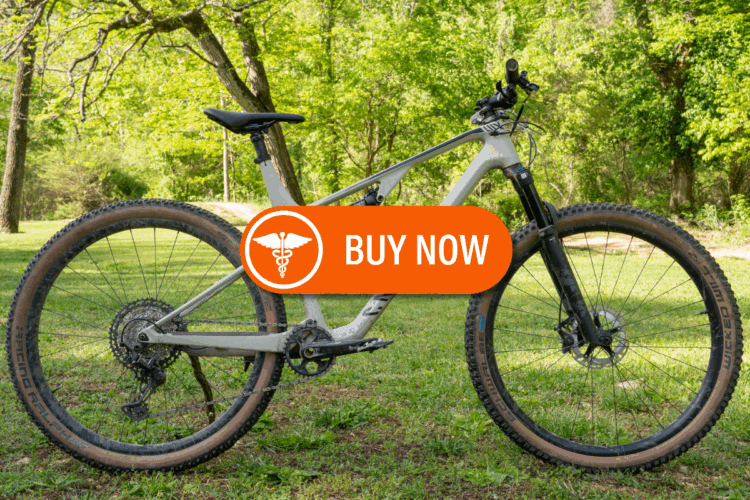
Mountain Bikes and Gear
You may be able to use HSA funds to buy your next bike
6
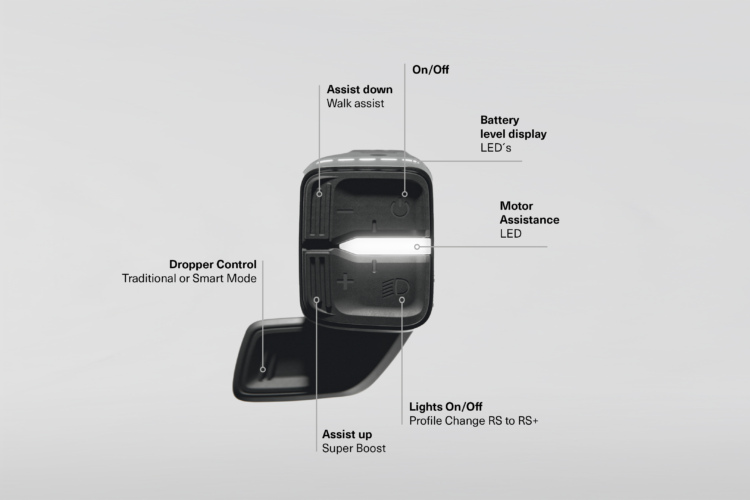
Mountain Bikes and Gear
Orbea shows us where MTB controls are heading in the future
4
«
1
…
3
4
5
6
7
…
108
»
 17
17