


Inspired by my previous project, the do-it-yourself work stand, as well as the DiY roof rack mod done by MarcS, I decided to tackle the issue of five bikes strewn around my garage in disarray. Specifically, I was tired of the kids dropping their bikes unceremoniously onto mine and potentially damaging something expensive.
My garage setup and presence of kids’ bikes dictates a floor-mounted solution rather than a hanging setup. I researched some commercial metal models, but they are a bit pricey and have mixed reviews concerning stability and durability. So… DiY to the rescue!
The best design I could find online was this one, but I wasn’t able to find actual measurements and materials, so I figured it out myself and had a go at it.
[see_also id=’231925′]
Materials
(For a six-bike rack, with 16in spacing between bikes.)
- 8ft 2×4 (two)
- 8ft 2×6 (three)
- 3in deck screws (1 pound box)
- Sandpaper
Tools
- Circular saw*
- Cordless drill*
- Tape measure
- Straight edge

Instructions
- First, we’ll need to mark and cut our lumber. The 2x6s will be the uprights that hold the wheels. The 2x4s will simply hold those together, so they do not need to be cut. Measure and cut your 2x6s into 24in sections. You should have 12 of them when you are done. These need to be exact, so measure twice, cut once, yada yada.
- Since the 2x6s will hold the wheels, we want a nice approach/departure angle rather than sharp, square corners. Rather than measure fancy angles, just use one of your 2x4s as a straight edge. Measure a 2×4 width up from the bottom, and then also back from the end. Connect these two marks via your straight edge and voila! you have the angle for you next set of cuts.

- Mark both ends of all 12 2×6 sections and then carefully cut off the corners. Use sandpaper to remove any splinters left by the saw blade.
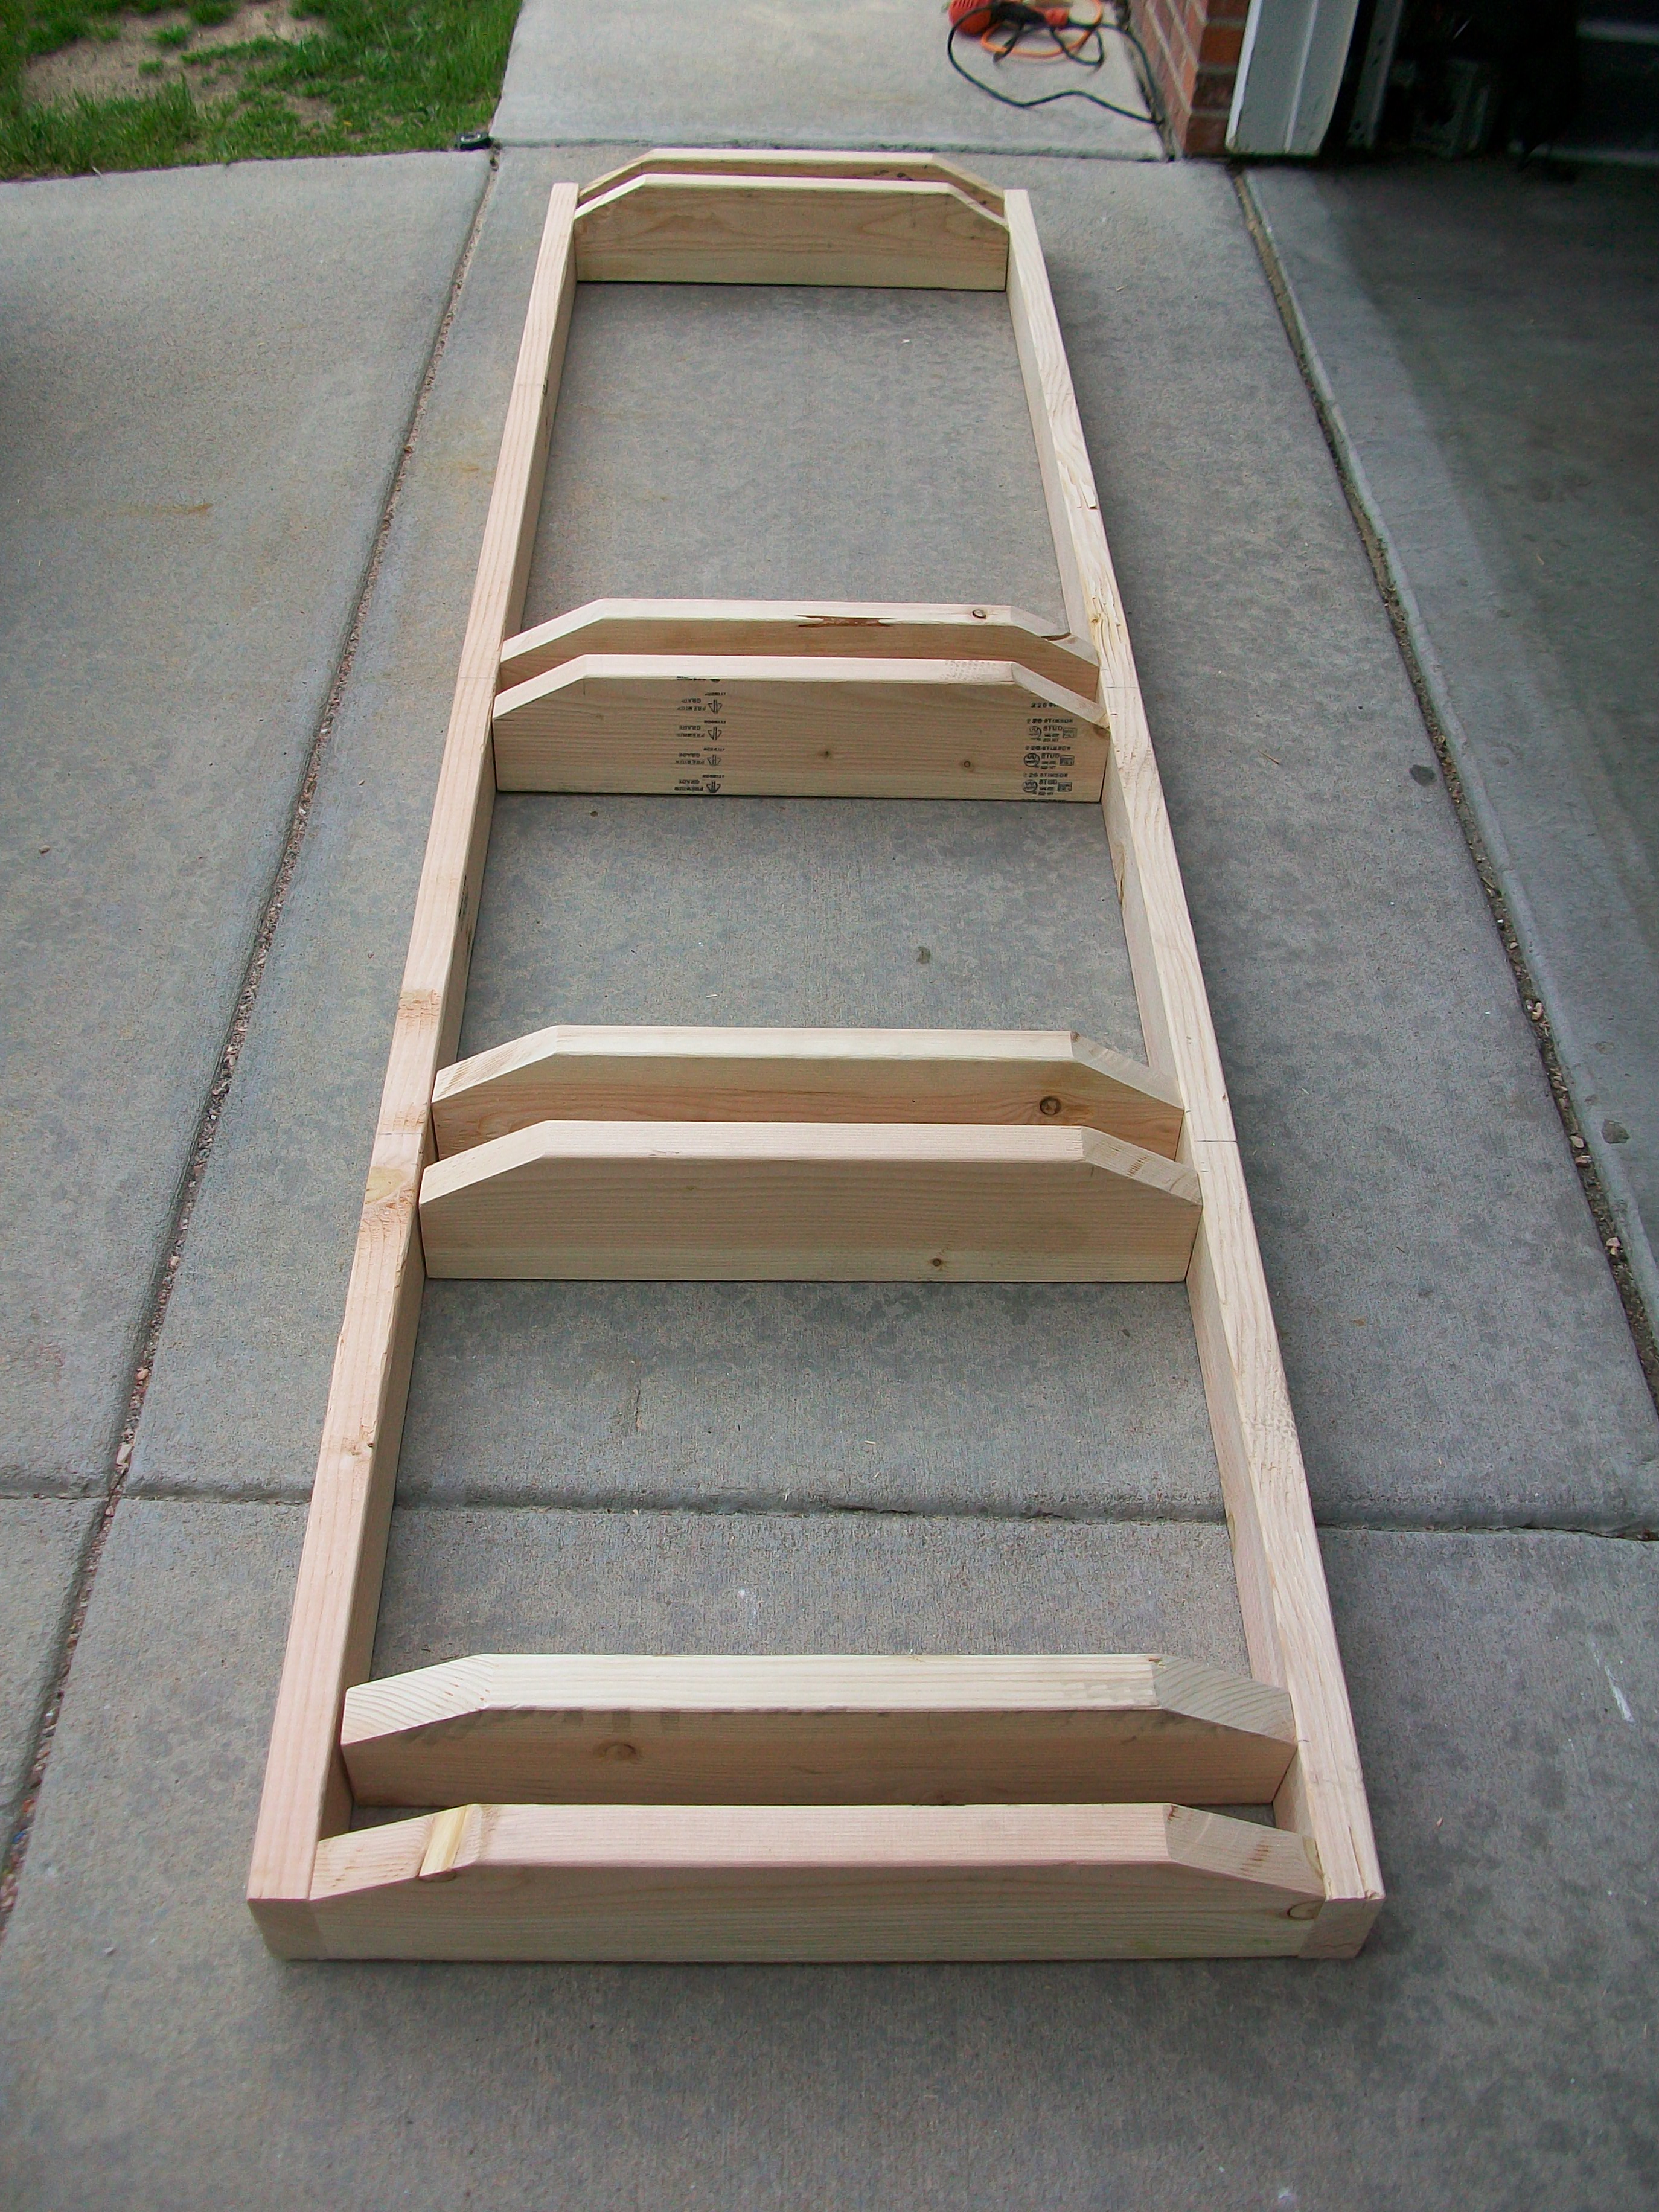
- With all of the 2×6 sections cut and cornered, we’re ready to screw everything together!

- The 2x4s will fasten to the cut ends of the 2x6s, so two of the 2×6 sections will double as the ends of the rack. Form the shape of the frame by attaching these two end pieces with two screws in each end. They should be straight up and down, and not protrude below the bottom of the 2×4, however, this isn’t fine cabinetry, so don’t go too crazy.
- With the shape of the rack boxed in, we can now install the rest of the cross pieces. I measured all of my tires and despite the differing nominal sizes, all but one set are 2.25in wide. The Michelin Wild Race’Rs I have on test are 2.4in, so I decided to attach my cross pieces with 2.5in spacing to accommodate all of my tires. Use your tape measure to make the end slots 2.5in wide, and then from one end, make a mark every 16 inches and mark 1.25in on either side of those. Line up the inner edges of your cross pieces with the outer marks and screw them into place, resulting in a 2.5in tire space. Repeat this for all of the inner slots.
- That’s it! Place the rack where you want it in the garage, and slide the rear wheels of your bikes into the slots.


What’s with the space?
16in spacing will accommodate most bikes, but I decided to go with 24in for a total of five bikes. We have five bikes in our family, and I want the extra wiggle room for the kids to get their bikes in and out easily. I have since added a 4in wide tire slot for the Fatback bike for however long it lives with me.

I left my rack unfinished, but you can paint it, stain it, or put stickers on it. You can also cut the materials list in half for a compact three-bike rack, or go with 12ft 2x4s for a nine-bike rack. If you have road or cross bikes, you can put the slots a little closer together, or space them apart for wide-handlebar downhill rigs or fat bikes. You can even mix and match, and since we used screws rather than nails, it can be adjusted later as your bike fleet changes.
Bike Fit
My daughter’s bike with the 24in wheels is slightly loose, but stays in place just fine, while my fat 29er tires fit pretty snugly. However, all the bikes fit in all of the 2.5in slots interchangeably. With the bikes in place and the front wheels turned, they are unobtrusive in the garage and easy to get in and out.
I was worried about rear derailleur clearance, but the only bike that is even remotely close is the Giant Trance, with 26in wheels and a long-cage derailleur. It’s only an issue when it’s in the small chainring, and even then it’s not really a problem. All of the other bikes have ample clearance.
Total Cost:
About $30.00 with sales tax!
Your Turn: Share your at-home bike storage setup with us in the comments sections below!
[see_also id=’215466′]


