You’ve just dropped more money on your new mountain bike than your first 3 cars combined. It’s well tuned to handle all the rough stuff you can throw at it, but the thought of scratching that shiny paint job makes you sick inside. What are you to do?
Crankskins bicycle protection may be just what you need. Crankskins makes clear plastic protective coatings in several thicknesses and specifically shaped for just about any part a bike can come with. I received their 12mil Thick Stuff Clear Complete Kit for testing, and since my bike is already old and scuffed, I offered it to a friend for his brand-new-just-picked-up-that-morning Specialized Enduro.

As a testament to whether plastic frame protection is even worth it, the new Enduro and several other new bikes I looked at come from the factory with it installed in key areas like the downtube and chainstays.
Although it’s ideal to install the protective stickers before your bike ever sees dirt, even a “seasoned” bike can benefit from the extra protection. You’ll just need to work a little harder at cleaning and prepping the frame surface before proceeding.
The Crankskins package contains an assortment of clear “stickers” in a variety of shapes and sizes, but it contains no instructions. You will need to go to their website and follow the links to their instructional videos on youtube. DO NOT SKIP THIS STEP! For tools and supplies, you will need scissors, rubbing alcohol, cleaning rags and a hairdryer. If your bike is not brand new, you will also need some degreaser.
For the installation process, a bike work stand is essential for getting the frame positioned properly for ease of access, and you should at least remove the wheels. Also, the instructional videos mention a hair dryer as being optional, but we found it to be crucial for getting the film to adhere without air bubbles.

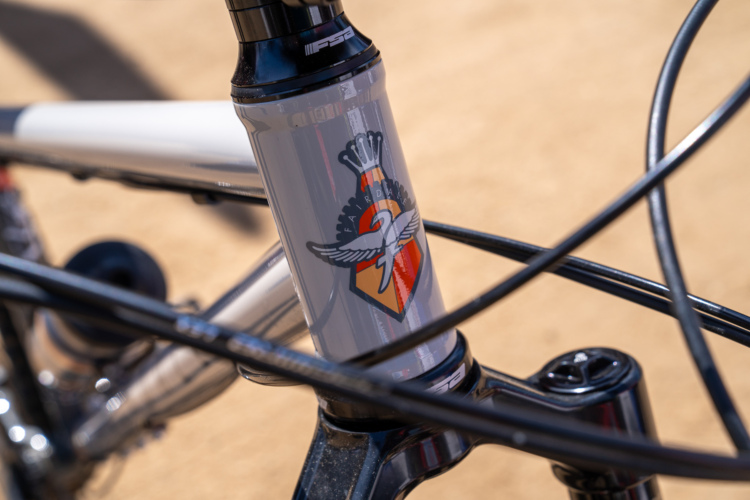
The first pieces installed were on the carbon fiber crank arms. Due to the very smooth and slightly concave surface it was difficult to prevent air bubbles. They look ok from a normal viewing distance, but up close you can see the irregularities. On the rest of the frame this was not an issue, as long as we warmed the material thoroughly with the hair dryer before applying. Once installed, the clear film is very hard to detect on a darker paint job. Another friend of mine has it installed on a lighter color frame and it is slightly more visible. Either way, when applied properly it looks similar to a clear bra on a car. The protection factor is excellent and arguably worth the minor change in appearance.

The bottom line: if you have a shiny new frame, especially if it’s carbon and you want an extra layer of protection, this is the product for you. In light of spending $4,000+ on a new bike, the $49 Cranksins price tag is not that bad. Although it’s not the easiest upgrade you’ll ever install, it should still be well worth a couple hours of your time. Also, if your bike came with some clear film pre-installed or you just want to apply protection to problem areas like cables rubs and the like, you can purchase the less expensive Cranksins’ downtube and frame kit or multipatch kit and mix and match pieces to fit your specific needs.
Thanks to the folks atCrankskins for providing the Clear Bike Protector Kit for review. (And to Troy for offering his brand new Enduro to experiment on!)